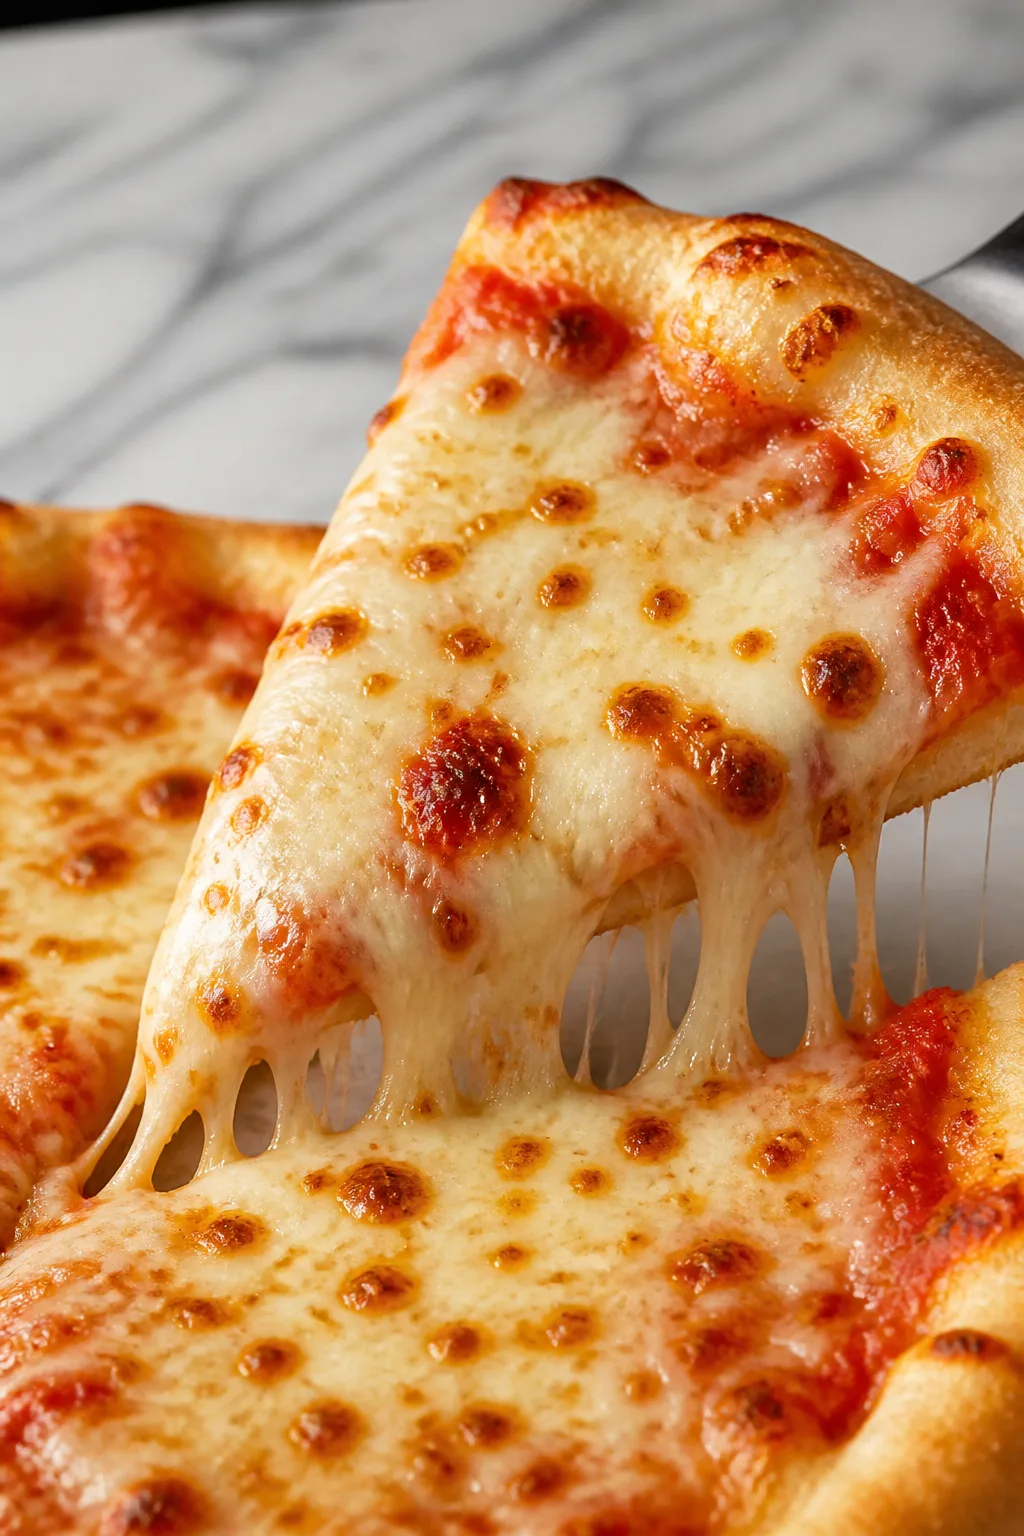
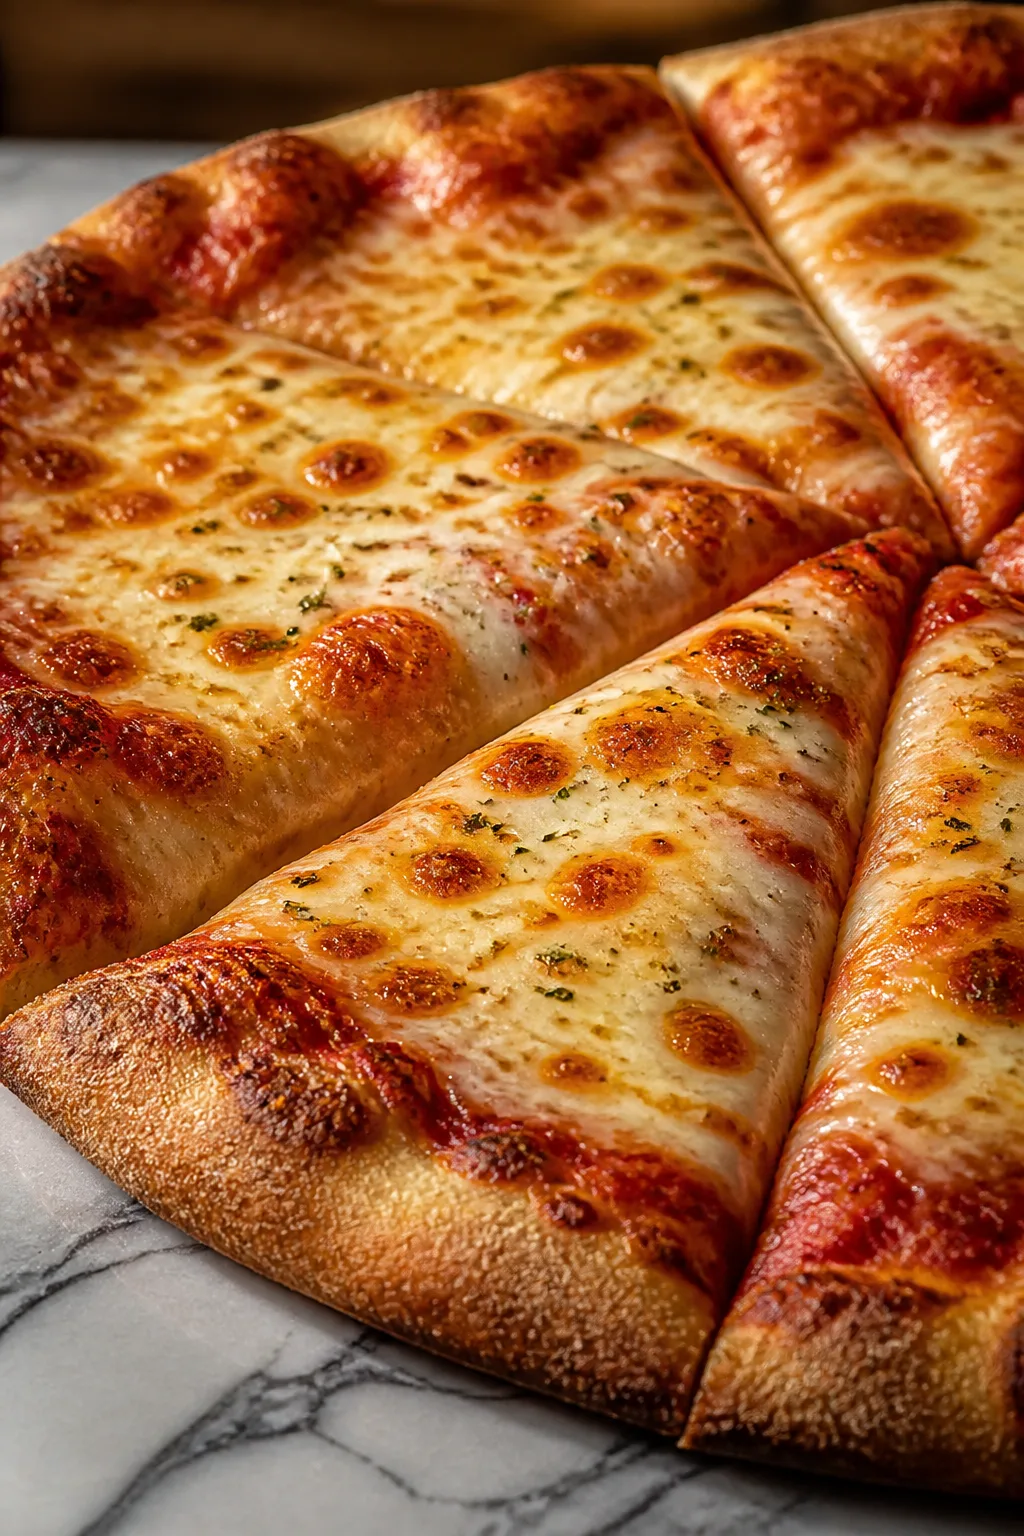
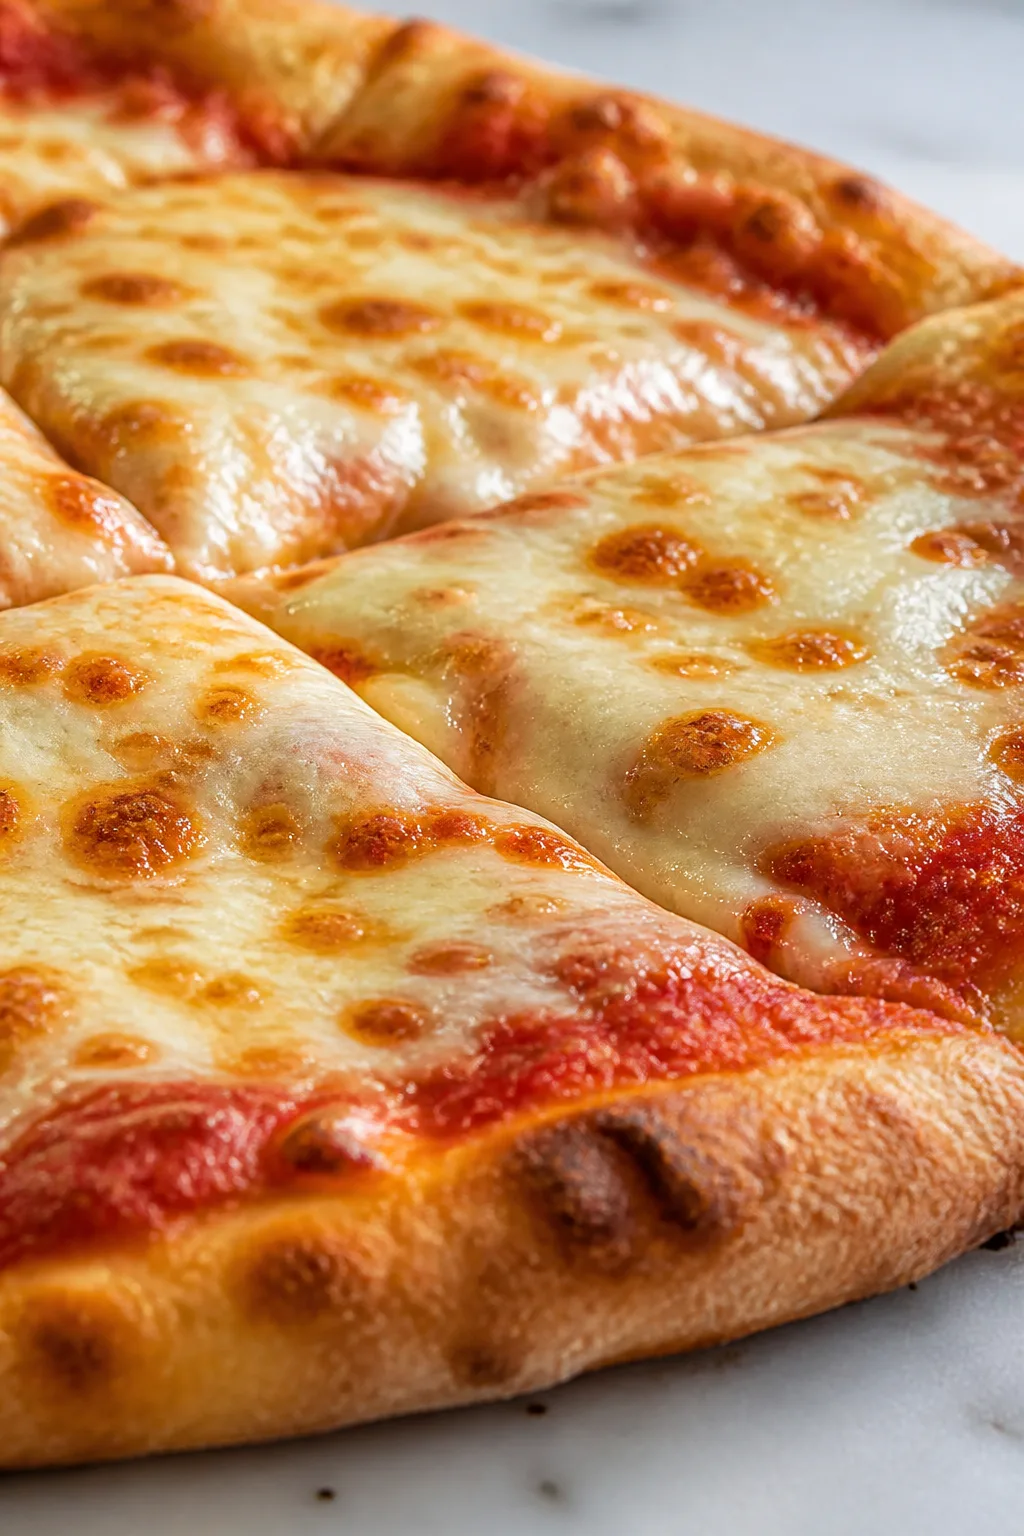
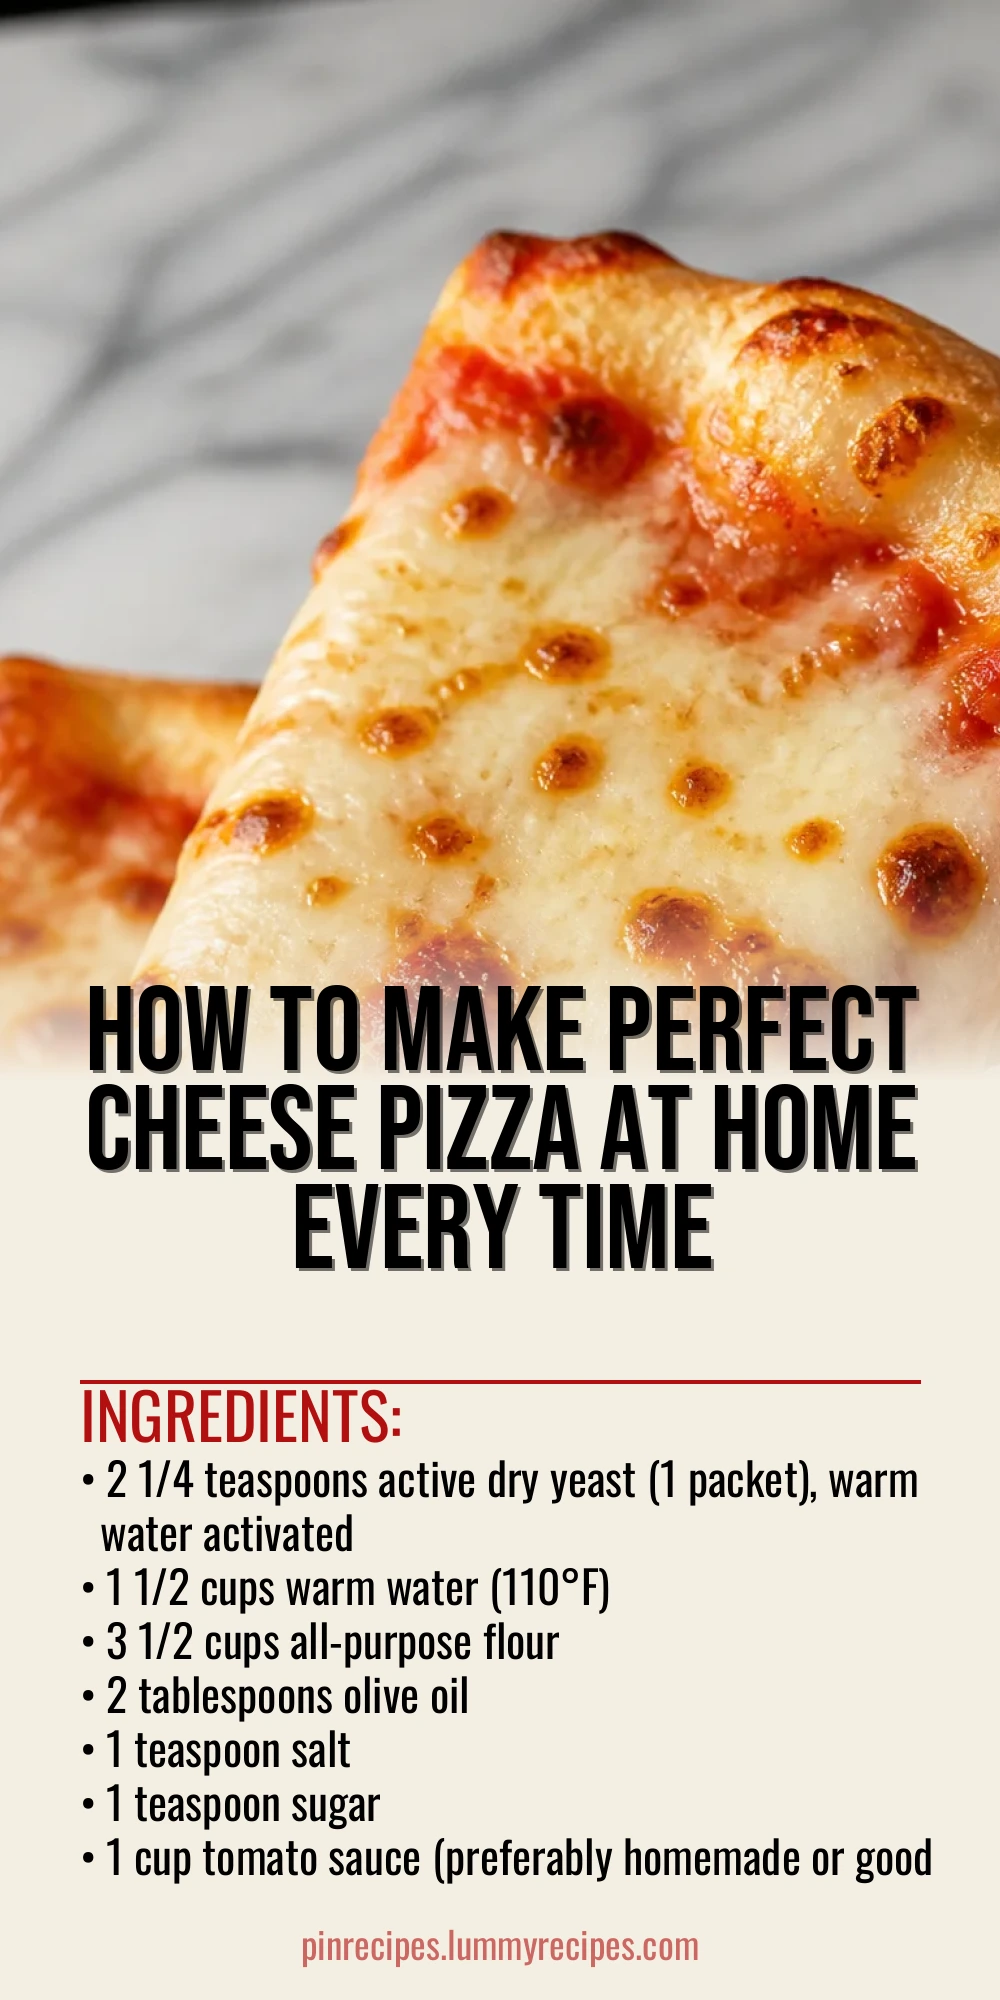
This cheese pizza is the ultimate comfort food—crispy crust, gooey melted cheese, and a rich tomato sauce. I use a simple dough recipe that’s easy to handle, perfect for any night when you want something cozy and satisfying.
Introduction
I’ve been making this cheese pizza recipe for years now, and it’s become a staple in my kitchen. The first time I tried to make pizza at home, I was intimidated by the dough. But once I found a simple, forgiving dough recipe that didn’t require fancy ingredients or hours of rising, it all changed. What makes this version better is the balance between a chewy but crisp crust and that gooey, melty mozzarella cheese that just pulls apart perfectly. I also like to let the dough rest just enough to develop flavor but not so long that it becomes tricky to handle. The tomato sauce is straightforward—just good quality canned tomatoes with a touch of seasoning. When the pizza comes out of the oven, it’s golden, bubbly, and smells amazing. It’s the kind of pizza that makes you want to sit down right away and savor every bite. Plus, it’s great for a casual family dinner or a cozy night in. I think you’ll love how approachable this recipe is, even if you’re new to pizza making.
What You'll Need
One 12-inch pizza, 4 servings
- 2 1/4 teaspoons active dry yeast (1 packet), warm water activated
- 1 1/2 cups warm water (110°F)
- 3 1/2 cups all-purpose flour
- 2 tablespoons olive oil
- 1 teaspoon salt
- 1 teaspoon sugar
- 1 cup tomato sauce (preferably homemade or good quality jarred)
- 3 cups shredded mozzarella cheese
- 1 teaspoon dried oregano (optional)
- Fresh basil leaves for garnish (optional)
How To Do It
Step 1
Start by activating the yeast: dissolve the active dry yeast and sugar in warm water (around 110°F). Let it sit for 5-10 minutes until it becomes frothy. This step is crucial because it ensures your yeast is alive and ready to help the dough rise. If the mixture doesn’t foam, the yeast might be old or the water too hot or cold, so start over with fresh yeast and water. This activation gives the dough its light, airy texture.
⏱ Time: 10 minutes
✓ Doneness: The yeast mixture should be bubbly and frothy on top.
Step 2
In a large bowl, combine the flour and salt. Slowly add the yeast mixture and olive oil while stirring with a wooden spoon or your hand. Once the dough comes together, transfer it to a floured surface and knead for about 8-10 minutes until smooth and elastic. Kneading develops gluten, which gives the crust structure and chewiness. Avoid adding too much flour, or the dough will become tough.
⏱ Time: 10 minutes
✓ Doneness: The dough should be smooth, slightly tacky, and spring back when pressed.
Step 3
Place the dough in a lightly oiled bowl and cover with a clean kitchen towel or plastic wrap. Let it rise in a warm spot until it doubles in size, about 1 to 1 1/2 hours. This rising time allows the yeast to ferment and produce gas, which makes the dough light and airy. Don’t rush this step; a slow rise means better flavor and texture.
⏱ Time: 1 to 1.5 hours
✓ Doneness: Dough should be doubled in size and feel soft and puffy.
Step 4
Preheat your oven to 475°F (245°C). If you have a pizza stone, place it in the oven to heat as well. Punch down the dough gently to release air bubbles, then divide it if making more than one pizza. Roll or stretch the dough out on a floured surface to about a 12-inch circle. Don’t worry if it’s not perfectly round—rustic shapes are charming and taste just as good.
⏱ Time: 10 minutes
✓ Doneness: The dough should be thin but not tearing, with an even thickness.
Step 5
Transfer the rolled dough to a pizza peel or baking sheet dusted with flour or cornmeal to prevent sticking. Spread the tomato sauce evenly over the surface, leaving a small border around the edges for the crust. Use a spoon or ladle and don’t overload the sauce—it should be thin enough to bake properly without sogginess.
⏱ Time: 5 minutes
✓ Doneness: Sauce should cover the dough evenly without pooling or dripping.
Step 6
Sprinkle the shredded mozzarella cheese evenly over the sauce. If you like, add a pinch of dried oregano or other herbs for a little extra flavor. The cheese layer should be generous but not piled so thick that it won’t melt properly or cause the crust to get soggy.
⏱ Time: 5 minutes
✓ Doneness: Cheese is evenly spread and looks balanced on the pizza.
Step 7
Slide the pizza onto the preheated stone or place the baking sheet in the oven. Bake for 12-15 minutes, rotating halfway through if needed. The high heat helps develop a crisp crust and melts the cheese beautifully. Watch for the cheese to bubble and start turning golden brown.
⏱ Time: 12-15 minutes
✓ Doneness: Crust is golden and crisp; cheese is bubbly and slightly browned.
Step 8
Remove the pizza from the oven and let it rest for a few minutes before slicing. This resting time allows the cheese to set slightly, so it doesn’t slide off when you cut it. It also cools the pizza enough to enjoy without burning your mouth.
⏱ Time: 5 minutes
✓ Doneness: Pizza is cool enough to handle; cheese is set but still melty.
Step 9
Garnish with fresh basil leaves if you like, slice, and serve immediately. The fresh basil adds a bright herbal note that contrasts nicely with the rich cheese and tangy sauce. Enjoy your homemade classic cheese pizza with a simple green salad or your favorite side.
⏱ Time: 2 minutes
✓ Doneness: Pizza looks vibrant with fresh basil and is ready to eat.
Pro Tips
Always proof your yeast before mixing the dough.
Proofing ensures your yeast is alive and active, which is essential for the dough to rise properly. If you skip this, you risk ending up with dense, flat dough because the yeast wasn’t working. It’s a simple step that saves a lot of frustration.
Use a pizza stone or preheated baking sheet to bake your pizza.
A hot surface mimics a pizza oven floor, helping the crust cook quickly and evenly from the bottom. This produces a crispier crust and prevents sogginess. Baking on a cold pan can lead to a doughy bottom and uneven cooking.
Don’t overload the pizza with sauce or cheese.
Too much sauce or cheese can weigh the crust down, making it soggy and preventing it from baking through properly. A thin, even layer allows the dough to crisp and the toppings to meld perfectly without sliding off.
Let the dough rest after rising before shaping.
Resting relaxes the gluten, making the dough easier to stretch and shape without springing back. If you try to shape it immediately, it can resist and tear, which makes a frustrating process and uneven crust.
Bake at a high temperature for a short time.
High heat quickly crisps the crust and melts the cheese without drying out the toppings. Lower temperatures require longer baking, which can dry out the pizza and make the crust tough.
Use a mix of hand stretching and rolling to shape the dough.
Hand stretching preserves the air bubbles in the dough for a lighter crust, while rolling helps achieve an even thickness. Using both techniques balances texture and appearance.
Let the pizza cool slightly before slicing.
Freshly baked pizza is molten hot, and slicing immediately can cause the cheese and toppings to slide off. A few minutes’ rest helps everything set, making it easier to cut and eat.
Common Mistakes to Avoid
Using water that’s too hot or cold for yeast activation
Why it happens Many people assume any warm water will do, but if it’s too hot, it kills the yeast; if too cold, the yeast won’t activate properly.
Fix Use a thermometer or test the water with your finger to ensure it’s around 110°F. If the yeast doesn’t foam after 10 minutes, start over with fresh yeast and correct water temperature.
Not kneading the dough enough
Why it happens Beginners often rush kneading or don’t knead long enough, leading to dense, crumbly crusts.
Fix Knead for at least 8-10 minutes until the dough is smooth and elastic. This develops gluten, which gives the dough structure and chewiness.
Overloading the pizza with toppings
Why it happens It’s tempting to pile on sauce and cheese, but this weighs down the crust and prevents proper baking.
Fix Use moderate amounts of sauce and cheese. Spread toppings evenly and thinly to allow the crust to crisp and cook through.
Skipping the dough resting period after rising
Why it happens Rushing to shape the dough can cause it to spring back or tear because the gluten hasn’t relaxed.
Fix Let the dough rest for at least 10 minutes after punching it down. This makes it easier to stretch and shape.
Baking at too low a temperature
Why it happens Lower oven temperatures don’t replicate pizza oven heat, leading to soggy crust and uneven cooking.
Fix Preheat your oven to at least 475°F and bake on a hot pizza stone or baking sheet for a crisp crust and bubbly cheese.
Variations
Add Fresh Basil and Garlic
After baking, top your cheese pizza with fresh basil leaves and a drizzle of garlic-infused olive oil for a fragrant, flavorful twist. This adds brightness and a subtle kick without overpowering the classic cheese flavor.
Note: Add fresh herbs after baking to preserve their flavor and prevent burning.
Use Fresh Mozzarella and Cherry Tomatoes
Swap shredded mozzarella for slices of fresh mozzarella and scatter halved cherry tomatoes on top before baking. This creates a lighter, fresher pizza with juicy bursts of flavor and a creamier texture.
Note: Expect a wetter pizza; bake slightly longer or on a pizza stone to prevent sogginess.
Make a Stuffed Crust Cheese Pizza
Roll mozzarella sticks into the edges of your dough before baking to create a fun, cheesy stuffed crust. It’s a kid-friendly upgrade that adds gooey cheese surprises in every bite.
Note: Seal the edges well to prevent cheese from leaking during baking.
Add Italian Sausage and Peppers
For a heartier pizza, add cooked Italian sausage slices and sautéed bell peppers on top of the cheese. This variation adds savory and sweet notes, making it a filling meal for dinner.
Note: Precook meat and vegetables to avoid excess moisture and ensure even cooking.
Gluten-Free Cheese Pizza
Use a gluten-free flour blend designed for pizza dough to make this cheese pizza suitable for gluten-sensitive diets. The texture will be a bit different but still delicious and cheesy.
Note: Gluten-free dough is more delicate; handle gently and consider using a pizza pan instead of a stone.
Nutrition
Per Serving:
Nutritional values are estimates and may vary based on specific ingredients used.
Storage & Tips
Room Temperature
You can safely keep leftover pizza at room temperature for up to 2 hours, covered loosely with foil or a clean towel to prevent drying out. Avoid leaving it out longer to prevent bacterial growth.
Refrigerator
Store pizza slices in an airtight container or wrapped tightly in plastic wrap in the fridge for up to 3 days. The crust may lose some crispness but reheating in the oven helps restore texture. Cold pizza is also a tasty snack for many!
Freezer
Wrap leftover pizza slices tightly in plastic wrap and then foil to prevent freezer burn. Freeze for up to 2 months. Thaw in the fridge overnight before reheating for best texture.
Reheating
Reheat pizza in a preheated oven at 375°F for 8-10 minutes on a baking sheet or pizza stone. This crisps the crust and melts the cheese nicely. Avoid microwaving as it can make the crust soggy. Adding a splash of water to the oven tray can help keep toppings moist.
Make Ahead
Prepare the dough and sauce up to 1 day ahead and refrigerate separately. Assemble the pizza just before baking for freshest results. You can also par-bake the crust for 5 minutes, cool, then store and top later before finishing the bake.
FAQ
Can I use instant yeast instead of active dry yeast?
Yes, you can substitute instant yeast, but reduce the amount slightly (about 25% less) and mix it directly with the flour instead of activating it in water. The dough may rise faster, so keep an eye on it to avoid over-proofing.
What if my dough is too sticky to handle?
If your dough is sticky, sprinkle a little flour on your hands and work surface, but add flour gradually. Too much flour can make the dough tough. The dough should be slightly tacky but manageable. If it’s very sticky, it might be too warm or under-kneaded.
How do I get a crispier crust?
Bake on a preheated pizza stone or heavy baking sheet at a high temperature (475°F or more). Also, avoid overloading with sauce and cheese, which can weigh down the crust and cause sogginess.
Can I prepare the dough ahead of time?
Absolutely! You can prepare the dough and refrigerate it, covered tightly, for up to 24 hours. This slow fermentation can even improve flavor. Just bring it to room temperature before shaping and baking.
What cheese is best for melting on pizza?
Low-moisture mozzarella is the best choice for meltability and flavor balance. Fresh mozzarella is delicious but has higher moisture, which can make the pizza soggy unless you bake it longer or at higher heat.
How thick should I make the pizza crust?
About 1/4 inch thick is ideal for a classic crust—thin enough to crisp but thick enough to hold toppings. Thicker crusts take longer to bake and can be doughy in the center if not cooked properly.
Can I freeze the dough before baking?
Yes, you can freeze the dough after the first rise. Portion it, wrap tightly, and freeze up to 3 months. Thaw in the fridge overnight before shaping and baking.
Why is my pizza dough tough after baking?
Tough dough usually means over-kneading, too much flour, or baking at too low a temperature. Be gentle when kneading, avoid adding excessive flour, and bake hot and fast for best texture.
Final Thoughts
I hope you enjoy making this classic cheese pizza as much as my family does! Give it a try and share your pizza night stories with me.