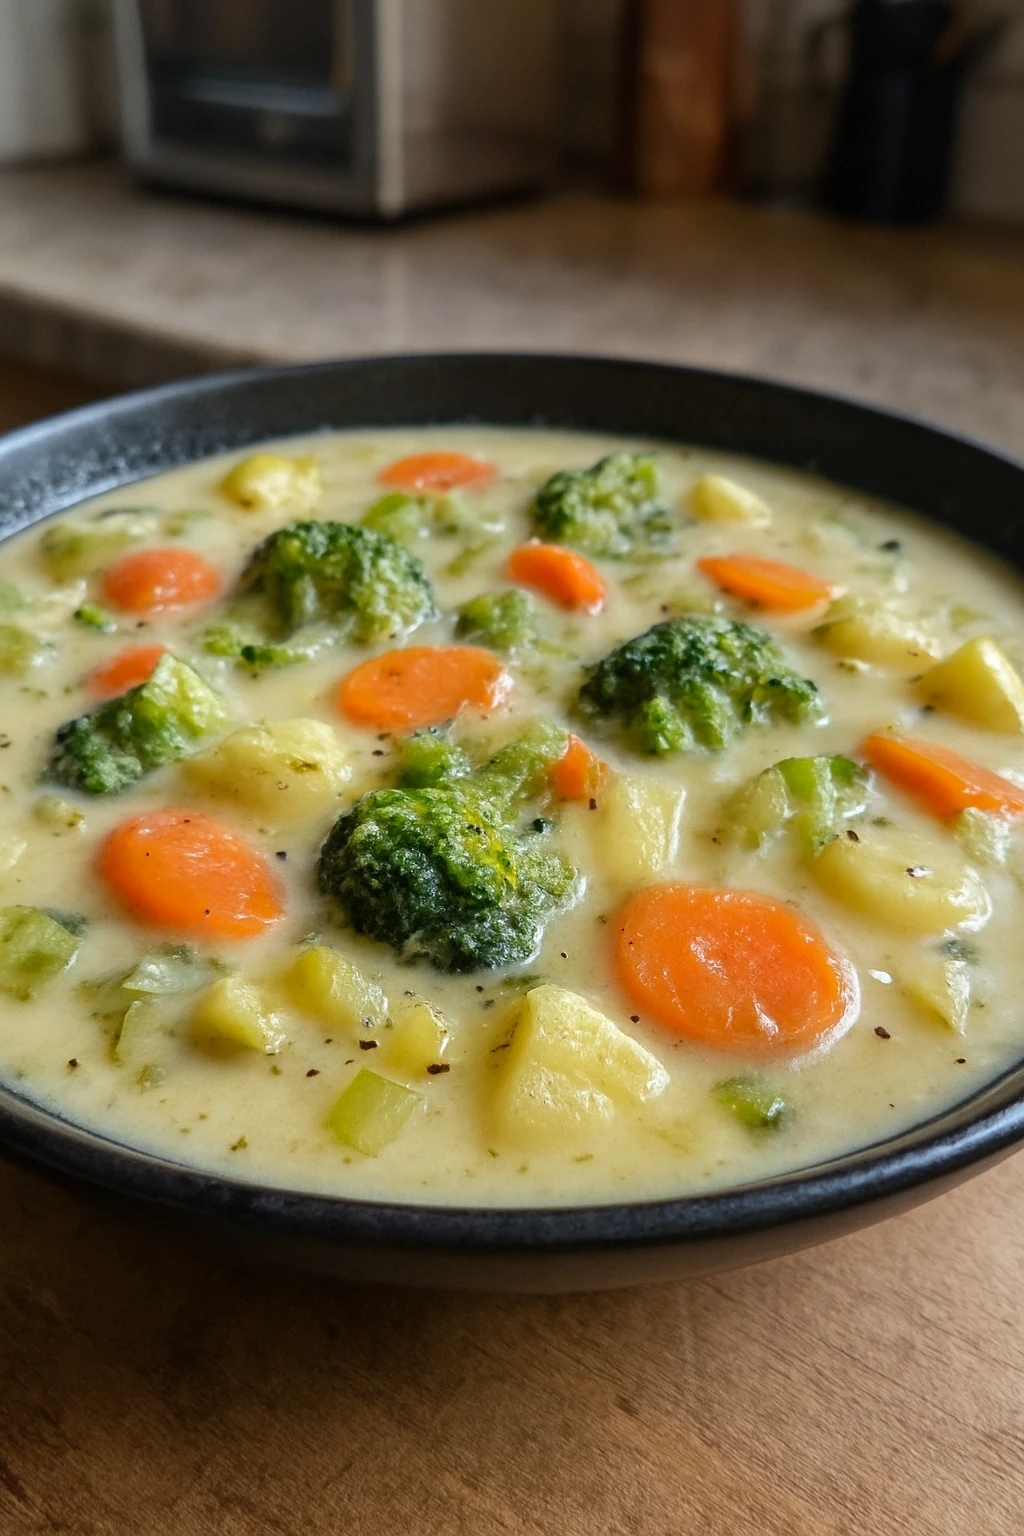
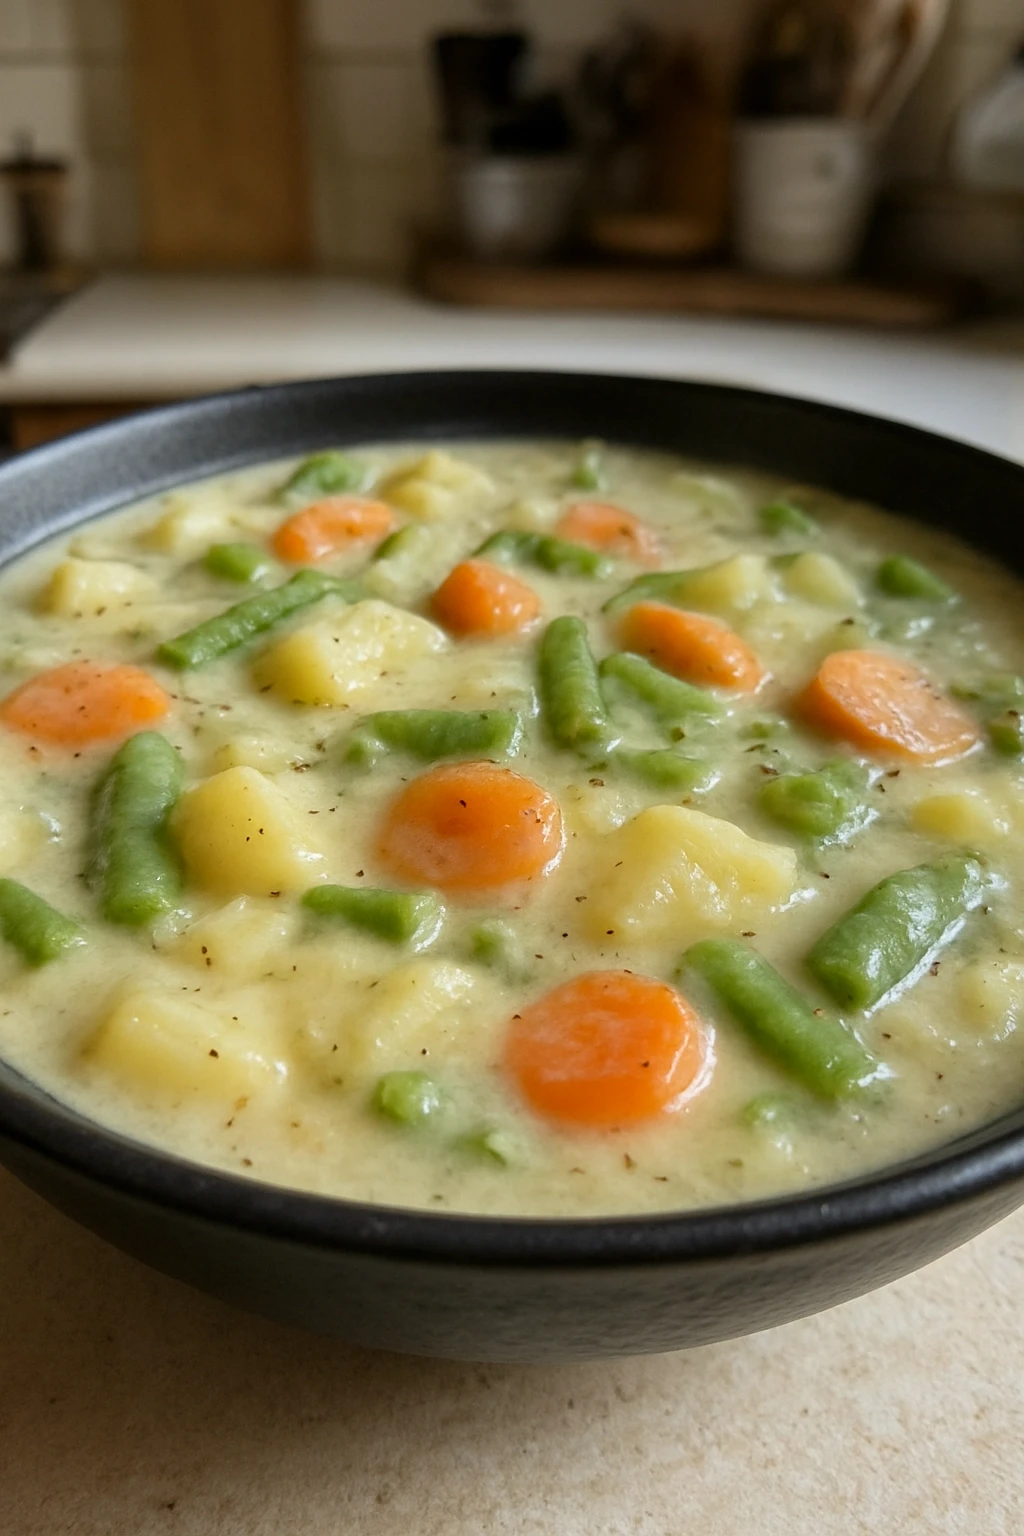
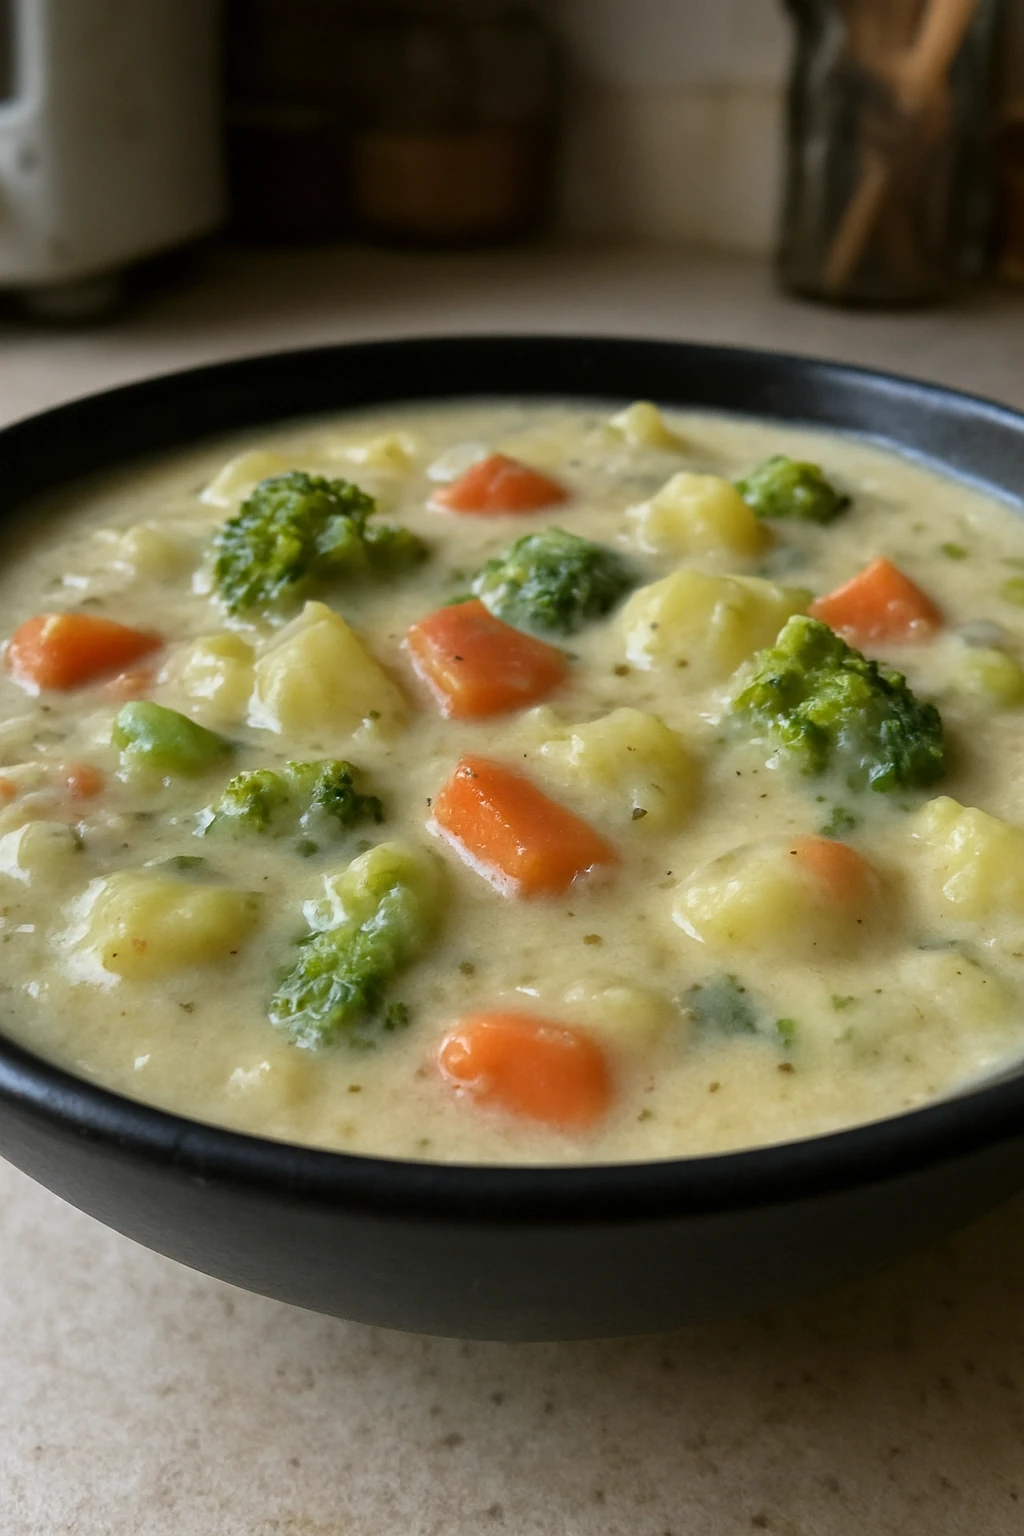
A guide to making creamy vegetable soup that achieves proper vegetable texture, stable dairy emulsion, and balanced flavor. Learn why different vegetables require staggered cooking times and how to prevent cream from curdling while maintaining soup body.
What You'll Need
Approximately 5 cups of soup, 4 servings
- 2 tablespoons (30ml) unsalted butter
- 1 medium yellow onion (150g), diced
- 3 cloves (15g) garlic, minced
- 2 large carrots (200g), cut into 1/2-inch (1.25cm) pieces
- 2 medium celery stalks (100g), cut into 1/2-inch (1.25cm) pieces
- 1 medium potato (150g), cut into 1/2-inch (1.25cm) cubes
- 4 cups (960ml) vegetable broth, unsalted preferred
- 1 cup (150g) fresh or frozen peas
- 1 cup (150g) fresh or frozen corn
- 3/4 cup (180ml) heavy cream, room temperature
- 1 cup (100g) shredded sharp cheddar cheese (or Gruyère)
- 1 teaspoon (2g) dried thyme
- 1/2 teaspoon (1g) dried oregano
- 3/4 teaspoon (4.5g) fine sea salt, divided
- 1/4 teaspoon (0.5g) black pepper, divided
- Optional garnish: 1 tablespoon (3g) fresh parsley, chopped
How To Do It
Step 1
Place a large, heavy-bottomed pot over medium heat. Add the butter and allow it to melt completely, approximately 30-45 seconds. The butter should foam slightly but not brown. Once melted, add the diced onion and a pinch of salt (approximately 1/8 teaspoon). The salt draws moisture from the onion, helping it soften faster. Sauté the onion, stirring occasionally, for 5-6 minutes until it becomes translucent and softened. The onion should no longer be bright white, and you should smell a sweet, cooked onion aroma.
⏱ Time: 6-7 minutes
✓ Doneness: Onion is translucent and soft, no white raw pieces remain, sweet onion aroma is prominent
Step 2
Add the minced garlic and cook, stirring constantly, for 30-45 seconds until fragrant. The garlic should soften and release its aroma, but never brown or crisp. Browned garlic tastes acrid and bitter and will negatively affect the entire soup.
⏱ Time: 1 minute
✓ Doneness: Garlic is fragrant and slightly softened, no browning visible, mixture smells intensely aromatic
Step 3
Add the diced carrots and celery pieces. Stir well to distribute them throughout the butter mixture. The vegetables should coat lightly with fat. Cook without adding broth for 2-3 minutes, stirring occasionally. This step, called 'sweating' vegetables, allows them to begin softening and release their flavors into the butter before the broth is added. You may hear a slight sizzling sound and smell the vegetables becoming aromatic.
⏱ Time: 3 minutes
✓ Doneness: Vegetables are coated with fat, they're beginning to soften slightly, aromatic smell is noticeable
Step 4
Pour in the vegetable broth. Add the diced potato pieces and stir thoroughly. The liquid should come to approximately 1 inch (2.5cm) above the vegetables. Add 1/2 teaspoon (3g) of salt at this point. Increase the heat to medium-high and bring the broth to a gentle boil, which takes approximately 5-8 minutes. Once it reaches a boil, immediately reduce the heat to low or medium-low so the soup maintains a gentle simmer. A simmer means small bubbles break the surface regularly but not aggressively. Avoid a rolling boil, which can make the soup cloudy and cause vegetables to break apart.
⏱ Time: 8-12 minutes to reach simmer
✓ Doneness: Broth reaches gentle boil with small bubbles breaking the surface, heat is reduced to maintain simmer
Step 5
Simmer the soup gently, partially covered (lid slightly ajar), for 12-15 minutes. The carrot, celery, and potato pieces should become tender enough that a fork slides through easily, but they should still maintain their shape. Do not cook beyond 15 minutes at this stage—overcooked potatoes and carrots become mushy and the soup becomes overly thickened from excessive starch release.
⏱ Time: 12-15 minutes
✓ Doneness: Fork slides through carrot and potato pieces with minimal resistance, vegetables maintain their shape and don't fall apart
Step 6
Add the peas and corn to the simmering soup. These vegetables should only cook for 3-5 minutes. If using frozen peas and corn (which are already partially cooked), 3 minutes is sufficient. If using fresh (which is rare), they may need 5 minutes. Stir gently to distribute them throughout the soup.
⏱ Time: 3-5 minutes
✓ Doneness: Peas are bright green and heated through, corn kernels are tender, vegetables are fully distributed
Step 7
Once all vegetables are cooked, remove the pot from the heat. If you prefer a completely smooth, pureed soup, use an immersion blender to blend the vegetables while the broth remains. Start the blender at low speed and gradually increase to medium, working in the pot for 2-3 minutes until the desired consistency is reached. For a chunky soup, leave it as is. For a partially smooth soup (my preference), blend for only 1 minute, leaving some vegetable pieces visible. This technique is important—immersion blending breaks down vegetable cell walls, releasing starch and making the soup thicker and creamier without adding more cream.
⏱ Time: 2-3 minutes for full blending, 1 minute for partial blending
✓ Doneness: Soup is smooth (fully blended) or partially smooth with some chunks (partially blended) depending on preference
Step 8
Add the dried thyme, oregano, and remaining 1/4 teaspoon (1.5g) of salt. Taste the soup and adjust seasoning with black pepper. The soup should taste well-seasoned but not overly salty. Remember, the cheese added next will contribute saltiness, so season slightly under what tastes right at this moment.
⏱ Time: 1 minute
✓ Doneness: Herbs are distributed throughout, soup is tasted and adjusted, flavors are balanced
Step 9
While the soup cools slightly (give it 2-3 minutes), ensure the heavy cream is at approximately room temperature. You can place the cream in a separate bowl while you're cooking, or remove it from the refrigerator at the start of cooking. If the cream is cold, it will shock-cool the hot soup and prevent proper emulsification with the cheese.
⏱ Time: 2-3 minutes
✓ Doneness: Cream has warmed to room temperature, soup has cooled slightly but is still quite hot (approximately 160-170°F / 71-77°C)
Step 10
Pour the room-temperature heavy cream into the soup slowly while stirring constantly. Stir for approximately 1-2 minutes until the cream is fully incorporated and the soup is uniform in color. The soup will appear noticeably creamier and richer as the cream integrates.
⏱ Time: 2-3 minutes
✓ Doneness: Cream is fully incorporated and creates a uniform color throughout, soup is creamier in appearance
Step 11
Add the shredded cheese in small handfuls, stirring after each addition until the cheese melts before adding more. The cheese should melt completely into the soup, creating a smooth, integrated sauce. Do not add all the cheese at once, as large additions create clumps that don't melt evenly. This process takes approximately 2-3 minutes.
⏱ Time: 2-3 minutes
✓ Doneness: All cheese is melted and fully incorporated, soup is smooth and creamy, no visible cheese clumps remain
Step 12
Heat the soup gently over low heat for 2-3 minutes, stirring occasionally, until it's hot throughout. Do not bring it to a boil, which can curdle the cream and cheese. The soup should be steaming and approximately 165-170°F (74-77°C) internal temperature, but never hotter. If the soup is already quite hot from the previous steps and the butter has melted, you may skip this reheating step.
⏱ Time: 2-3 minutes or none if already hot
✓ Doneness: Soup is steaming and hot throughout, bubbles are not breaking the surface aggressively
Step 13
Serve immediately in bowls. If desired, garnish with fresh chopped parsley for color, or additional grated cheese. Serve with crusty bread or crackers if desired. The soup is best served hot, within 15 minutes of completing the recipe.
⏱ Time: 5 minutes
✓ Doneness: Soup is in serving bowls, steam is rising, garnish is added if desired
Pro Tips
Cook vegetables in stages based on their density. Start with carrots and celery (12-15 minutes), add potato (10-12 minutes), then add peas and corn (3-5 minutes). This ensures all vegetables reach perfect tenderness simultaneously.
Different vegetables have different cell densities and water content. Carrots are very dense and require long cooking. Peas and corn are tender with minimal cooking. Adding all at once means some will be mushy while others are undercooked. Staggered addition produces uniformly tender vegetables.
Ensure heavy cream is at room temperature before adding it. Remove from the refrigerator 10-15 minutes before use, or warm gently in a small saucepan. This prevents the cold cream from shock-cooling the hot soup and breaking the emulsion.
Cold dairy added to hot liquid shock-cools the surface, preventing the fat and water from integrating smoothly. Room-temperature cream emulsifies immediately with the hot soup, creating a smooth, creamy texture. Cold cream creates a separated, broken-looking soup.
Use unsalted broth to control final salt content. Salted broths vary widely in sodium between brands, making consistent seasoning difficult. Start with unsalted broth and taste at the end for adjustment.
Many commercial broths contain 500-900 mg of sodium per cup. During cooking, the broth reduces and concentrates, intensifying the salt. Starting with unsalted broth gives you complete control. You can always add salt, but you cannot remove it.
Never boil the soup once cream has been added. Keep heat at low to medium-low so the surface simmers gently but never boils. Boiling breaks the dairy emulsion and creates a grainy, separated texture.
Proteins in heavy cream denature at temperatures above 180°F (82°C), causing the fat and water to separate. A gentle simmer keeps the soup below this temperature, maintaining smooth creaminess. Boiling is irreversible—the soup cannot be fixed once curdled.
Use an immersion blender to partially or fully blend the soup. Even partial blending (1 minute) increases body and creaminess by releasing vegetable starch without adding cream.
Immersion blending breaks down vegetable cell walls, releasing starch that thickens the soup naturally. This creates creaminess through starch action rather than dairy quantity. A partially blended soup (some chunks remaining) looks more appealing and has better texture than fully pureed soup.
Add cheese gradually in small handfuls. Wait for each handful to melt before adding more. This prevents clumping and ensures even distribution throughout the soup.
Adding all cheese at once creates clumps that don't melt evenly. Large cheese pieces hold heat differently and don't distribute uniformly. Gradual addition ensures smooth, integrated sauce. The difference is immediately visible in the final soup.
Common Mistakes to Avoid
Adding all vegetables at once and cooking for the same time
Why it happens It seems efficient to add everything at once and let it cook. However, vegetables cook at different rates based on their density.
Fix Add vegetables in stages: carrots and celery first (12-15 minutes), then potatoes (10-12 minutes), then peas and corn (3-5 minutes). This ensures all vegetables are perfectly tender simultaneously. The extra few minutes of planning dramatically improves the final result.
Using cold heavy cream straight from the refrigerator
Why it happens Convenience—it seems faster to grab the cream and add it directly. However, the temperature shock prevents proper integration.
Fix Remove cream from the refrigerator 10-15 minutes before cooking, or warm it gently. Room-temperature cream integrates immediately and creates smooth, creamy soup. Cold cream creates a separated, broken-looking texture.
Boiling the soup after adding cream
Why it happens Higher heat seems like it should finish cooking faster. However, boiling breaks the dairy emulsion.
Fix Keep heat at low to medium-low once cream is added, maintaining a gentle simmer. The soup will be done before you know it, and the texture will be noticeably better—smooth and creamy rather than grainy and separated.
Overcooking vegetables, especially potatoes
Why it happens More cooking time seems like it should produce softer vegetables. However, overcooked potatoes release too much starch, making the soup overly thick and mushy.
Fix Cook vegetables just until fork-tender (approximately 10-15 minutes depending on size), not until they fall apart. At this point, they're perfectly cooked. Test with a fork at 12 minutes and cook only as much longer as needed.
Adding cheese all at once in one large addition
Why it happens It seems more efficient to add all the cheese at once. However, large additions create clumps.
Fix Add cheese in small handfuls, stirring between additions. Wait for each handful to melt mostly before adding more. This takes only a minute or two longer and produces much smoother soup.
Not blending the soup at all, creating a thin, brothy consistency
Why it happens Some people skip blending because they like 'chunky' soup. However, even partial blending increases body and natural creaminess without adding more dairy.
Fix Blend the soup for 1-2 minutes using an immersion blender, leaving some vegetable pieces visible. This breaks down cell walls and releases starch that thickens the soup naturally. If you prefer completely chunky soup, at least blend for 30 seconds to increase body.
Variations
Broccoli and Cheddar Vegetable Soup
Replace carrots and celery with 3 cups (300g) of fresh broccoli florets, cut into small pieces. Add the broccoli at the same stage as carrots (12-15 minutes cooking time). Increase cheese to 1.25 cups (125g) and use sharp cheddar exclusively. The broccoli adds cruciferous vegetables and a slightly different flavor profile while maintaining the creamy texture.
Note: Broccoli is less dense than carrots so may cook slightly faster (10-12 minutes instead of 12-15). Test with a fork at 10 minutes. Broccoli's natural sulphur compounds become more pronounced when blended, so avoid over-blending if you prefer milder flavor. Partial blending (1 minute) is recommended.
Cauliflower and White Cheddar Soup
Replace carrots, celery, and potato with 4 cups (400g) of fresh cauliflower florets, cut into small pieces. Add the cauliflower at the same stage as carrots and cook for 12-15 minutes. Use white cheddar cheese for a more delicate appearance. Cauliflower creates a lighter, more neutral soup that lets the cheese flavor stand out. Total carbohydrates decrease significantly compared to the original recipe.
Note: Cauliflower is less starchy than potatoes, so the soup will be thinner unless you increase blending time to 2-3 minutes to release more vegetable starch. Alternatively, add 1 potato (150g) along with the cauliflower to maintain proper body and thickness.
Tomato and Vegetable Creamy Soup
Add 1 can (14 oz / 400g) of diced tomatoes (canned is fine, drained well) in step 5 along with the already-cooking carrots and celery. Reduce the chicken broth to 3.5 cups (840ml) to account for the tomato liquid. Use Gruyère cheese instead of cheddar. The tomatoes add acidity that brightens the soup while remaining creamy.
Note: Tomato acidity can curdle cream if temperatures are too high. Keep heat at low once cream is added. The acidity also affects flavor balance—taste carefully before final seasoning adjustment. Some people prefer to add the cream at a lower temperature (approximately 140-150°F / 60-65°C) with tomato-based soups for extra safety.
Mushroom and Thyme Creamy Soup
Add 8 oz (225g) of mushrooms (cremini, baby bella, or oyster), sliced thin, in step 3 after sweating the carrots and celery. Cook the mushrooms with the other vegetables for the full 12-15 minutes. Increase thyme to 1.5 teaspoons (3g) and add 1/4 teaspoon (0.5g) of dry sherry or white wine in step 4 (optional but adds depth). The mushrooms contribute umami and earthiness.
Note: Mushrooms release water as they cook, which adds liquid to the soup. If the soup seems too thin, increase blending time to 2-3 minutes to release more starch. The sherry adds depth but increases acidity slightly, so monitor the soup temperature once cream is added to prevent curdling.
Vegan Creamy Vegetable Soup
Replace heavy cream (3/4 cup / 180ml) with full-fat coconut milk and replace cheese with 3 tablespoons (12g) of nutritional yeast plus 2 tablespoons (30ml) of olive oil emulsified together. Add 1 tablespoon (15ml) of lemon juice in step 11 for brightness. The result is dairy-free while maintaining creaminess and umami from nutritional yeast.
Note: Coconut milk is thinner than heavy cream, so increase blending time to 2-3 minutes to release more vegetable starch and thicken the soup naturally. The nutritional yeast must be whisked with olive oil to distribute evenly and prevent clumping. Add it gradually while stirring. Lemon juice adds brightness and helps balance the richness of coconut milk.
Nutrition
Per Serving:
approximately 280
Calories
These values are estimates and will vary based on exact vegetable sizes, cheese brand, and whether soup is fully or partially blended. Values assume unsalted broth and medium-density vegetables. Blending increases perceived creaminess but doesn't change nutritional content.
Storage & Tips
Refrigerator
Cool the soup to room temperature completely before refrigerating in airtight containers. Store for up to 4 days. The soup will thicken slightly as it cools due to starch setting and fat solidifying. This is normal. The fat layer on top protects the soup from oxidation.
Freezer
Freeze the soup for up to 3 months in freezer containers, leaving 1 inch (2.5cm) headspace for expansion. The creamy soup freezes adequately, though the texture may be slightly grainier upon thawing because the cream and starch separate slightly during freezing. The soup remains delicious despite minor texture changes. Thaw overnight in the refrigerator before reheating.
Reheating
Reheat gently over low to medium-low heat on the stovetop, stirring occasionally. Add 2-3 tablespoons (30-45ml) of broth or cream if the soup has thickened too much during storage. Heat slowly (approximately 15-20 minutes) to ensure the soup warms evenly without boiling. Do not use high heat or a microwave, which can cause the cream to curdle. Alternatively, reheat in a 325°F (163°C) oven in a covered baking dish for 20-30 minutes. Stovetop reheating allows you to monitor temperature and adjust consistency better than oven reheating.
Make Ahead
Prepare the soup completely through step 10 (before adding cheese). Cool to room temperature, transfer to containers, and refrigerate for up to 2 days. When ready to serve, reheat gently, then add cheese in small handfuls as described in step 11. This prevents the cheese from separating or becoming grainy from extended cooling and reheating.
FAQ
Why is my soup thin and brothy instead of creamy?
Insufficient starch release from vegetables or undercooked potatoes. Solution: Cook potatoes the full 10-12 minutes until very tender, and blend the soup for 1-2 minutes using an immersion blender to break down vegetable cell walls and release starch. Blending alone can thicken a thin soup significantly without adding more cream.
Why does my soup look grainy and separated instead of smooth and creamy?
The cream curdled from overheating. This happens when the soup boils after cream is added, or when very cold cream is added to very hot soup. Prevention: Keep heat at low to medium-low once cream is added. Remove from heat before adding cream if the soup is very hot (above 170°F / 77°C), or warm the cream first. Once curdled, the texture cannot be fully repaired.
Can I use milk or half-and-half instead of heavy cream?
Milk is too thin and contains insufficient fat (approximately 3.5 percent) to create proper creaminess or stability. Half-and-half contains approximately 11 percent fat and works but produces thinner, less rich soup. If using half-and-half, reduce it to 1/2 cup (120ml) and blend the vegetables 2-3 minutes to increase body. Heavy cream is recommended for best results.
My potatoes are mushy and the soup is too thick. What went wrong?
Potatoes were cooked beyond 12-15 minutes, releasing excessive starch into the liquid. Overcooked potatoes break apart completely. Prevention: Cook potatoes for exactly 10-12 minutes at a gentle simmer and test with a fork at 10 minutes. Once tender, stop cooking immediately. Undercooked potatoes are better than overcooked ones.
How do I know when vegetables are done cooking?
Test with a fork. The vegetable piece should offer minimal resistance and slide off the fork easily, but it should still maintain its shape and not fall apart. Carrots take the longest (12-15 minutes), while peas and corn cook very quickly (3-5 minutes). If in doubt, it's better to test too early than cook too long.
Can I make this soup ahead and freeze it?
Yes, the soup freezes well for up to 3 months. Cool completely before freezing in containers with 1 inch (2.5cm) headspace. Upon thawing and reheating, the texture may be slightly grainier because the cream and starch separate during freezing, but the soup remains delicious. Reheat gently over low heat and add a splash of broth if needed to restore consistency.
Final Thoughts
Making creamy vegetable soup teaches fundamental cooking techniques that apply far beyond this single recipe. Understanding how vegetables of different densities require staggered cooking, how potato starch naturally thickens soup, and how to manage dairy emulsification are principles that transfer to countless other dishes. Once you understand the science behind each step, you can confidently adjust vegetables, herbs, and proportions while maintaining the essential qualities that make the soup work. The technique is flexible; the foundational principles remain constant.