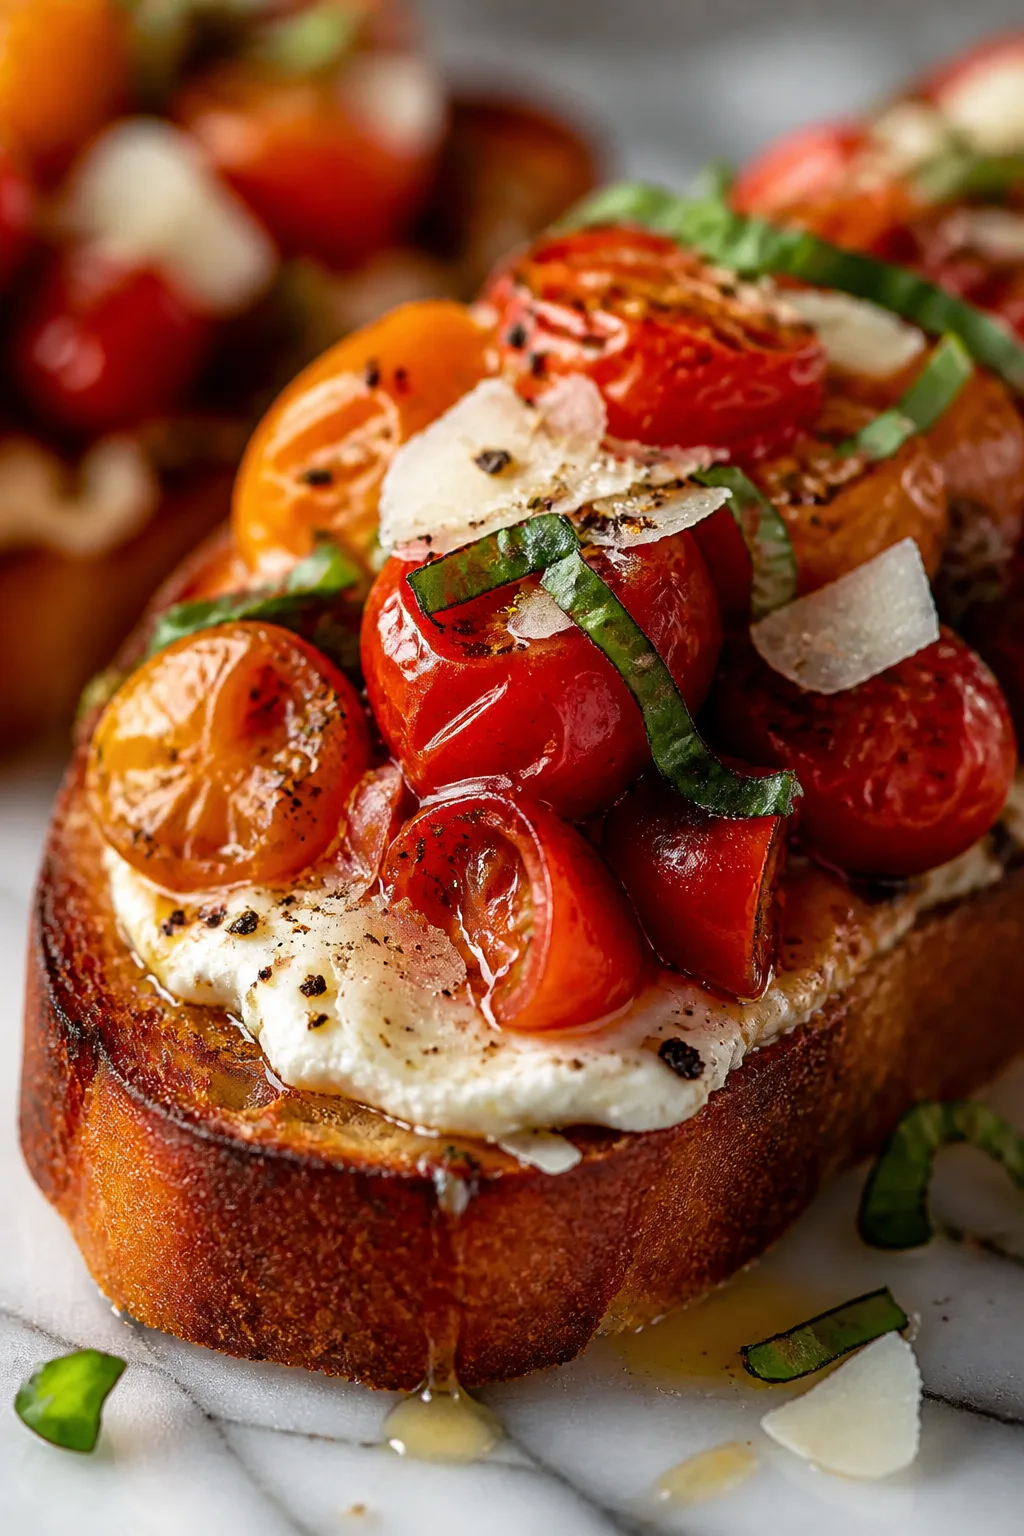
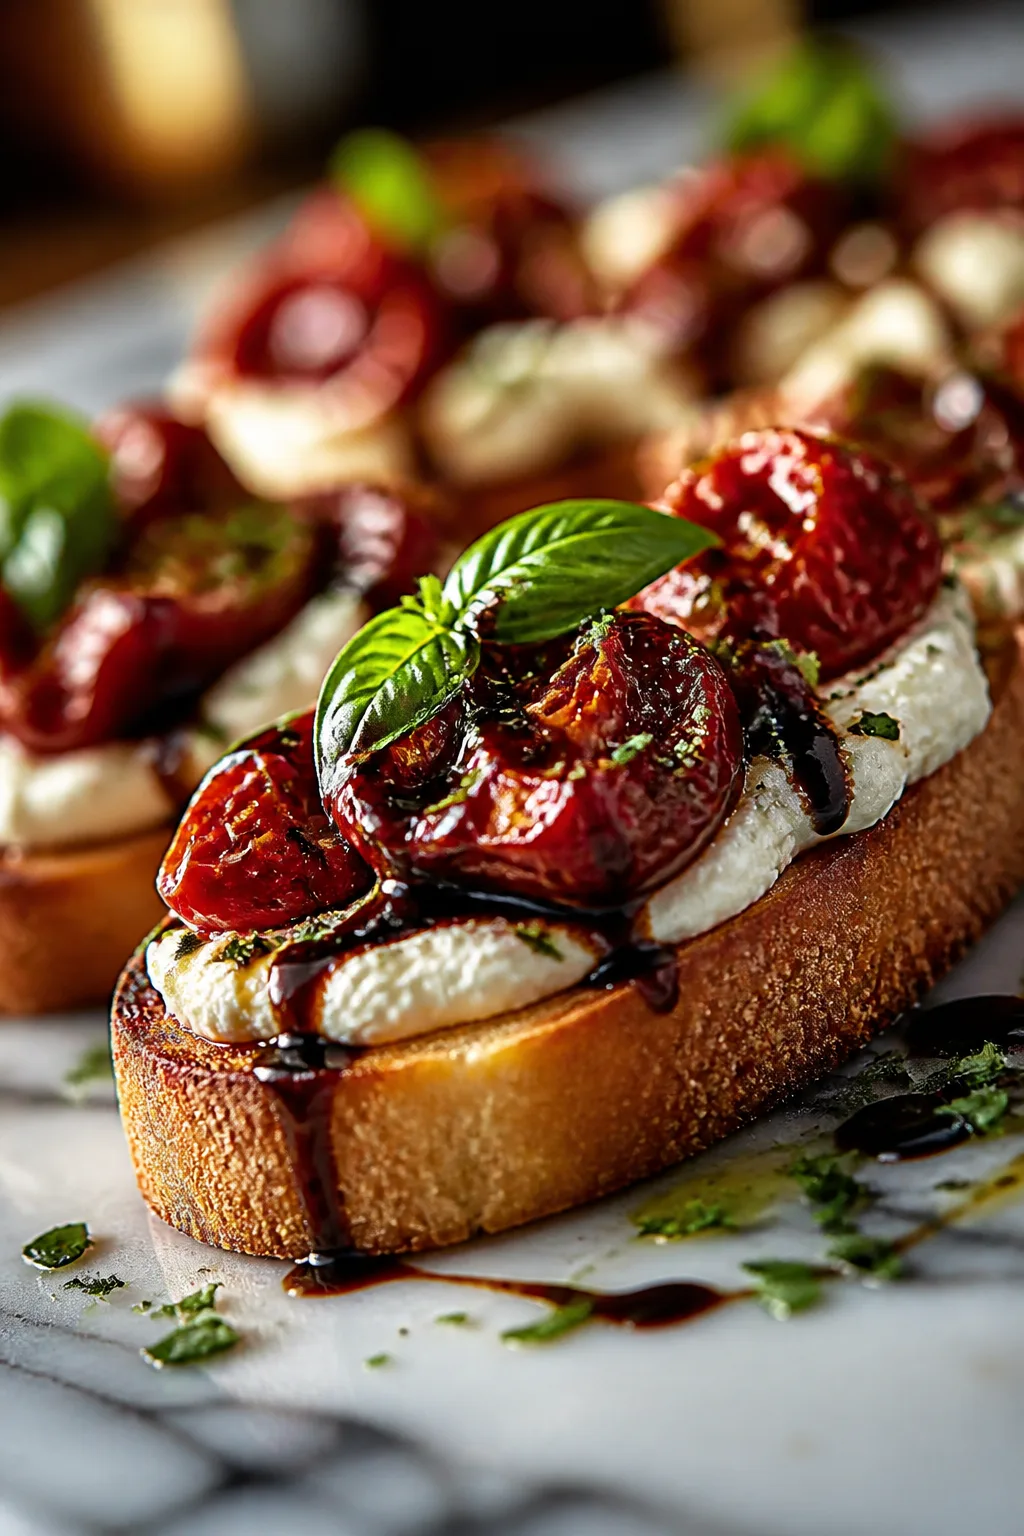
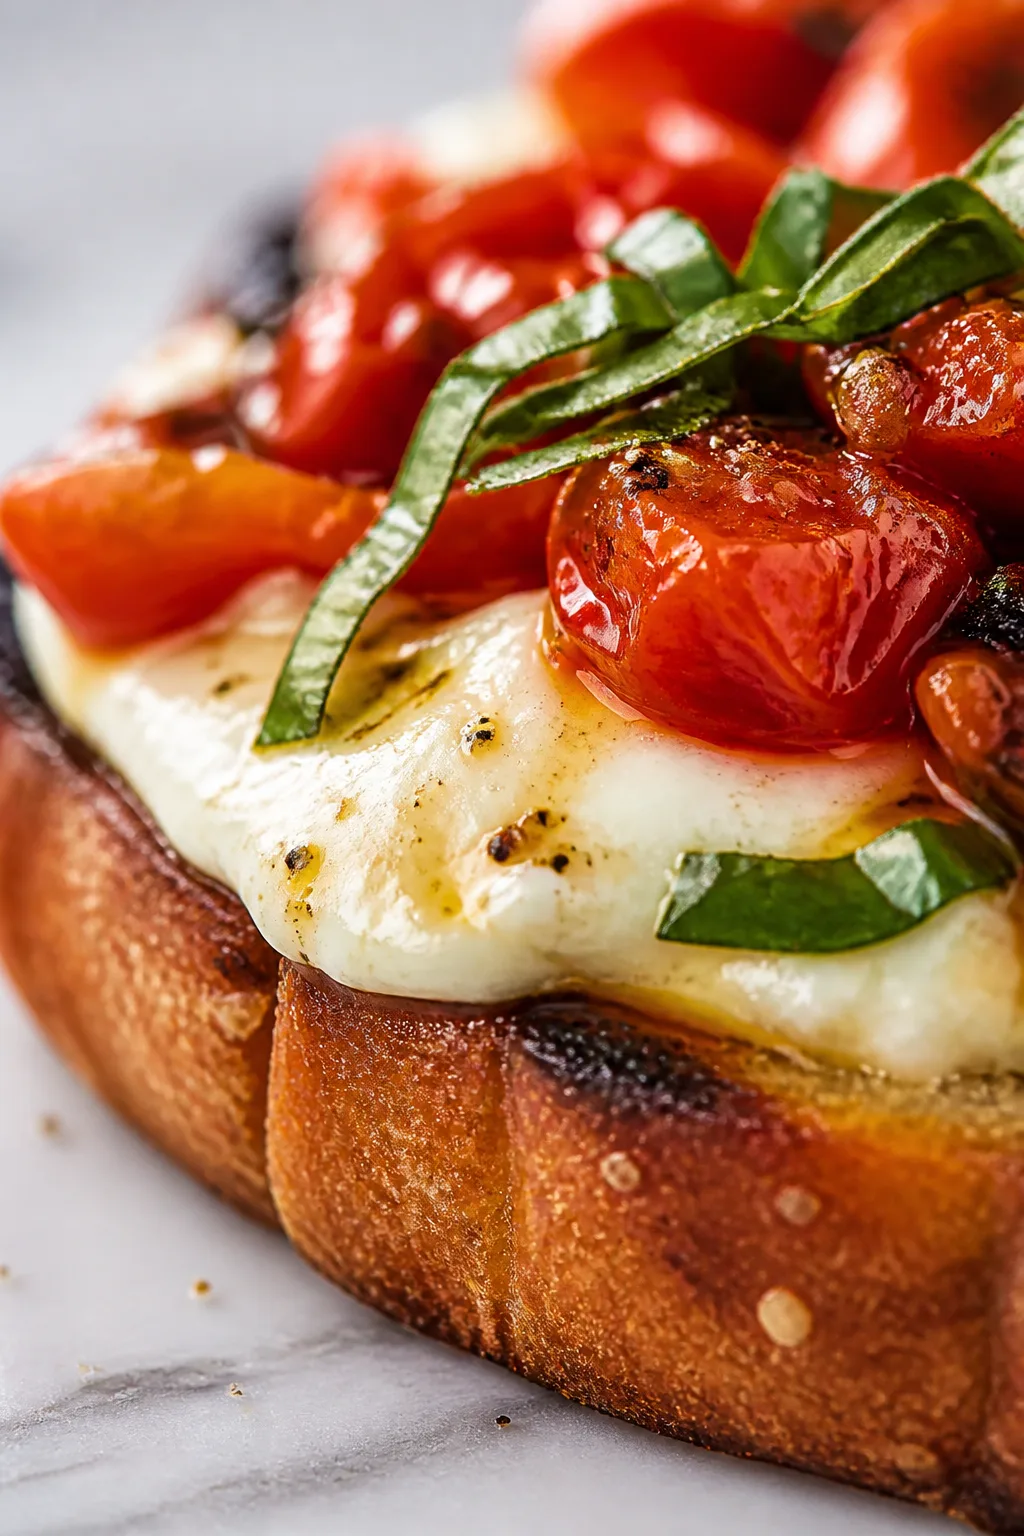
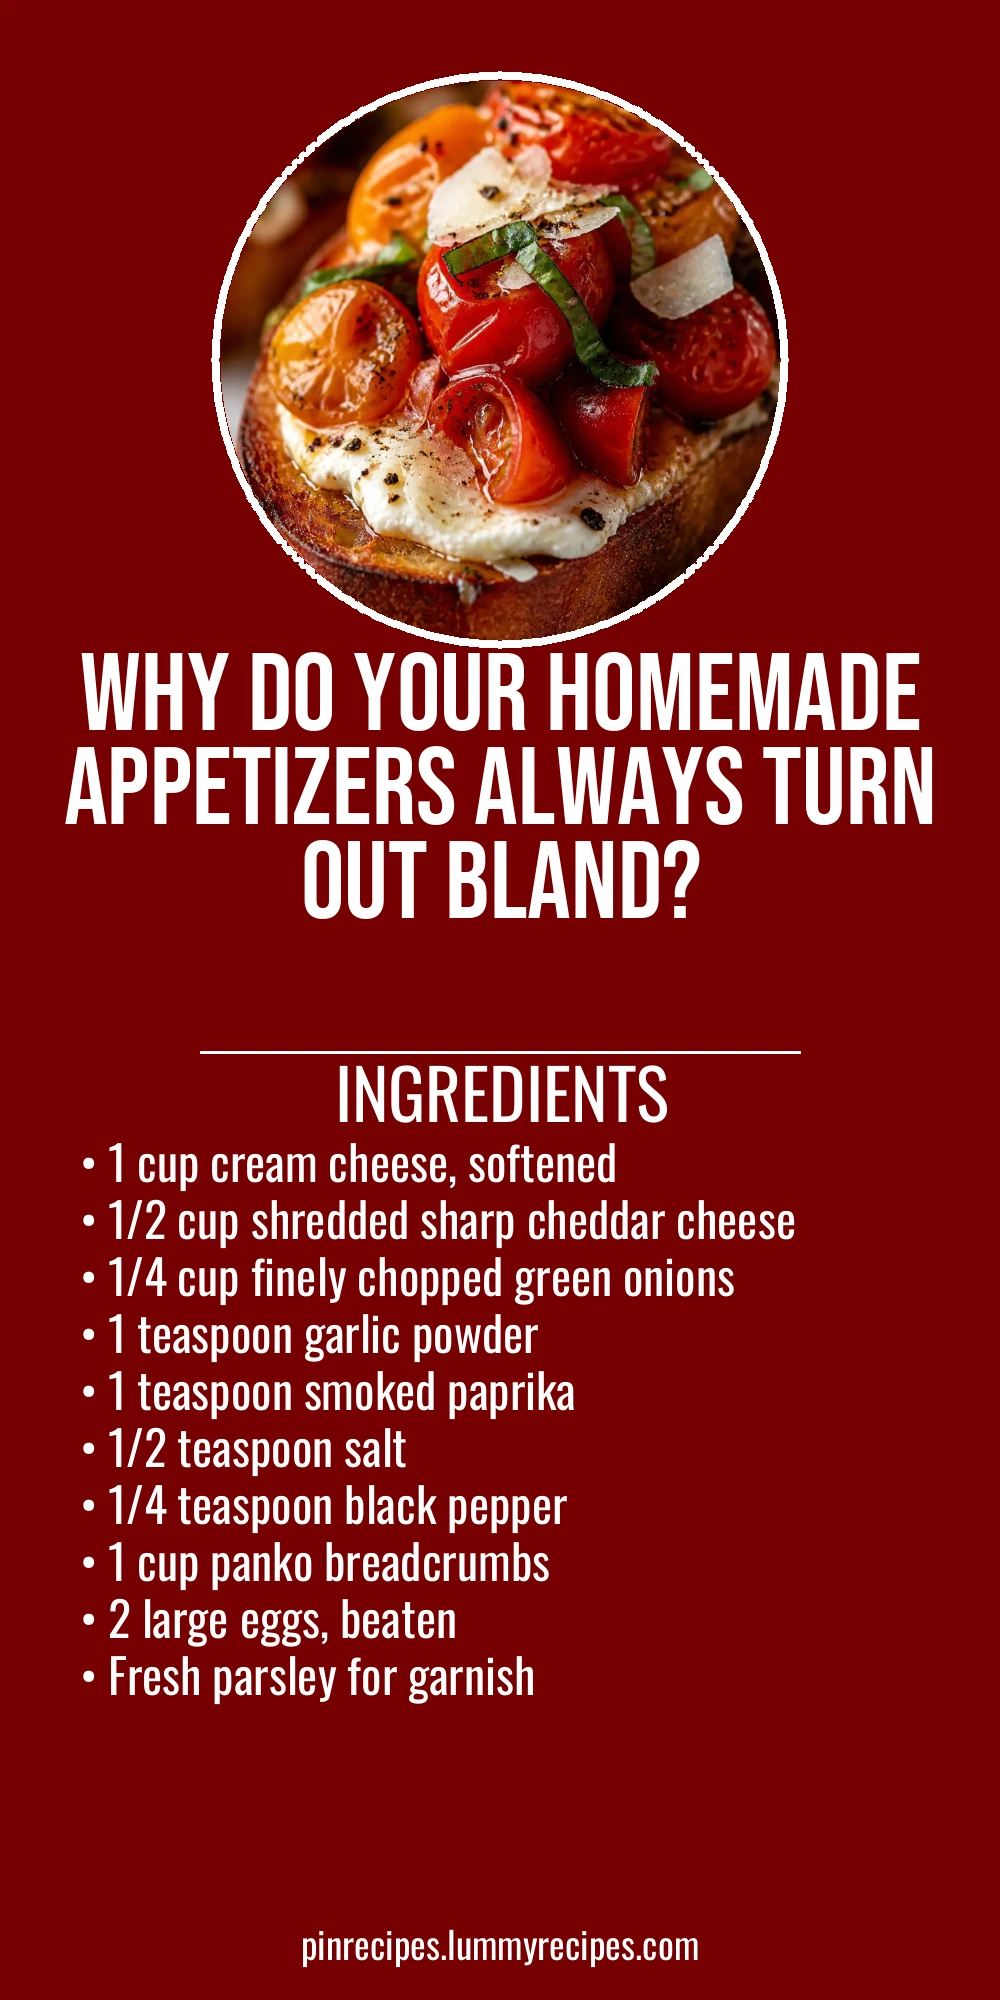
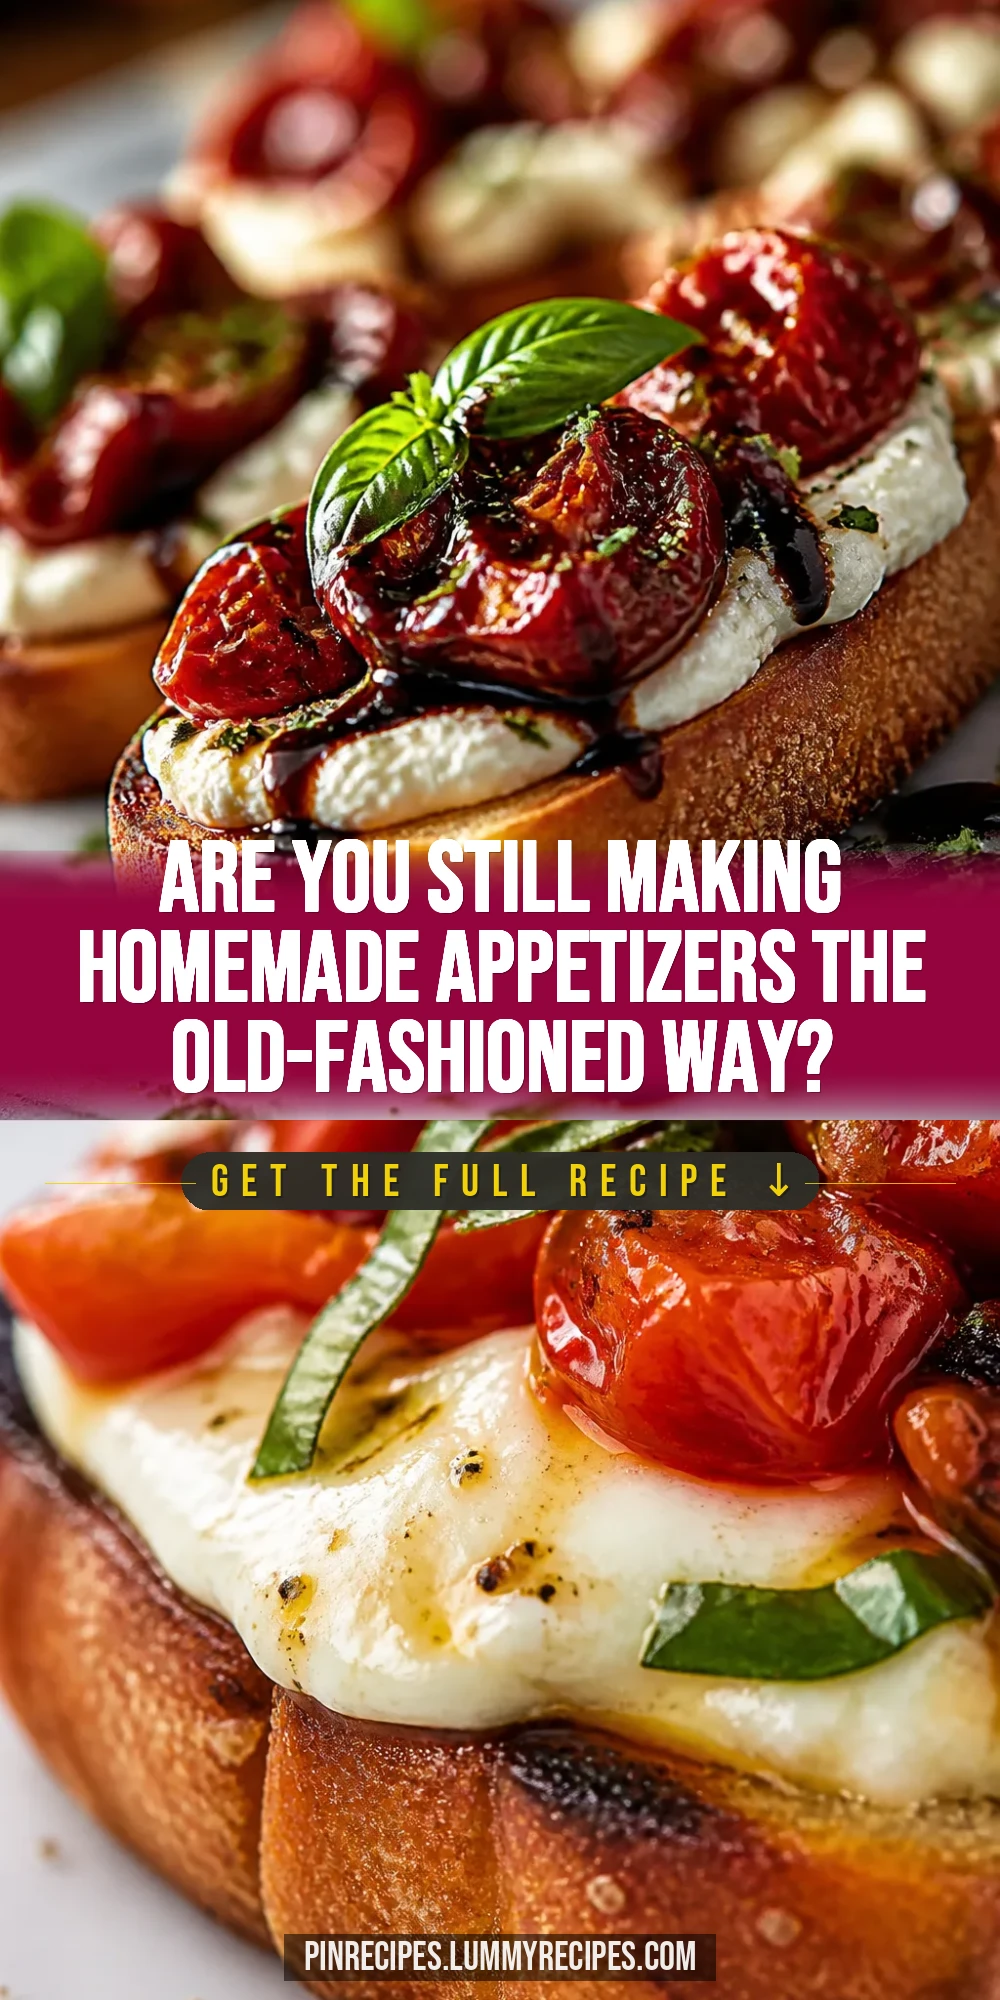
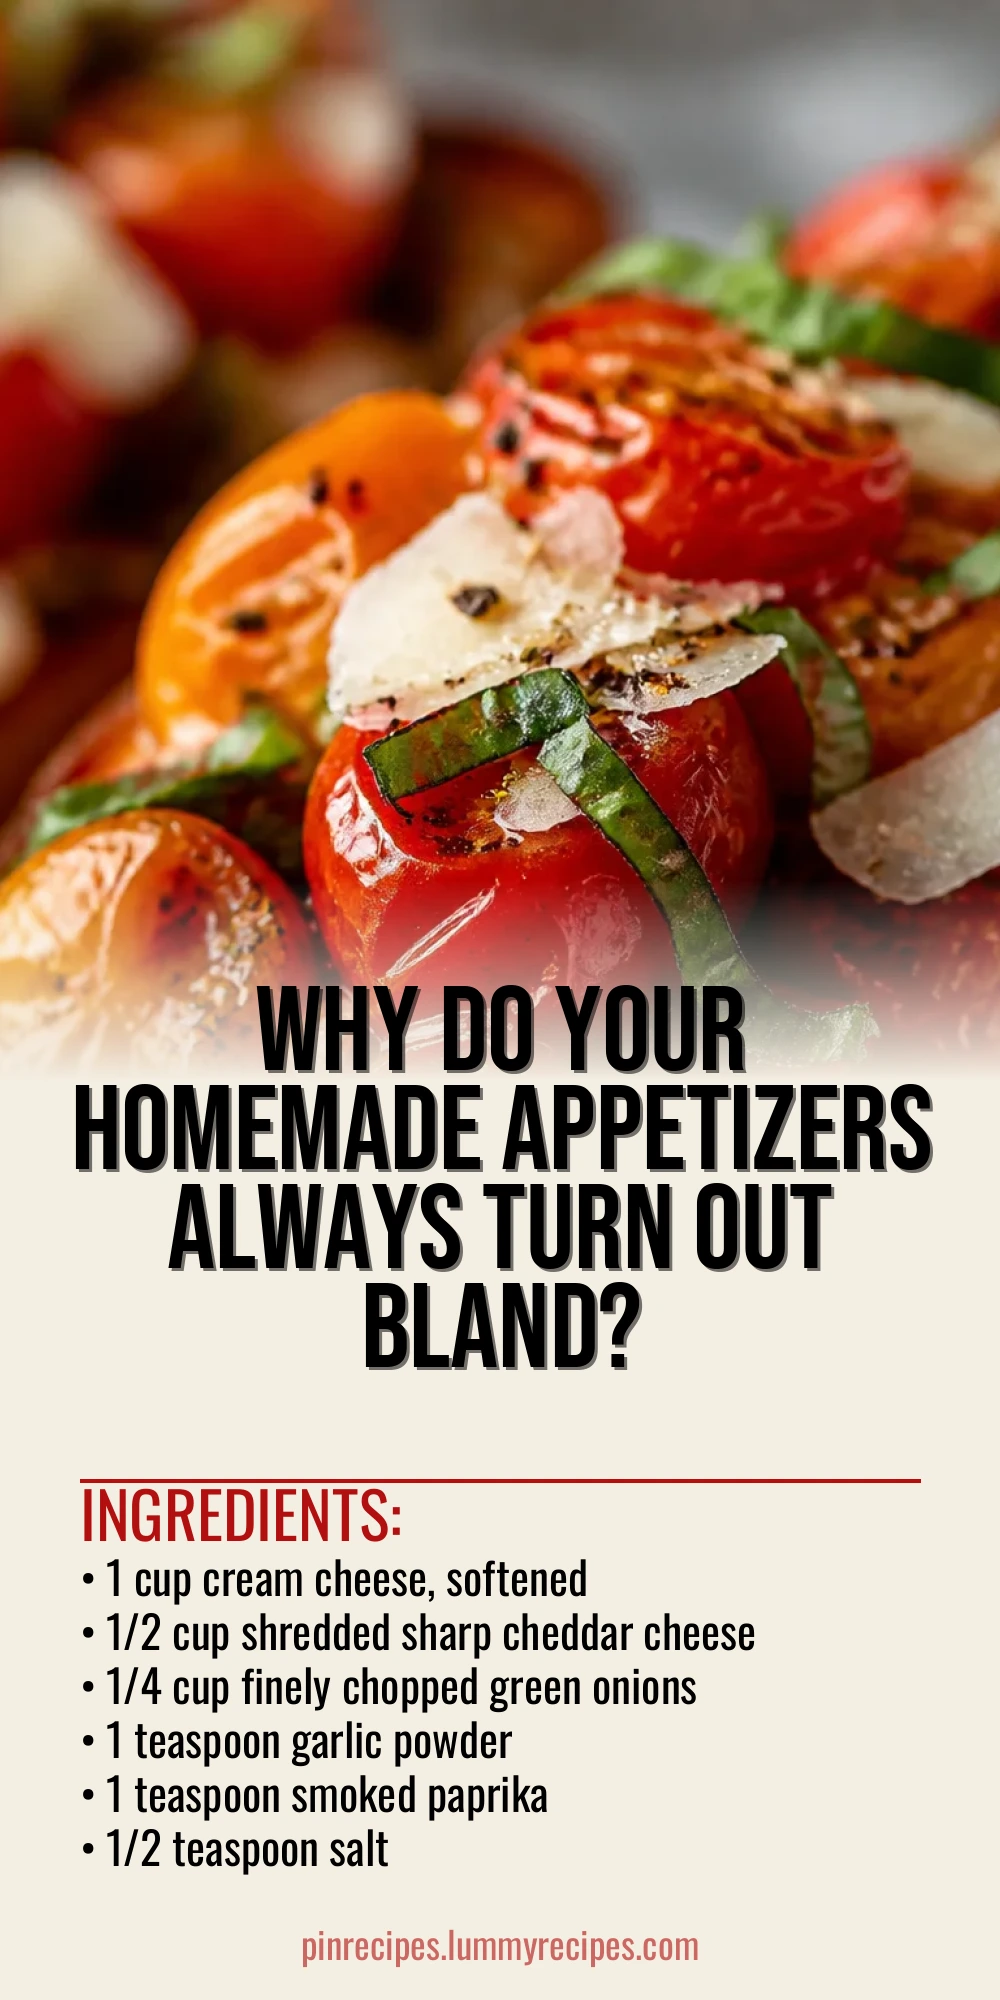
I love whipping up these homemade appetizers because they’re simple yet always a hit. Using fresh herbs and a little zest really lifts the flavors. Perfect for casual get-togethers or holiday parties!
Introduction
I’ve been making these homemade appetizers for years, and they always bring a smile to the table. I first discovered this recipe when I needed something simple yet tasty for a family gathering. What makes this version stand out is the combo of cream cheese and sharp cheddar, which gives a creamy yet bold flavor. Plus, the panko crust adds a crunch that’s just right without being greasy. I learned that chilling the mixture before shaping really helps keep the bites intact during baking. When they come out golden and crispy, it’s pure joy watching everyone dig in. These appetizers are perfect for casual nights or special occasions when you want something homemade but fuss-free. I think you’ll love how easy they are to make and how much flavor they pack in every bite.
What You'll Need
Approximately 24 appetizer bites, serves 4
- 1 cup cream cheese, softened
- 1/2 cup shredded sharp cheddar cheese
- 1/4 cup finely chopped green onions
- 1 teaspoon garlic powder
- 1 teaspoon smoked paprika
- 1/2 teaspoon salt
- 1/4 teaspoon black pepper
- 1 cup panko breadcrumbs
- 2 large eggs, beaten
- Fresh parsley for garnish
How To Do It
Step 1
In a large bowl, combine the softened cream cheese, shredded cheddar, chopped green onions, garlic powder, smoked paprika, salt, and black pepper. Mix thoroughly with a spatula until all ingredients are evenly incorporated. This step is crucial because it ensures every bite is flavorful and creamy. Avoid overmixing, which can make the mixture too soft to shape later.
⏱ Time: 10
✓ Doneness: Smooth, well-blended cheese mixture with no large lumps
Step 2
Cover the bowl with plastic wrap and chill the cheese mixture in the refrigerator for at least 30 minutes. Chilling firms up the mixture, making it easier to roll into uniform balls. If skipped, the mixture may be too soft and sticky, resulting in misshapen appetizers that fall apart during baking.
⏱ Time: 30
✓ Doneness: Firm, cold mixture that holds shape when pressed
Step 3
Preheat your oven to 375°F (190°C) and line a baking sheet with parchment paper. This temperature allows the appetizers to crisp up nicely without burning. Using parchment prevents sticking and makes cleanup easier.
⏱ Time: 10
✓ Doneness: Oven preheated and baking sheet prepared
Step 4
Using a tablespoon or small cookie scoop, portion out the chilled cheese mixture and roll it gently between your palms to form bite-sized balls. Try to keep them uniform in size so they cook evenly. If mixture sticks to your hands, wet them slightly with cold water.
⏱ Time: 15
✓ Doneness: Smooth, round balls about 1 inch in diameter
Step 5
Place the panko breadcrumbs in a shallow bowl. Dip each cheese ball first into the beaten eggs, then roll it in the panko to coat thoroughly. This double coating creates a crispy exterior while sealing in the creamy filling. Press the breadcrumbs lightly to ensure they stick well.
⏱ Time: 15
✓ Doneness: Evenly coated balls with no bare spots
Step 6
Arrange the coated balls on the prepared baking sheet, spacing them about 1 inch apart to allow heat circulation. Crowding can cause uneven cooking and soggy spots. For extra crispiness, spray lightly with cooking oil spray before baking.
⏱ Time: 5
✓ Doneness: Balls evenly spaced and lightly oiled on the baking sheet
Step 7
Bake in the preheated oven for 20-25 minutes, turning the tray halfway through for even browning. Watch closely near the end; the balls should be golden brown and crispy outside but still soft and creamy inside. Overbaking can dry them out.
⏱ Time: 25
✓ Doneness: Golden brown exterior with a slight crisp texture
Step 8
Remove from oven and let the appetizers cool on the baking sheet for 5 minutes. Cooling helps them set so they don’t fall apart when served. Garnish with fresh parsley for a pop of color and fresh flavor.
⏱ Time: 5
✓ Doneness: Slightly cooled appetizers ready to serve
Step 9
Serve warm with your favorite dipping sauce—ranch, spicy mayo, or a tangy marinara all work beautifully. These appetizers are best enjoyed fresh but can be reheated gently in the oven if needed.
⏱ Time: 0
✓ Doneness: Appetizers plated and accompanied by dipping sauces
Pro Tips
Chill the cheese mixture thoroughly before shaping.
Chilling firms up the mixture, making it easier to handle and preventing the balls from falling apart during baking. It also helps the flavors meld together for a richer taste.
Use panko breadcrumbs instead of regular breadcrumbs.
Panko creates a lighter, crispier crust. Regular breadcrumbs can become dense and soggy, which detracts from the texture contrast that makes these appetizers so appealing.
Turn the appetizers halfway through baking.
This ensures even browning and crispiness on all sides. Without turning, one side might burn while the other remains pale and soft, resulting in uneven texture.
Wet your hands slightly when rolling the cheese balls.
This prevents sticking and helps form smooth, uniform balls. Sticky hands can cause uneven shapes and make the coating process more difficult.
Don’t overcrowd the baking sheet.
Crowding traps moisture and prevents air circulation, leading to soggy crusts. Spacing the balls allows heat to circulate and crisp the coating properly.
Serve the appetizers warm, not hot.
Letting them cool briefly helps the filling set so they hold together better and the flavors come through more clearly.
Try adding fresh herbs like parsley or chives to the cheese mixture.
Herbs add freshness and complexity, balancing the richness of the cheese and enhancing the overall flavor profile.
Common Mistakes to Avoid
Skipping the chilling step.
Why it happens Some may want to rush the process and skip chilling, thinking it’s unnecessary.
Fix Always chill the cheese mixture for at least 30 minutes. This step firms up the mixture, making it easier to shape and preventing the appetizers from falling apart during baking.
Using regular breadcrumbs instead of panko.
Why it happens Not everyone has panko on hand, and regular breadcrumbs seem like a convenient substitute.
Fix If possible, use panko for a lighter, crispier crust. If you must use regular breadcrumbs, toast them lightly in a pan first to improve texture.
Overcrowding the baking sheet.
Why it happens Trying to fit all appetizers on one tray to save time.
Fix Use two trays if needed and space the balls at least an inch apart to ensure even cooking and crispiness.
Not turning the appetizers during baking.
Why it happens Some might think it’s unnecessary or too much hassle.
Fix Turn the appetizers halfway through baking for even golden color and texture on all sides.
Overbaking until the filling dries out.
Why it happens Mistaking golden brown color for doneness and leaving them in too long.
Fix Remove from oven once golden brown and crispy, usually 20-25 minutes. The filling should remain soft and creamy inside.
Variations
Spicy Jalapeño Cheddar Bites
Add finely chopped jalapeños and a pinch of cayenne pepper to the cheese mixture for a spicy kick. This variation adds heat without overpowering the creamy texture and works great with a cooling ranch dip.
Note: Adjust spice levels carefully and taste the mixture before shaping to avoid too much heat.
Herbed Goat Cheese Appetizers
Swap cream cheese for goat cheese and mix in fresh thyme and rosemary. The tangy goat cheese offers a distinct flavor, while the herbs brighten the bites, perfect for a sophisticated appetizer.
Note: Goat cheese is softer, so chill longer before shaping to ensure firmness.
Bacon and Cheddar Bites
Fold in cooked, crumbled bacon into the cheese mixture for smoky, savory flavor. This classic combo adds richness and pairs beautifully with a maple mustard dip.
Note: Drain bacon well to avoid excess grease, which can affect coating adhesion.
Vegetarian Spinach and Artichoke Bites
Mix in chopped cooked spinach and artichoke hearts for a veggie-packed version. It’s a crowd-pleaser that tastes like classic dip in bite-sized form.
Note: Squeeze out excess moisture from spinach and artichokes to keep the mixture firm.
Gluten-Free Almond Crust Bites
Replace panko with finely ground almonds or gluten-free breadcrumbs for a gluten-free option. The almonds add a nutty flavor and crisp texture that complements the creamy filling.
Note: Monitor baking closely as almond crusts brown faster than panko.
Nutrition
Per Serving:
Nutritional values are estimates and may vary based on specific ingredients used.
Storage & Tips
Room Temperature
These appetizers can safely sit at room temperature for up to 2 hours when covered loosely with foil or a clean towel to prevent drying out.
Refrigerator
Store leftovers in an airtight container in the fridge for up to 3 days. They may lose some crispiness but can be reheated to restore texture.
Freezer
Freeze unbaked cheese balls on a parchment-lined tray, then transfer to a freezer bag for up to 2 months. Bake from frozen, adding a few extra minutes to cooking time.
Reheating
Reheat in a 350°F oven for 8-10 minutes until warmed through and crisp. Avoid microwaving as it makes the coating soggy.
Make Ahead
Prepare the cheese mixture and shape the balls 1 day ahead. Keep covered in the fridge and coat with egg and breadcrumbs just before baking for best texture.
FAQ
Can I make these appetizers vegan?
To make a vegan version, substitute cream cheese and cheddar with plant-based alternatives. Use flax eggs or aquafaba for coating instead of eggs. Keep in mind the texture and flavor will differ, but you can still achieve tasty results.
What can I use instead of panko breadcrumbs?
If you don’t have panko, crushed cornflakes, crushed crackers, or regular breadcrumbs toasted in a pan can work. Panko provides the best crunch, but these substitutes are fine in a pinch.
How do I prevent the cheese balls from falling apart?
Chilling the mixture before shaping is essential. Also, make sure to coat them well with egg and breadcrumbs. Avoid overhandling the mixture, which can make it too soft.
Can I freeze these appetizers after baking?
It’s best to freeze them unbaked. After baking, freezing can change the texture and make the coating soggy. Freeze raw balls on a tray, then transfer to a bag and bake from frozen.
What dipping sauces go well with these appetizers?
Ranch, spicy mayo, marinara, or honey mustard are all great choices. Pick a sauce that complements the cheese flavors and adds a contrasting note.
Can I add other herbs or spices to the mixture?
Absolutely! Fresh herbs like parsley, chives, or dill brighten the flavor. Spices like smoked paprika or cayenne add warmth. Just keep balance so the cheese flavor still shines.
How do I make these gluten-free?
Use gluten-free breadcrumbs or ground nuts like almonds instead of panko. Make sure all other ingredients are gluten-free. Baking time may vary slightly, so watch closely.
Can I bake these in an air fryer?
Yes! Air frying at 350°F for about 10-12 minutes works well. Check halfway and shake the basket for even browning. This method gives great crispiness with less oil.
Final Thoughts
Give these homemade appetizers a try—you’ll love how easy and delicious they are. Don’t forget to share how they turn out with your family and friends!