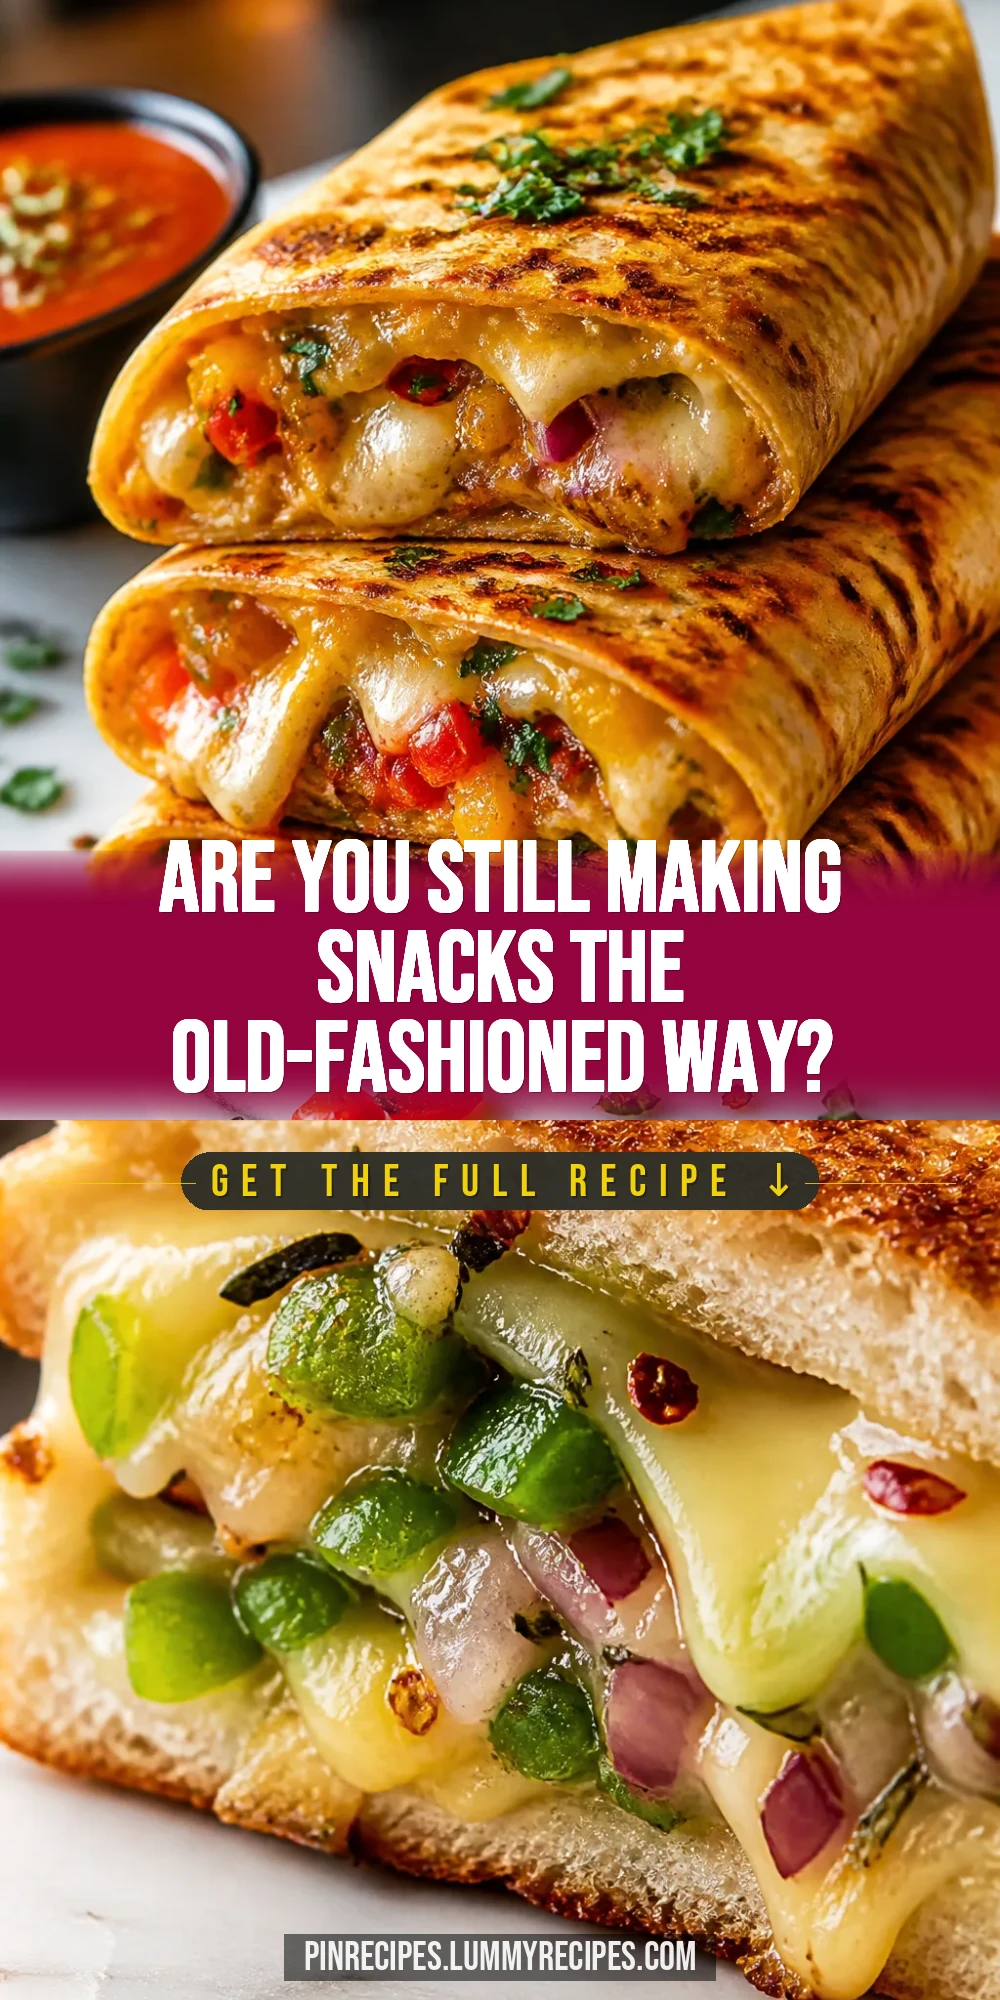
I love whipping up quick homemade snacks that feel special but don't take forever. This recipe book is packed with simple, tasty ideas you can make with pantry staples. Great for afternoon cravings or family gatherings!
Introduction
I’ve always loved having homemade snacks on hand, especially those that are quick to make and use simple ingredients. This recipe book is a collection of my favorite easy snacks that anyone can whip up without fancy equipment or rare ingredients. What sets these recipes apart is the focus on natural flavors and textures—like using peanut butter and oats to create that perfect chewy yet satisfying bite. I remember the first time I made these oat bars; they were a hit with my family, and I realized how easy it is to avoid store-bought snacks full of preservatives. The secret is in balancing sweetness with a touch of salt and the right mix of mix-ins. Whether you want a quick bite between meals or something to pack for the kids, these snacks deliver comfort and energy. Plus, they store well, so you can make a batch ahead and enjoy them all week long. I hope you find these recipes as comforting and simple as I do!
What You'll Need
Approximately 12 snack bars, 4 servings
- 1 cup rolled oats
- 1/2 cup peanut butter, smooth
- 1/3 cup honey
- 1/4 cup mini chocolate chips
- 1/4 cup chopped nuts (optional)
- 1 tsp vanilla extract
- Pinch of salt
How To Do It
Step 1
Start by mixing the peanut butter and honey in a medium bowl. Use a spoon or spatula to combine them until you get a smooth, sticky mixture. This step is crucial because it binds all the ingredients together, so don’t rush it. If the peanut butter is too stiff, warming it slightly helps with mixing. Avoid overheating though, as it can change the flavor. The mixture should be thick but spreadable, which ensures your snacks hold their shape once set.
⏱ Time: 5
✓ Doneness: Smooth, glossy mixture with no lumps.
Step 2
Next, add the rolled oats, vanilla extract, salt, and any optional nuts or chocolate chips to the peanut butter mixture. Stir gently but thoroughly to coat the oats evenly. This step distributes flavors and textures evenly throughout the snack. Mixing too vigorously can break the oats, so fold carefully. The oats will absorb some moisture, helping the bars set firmly later.
⏱ Time: 5
✓ Doneness: All dry ingredients are evenly coated and the mixture looks thick and chunky.
Step 3
Line a small baking dish or pan with parchment paper for easy removal. Transfer the mixture into the dish and press it down firmly with the back of a spoon or your hands. Pressing tightly is important to avoid crumbly bars. If you leave it loose, the snacks won’t hold together well. Aim for an even thickness so they bake or chill uniformly.
⏱ Time: 5
✓ Doneness: Mixture is compacted evenly with no gaps or loose spots.
Step 4
Chill the mixture in the refrigerator for at least 30 minutes to set. This cooling step helps firm up the bars so they slice cleanly. If you’re in a hurry, freezing for 15 minutes works too. Avoid skipping this step because warm bars will be sticky and fall apart easily.
⏱ Time: 30
✓ Doneness: Bars feel firm and hold their shape when touched.
Step 5
Once set, remove the slab from the dish using the parchment paper and cut into bars or squares with a sharp knife. Clean cuts are easier when the knife is warmed slightly under hot water and dried. This prevents crumbling and keeps edges neat.
⏱ Time: 5
✓ Doneness: Clean, even bars with no excessive crumbling.
Step 6
Store the bars in an airtight container at room temperature for up to 3 days, or refrigerate for up to a week. For longer storage, freeze them individually wrapped. This maintains freshness and texture. When freezing, thaw bars at room temperature before serving for best taste.
⏱ Time: 5
✓ Doneness: Bars remain moist but firm after storage.
Step 7
If you want to add variety, try mixing in dried fruit, seeds, or coconut flakes in step 2. These add flavor and texture without complicating the process. Just be mindful of moisture content so the bars don’t become too soft.
⏱ Time: 2
✓ Doneness: Add-ins are evenly distributed without making the mixture too wet.
Step 8
For a chocolate twist, drizzle melted dark chocolate over the bars after cutting and let it set in the fridge. This adds a rich, glossy finish and an extra layer of flavor. It’s a simple upgrade that feels indulgent but is still homemade.
⏱ Time: 10
✓ Doneness: Chocolate is firm and shiny on the bar surface.
Step 9
Enjoy your homemade snacks as a quick breakfast on the go, an afternoon pick-me-up, or a family-friendly treat. These bars are versatile and can be customized easily. Keep experimenting with flavors to find your favorites!
⏱ Time: 1
✓ Doneness: Snack is enjoyed fresh or stored without losing appeal.
Pro Tips
Warm the peanut butter slightly before mixing if it's too stiff.
Warming peanut butter softens it, making it easier to combine evenly with honey and other ingredients. This prevents clumps and ensures a smooth consistency, which is critical for binding the oats and mix-ins properly.
Press the mixture firmly into the pan before chilling.
Compacting the mixture removes air pockets and helps the bars hold together better. If the mixture is loose, the bars will crumble when cut. Firm pressing creates a dense, chewy texture that stays intact.
Use parchment paper to line your pan for easy removal.
Parchment paper prevents sticking and allows you to lift the entire set mixture out of the pan without breaking. This keeps the bars intact and makes cutting easier and cleaner.
Chill the bars for at least 30 minutes before cutting.
Chilling solidifies the fats and sets the mixture, making slicing neat and preventing the bars from falling apart. Cutting too soon leads to sticky, crumbly pieces.
Experiment with mix-ins like nuts or dried fruit for variety.
Adding different textures and flavors keeps the snacks interesting and customizable. Just be mindful of moisture content to avoid making the bars too soft or soggy.
Use a sharp, warm knife to slice the bars cleanly.
Warming the knife slightly prevents sticking and crumbling, resulting in neat edges and a professional look. A dull or cold knife can tear the bars apart.
Store bars in an airtight container to maintain freshness.
Exposure to air causes the bars to dry out and lose their chewy texture. Airtight storage preserves moisture and flavor, keeping snacks tasty for days.
Common Mistakes to Avoid
Not pressing the mixture firmly before chilling.
Why it happens Many cooks assume just mixing is enough and skip pressing, leading to crumbly snacks that fall apart.
Fix After mixing, use the back of a spoon or your hands to press the mixture tightly and evenly into the pan. This step is key for structural integrity.
Cutting the bars before they have fully set.
Why it happens Impatience or rushing causes slicing while the mixture is still soft and sticky.
Fix Chill the bars for at least 30 minutes or until firm. This makes cutting easier and prevents crumbling.
Using crunchy peanut butter instead of smooth.
Why it happens Crunchy peanut butter can make mixing uneven and the bars less cohesive.
Fix Opt for smooth peanut butter for a consistent texture and better binding.
Adding too many wet ingredients.
Why it happens Trying to boost flavor with wet add-ins can make the mixture soggy and prevent setting.
Fix Stick to dry add-ins like nuts or dried fruit and keep wet ingredients minimal to maintain structure.
Not lining the pan with parchment paper.
Why it happens Skipping this step leads to sticking and difficulty removing the bars intact.
Fix Always line your pan with parchment to easily lift the snack slab out for cutting.
Variations
Chocolate Peanut Butter Bars
Add 1/4 cup cocoa powder to the peanut butter mixture and use semi-sweet chocolate chips. This creates a rich, chocolatey snack perfect for chocolate lovers. Expect a slightly denser texture due to the cocoa powder.
Note: Mix cocoa powder thoroughly to avoid clumps and press firmly before chilling.
No-Bake Energy Bites
Form the mixture into small balls instead of bars and skip chilling. These bite-sized snacks are great for on-the-go and have a chewy, dense texture. They set quickly and don’t require slicing.
Note: Roll tightly and refrigerate briefly if needed to help them hold shape.
Nut-Free Version
Replace peanut butter with sunflower seed butter and omit nuts. This variation is safe for nut allergies and still delivers great flavor and texture. Use the same quantities and follow the same instructions.
Note: Sunflower seed butter is slightly thinner, so adjust pressing to compact well.
Fruit and Seed Mix
Add 1/4 cup dried cranberries and 2 tbsp pumpkin seeds for a fruity, crunchy snack. This adds natural sweetness and extra nutrients while keeping the texture varied and interesting.
Note: Ensure dried fruit is well-dried to avoid excess moisture.
Spiced Snack Bars
Add 1/2 tsp cinnamon and a pinch of nutmeg to the dry ingredients for a warm, cozy flavor. This twist is perfect for fall or holiday snacking and pairs well with a cup of tea.
Note: Mix spices evenly with oats before combining with wet ingredients.
Nutrition
Per Serving:
Nutritional values are estimates and may vary based on specific ingredients used.
Storage & Tips
Room Temperature
Store in an airtight container at room temperature for up to 3 days. Keep out of direct sunlight and heat to prevent softening. Great for quick access but best consumed fresh.
Refrigerator
Refrigerate in an airtight container for up to 7 days. The bars will firm up further and keep their texture. They can be eaten cold or brought to room temperature before serving for softer bites.
Freezer
Freeze individually wrapped bars in airtight containers or freezer bags for up to 2 months. Thaw at room temperature for 30 minutes before eating to restore texture. Avoid refreezing.
Reheating
No reheating needed. If desired, warm briefly in the microwave for 10-15 seconds to soften. Avoid overheating as it can melt mix-ins and change texture.
Make Ahead
Prepare the mixture and press into the pan up to 2 days ahead, then cover and refrigerate. Chill fully before cutting and serving. This saves time on busy days.
FAQ
Can I substitute almond butter for peanut butter?
Yes, almond butter works well as a substitute and provides a different flavor profile. Make sure to use a smooth variety for best binding. The texture might be slightly softer, so press firmly and chill well.
How long do these snacks stay fresh?
At room temperature, they last about 3 days. Refrigerated, they keep up to a week. For longer storage, freezing is best and preserves freshness for up to 2 months.
Can I make these gluten-free?
Absolutely! Use certified gluten-free rolled oats to ensure the bars are safe for gluten-sensitive diets. The texture and flavor remain very similar.
What if my bars are too sticky?
If sticky, it usually means not enough chilling or too much wet ingredient. Chill longer or add a bit more oats next time. Pressing firmly before chilling also helps reduce stickiness.
Can I add protein powder?
Yes, adding 1/4 cup protein powder can boost nutrition. Mix it with the dry ingredients, but be aware it might change texture slightly, making bars denser. Adjust wet ingredients if needed.
Is honey necessary, or can I use maple syrup?
Honey acts as a binder and sweetener, but maple syrup can be used as a substitute. It will slightly change the flavor and may make the mixture a bit looser, so press firmly and chill well.
Can I bake these bars instead of chilling?
This recipe is designed as no-bake. Baking would change the texture and moisture content. If you want baked bars, look for specific recipes meant for oven use.
How do I prevent the bars from crumbling?
Press the mixture firmly into the pan and chill thoroughly before cutting. Using smooth peanut butter and the right ratio of wet to dry ingredients also ensures good binding.
Final Thoughts
I hope you enjoy making and sharing these homemade snacks as much as my family does. Give them a try and let me know which variation becomes your favorite!