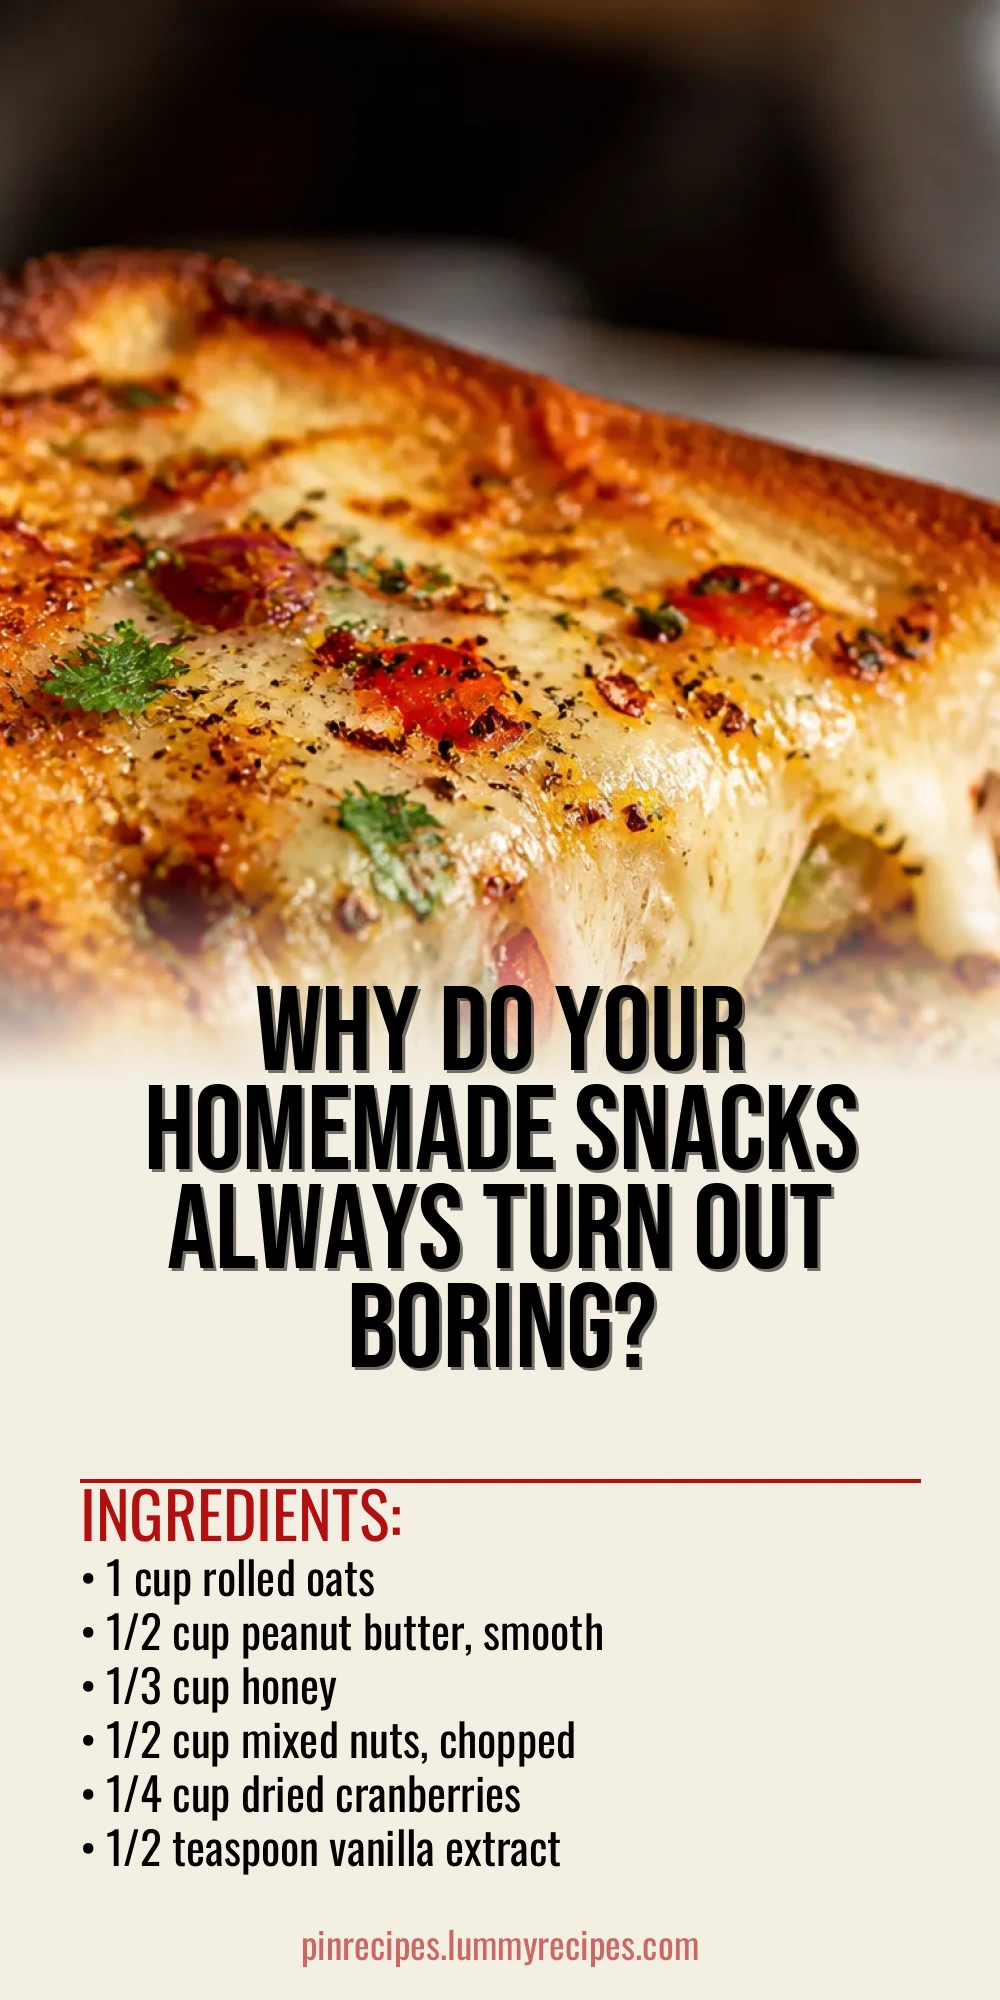
I love whipping up these homemade snacks because they're simple, tasty, and way better than store-bought. Using just a few pantry staples, you can have crunchy, flavorful bites ready in no time. Great for afternoon cravings or family gatherings!
Introduction
I’ve been making these homemade snacks for years, especially when my family needs a quick energy boost between meals. What I love most is how easy they are to customize with whatever nuts or dried fruit I have on hand. The peanut butter and honey combo binds everything perfectly without needing any baking, which is a total win when you’re short on time. One trick I learned early on is to toast the oats lightly before mixing—it adds a subtle nutty flavor that really elevates the snack. These bars come out chewy but with just enough crunch from the nuts, making them a satisfying treat anytime. Whether it’s after school, a mid-afternoon pick-me-up, or a simple on-the-go bite, these snacks always hit the spot. Plus, they keep well in the fridge, so I often make a batch ahead and grab one whenever hunger strikes. Honestly, once you try these, you might never go back to store-bought bars again!
What You'll Need
Approximately 12 snack bars, 4 servings
- 1 cup rolled oats
- 1/2 cup peanut butter, smooth
- 1/3 cup honey
- 1/2 cup mixed nuts, chopped
- 1/4 cup dried cranberries
- 1/2 teaspoon vanilla extract
- Pinch of salt
How To Do It
Step 1
Start by preheating your oven to 350°F (175°C). Spread the rolled oats evenly on a baking sheet and toast them for about 8-10 minutes, stirring once halfway through. Toasting the oats enhances their natural flavor and adds a lovely crunch to your snacks. Be careful not to let them burn—watch for a light golden color and a nutty aroma. This step is key because it deepens the overall taste and prevents the bars from tasting raw or bland.
⏱ Time: 10
✓ Doneness: Oats are lightly golden and smell toasted but not burnt
Step 2
While the oats are cooling, mix the peanut butter, honey, vanilla extract, and a pinch of salt in a large bowl until smooth and well combined. The honey acts as a natural sweetener and binder, while the salt balances the sweetness and enhances the flavors. Using smooth peanut butter helps the mixture blend evenly, ensuring every bite is consistent. If you rush this step or skip the salt, your bars might turn out too sweet or crumbly.
⏱ Time: 5
✓ Doneness: Mixture is smooth, shiny, and slightly thickened
Step 3
Add the toasted oats, chopped nuts, and dried cranberries to the peanut butter mixture. Stir gently but thoroughly to coat all the dry ingredients evenly. This step ensures every bite has a good balance of chewy, crunchy, and sweet elements. Avoid overmixing, which can make the bars too dense or sticky.
⏱ Time: 5
✓ Doneness: All ingredients are evenly coated and combined
Step 4
Line an 8x8-inch baking pan with parchment paper, leaving some overhang for easy removal later. Transfer the mixture into the pan and press it down firmly with a spatula or your hands to create an even, compact layer. Pressing firmly is important because it helps the bars hold together once chilled. If you don’t press enough, the bars may crumble when cut.
⏱ Time: 5
✓ Doneness: Mixture is firmly packed and smooth on top
Step 5
Place the pan in the refrigerator for at least 2 hours to set. Chilling allows the honey and peanut butter to harden slightly, binding the ingredients firmly. Don’t skip this step, or your bars will fall apart when sliced. If you’re in a hurry, you can freeze them for 30 minutes instead to speed up the process.
⏱ Time: 120
✓ Doneness: Mixture is firm and holds its shape when pressed
Step 6
Once set, lift the snack slab out of the pan using the parchment paper overhang. Place on a cutting board and slice into 12 equal bars using a sharp knife. Wipe the knife clean between cuts to ensure neat edges. This step gives you perfectly portioned snacks that are easy to grab and go.
⏱ Time: 10
✓ Doneness: Bars are cleanly cut and hold together well
Step 7
Store the bars in an airtight container in the refrigerator for up to one week. If you want to keep them longer, wrap each bar individually and freeze for up to three months. Thaw in the fridge before eating for the best texture. Proper storage keeps the bars fresh and maintains their chewy-crisp balance.
⏱ Time: 5
✓ Doneness: Bars remain fresh and flavorful during storage
Step 8
To serve, enjoy the bars cold or at room temperature. They make a perfect snack for busy afternoons, post-workout fuel, or a quick breakfast on the go. You can also pair them with a hot cup of tea or coffee for a cozy treat. These bars are versatile and satisfy a variety of cravings.
⏱ Time: 0
✓ Doneness: Snack is flavorful, chewy, with crunchy nut pieces
Step 9
Want to mix things up? Try adding chocolate chips, shredded coconut, or pumpkin seeds to the mixture before chilling. These add-ins bring new textures and flavors while keeping the snack wholesome. Just be sure to adjust quantities to maintain the right consistency.
⏱ Time: 0
✓ Doneness: Add-ins are evenly distributed without making mixture too wet
Pro Tips
Toast the oats and nuts separately before mixing.
Toasting brings out the natural oils and flavors in oats and nuts, creating a deeper, nuttier taste. It also reduces moisture, which helps the bars hold together better and prevents them from becoming soggy over time.
Press the mixture firmly into the pan.
Firm pressing compacts the ingredients, which helps the bars maintain their shape when sliced and handled. If the mixture is loosely packed, the bars will crumble and fall apart easily.
Use parchment paper with overhang for easy removal.
Lining the pan with parchment paper that extends over the edges makes it simple to lift the entire block out without breaking. This keeps the bars intact and makes slicing much easier.
Chill the bars for at least 2 hours before cutting.
Chilling allows the honey and peanut butter to firm up, binding the ingredients tightly. Cutting too soon will cause the bars to crumble and lose their shape.
Wipe the knife clean between cuts.
Cleaning the knife prevents the sticky mixture from building up and creating messy, uneven edges. This ensures neat, professional-looking bars.
Store bars in an airtight container in the fridge.
Proper storage keeps the bars fresh, maintains their chewy texture, and prevents them from absorbing fridge odors or drying out.
Customize with your favorite mix-ins but keep the ratios balanced.
Adding extras like chocolate chips or seeds is great, but too much can affect binding and texture. Keep the dry-to-wet ingredient ratio similar to maintain the bar’s structure.
Common Mistakes to Avoid
Not toasting the oats.
Why it happens Some cooks skip this to save time or because they underestimate its importance.
Fix Always toast oats lightly to develop flavor and reduce moisture. This step prevents blandness and sogginess in the bars.
Pressing the mixture too lightly.
Why it happens Rushing or not applying enough pressure when packing the mixture into the pan.
Fix Use firm, even pressure to compact the mixture. This helps the bars hold together and slice cleanly.
Cutting bars before chilling enough.
Why it happens Impatience or underestimating the chilling time needed for firm bars.
Fix Chill for at least 2 hours or freeze for 30 minutes before slicing to ensure bars don’t crumble.
Using crunchy peanut butter instead of smooth.
Why it happens Preference or not reading ingredient labels carefully.
Fix Smooth peanut butter blends more evenly and binds better. Crunchy can cause uneven texture and crumbling.
Adding too many wet ingredients.
Why it happens Experimenting with extra syrups or liquids without adjusting dry ingredients.
Fix Keep wet ingredient ratios balanced; too much moisture will prevent bars from setting properly.
Variations
Chocolate Chip Peanut Butter Bars
Add 1/3 cup mini chocolate chips to the mixture before pressing into the pan. The chocolate melts slightly when chilled, adding bursts of sweetness that complement the peanut butter perfectly. These bars are a crowd-pleaser for kids and adults alike.
Note: Make sure to fold in chocolate chips gently to avoid melting before chilling.
Almond and Cranberry Snack Bars
Swap peanut butter for almond butter and use chopped almonds instead of mixed nuts. This variation has a lighter, slightly sweeter flavor with the tart cranberries shining through. Great for those with peanut allergies or looking for a different nutty profile.
Note: Almond butter may be a bit thinner; if so, reduce honey slightly to maintain firmness.
Coconut Pumpkin Seed Bars
Add 1/4 cup shredded unsweetened coconut and 1/4 cup pumpkin seeds to the base recipe. This gives a tropical twist and extra crunch, perfect for fall or holiday snacking. The coconut adds chewiness while pumpkin seeds bring a nutty crunch.
Note: Toasting coconut separately prevents it from burning and turning bitter.
Vegan Maple Snack Bars
Replace honey with pure maple syrup and use sunflower seed butter instead of peanut butter for a vegan-friendly option. These bars are slightly softer but still hold together well and have a lovely earthy sweetness.
Note: Maple syrup is thinner than honey; chill bars longer to ensure firm texture.
Spiced Cinnamon Snack Bars
Add 1 teaspoon ground cinnamon and a pinch of nutmeg to the dry ingredients for a warm, cozy flavor. These spices pair well with the peanut butter and oats, making the bars perfect for cooler weather or holiday treats.
Note: Mix spices evenly with oats before combining with wet ingredients to distribute flavor.
Nutrition
Per Serving:
Nutritional values are estimates and may vary based on specific ingredients used.
Storage & Tips
Room Temperature
These bars can be kept at room temperature for up to 12 hours if stored in an airtight container away from heat and humidity. For best texture and freshness, refrigeration is recommended.
Refrigerator
Store the bars in an airtight container in the fridge for up to one week. The texture firms up nicely when chilled, but if you prefer a softer bite, let them sit at room temperature for 10 minutes before eating.
Freezer
Wrap bars individually in plastic wrap or parchment, then place in a freezer-safe container or bag. Freeze for up to three months. Thaw in the refrigerator overnight or at room temperature for an hour before serving to restore the best texture.
Reheating
No reheating is necessary for these snacks. If desired, you can warm them slightly in the microwave for 10 seconds, but be careful not to melt the honey and peanut butter binding.
Make Ahead
Prepare the bars up to 2 days in advance and store chilled. You can also toast the oats and chop nuts a day ahead to save time. Assemble and chill on the day you want to serve for maximum freshness.
FAQ
Can I substitute peanut butter with another nut butter?
Yes, you can swap peanut butter with almond, cashew, or sunflower seed butter. Keep in mind the texture and flavor will vary slightly. Some nut butters are thinner, so you may need to adjust the amount of honey or chilling time to ensure the bars set properly.
What if I don’t have honey? Can I use another sweetener?
Maple syrup or agave nectar can be used as alternatives to honey, but they are thinner liquids. This might make the bars softer, so chilling longer or reducing the liquid slightly helps. Avoid using granulated sugar or liquid sweeteners that don’t provide stickiness.
How long do these homemade snacks last?
Stored in the refrigerator in an airtight container, these bars last about one week. For longer storage, freeze them wrapped individually for up to three months. Always check for any changes in smell or texture before eating.
Can I add chocolate chips to the bars?
Absolutely! Mini chocolate chips are a great addition. Fold them in gently before pressing the mixture into the pan. Keep the bars chilled to prevent the chocolate from melting and maintain the bars' shape.
Why do my bars crumble when I cut them?
This usually happens if the mixture wasn’t pressed firmly enough or if the bars weren’t chilled long enough. Make sure to compact the mixture well and allow at least 2 hours in the fridge before slicing to help the bars hold together.
Can I make these bars gluten-free?
Yes, just use certified gluten-free rolled oats to avoid cross-contamination. All other ingredients are naturally gluten-free, making this recipe suitable for gluten-sensitive diets.
Is it necessary to toast the oats and nuts?
Toasting isn’t mandatory but highly recommended. It enhances flavor and texture, giving the bars a richer, nuttier taste and a pleasant crunch. Skipping toasting might result in a blander snack.
Can I make smaller or larger bars?
Definitely. Adjust the size based on your preference, but keep in mind that smaller bars are easier to handle and portion control. Use a sharp knife and wipe it clean between cuts for neat edges.
Final Thoughts
Give these homemade snack bars a try—you’ll love how simple and satisfying they are. Feel free to get creative with your favorite mix-ins and share your results with friends and family!