These easy homemade snacks are perfect for when you want something tasty without the fuss. I love adding a pinch of smoked paprika for a little twist. Great for afternoon cravings or casual gatherings!
Introduction
I've always loved having quick, homemade snacks on hand, especially for those moments when the afternoon slump hits. This particular recipe came about when I wanted something healthy but satisfying, without a long list of ingredients. What makes this recipe stand out is the balance of creamy peanut butter with a touch of smoky paprika—trust me, it's a game-changer. The oats and nuts add a nice chewiness and crunch, while the honey binds everything together naturally. I first made these bars on a busy weekend and was surprised at how simple and fast they were, plus my family loved them. They’re not overly sweet, which is perfect for a snack that feels indulgent but still wholesome. The bars hold together well, so they’re great to pack for school or work. I usually store them in the fridge, and they stay fresh for days. If you’re looking for an easy, no-fuss homemade snack that’s both tasty and a little different, this is definitely one to try.
What You'll Need
Approximately 12 snack bars, 4 servings
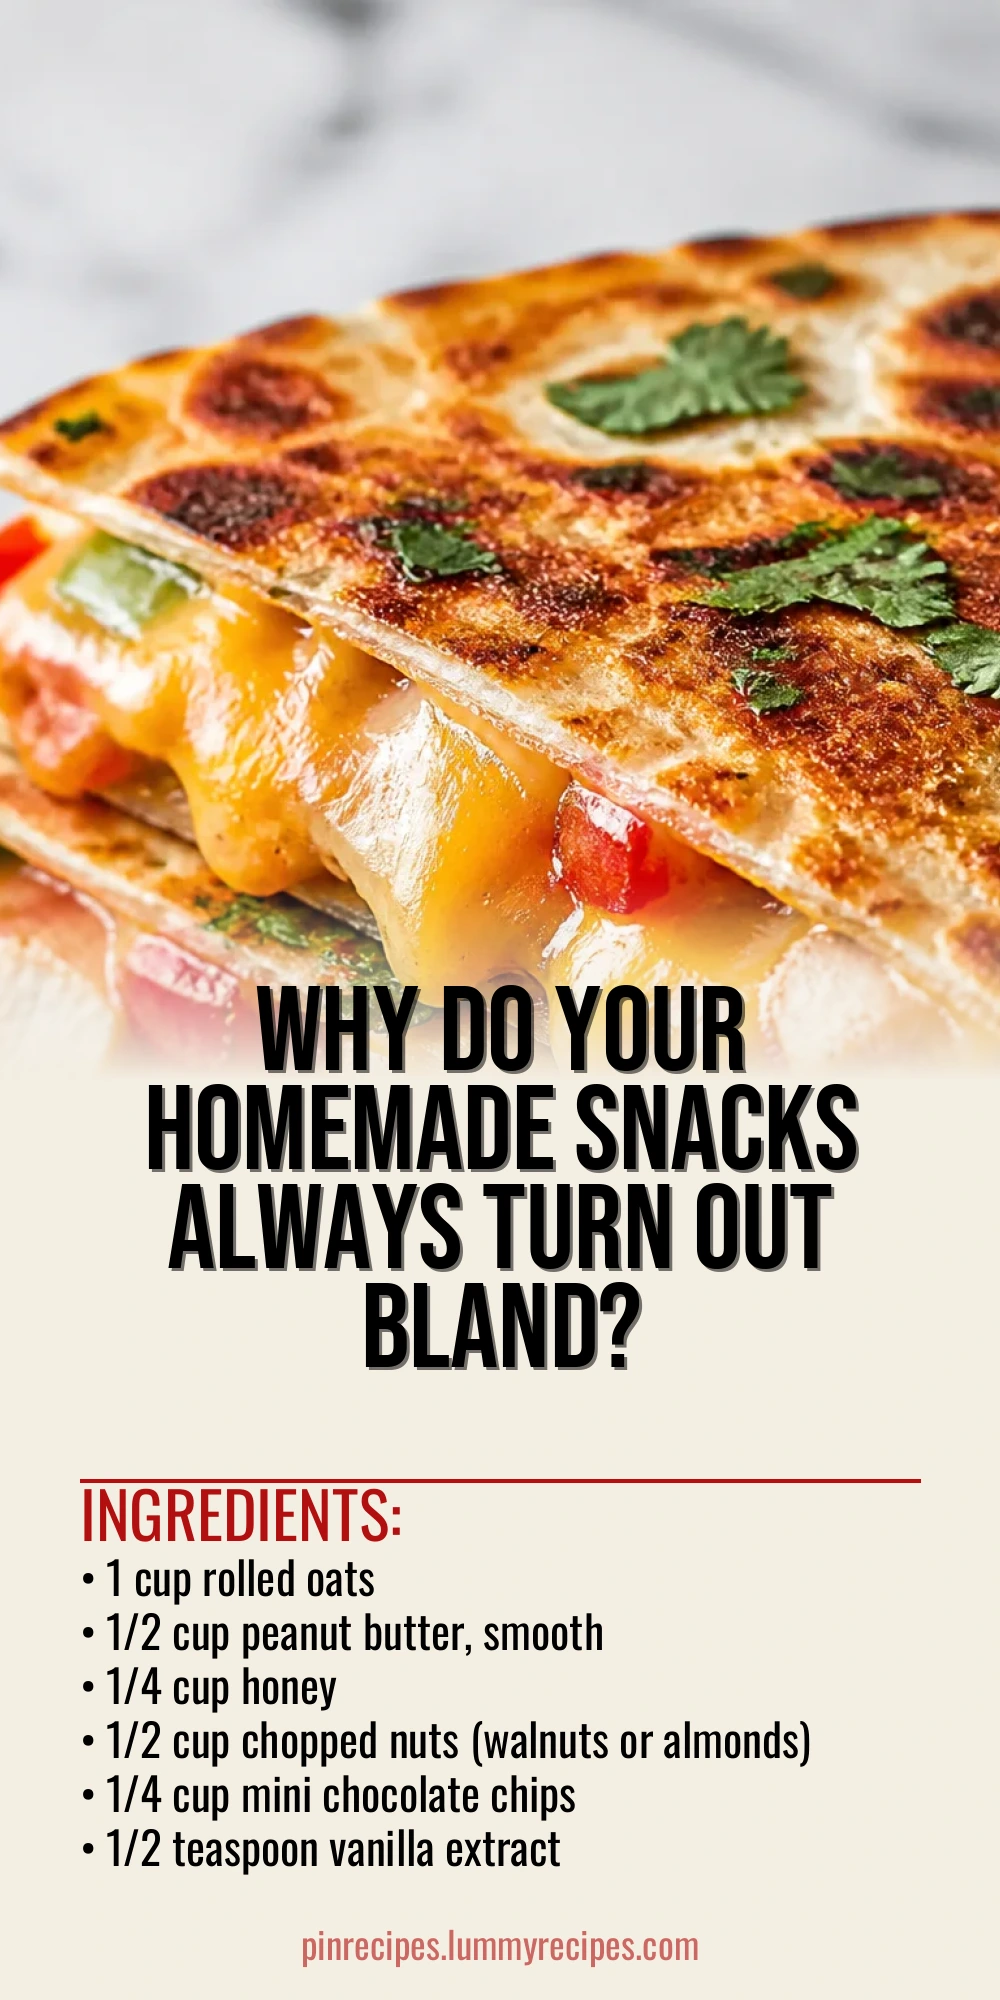
- 1 cup rolled oats
- 1/2 cup peanut butter, smooth
- 1/4 cup honey
- 1/2 cup chopped nuts (walnuts or almonds)
- 1/4 cup mini chocolate chips
- 1/2 teaspoon vanilla extract
- Pinch of smoked paprika (optional)
- Pinch of salt
How To Do It
Step 1
Start by combining the rolled oats and chopped nuts in a large mixing bowl. Mixing these dry ingredients first ensures they’re evenly distributed throughout the snack bars. This step is important because it prevents clumps and helps the texture stay consistent. Use a spoon or your hands to mix thoroughly until the nuts are well incorporated with the oats.
⏱ Time: 5 minutes
✓ Doneness: The mixture should look evenly combined with no large clumps of nuts or oats.
Step 2
In a separate microwave-safe bowl, gently warm the peanut butter and honey together for about 30 seconds to 1 minute until they are soft and easy to stir. Add the vanilla extract, smoked paprika, and a pinch of salt. Stir well to combine. Warming these makes it easier to mix with the dry ingredients and helps create a sticky binder that holds the bars together.
⏱ Time: 3 minutes
✓ Doneness: The peanut butter and honey should be smooth and glossy with all ingredients fully blended.
Step 3
Pour the warm peanut butter mixture over the oats and nuts. Mix everything together using a wooden spoon or your hands until the mixture is sticky and holds together when pressed. This binding is key to forming bars that won’t crumble apart. If the mixture feels too dry, add a teaspoon of water or more honey, a little at a time.
⏱ Time: 5 minutes
✓ Doneness: The mixture should clump together easily without falling apart.
Step 4
Fold in the mini chocolate chips gently so they’re evenly spread but don’t melt from the warmth. This adds a touch of sweetness and a fun texture contrast. Be careful not to overmix, or the chips might melt and change the texture.
⏱ Time: 2 minutes
✓ Doneness: Chocolate chips should be visible and intact throughout the mixture.
Step 5
Line a small baking pan with parchment paper. Transfer the mixture and press it firmly and evenly into the pan using the back of a spoon or your hands. Pressing firmly is crucial to ensure the bars hold their shape when cut.
⏱ Time: 5 minutes
✓ Doneness: The surface should be smooth and compact with no loose crumbs.
Step 6
Place the pan in the refrigerator for at least 30 minutes to allow the bars to set. Chilling helps the peanut butter and honey harden slightly, making the bars easier to cut and eat without falling apart.
⏱ Time: 30 minutes
✓ Doneness: The bars should feel firm to the touch and hold their shape.
Step 7
Once chilled, remove the pan from the fridge and lift the mixture out using the parchment paper. Place on a cutting board and slice into 12 even bars. Use a sharp knife and wipe it clean between cuts to keep edges neat.
⏱ Time: 5 minutes
✓ Doneness: Bars should cut cleanly without crumbling.
Step 8
Store the bars in an airtight container in the refrigerator to keep them fresh. They can also be wrapped individually for easy grab-and-go snacks. This storage method preserves the texture and flavor best.
⏱ Time: 2 minutes
✓ Doneness: Bars remain firm and flavorful after storage.
Step 9
Enjoy your homemade snack bars as a quick energy boost anytime. Pair them with a cup of tea or a glass of milk for a satisfying treat. These bars are perfect for busy days when you want something wholesome and delicious.
⏱ Time: Immediate
✓ Doneness: Satisfying taste and texture with a balanced flavor profile.
Pro Tips
Warm the peanut butter and honey gently before mixing.
This helps the ingredients blend smoothly, creating a sticky binder that holds the bars together. If you skip warming, the mixture can be clumpy and difficult to mix evenly, leading to crumbly bars.
Press the mixture firmly into the pan.
Firm pressure compacts the ingredients, reducing air pockets and helping the bars hold their shape after chilling. Light pressing can cause the bars to fall apart when cut or handled.
Chill the bars for at least 30 minutes before slicing.
Cooling solidifies the fats and syrup, making the bars easier to cut cleanly without crumbling. Cutting too soon often results in messy edges and broken snacks.
Use parchment paper to line your pan.
This prevents sticking and makes it easy to lift out the entire slab for slicing. Without parchment, bars can stick to the pan and break apart during removal.
Add a pinch of smoked paprika for a flavor twist.
This subtle spice adds depth and warmth, elevating the snack beyond the usual sweet and nutty profile. It’s an easy way to make the bars unique and memorable.
Fold in chocolate chips last and gently.
This ensures the chips remain intact and don’t melt into the warm mixture, preserving their texture and visual appeal.
Store bars in an airtight container in the fridge.
Refrigeration keeps the bars fresh and firm, preventing spoilage and maintaining the ideal texture for several days.
Common Mistakes to Avoid
Not warming the peanut butter and honey enough.
Why it happens People often rush this step or skip it, thinking it’s unnecessary.
Fix Warm gently until smooth and pourable, which helps the mixture bind properly. Using cold peanut butter can cause uneven mixing and crumbly bars.
Pressing the mixture too lightly into the pan.
Why it happens Some assume a loose pack will make the bars lighter.
Fix Apply firm, even pressure to compact the mixture, ensuring the bars hold together well after chilling.
Cutting bars before they’ve fully chilled.
Why it happens Impatience to taste the bars leads to early slicing.
Fix Wait at least 30 minutes in the fridge so bars firm up and slice cleanly without crumbling.
Using instant oats instead of rolled oats.
Why it happens Instant oats cook faster and are often on hand.
Fix Use old-fashioned rolled oats for better texture and chewiness; instant oats can make bars too soft.
Overmixing chocolate chips into the warm mixture.
Why it happens Trying to distribute chips evenly but mixing too vigorously.
Fix Gently fold chips in last to keep their shape and prevent melting.
Variations
Nut-Free Version
Replace chopped nuts with seeds like pumpkin or sunflower seeds for crunch without allergens. Use sunflower seed butter instead of peanut butter to keep it safe for nut allergies. Expect a slightly different flavor but still delicious and satisfying.
Note: Seeds have different oil content, so you might need to adjust the amount of honey or binder slightly to maintain the right texture.
Chocolate Lover’s Delight
Add 2 tablespoons of cocoa powder to the peanut butter mixture and increase chocolate chips to 3/4 cup. This makes the bars richer and more indulgent, perfect for a dessert-like snack.
Note: Cocoa powder can dry out the mixture a bit, so add a teaspoon of water or extra honey if needed to keep it sticky.
Dried Fruit Boost
Fold in 1/3 cup chopped dried cranberries or raisins along with the nuts for a sweet-tart contrast. This adds natural sweetness and chewy texture, great for variety.
Note: Dried fruit adds moisture, so press firmly and chill well to ensure bars hold together.
Spiced Snack Bars
Add cinnamon and nutmeg to the peanut butter mixture for warm, cozy flavors. This variation works wonderfully for fall or winter snacks and pairs well with a hot drink.
Note: Use 1/2 teaspoon cinnamon and a pinch of nutmeg; avoid overpowering the base flavors.
Vegan Option
Swap honey for maple syrup and use a plant-based peanut butter. This keeps the bars vegan-friendly while maintaining sweetness and binding ability. The texture will be slightly softer but still delicious.
Note: Maple syrup is thinner than honey, so you may need to chill longer or add a bit more oats for firmness.
Nutrition
Per Serving:
Nutritional values are estimates and may vary based on specific ingredients used.
Storage & Tips
Room Temperature
These snack bars can be kept at room temperature for up to 6 hours if covered tightly to avoid drying out. Perfect for short outings or lunchboxes.
Refrigerator
Store in an airtight container in the fridge for up to 7 days. The bars will firm up and maintain freshness. They can be eaten cold or brought to room temperature before serving for a softer texture.
Freezer
Freeze bars individually wrapped in plastic wrap and placed in a freezer-safe container for up to 3 months. Thaw overnight in the fridge or at room temperature for a few hours. Freezing preserves texture and flavor well.
Reheating
No reheating needed. If preferred warm, microwave a bar for 10-15 seconds to soften slightly. Avoid overheating as it can make the bars oily or too soft.
Make Ahead
Prepare the mixture and press into the pan up to 2 days ahead. Keep covered in the fridge and slice just before serving to maintain freshness and texture.
FAQ
Can I use crunchy peanut butter instead of smooth?
Yes, you can use crunchy peanut butter, but it might affect the texture slightly, making the bars a bit more crumbly. The crunchy bits add extra texture but may make binding a little less uniform. If you use crunchy, press firmly and chill well.
What if I don’t have smoked paprika?
Smoked paprika adds a subtle smoky flavor but is optional. You can leave it out or substitute with a tiny pinch of regular paprika or chili powder if you want a little warmth. The bars will still taste great without it.
How do I make these bars gluten-free?
Use certified gluten-free rolled oats to ensure the bars are safe for gluten sensitivities. Most oats are naturally gluten-free but can be cross-contaminated, so check the packaging carefully.
Can I substitute honey with another sweetener?
Yes, maple syrup or agave nectar can be used as vegan alternatives. Keep in mind these are thinner liquids, so you may need to adjust the amount or chill longer to get the right texture.
Why are my bars too crumbly?
Crumbly bars usually mean there wasn’t enough binder or the mixture wasn’t pressed firmly enough. Make sure to warm the peanut butter and honey properly and press the mixture tightly into the pan before chilling.
Can I add protein powder to these bars?
Adding protein powder is possible but may dry out the mixture. If you add it, increase the honey or peanut butter slightly to keep the bars moist and sticky. Mix well to avoid clumps.
How long do these bars last?
Stored in an airtight container in the fridge, they last about a week. For longer storage, freeze them for up to 3 months. Always check for freshness before eating.
Can I bake these bars instead of chilling?
This recipe is designed to be no-bake. Baking could change the texture and make the bars dry or hard. If you want baked bars, look for recipes specifically designed for baking.
Final Thoughts
I hope you enjoy making these easy homemade snack bars as much as I do. They’re a simple, tasty way to keep your energy up throughout the day. Let me know how they turn out!