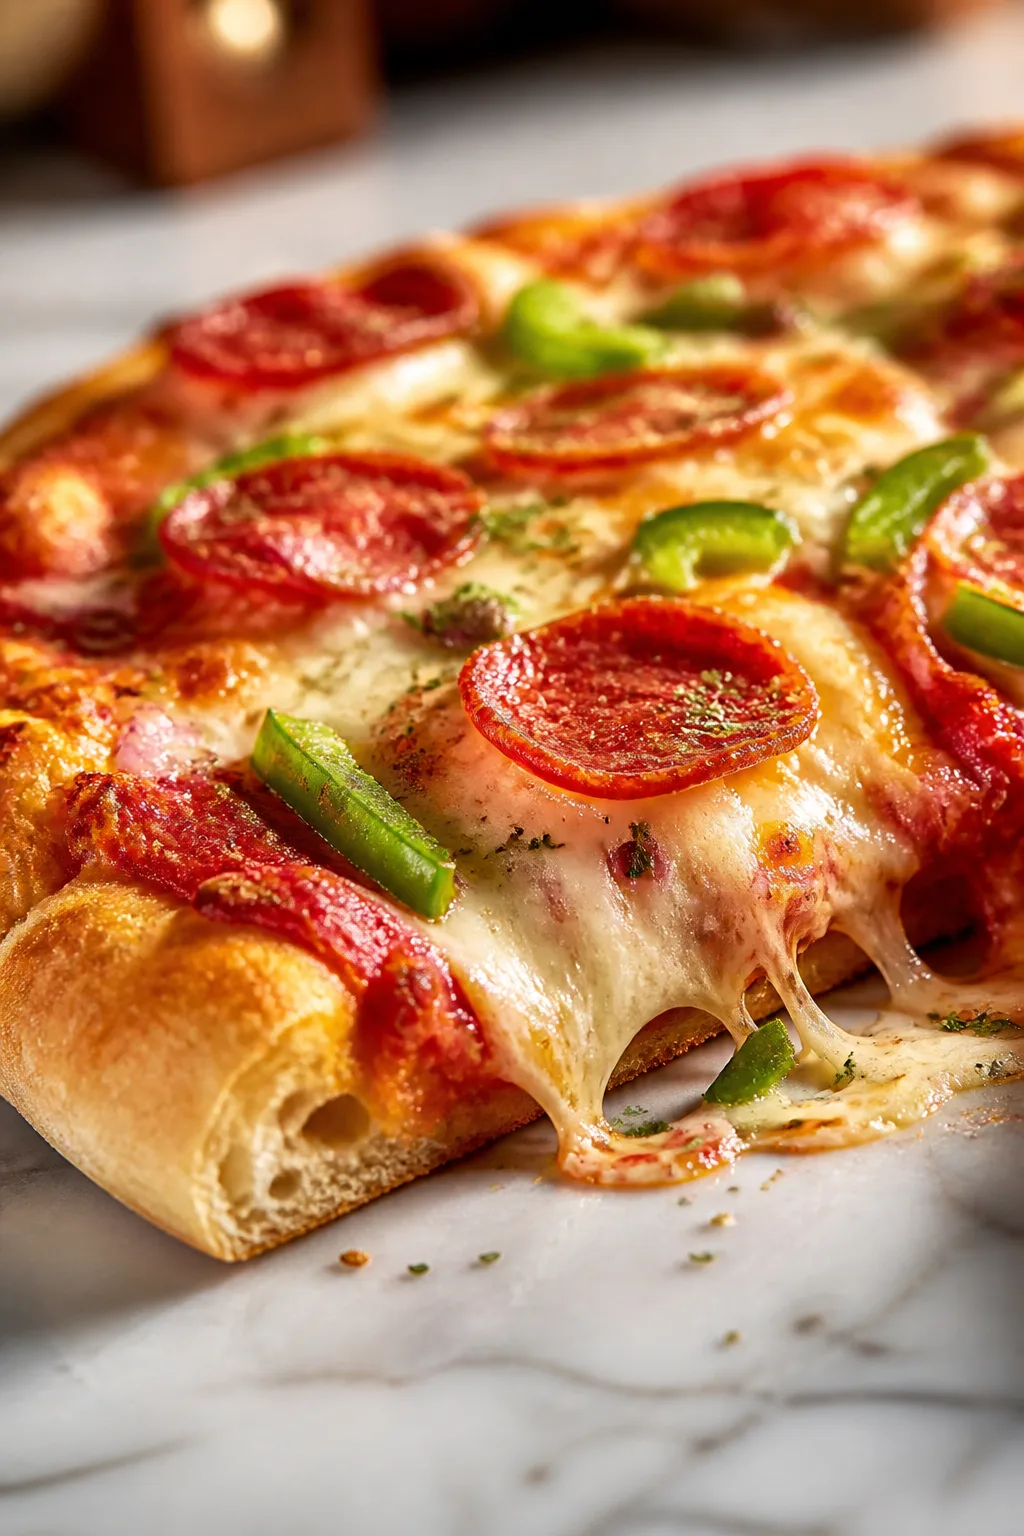
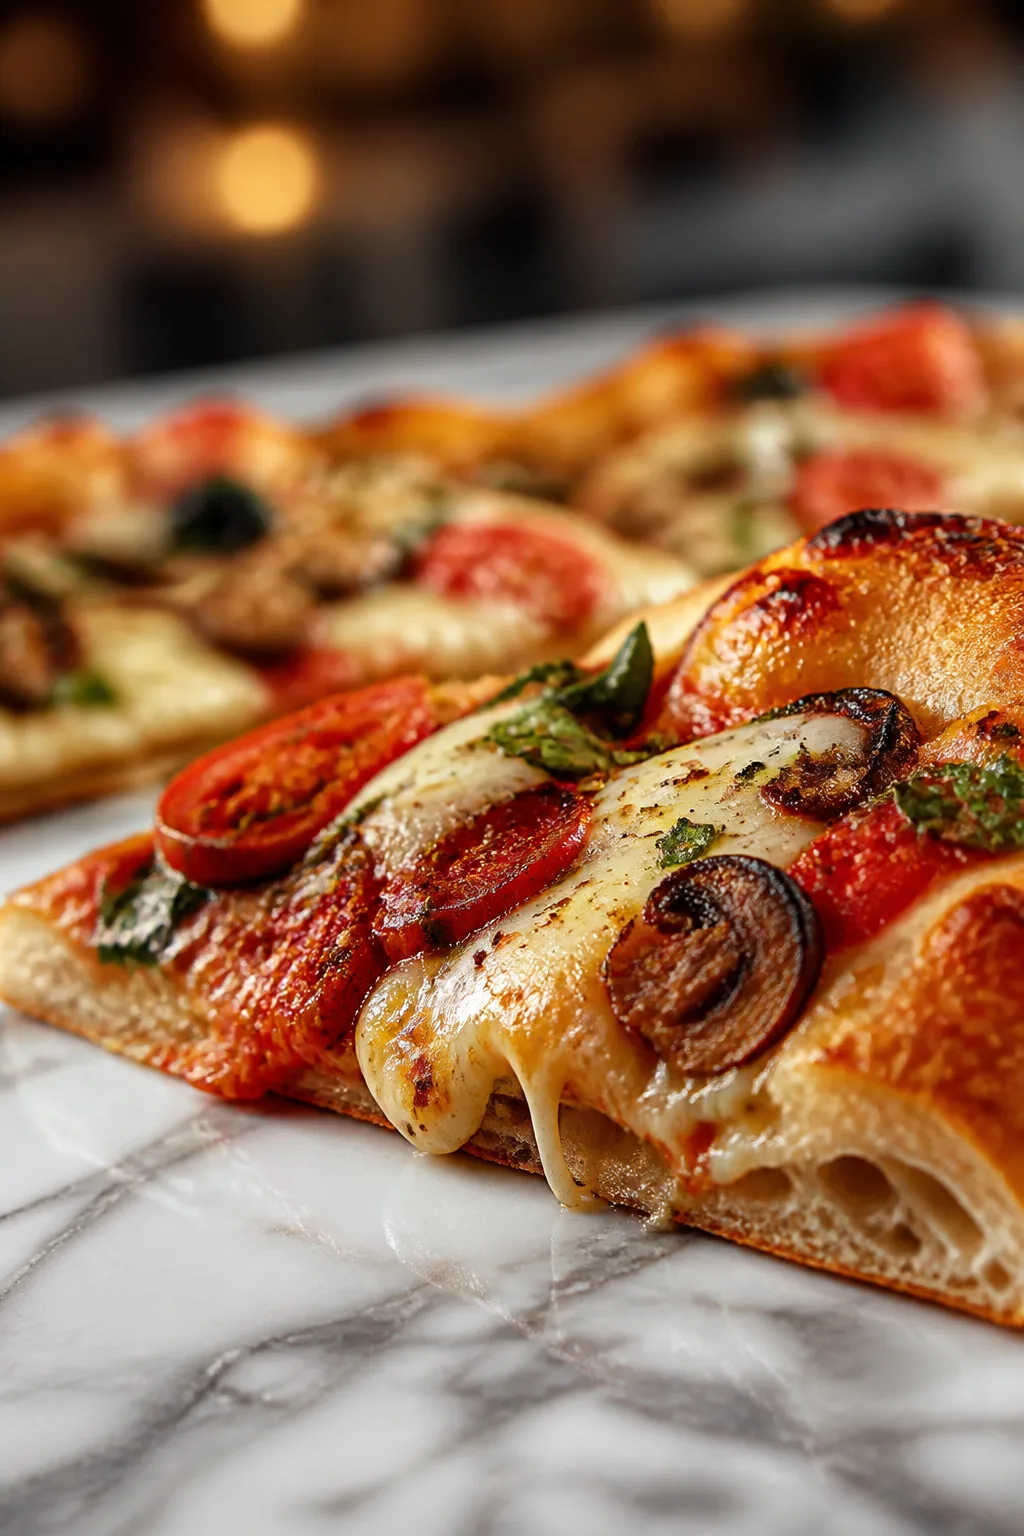
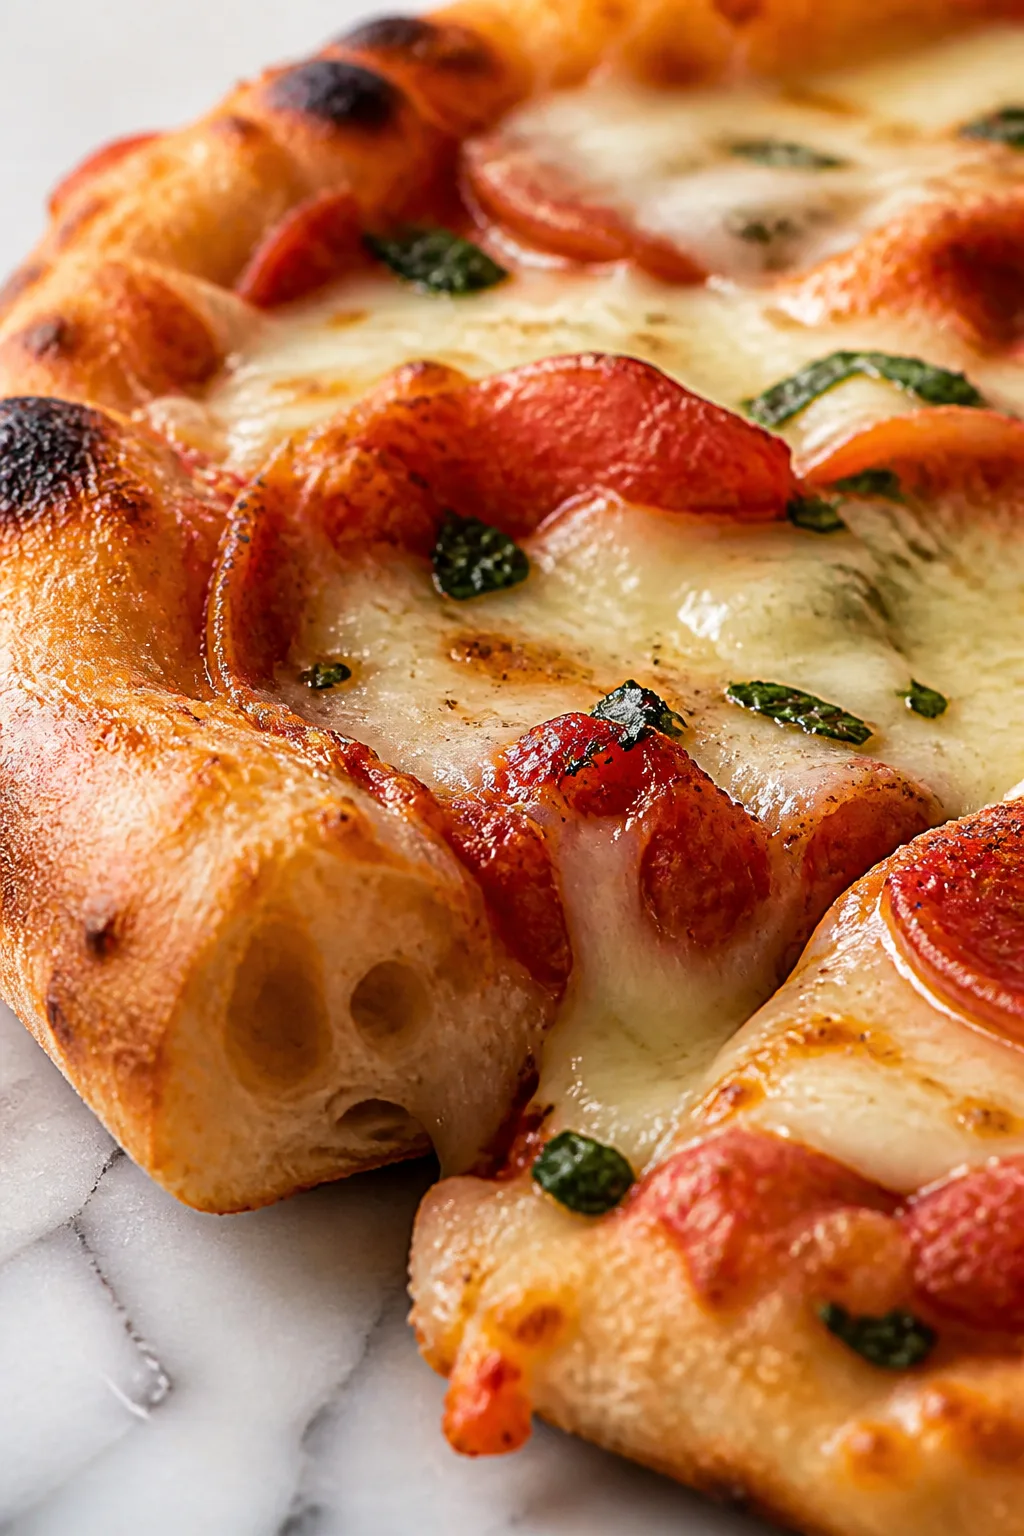
If you're craving homemade pizza without the fuss, this recipe is for you! Using a simple dough and fresh toppings, it’s perfect for casual dinners or weekend fun with the kids.
Introduction
I remember the first time I tried making pizza at home — it was a bit of a disaster, honestly. The crust was too thick and doughy, and the toppings slid right off. But after a few tries, I found a simple method that works every time, even if you're not a pro baker. What makes this recipe stand out is the easy yeast activation and just enough flour to get a dough that’s soft but holds its shape. Plus, I like to let the dough rest long enough to develop flavor but not so long it gets complicated. The result is a crispy, chewy crust topped with melty cheese and whatever you like on top. It’s become a weekend tradition in my house, and I love how everyone gets involved — from rolling out the dough to choosing toppings. This pizza recipe is straightforward, uses everyday ingredients, and tastes way better than delivery. If you’re looking for a fuss-free way to make pizza that feels homemade and satisfying, this is it.
What You'll Need
One 12-inch pizza or two smaller pizzas, serves 4
- 2 1/4 teaspoons active dry yeast (1 packet)
- 1 1/2 cups warm water (about 110°F)
- 3 1/2 cups all-purpose flour
- 2 tablespoons olive oil
- 1 teaspoon salt
- 1 teaspoon sugar
- 1/2 cup pizza sauce
- 2 cups shredded mozzarella cheese
- Toppings of choice (pepperoni, bell peppers, mushrooms, etc.)
How To Do It
Step 1
Start by activating your yeast. In a small bowl, combine the warm water and sugar, then sprinkle the yeast on top. Let it sit for about 5 to 10 minutes until it becomes foamy. This step is crucial because it tells you the yeast is alive and ready to help your dough rise. If it doesn’t foam, your yeast might be old or the water temperature off, so don’t skip this check.
⏱ Time: 10 minutes
✓ Doneness: Foamy and bubbly yeast mixture
Step 2
In a large bowl, mix the flour and salt. Pour in the yeast mixture and olive oil, then stir with a wooden spoon or your hands until a shaggy dough forms. This initial mixing helps hydrate the flour evenly and starts gluten development. Avoid adding too much flour here; it should be sticky but manageable.
⏱ Time: 5 minutes
✓ Doneness: Sticky dough pulling away slightly from bowl edges
Step 3
Turn the dough onto a floured surface and knead for about 8 to 10 minutes. Kneading develops the gluten network, giving your crust structure and chew. If your dough feels too sticky, sprinkle a little flour as you knead, but don’t overdo it or the crust will be tough.
⏱ Time: 10 minutes
✓ Doneness: Smooth, elastic dough that springs back when poked
Step 4
Lightly oil a large bowl and place your dough inside, turning once to coat. Cover with a clean kitchen towel or plastic wrap and let it rise in a warm spot for about 1 to 1.5 hours, or until doubled in size. This fermentation step builds flavor and lightness in the dough, so be patient.
⏱ Time: 1 to 1.5 hours
✓ Doneness: Dough doubled in volume and airy to touch
Step 5
Preheat your oven to 475°F (245°C). If you have a pizza stone, place it in the oven to heat up as well. This high heat ensures a crispy crust. If you don’t have a stone, a baking sheet turned upside down works fine.
⏱ Time: 15 minutes
✓ Doneness: Oven and pizza stone/heated surface fully hot
Step 6
Gently punch down the dough to release air bubbles, then turn it onto a floured surface. Divide into two portions if making smaller pizzas. Roll or stretch the dough out into a 12-inch circle. Don’t worry if it’s not perfectly round — rustic is charming!
⏱ Time: 5 minutes
✓ Doneness: Evenly stretched dough about 12 inches wide
Step 7
Transfer the dough to a piece of parchment paper or a floured pizza peel if using a stone. Spread about 1/4 cup of pizza sauce evenly over the surface, leaving a small border for the crust. The sauce adds moisture and flavor but don’t overload it or the crust will get soggy.
⏱ Time: 5 minutes
✓ Doneness: Sauce evenly spread, no pools of liquid
Step 8
Sprinkle 1 cup of shredded mozzarella evenly over the sauce, then add your favorite toppings. I like to keep it simple with pepperoni and bell peppers, but feel free to get creative. The cheese melts and binds everything together, so be generous but balanced.
⏱ Time: 5 minutes
✓ Doneness: Cheese and toppings evenly distributed
Step 9
Slide the pizza (on parchment) onto the preheated stone or baking sheet and bake for 12 to 15 minutes. The crust should be golden and crisp, and the cheese bubbly and slightly browned. Watch closely the last few minutes to avoid burning.
⏱ Time: 12 to 15 minutes
✓ Doneness: Golden crust, bubbly cheese with light browning
Step 10
Remove the pizza from the oven and let it cool for a few minutes before slicing. This resting time helps the cheese set a bit so it doesn’t slide off. Serve warm and enjoy the homemade goodness!
⏱ Time: 5 minutes
✓ Doneness: Slightly cooled pizza ready to slice and serve
Pro Tips
Always proof your yeast first to ensure it’s active before mixing the dough.
Proofing yeast confirms it’s alive and ready to work. Skipping this step can lead to dense dough if the yeast is dead or inactive. It also helps you avoid wasting ingredients on a dough that won’t rise.
Use a pizza stone or preheated baking sheet to mimic professional oven heat.
A hot surface crisps the bottom of the crust quickly, preventing sogginess. Without it, the dough cooks unevenly and can become doughy. The stone retains heat, giving a better crust texture.
Don’t overload your pizza with toppings; less is more for a balanced crust.
Too many toppings add moisture and weight, which can prevent the crust from cooking properly and cause sogginess. Balanced toppings ensure a crispy crust and well-cooked toppings.
Let the dough rest after kneading to relax gluten before shaping.
Resting makes the dough easier to stretch and shape without springing back. It also improves texture by allowing gluten strands to settle, resulting in a tender crust.
Use warm water (around 110°F) to activate yeast but avoid hotter temperatures.
Warm water wakes yeast up without killing it. Water too hot will kill yeast cells, preventing rising. Too cold water leads to slow or no activation, affecting dough texture.
Allow the pizza to cool a few minutes before slicing to let cheese set.
Cutting too soon causes cheese and toppings to slide off, making a mess. Letting it rest helps everything hold together for neat slices and better eating experience.
Knead dough on a lightly floured surface to prevent sticking but avoid adding excess flour.
Too much flour makes dough dry and tough, while too little makes it sticky and hard to handle. Light flouring strikes a balance for proper texture and manageable dough.
Common Mistakes to Avoid
Using water that’s too hot or too cold to activate yeast
Why it happens Many cooks guess water temperature or don’t check it, leading to killing the yeast or poor activation.
Fix Use a thermometer or test water with your wrist to ensure it feels warm but not hot—about 110°F is ideal. This ensures yeast wakes up properly for a good rise.
Overloading pizza with sauce and toppings
Why it happens It’s tempting to pile on everything at once, thinking more is better.
Fix Use just enough sauce to cover the crust thinly and moderate toppings. This prevents sogginess and helps the crust bake crisp and evenly.
Not letting dough rise long enough
Why it happens Impatience or rushing dinner can lead to skipping or shortening rise times.
Fix Allow the dough to double in size in a warm spot. This develops flavor and texture. If time is tight, try a warm oven (turned off) to speed rising slightly.
Skipping the preheat of oven and baking stone
Why it happens Some assume the oven will heat fast enough during baking.
Fix Preheat oven and stone at least 15 minutes before baking. A hot surface crisps the crust and cooks pizza evenly.
Cutting pizza immediately after baking
Why it happens Excitement to eat leads to slicing hot pizza too soon.
Fix Let pizza rest 3-5 minutes after baking so cheese sets and toppings stay put when sliced.
Variations
Whole Wheat Crust
Swap half the all-purpose flour for whole wheat for a nuttier flavor and added fiber. The dough may need a bit more water and kneading to develop gluten. Expect a denser but wholesome crust.
Note: Whole wheat flour absorbs more water and can make dough stiffer, so adjust hydration accordingly.
Gluten-Free Pizza
Use a gluten-free flour blend designed for baking and add xanthan gum if not included. The dough will be more delicate and sticky, so handle gently. Baking time may vary slightly.
Note: Gluten-free doughs lack elasticity, so avoid overworking and use parchment for easy transfer.
Thin Crust Style
Roll dough thinner and bake on a pizza stone for a crispier, cracker-like crust. Reduce baking time slightly to avoid burning. Great for those who prefer less dough.
Note: Thin crusts cook faster and can crisp up quickly, so watch closely near the end.
Stuffed Crust Pizza
After rolling out the dough, place string cheese sticks around the edges and fold dough over to encase. Press edges to seal. This adds a cheesy surprise in every bite.
Note: Ensure edges are well sealed to prevent cheese leakage during baking.
White Pizza
Skip the tomato sauce and spread a mixture of ricotta and garlic over the crust. Top with mozzarella and spinach or mushrooms for a creamy, savory twist.
Note: Without sauce, watch for cheese browning and adjust baking time as needed.
Nutrition
Per Serving:
Nutritional values are estimates and may vary based on specific ingredients used.
Storage & Tips
Room Temperature
Pizza can be safely left out for up to 2 hours covered loosely with foil or a clean towel to prevent drying. Beyond that, it’s best to refrigerate to avoid bacterial growth.
Refrigerator
Store leftover pizza in an airtight container or wrapped tightly in plastic wrap for up to 3 days. The crust may lose some crispness but reheating in a hot oven or skillet restores texture nicely.
Freezer
Wrap pizza slices tightly in plastic wrap and then foil to freeze for up to 2 months. Thaw in the fridge overnight before reheating to preserve texture and flavor.
Reheating
Reheat pizza in a preheated oven at 375°F for 8-10 minutes or in a skillet over medium heat to crisp the crust. Avoid microwaving as it makes crust chewy and soggy.
Make Ahead
You can prepare the dough a day ahead and refrigerate it tightly covered. This slow fermentation improves flavor. Bring to room temperature before shaping and baking.
FAQ
Can I use instant yeast instead of active dry yeast?
Yes, instant yeast can be used and it doesn’t need to be proofed first. Use about 25% less than active dry yeast and mix it directly with the flour. It speeds up the rising process but the dough might rise faster, so watch it closely.
What if my dough is too sticky to handle?
Sticky dough is normal, especially with higher hydration. Lightly flour your hands and surface, but avoid adding too much flour as it can toughen the crust. Kneading will also help develop gluten and reduce stickiness over time.
How can I make my pizza crust crispier?
Preheat your oven and pizza stone thoroughly for at least 15 minutes. Use less sauce and toppings to avoid sogginess. Baking at a high temperature (475°F) also helps achieve a crisp crust.
Can I prepare the dough in advance?
Absolutely! Dough can be made and refrigerated for up to 24 hours. This slow fermentation enhances flavor and makes the dough easier to work with. Just bring it to room temperature before shaping.
What’s the best way to store leftover pizza?
Wrap leftover pizza tightly in plastic wrap or place in an airtight container and refrigerate. It keeps well for up to 3 days. Reheat in the oven or skillet for best texture.
Can I use gluten-free flour for this recipe?
Yes, but gluten-free dough behaves differently. Use a blend designed for baking and add xanthan gum if needed. Handle gently and expect a more delicate crust that may require slightly different baking times.
Why is my pizza dough not rising?
Common reasons include old or dead yeast, water that’s too hot or too cold, or not giving it enough time in a warm spot. Always proof your yeast first and be patient with rising times.
How do I prevent my pizza from burning on the bottom?
Make sure your oven temperature is correct and preheat your stone or baking sheet thoroughly. Also, avoid placing the pizza too close to the bottom heating element.
Final Thoughts
Give this easy pizza recipe a try and enjoy the fun of homemade pizza with your family. I’d love to hear how your pizza night turns out!