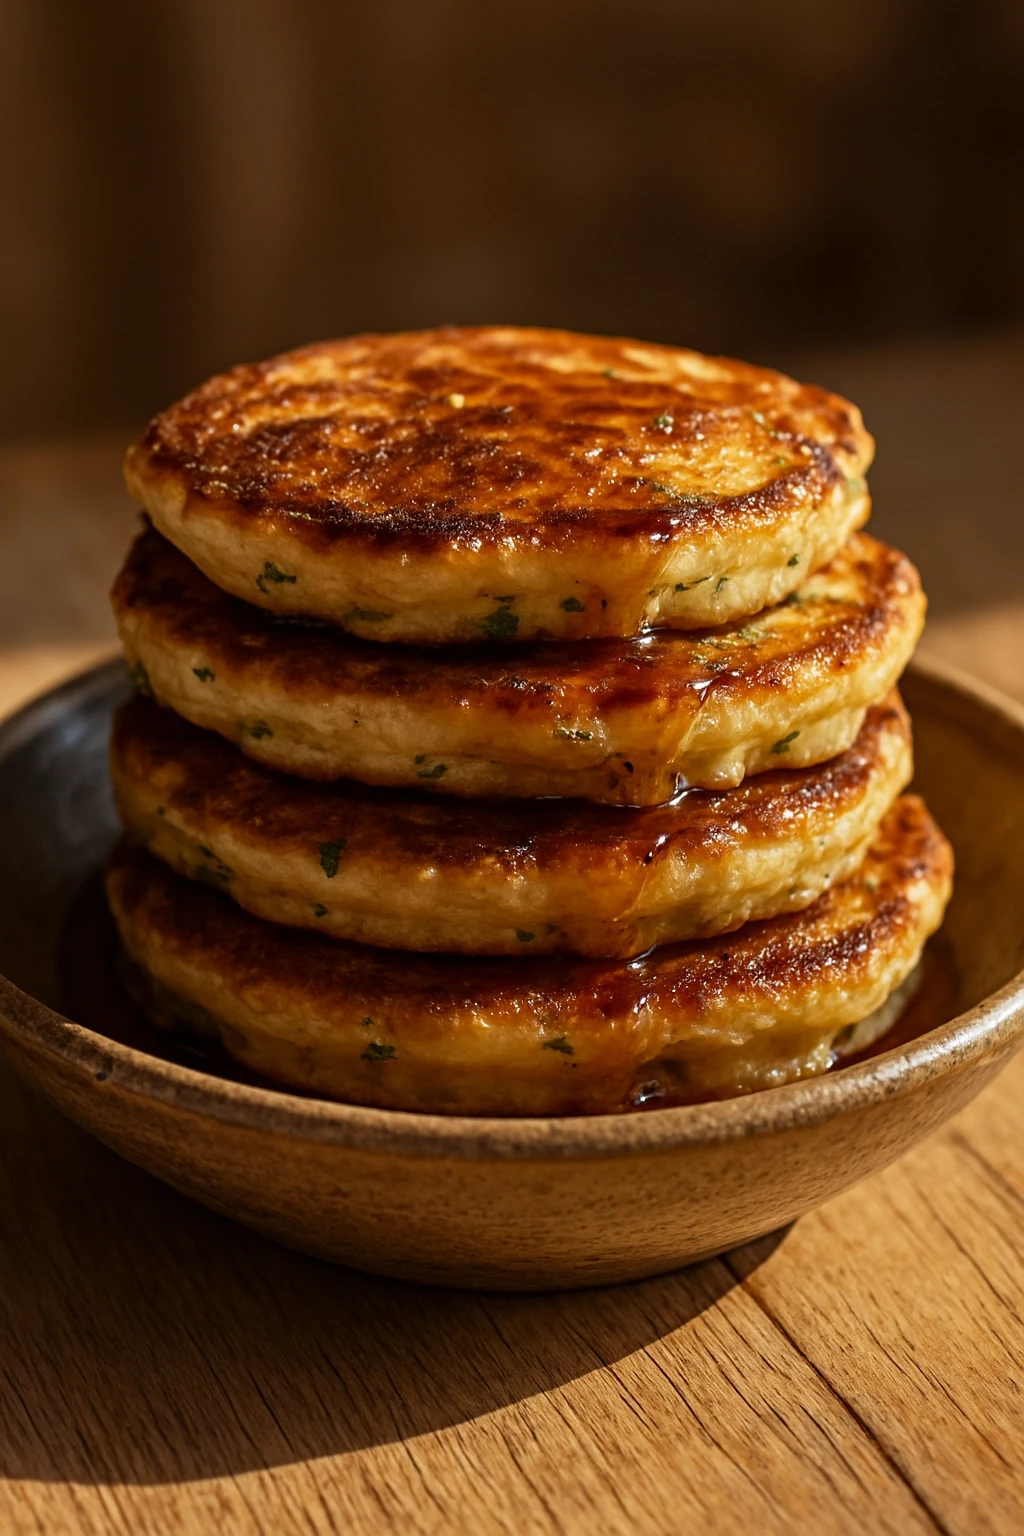
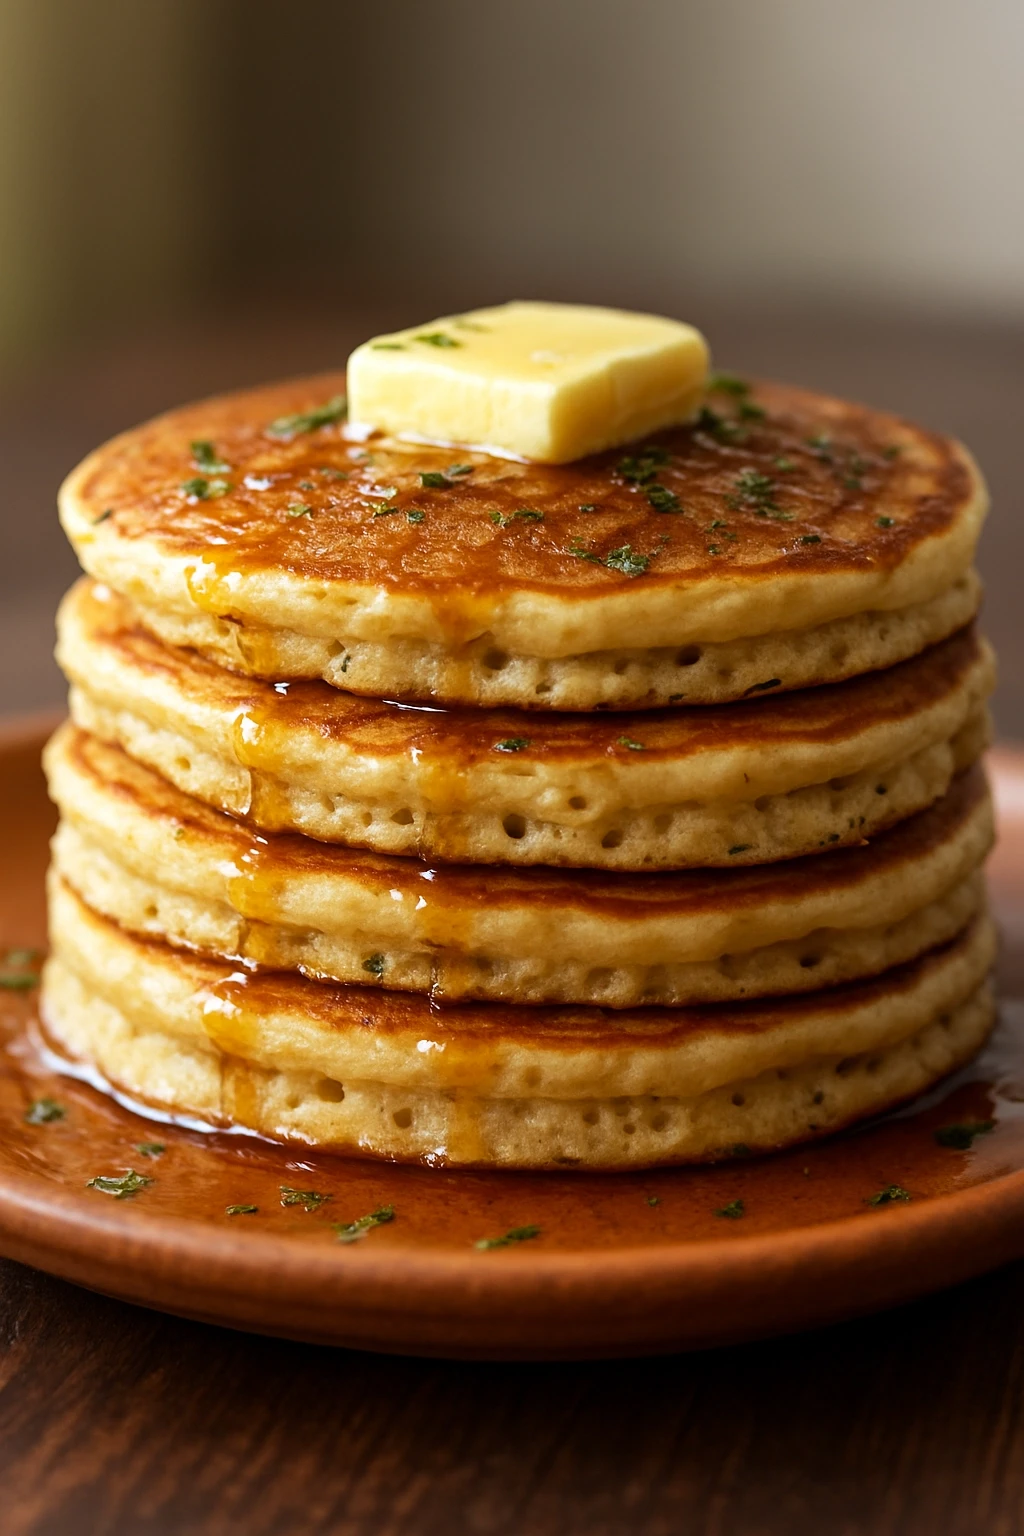
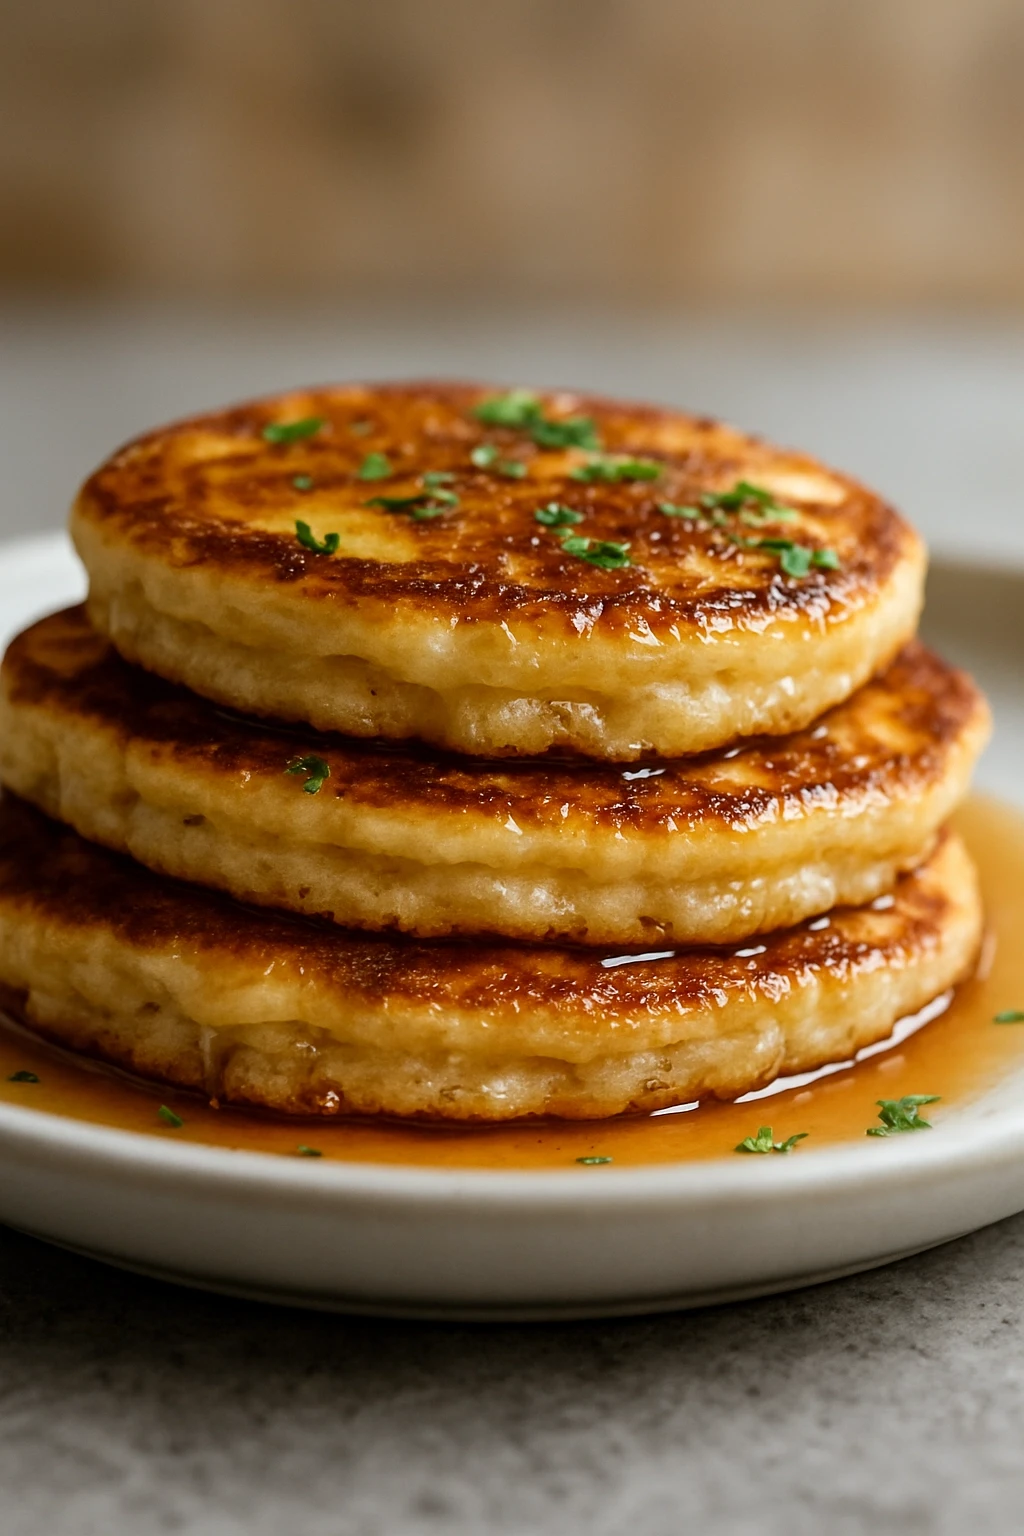
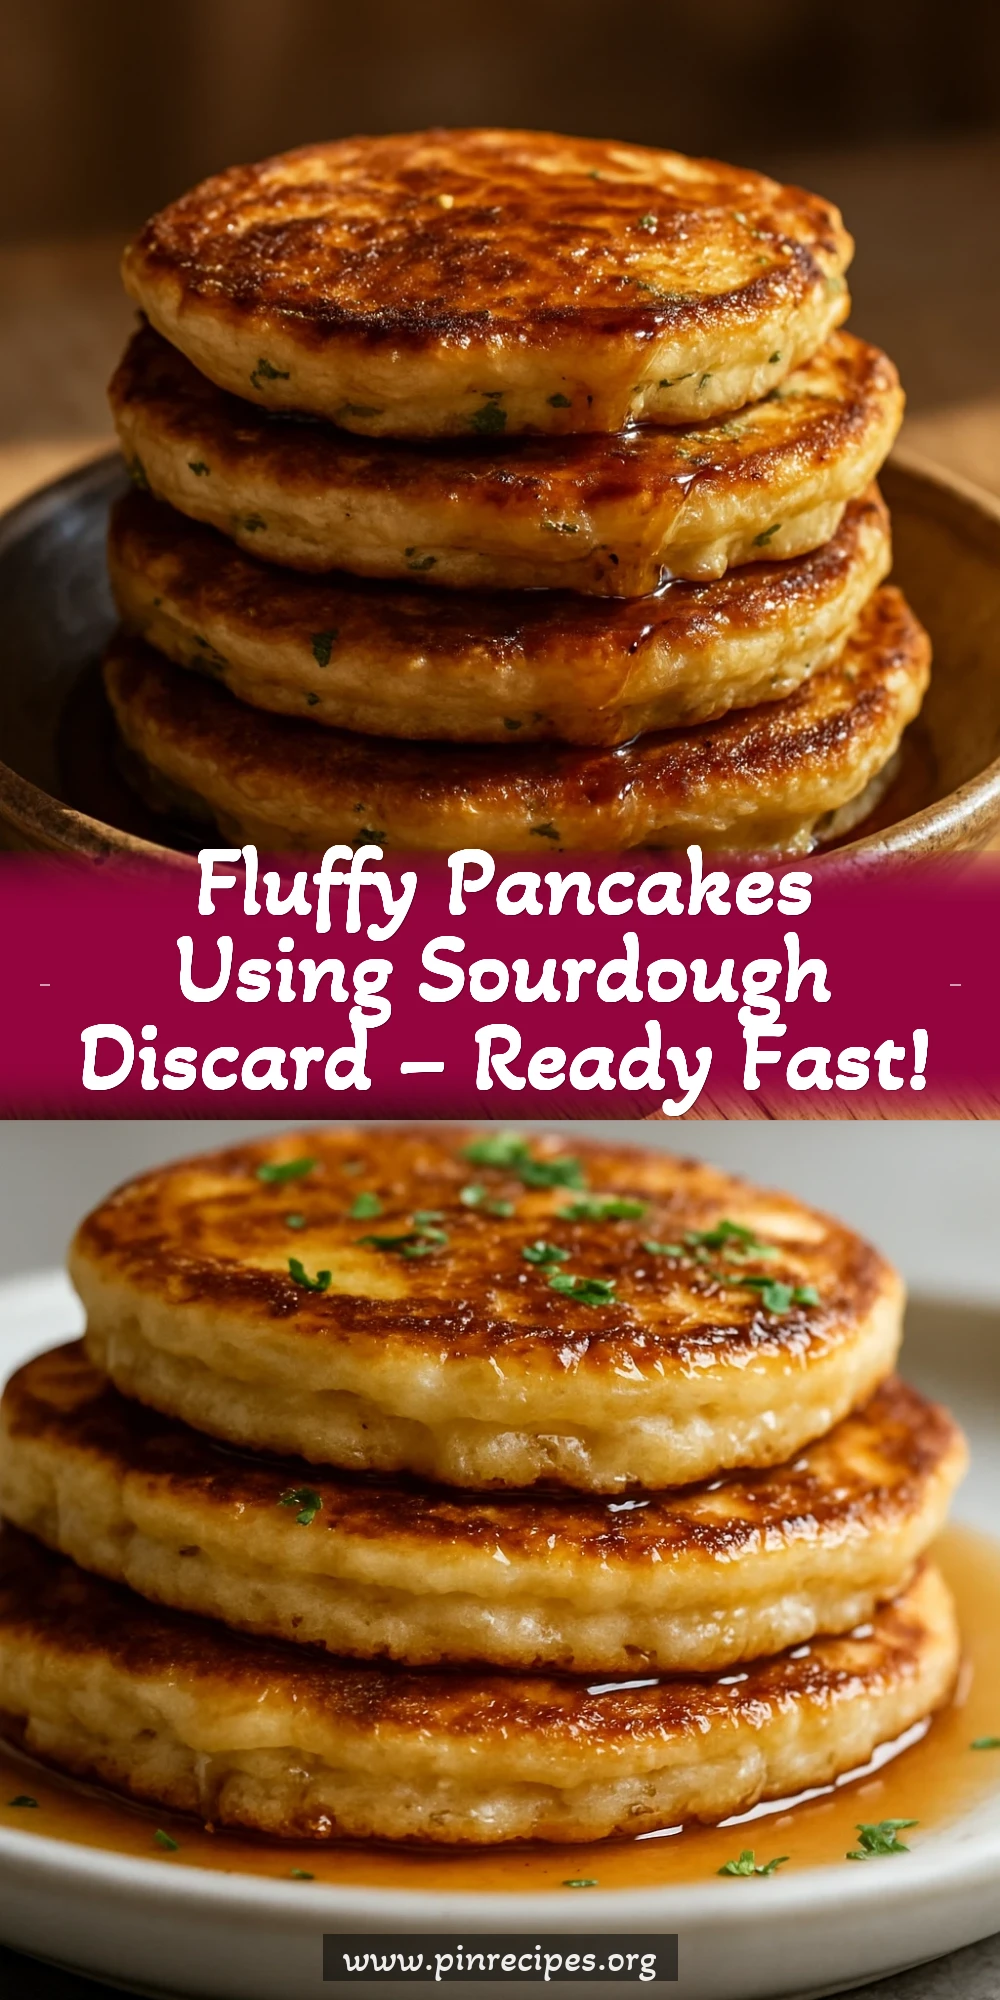
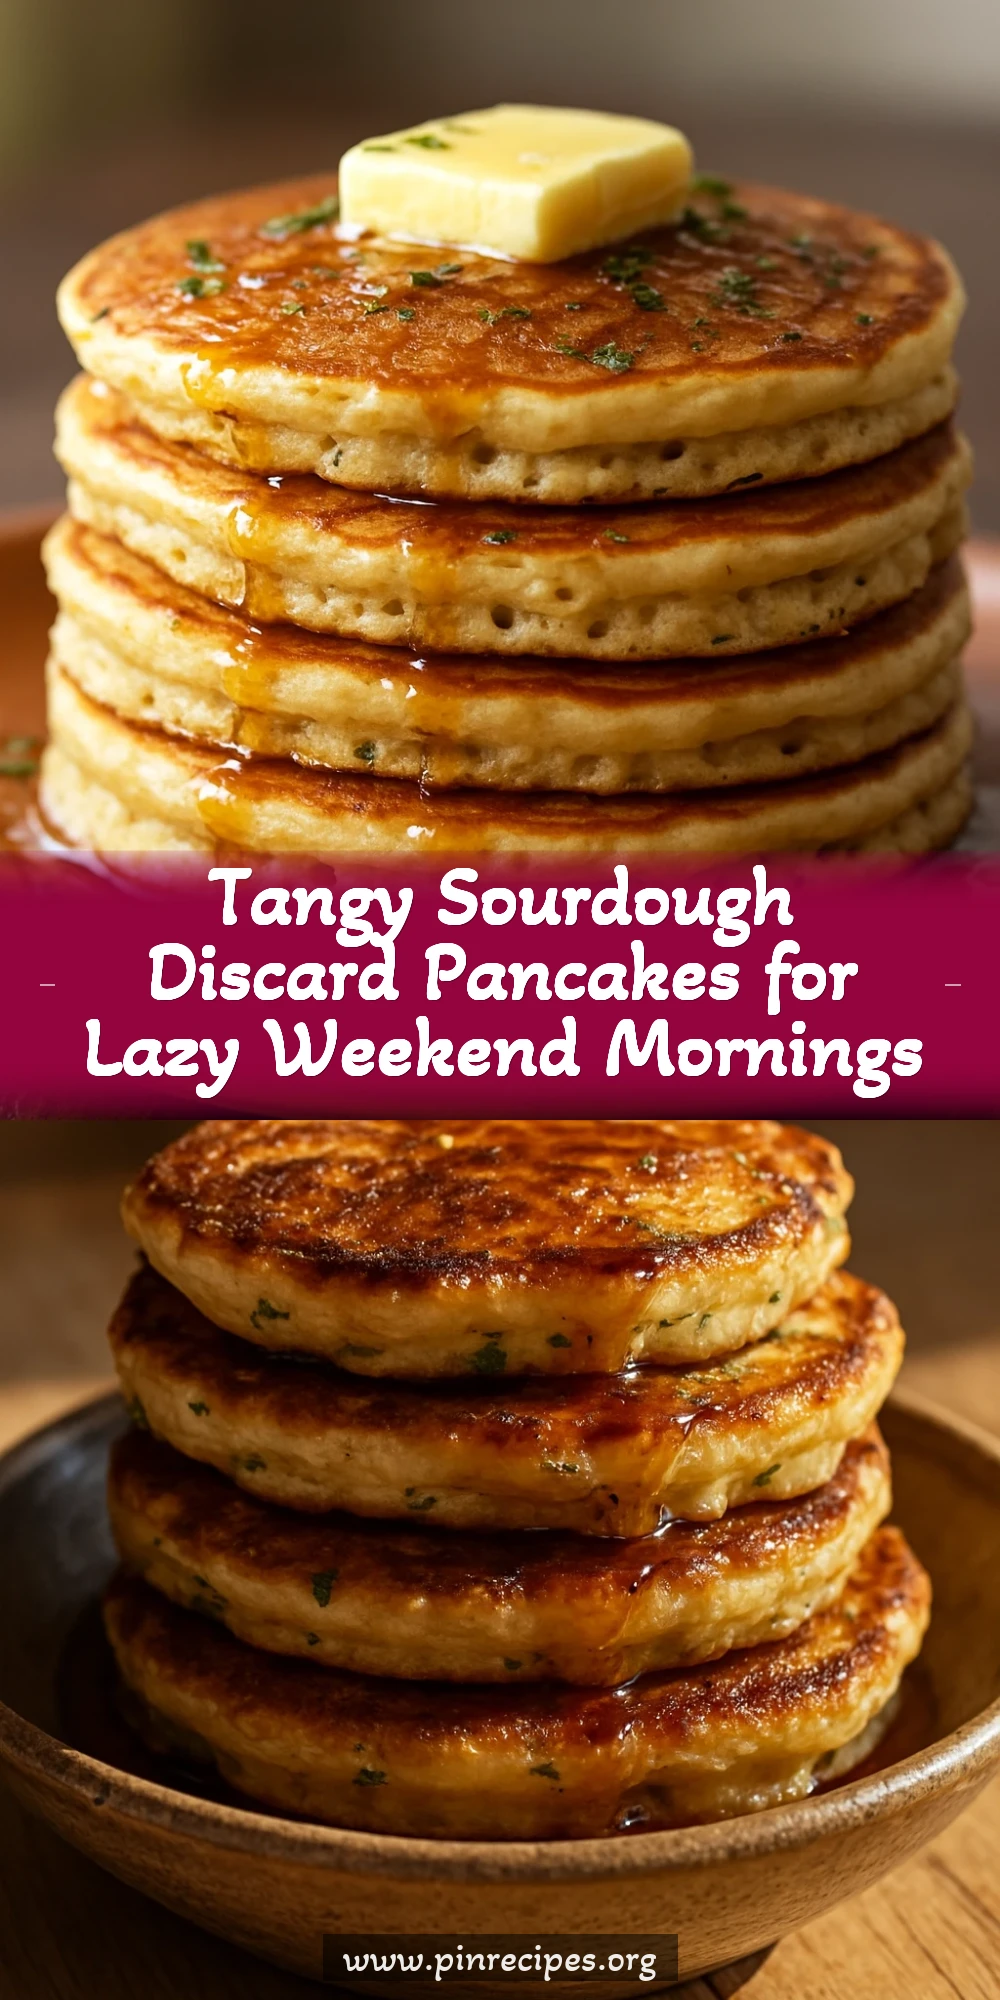
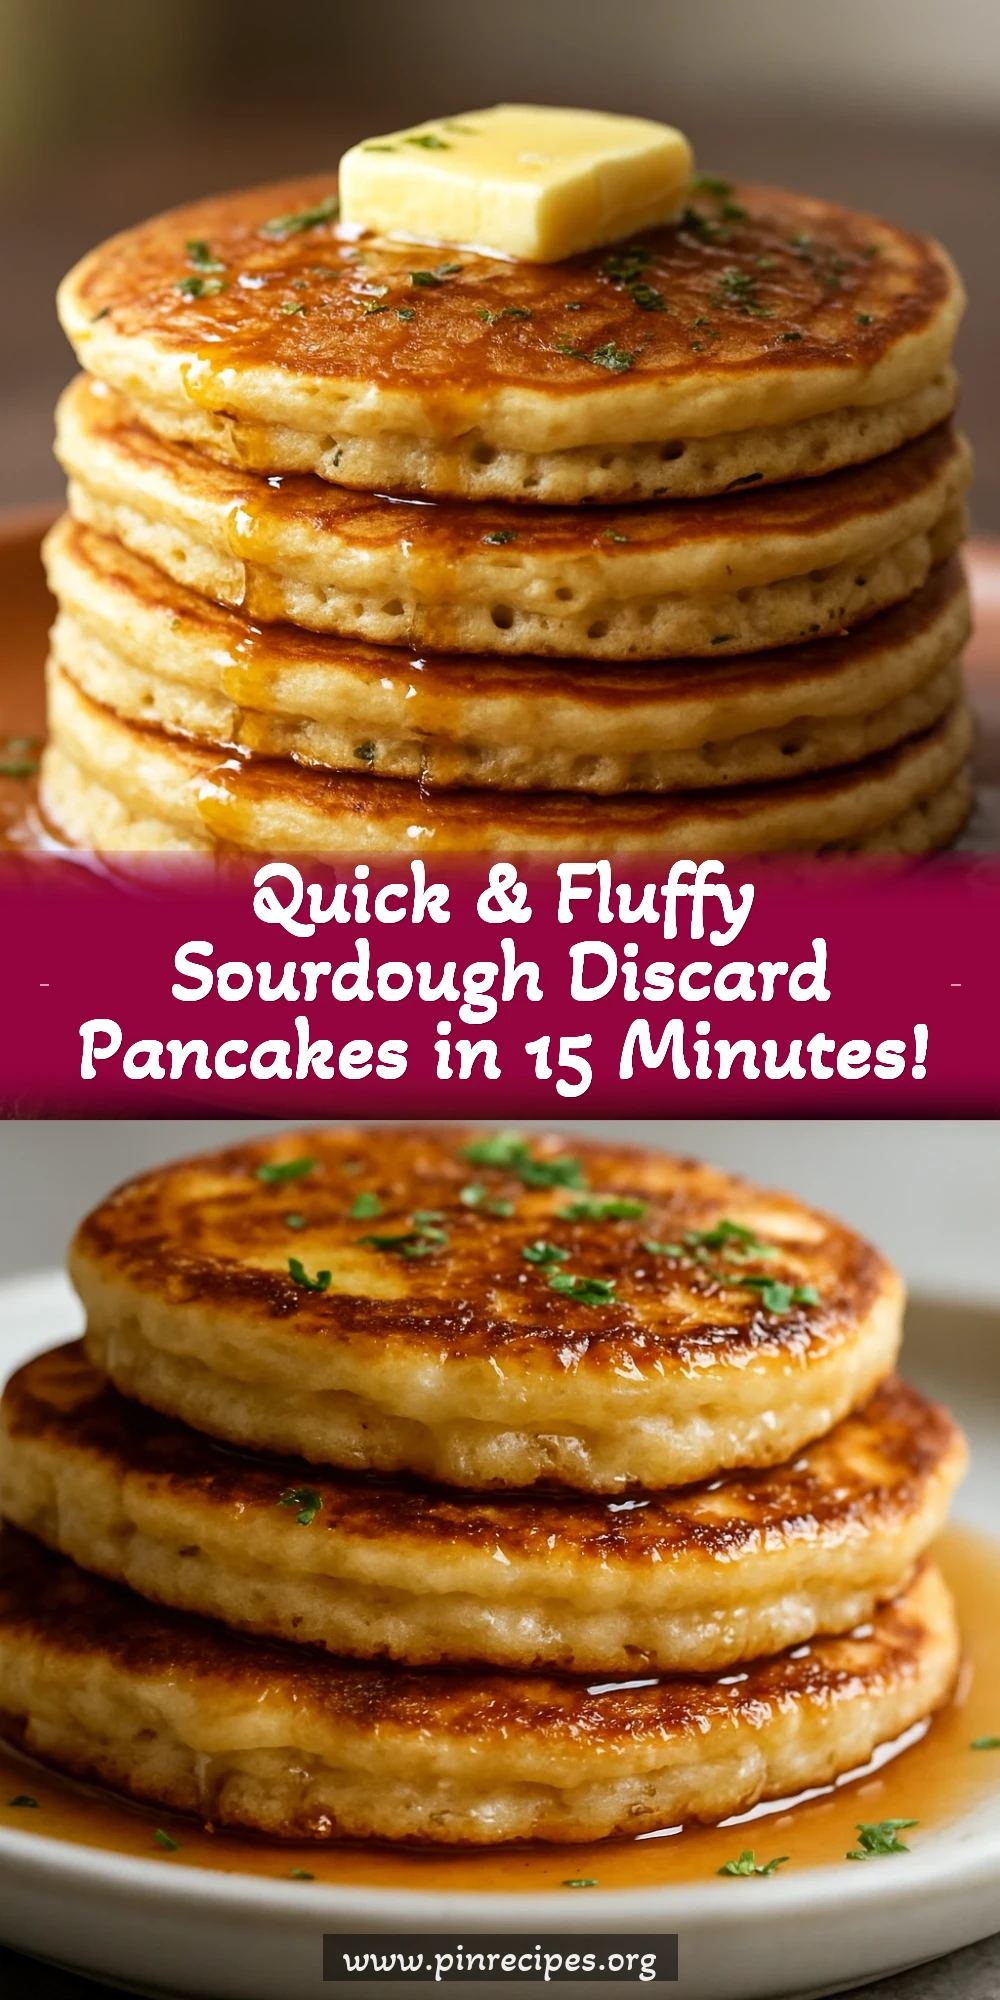
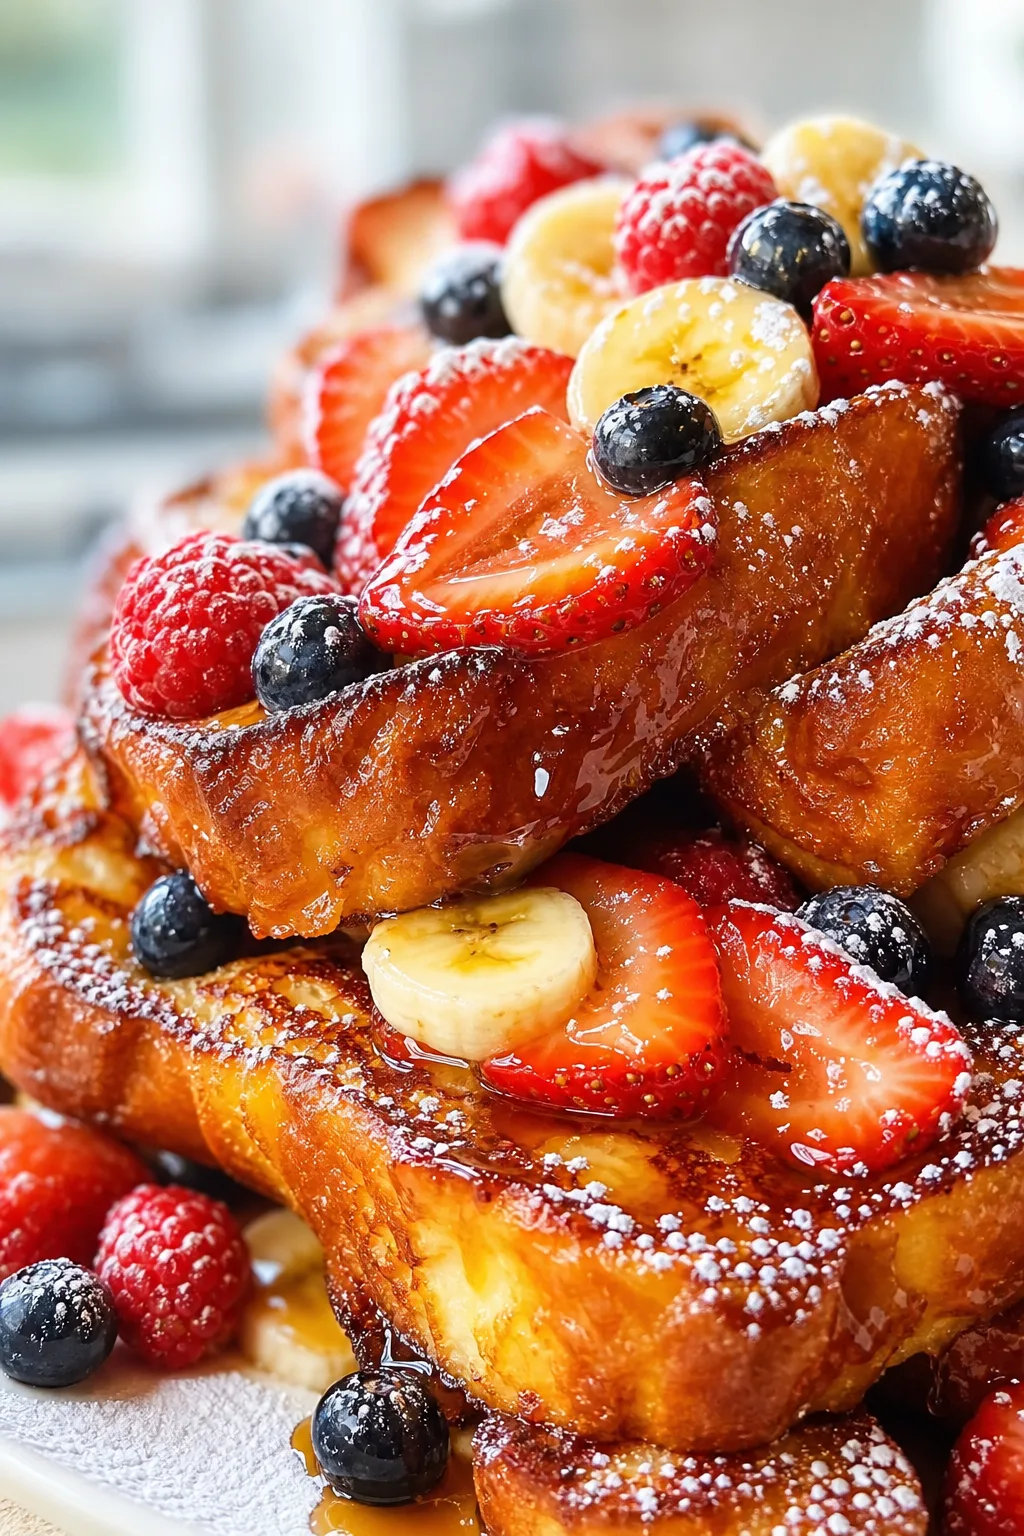
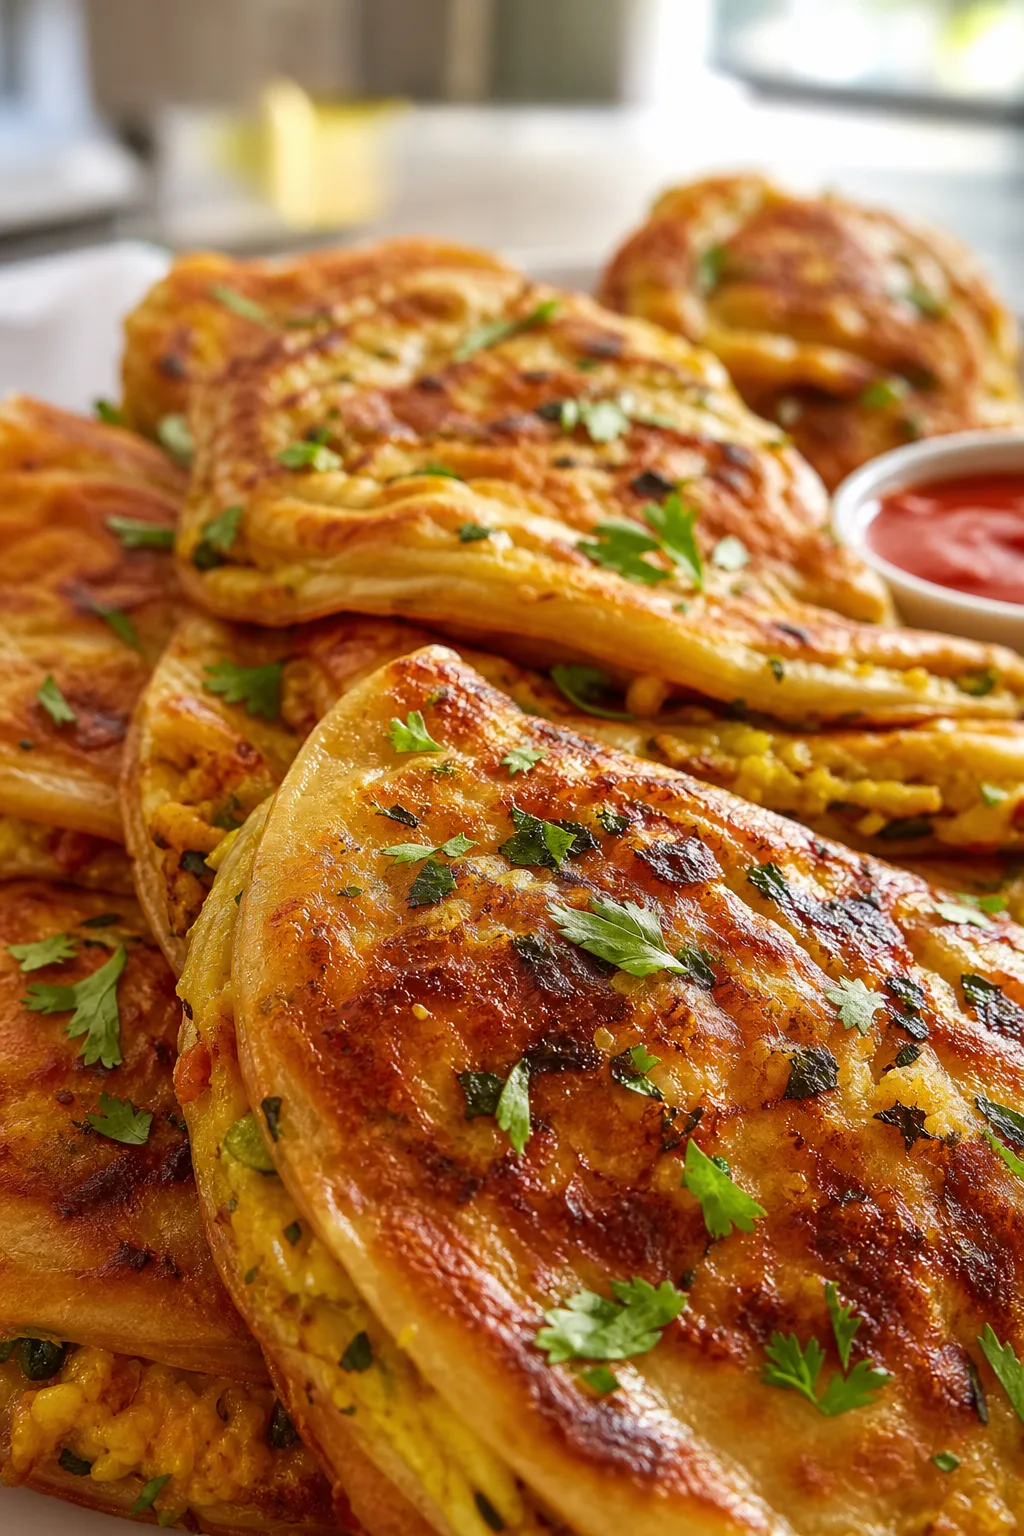
These pancakes use sourdough discard for a tangy twist and extra fluffiness. Super quick to whip up, perfect for lazy weekend breakfasts or brunch with friends.
Introduction
I stumbled upon sourdough discard pancakes when I wanted to reduce waste but still enjoy something special for breakfast. Using the discard adds a subtle tang and lightness that you just don’t get with regular pancakes. I remember my first attempt; I was worried they’d be dense or sour, but they turned out fluffy and tender thanks to the baking soda reacting with the acidity in the discard. What makes this version better? I mix the wet and dry ingredients gently and let the batter rest a few minutes, which helps develop flavor and texture. The finished pancakes are golden with a slight tang, soft inside with crisp edges. They’re perfect with maple syrup and fresh fruit on a slow weekend morning, or even a quick weekday treat if you’re in a rush. I love how this recipe turns something you might toss into a delicious meal — waste not, want not!
What You'll Need
Approximately 8 pancakes, 4 servings
- 1 cup sourdough starter discard (unfed)
- 1 cup all-purpose flour
- 1 tablespoon sugar
- 1 teaspoon baking powder
- 1/2 teaspoon baking soda
- 1/2 teaspoon salt
- 1 cup milk (whole or 2%)
- 1 large egg
- 2 tablespoons melted butter or oil
- Butter or oil for cooking
How To Do It
Step 1
In a large bowl, whisk together the sourdough discard, milk, egg, and melted butter until smooth. This step is important because it blends the wet ingredients thoroughly, ensuring even hydration of the flour later. If you skip properly mixing here, you risk uneven batter with lumps or dry spots. The discard’s acidity will also start reacting with the baking soda once combined, so mixing well helps activate that leavening.
⏱ Time: 3 minutes
✓ Doneness: The mixture should be smooth and slightly thick but pourable, with no streaks of egg or butter.
Step 2
In a separate bowl, combine the flour, sugar, baking powder, baking soda, and salt. Stir these dry ingredients well to evenly distribute the leavening agents and salt. This ensures your pancakes rise uniformly and have balanced flavor. If you rush this or don’t mix enough, you might end up with pockets of baking powder or salt, causing uneven taste or texture.
⏱ Time: 2 minutes
✓ Doneness: The dry mixture should look uniform with no clumps or uneven patches.
Step 3
Gently fold the dry ingredients into the wet mixture with a spatula. It’s key not to overmix here; stir just until you don’t see flour anymore. Overmixing develops gluten, which can make pancakes tough instead of tender and fluffy. You want a slightly lumpy batter for the best texture.
⏱ Time: 2 minutes
✓ Doneness: Batter should be thick but still pourable, with small lumps visible.
Step 4
Let the batter rest at room temperature for about 5 minutes. This rest time allows the baking soda and sourdough acidity to react fully, creating bubbles that help the pancakes rise. It also hydrates the flour, making the final texture lighter and more tender. Skipping this step usually leads to flatter pancakes.
⏱ Time: 5 minutes
✓ Doneness: You’ll notice tiny bubbles forming on the surface of the batter.
Step 5
Heat a non-stick skillet or griddle over medium heat and lightly grease with butter or oil. The pan needs to be hot enough so the batter sizzles gently when poured but not so hot it burns. Too low heat means flat, rubbery pancakes; too high burns the outside while leaving the inside raw.
⏱ Time: 3 minutes
✓ Doneness: When a few drops of water dance and evaporate on the surface, the pan is ready.
Step 6
Pour 1/4 cup of batter per pancake onto the skillet, spacing them apart. Cook undisturbed until bubbles form on the surface and edges look set, about 2-3 minutes. This bubbling is a sign the leavening is working and the pancake is cooking through. Resist flipping too early or the pancake won’t be fully cooked inside.
⏱ Time: 3 minutes
✓ Doneness: Bubbles appear on top and edges look dry and slightly firm.
Step 7
Flip the pancakes gently with a spatula and cook the other side for 1-2 minutes until golden brown. The second side cooks faster, so keep an eye to avoid burning. The pancake should spring back slightly when pressed and have a golden crust.
⏱ Time: 2 minutes
✓ Doneness: Golden brown color on the flipped side and a fluffy interior texture.
Step 8
Transfer cooked pancakes to a warm plate and cover loosely with foil to keep warm while you finish the rest. This prevents them from drying out or getting cold. If you stack them without covering, steam can make them soggy.
⏱ Time: 1 minute
✓ Doneness: Pancakes remain warm and soft without becoming soggy.
Step 9
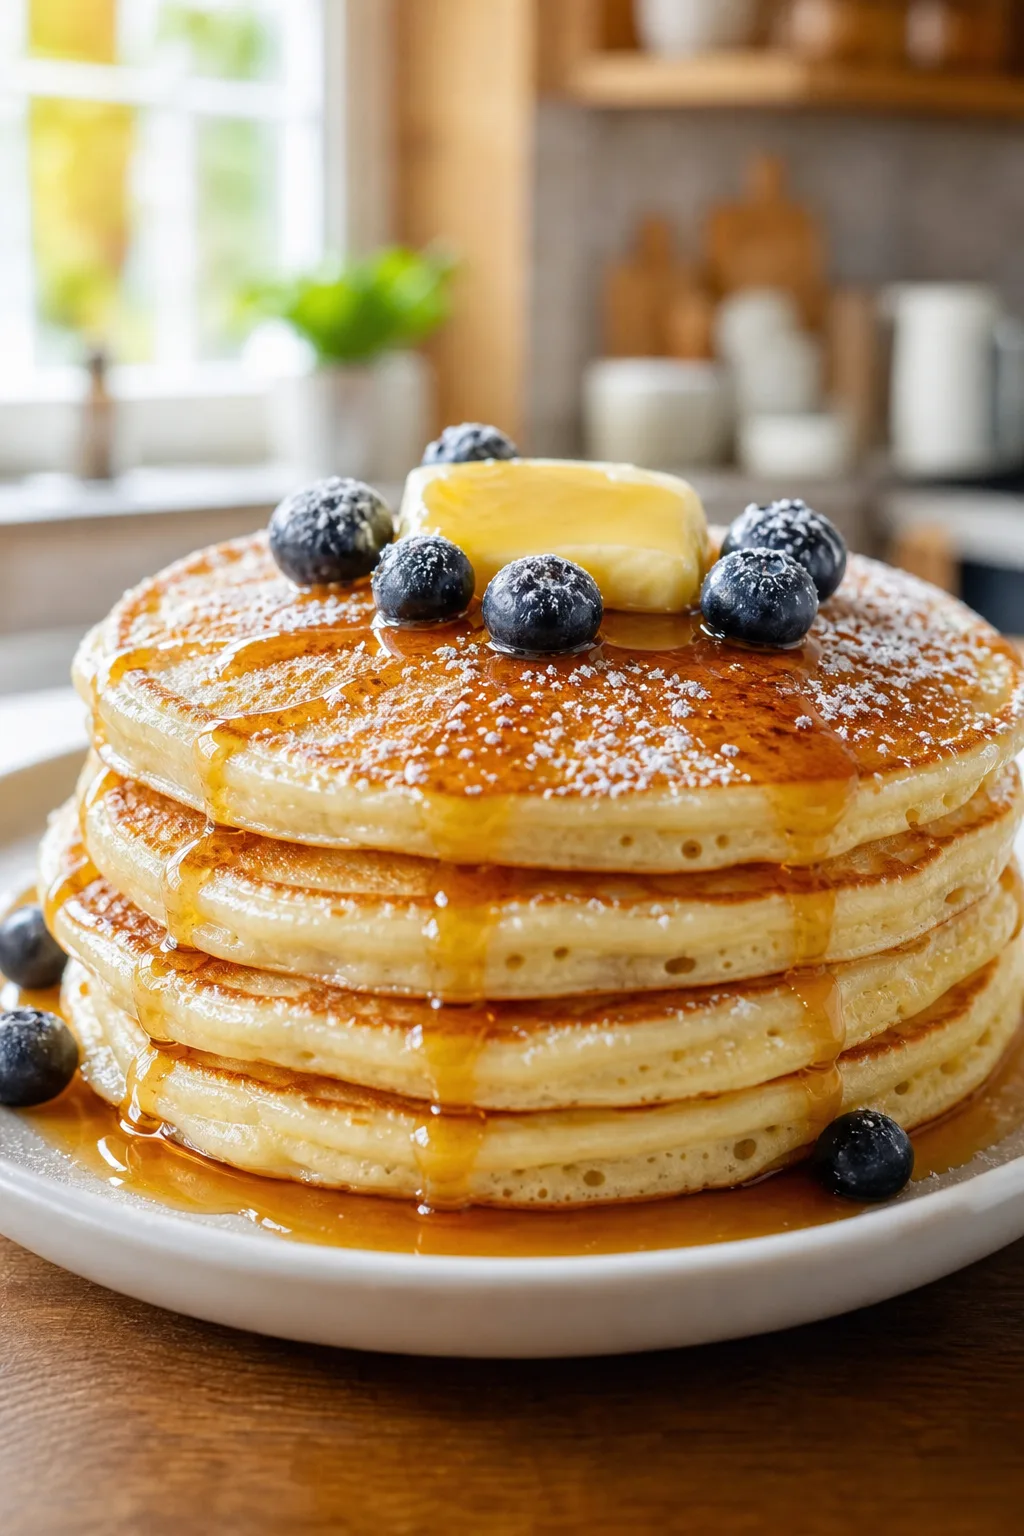
Serve your sourdough discard pancakes warm with maple syrup, fresh berries, or your favorite toppings. They’re best eaten fresh but also reheat well if needed. Enjoy the subtle tang and fluffy texture that make these pancakes a delightful twist on a classic breakfast.
⏱ Time: Immediate
✓ Doneness: Pancakes are warm, fluffy, and slightly tangy with a golden crust.
Pro Tips
Don’t overmix the batter; stir until just combined.
Overmixing develops gluten in the flour, which makes pancakes tough and chewy instead of light and fluffy. You want a slightly lumpy batter to keep the texture tender.
Let the batter rest for 5 minutes before cooking.
Resting allows the baking soda and sourdough acids to react fully, creating bubbles that help the pancakes rise and results in a better texture.
Use medium heat and test your pan with water droplets.
Medium heat ensures pancakes cook through without burning. Water droplets should dance and evaporate quickly, signaling the pan is ready.
Use melted butter in the batter and for greasing the pan.
Butter adds flavor and moisture to the batter, and greasing the pan prevents sticking while contributing to a golden crust.
Measure flour by spooning it into the cup and leveling off.
Scooping flour directly can compact it, leading to dense pancakes. Lightly spooning ensures accurate measurement and lighter texture.
Serve pancakes immediately or keep warm loosely covered.
Covering traps steam, which can make pancakes soggy. A loose foil cover keeps them warm without moisture buildup.
Use fresh baking soda for best rise.
Old baking soda loses potency, resulting in flat pancakes. Test by adding a little vinegar and watching for fizz before using.
Common Mistakes to Avoid
Overmixing the batter
Why it happens Many cooks think a smooth batter means well mixed, but overmixing activates gluten too much, making pancakes dense.
Fix Mix gently and stop as soon as the flour disappears. A few lumps are okay and actually help keep the pancakes tender.
Cooking on too high heat
Why it happens Eager cooks want pancakes fast and crank the heat, but this burns the outside before the inside cooks.
Fix Use medium heat and test with water droplets. Adjust heat as you go to get a golden crust without burning.
Skipping the batter rest
Why it happens In a rush, some skip resting, not realizing it’s key for rise and texture.
Fix Allow 5 minutes for the batter to rest so leavening reactions finish and flour hydrates fully.
Using old baking soda
Why it happens Baking soda loses power over time, especially if stored improperly.
Fix Test baking soda by adding vinegar; if it fizzes vigorously, it’s fresh. Replace if fizz is weak or absent.
Not greasing the pan properly
Why it happens Some think non-stick pans don’t need greasing, but batter can stick without a thin fat layer.
Fix Lightly grease the pan with butter or oil before each batch to ensure easy flipping and golden crust.
Variations
Blueberry Sourdough Pancakes
Fold fresh or frozen blueberries into the batter just before cooking for a fruity burst. The berries add moisture and sweetness, balancing the tang from the sourdough. Serve with extra syrup or lemon zest for brightness.
Note: Add berries gently to avoid breaking them and thinning the batter. Cook on slightly lower heat to prevent burning the fruit.
Vegan Sourdough Pancakes
Replace the egg with a flax or chia egg (1 tbsp ground seed + 3 tbsp water) and use plant-based milk. Use coconut oil instead of butter. The texture will be a bit denser but still delicious and fluffy.
Note: Let the flax egg sit until gelled before mixing. Batter may need a touch more liquid to reach pourable consistency.
Whole Wheat Sourdough Pancakes
Swap half the all-purpose flour for whole wheat for nuttier flavor and more fiber. The pancakes will be heartier and slightly denser but still tender if you don’t overmix.
Note: Increase the resting time to 10 minutes to allow whole wheat flour to hydrate fully.
Chocolate Chip Sourdough Pancakes
Add chocolate chips to the batter for a sweet treat. The slight tang of the sourdough pairs surprisingly well with melty chocolate. Serve with whipped cream or fresh fruit.
Note: Add chips last and fold gently to avoid overmixing. Cook on medium heat to prevent burning the chips.
Savory Herb Sourdough Pancakes
Omit sugar and add chopped fresh herbs like chives or parsley, plus a pinch of black pepper. Serve with sour cream or smoked salmon for a savory brunch option.
Note: Reduce resting time to 3-4 minutes since no sugar is present to affect fermentation.
Nutrition
Per Serving:
Nutritional values are estimates and may vary based on specific ingredients used.
Storage & Tips
Room Temperature
Pancakes can be kept at room temperature covered loosely for up to 2 hours. Use a plate covered with a clean kitchen towel or foil to prevent drying out while avoiding sogginess from trapped steam.
Refrigerator
Store pancakes in an airtight container or wrapped tightly in plastic wrap in the fridge for up to 3 days. They may become a bit drier when cold but reheat well in a toaster or microwave with a splash of water to restore moisture.
Freezer
Freeze pancakes in a single layer on a baking sheet, then transfer to a freezer-safe bag or container for up to 2 months. Wrap well to prevent freezer burn. Thaw pancakes overnight in the fridge or reheat directly from frozen.
Reheating
Reheat pancakes in a toaster oven or skillet over medium-low heat for even warming and to regain crisp edges. Microwaving works for convenience but may make them softer. Add a little butter or syrup after reheating for best flavor.
Make Ahead
You can prepare the batter the night before and refrigerate it covered. Rest the batter at room temperature for 5 minutes before cooking. Alternatively, cook the pancakes ahead and reheat using the methods above.
FAQ
Can I use sourdough starter instead of discard?
Using active sourdough starter instead of discard will change the hydration and acidity levels, potentially making the batter too thick or sour. It’s best to use discard because it’s unfed and less active, giving the right balance for pancakes.
What if I don’t have sourdough discard?
You can substitute with buttermilk or yogurt to add acidity for the baking soda reaction. The flavor won’t be exactly the same, but you’ll still get fluffy pancakes with a slight tang.
Why are my pancakes flat and dense?
Flat pancakes usually mean your baking soda is old, the batter was overmixed, or you skipped resting the batter. Fresh leavening and gentle mixing are key for fluffy pancakes.
Can I make the batter ahead and refrigerate?
Yes! Refrigerate the batter overnight and let it come to room temperature and rest for 5 minutes before cooking. The flavor may deepen, and texture stays great.
How do I store leftover pancakes?
Cool completely, then store in an airtight container in the fridge for up to 3 days or freeze for up to 2 months. Reheat gently to keep texture.
Can I make these gluten-free?
You can try a gluten-free all-purpose flour blend, but results vary. The texture might be less fluffy and more crumbly. Adding xanthan gum can help with structure.
Why do my pancakes stick to the pan?
Make sure your pan is well greased and properly heated. Using a non-stick pan or griddle helps. Wiping the pan between batches can prevent sticking.
Can I add mix-ins like fruit or nuts?
Absolutely! Fold in berries, chocolate chips, or nuts gently after mixing the batter. Be careful not to overmix afterward to keep pancakes tender.
Final Thoughts
Give these sourdough discard pancakes a try—you’ll love the tangy flavor and fluffy texture. Don’t forget to share how yours turn out!