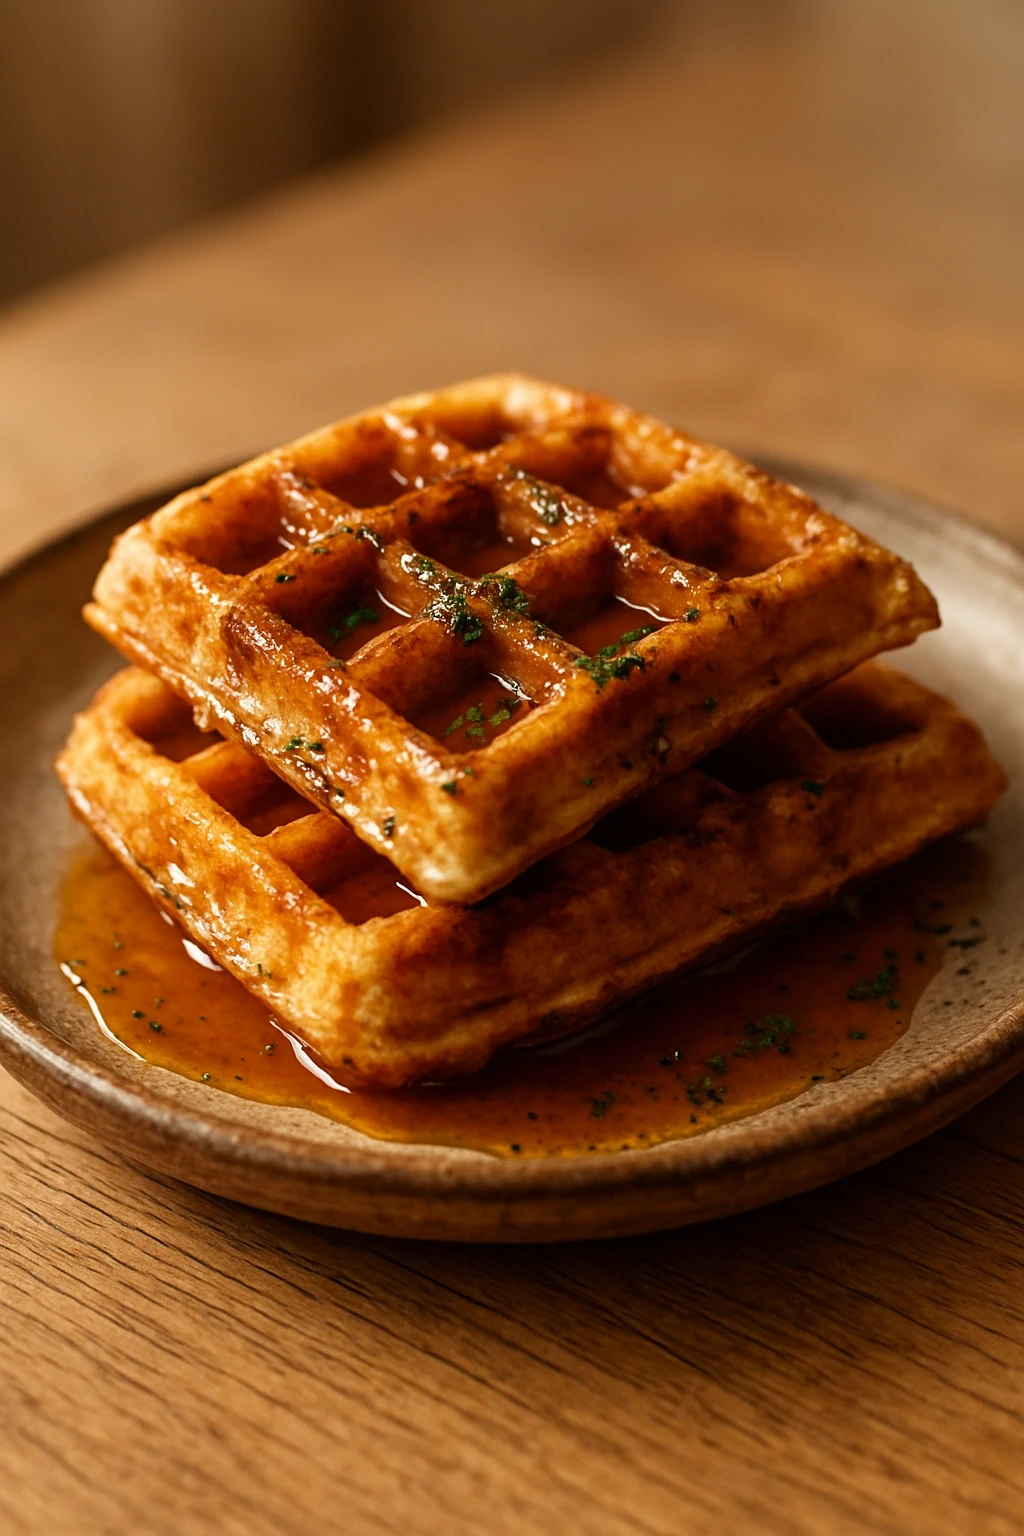
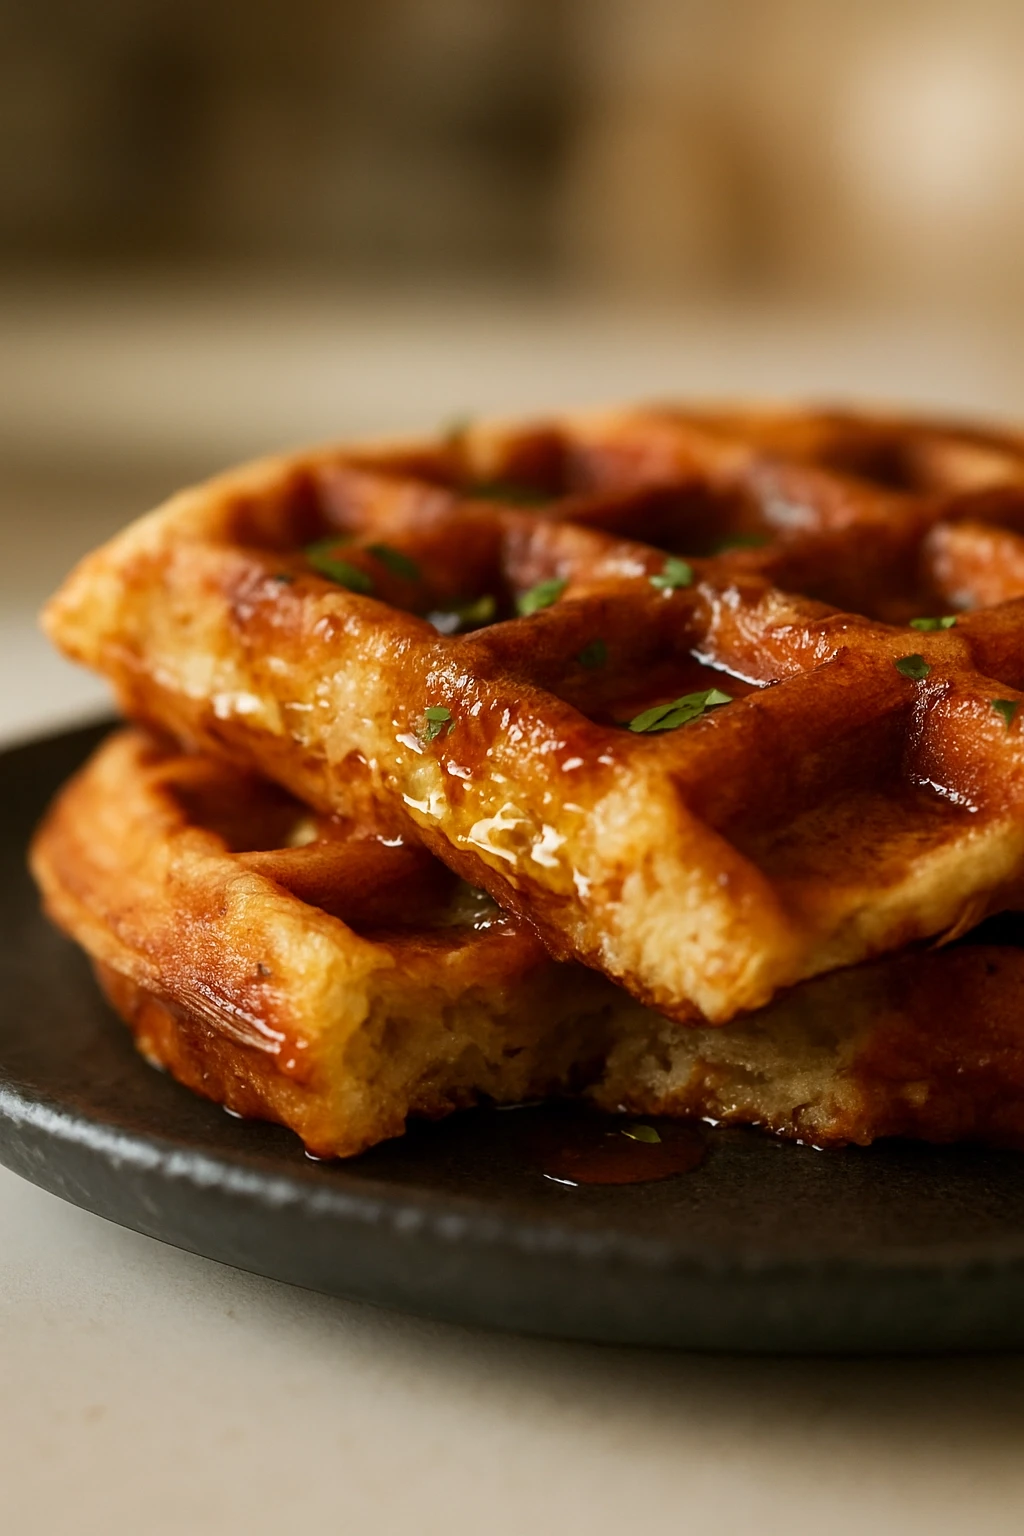
These waffles use sourdough discard to add a subtle tang and extra fluffiness. They’re a fun way to reduce waste and make weekend breakfasts feel special. Crispy outside, tender inside — perfect with maple syrup!
Introduction
I stumbled upon this recipe about a year ago when I was trying to use up my sourdough starter discard instead of tossing it. At first, I was skeptical — waffles with discard? But the tangy flavor and fluffy texture totally won me over. What makes this version stand out is the balance between the natural sourdough tang and the lightness from baking powder and soda. I also like to let the batter rest a little before cooking; it helps the waffles puff up beautifully. The finished waffles have a crisp exterior with a soft, tender crumb inside, making them an absolute treat for weekend mornings. Plus, it feels great to waste less and enjoy something delicious at the same time. I usually serve these with fresh berries and maple syrup, but they’re just as good with a smear of butter or even some yogurt. If you’ve got sourdough discard sitting around, give these a try — you might just find your new favorite breakfast!
What You'll Need
Approximately 8 waffles, 4 servings
- 1 cup sourdough starter discard, unfed and bubbly
- 1 cup all-purpose flour
- 1 tablespoon sugar
- 1 teaspoon baking powder
- 1/2 teaspoon baking soda
- 1/4 teaspoon salt
- 1 large egg
- 3/4 cup milk
- 3 tablespoons melted butter, cooled
- 1 teaspoon vanilla extract
How To Do It
Step 1
In a large bowl, whisk together the sourdough discard, milk, egg, melted butter, and vanilla extract. Combining the wet ingredients first helps create a smooth base for the batter and ensures the butter is evenly distributed, which contributes to the waffles’ tender texture. Make sure the melted butter isn’t too hot or it could cook the egg prematurely. Mixing gently but thoroughly at this stage sets you up for a light batter.
⏱ Time: 5 minutes
✓ Doneness: Smooth, slightly thick batter with no lumps of egg or butter visible
Step 2
In a separate bowl, sift together the flour, sugar, baking powder, baking soda, and salt. Sifting helps aerate the dry ingredients and prevents clumps, which is crucial for fluffy waffles. The baking powder and baking soda work together to give the waffles their rise and lightness, so don’t skip or reduce these. Once sifted, gently fold the dry ingredients into the wet mixture until just combined. Overmixing can develop gluten and make the waffles tough, so it’s okay if a few lumps remain.
⏱ Time: 5 minutes
✓ Doneness: Batter holds together but still has some small lumps; not overly smooth or runny
Step 3
Let the batter rest at room temperature for 10 to 15 minutes. This resting period allows the baking powder and baking soda to activate fully and the gluten to relax, resulting in a lighter, fluffier waffle. It also gives the sourdough flavor a chance to mellow and develop. Resist the urge to skip this step — it really makes a difference in texture.
⏱ Time: 10-15 minutes
✓ Doneness: Batter slightly thickens and bubbles start to form on the surface
Step 4
Preheat your waffle iron according to the manufacturer’s instructions and lightly grease it with butter or non-stick spray. A well-heated waffle iron ensures the batter cooks quickly, producing a crisp exterior without drying out the inside. Greasing prevents sticking and helps achieve those beautiful golden edges. Avoid opening the iron too early during cooking to prevent tearing the waffle.
⏱ Time: 5 minutes
✓ Doneness: Waffle iron is hot and ready; test with a drop of water that sizzles immediately
Step 5
Pour about 1/3 to 1/2 cup of batter onto the center of the waffle iron, spreading it gently if needed. Close the lid and cook according to your waffle maker’s instructions, usually 3-5 minutes. Cooking time varies by model, so watch for steam to slow down, which signals the waffle is done. Resist the temptation to peek too early, as this can cause the waffle to stick or tear.
⏱ Time: 3-5 minutes
✓ Doneness: Steam reduces significantly and waffle surface looks golden brown
Step 6
Carefully remove the waffle using a non-metallic utensil to avoid scratching the iron. Place it on a wire rack instead of stacking to keep it crisp. Stacking waffles traps steam and makes them soggy, which defeats the purpose of that perfect crispy exterior. If making multiple waffles, keep finished ones warm in a low oven (around 200°F) on the rack.
⏱ Time: 2 minutes
✓ Doneness: Waffle lifts easily and holds shape without breaking
Step 7
Repeat the cooking process with the remaining batter, greasing the waffle iron as needed between batches. Consistent greasing prevents sticking and helps maintain the waffle iron's non-stick surface. If the batter thickens too much while cooking, stir gently to loosen it before pouring.
⏱ Time: 10-15 minutes
✓ Doneness: Each waffle cooks evenly golden brown and crisps properly
Step 8
Serve the waffles immediately with your favorite toppings like maple syrup, fresh fruit, or a dollop of whipped cream. These waffles are best enjoyed fresh to preserve their crispness and fluffy interior. If you need to keep them longer, see storage tips below.
⏱ Time: Immediate
✓ Doneness: Warm, crisp waffles with tender, airy crumb inside
Step 9
Clean your waffle iron after it cools by wiping with a damp cloth. Avoid immersing in water to protect the heating elements. Proper maintenance keeps your waffle iron working well for many breakfasts to come.
⏱ Time: 5 minutes
✓ Doneness: Waffle iron surface clean and dry
Pro Tips
Let the batter rest before cooking.
Resting allows the gluten to relax and the leavening agents to activate fully, producing lighter, fluffier waffles. Skipping this step often results in denser, less tender waffles.
Use a well-preheated waffle iron and don’t open it too early.
A hot iron ensures the batter cooks quickly and crisps up nicely. Opening too soon can cause waffles to stick and tear, ruining their shape and texture.
Gently fold dry ingredients into wet to avoid overmixing.
Overmixing develops gluten, which makes waffles tough and chewy instead of tender and fluffy. Leaving some lumps is perfectly fine.
Use melted butter cooled to warm, not hot.
Hot butter can cook the eggs prematurely, causing curdling and uneven texture. Cooling prevents this and helps incorporate ingredients smoothly.
Serve waffles immediately or keep warm on a wire rack.
Stacking waffles traps steam and makes them soggy. A wire rack lets air circulate, preserving crispness until serving.
Use a non-metallic utensil to remove waffles.
Metal utensils can scratch non-stick waffle irons, damaging the surface and causing sticking in future uses.
Adjust batter thickness with milk if too thick.
Batter that’s too thick won’t spread properly and can lead to dense waffles. Adding a little milk loosens it for better cooking.
Common Mistakes to Avoid
Skipping the batter rest time.
Why it happens Many want to rush cooking and think resting isn’t necessary, but impatience leads to denser waffles.
Fix Plan ahead to let the batter rest 10-15 minutes at room temperature. This step improves texture dramatically by allowing gluten to relax and leavening agents to work.
Overmixing the batter.
Why it happens It’s tempting to mix until perfectly smooth, but this develops gluten and toughens the waffles.
Fix Mix just until dry ingredients are moistened. A few lumps are okay and help keep waffles tender and light.
Using cold melted butter straight from the microwave.
Why it happens Microwaved butter can be unevenly hot, which cooks eggs early and causes curdling.
Fix Let melted butter cool to warm before adding to the batter for smooth mixing and better texture.
Not preheating the waffle iron enough.
Why it happens Rushing to cook waffles can result in pale, soggy waffles that stick to the iron.
Fix Preheat the iron fully until hot and test with a drop of water that sizzles immediately before adding batter.
Stacking waffles immediately after cooking.
Why it happens Stacking traps steam, making waffles soggy and limp.
Fix Place waffles on a wire rack to cool slightly and keep crisp until serving.
Variations
Blueberry Sourdough Waffles
Fold fresh or frozen blueberries into the batter just before cooking for bursts of juicy sweetness. The tartness of the berries complements the sourdough tang beautifully.
Note: Add berries gently to avoid breaking them and adjust cooking time slightly if batter is wetter.
Cinnamon Spice Waffles
Add 1 teaspoon ground cinnamon and a pinch of nutmeg to the dry ingredients for a warm, cozy flavor perfect for fall mornings.
Note: Spices don’t affect texture much but enhance aroma and flavor; no timing change needed.
Gluten-Free Sourdough Waffles
Substitute all-purpose flour with a gluten-free blend that includes xanthan gum. Texture will be slightly different but still delicious and tender.
Note: Check batter consistency and add a bit more milk if too thick; cook slightly longer due to different flour absorption.
Savory Herb Waffles
Omit sugar and vanilla, add chopped fresh herbs like chives or thyme, and a pinch of black pepper for a savory twist that pairs well with eggs and bacon.
Note: Reduce sweetness and watch for browning as savory waffles may cook faster.
Chocolate Chip Sourdough Waffles
Stir mini chocolate chips into the batter for a sweet treat that kids and adults will love. The sourdough tang balances the sweetness nicely.
Note: Add chips last to prevent sinking; cook as usual but avoid opening waffle iron early to prevent melting chips from sticking.
Nutrition
Per Serving:
Nutritional values are estimates and may vary based on specific ingredients used.
Storage & Tips
Room Temperature
Waffles can be kept at room temperature covered loosely for up to 2 hours. Avoid airtight containers at room temp to prevent sogginess from trapped steam.
Refrigerator
Store waffles in an airtight container or zip-top bag for up to 3 days. They may lose some crispness but can be reheated in a toaster or oven to restore texture.
Freezer
Freeze waffles in a single layer on a baking sheet, then transfer to a freezer bag for up to 2 months. This prevents them from sticking together. Thaw briefly or reheat directly from frozen for best results.
Reheating
Reheat waffles in a toaster or oven at 350°F for 5-8 minutes to regain crispness. Avoid microwaving alone as it makes waffles soggy. Add a small pat of butter before reheating to enhance flavor and texture.
Make Ahead
Mix batter the night before and store covered in the fridge. Let it come to room temperature and rest 10 minutes before cooking. You can also cook waffles ahead, freeze them, and reheat as needed.
FAQ
Can I use active sourdough starter instead of discard?
Active starter is more hydrated and has more yeast activity, which can affect batter consistency and rise. It’s best to use discard or unfed starter for this recipe to avoid overly sour flavor and adjust liquid accordingly.
What if I don’t have sourdough discard?
You can substitute with buttermilk or plain yogurt to provide acidity that reacts with baking soda. The flavor won’t be exactly the same, but you’ll still get fluffy waffles with a slight tang.
Why are my waffles turning out flat?
Common reasons include expired leavening agents, skipping batter rest, or not preheating the waffle iron properly. Make sure your baking powder and soda are fresh and let the batter rest before cooking.
Can I make the batter ahead of time?
Yes! The batter actually benefits from resting overnight in the fridge, which deepens the sourdough flavor and improves texture. Just bring it to room temperature and stir gently before cooking.
How do I keep waffles crispy if making a large batch?
Place cooked waffles on a wire rack in a single layer in a warm oven (about 200°F). This prevents steam buildup and keeps them crisp until serving.
Can I freeze leftover waffles?
Absolutely. Freeze waffles in a single layer on a baking sheet, then store in a freezer bag. Reheat directly from frozen in a toaster or oven for best texture.
What’s the best way to remove waffles without breaking them?
Use a silicone or wooden spatula to gently lift the edges and release the waffle. Avoid metal utensils as they can scratch the iron and cause sticking.
Can I add mix-ins like chocolate chips or nuts?
Yes! Fold them in gently at the end to avoid overmixing. Be mindful that some mix-ins can make the batter heavier, so cook waffles a little longer if needed.
Final Thoughts
I hope you enjoy these sourdough discard waffles as much as my family does. Give them a try and let me know how they turn out — weekend mornings just got tastier!