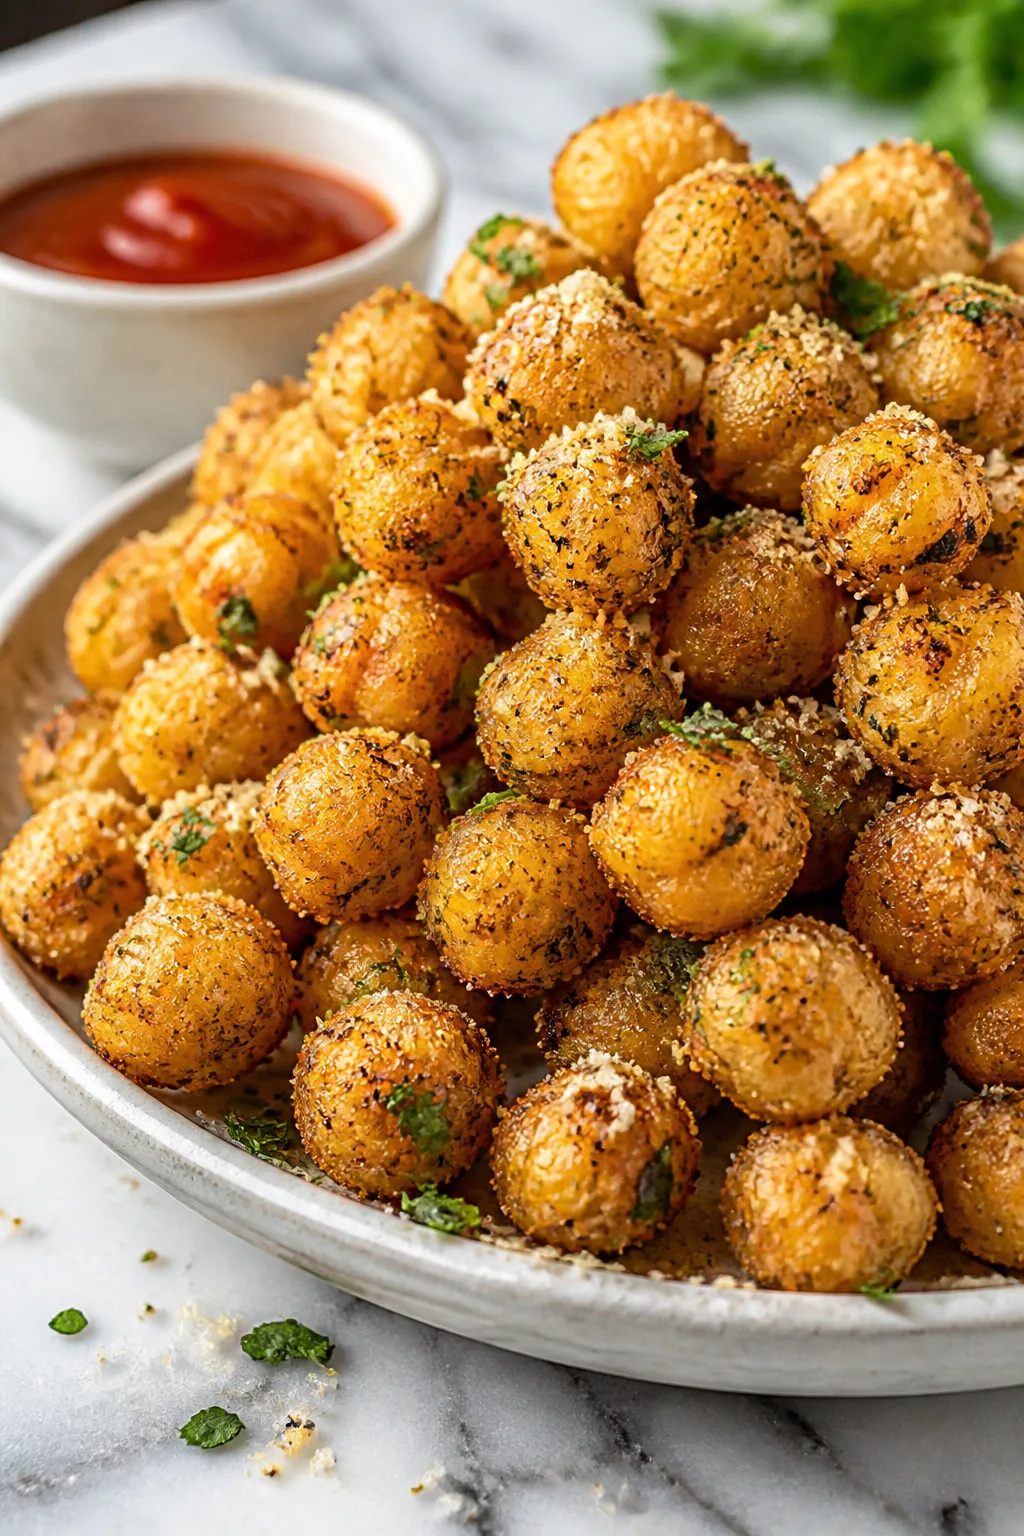
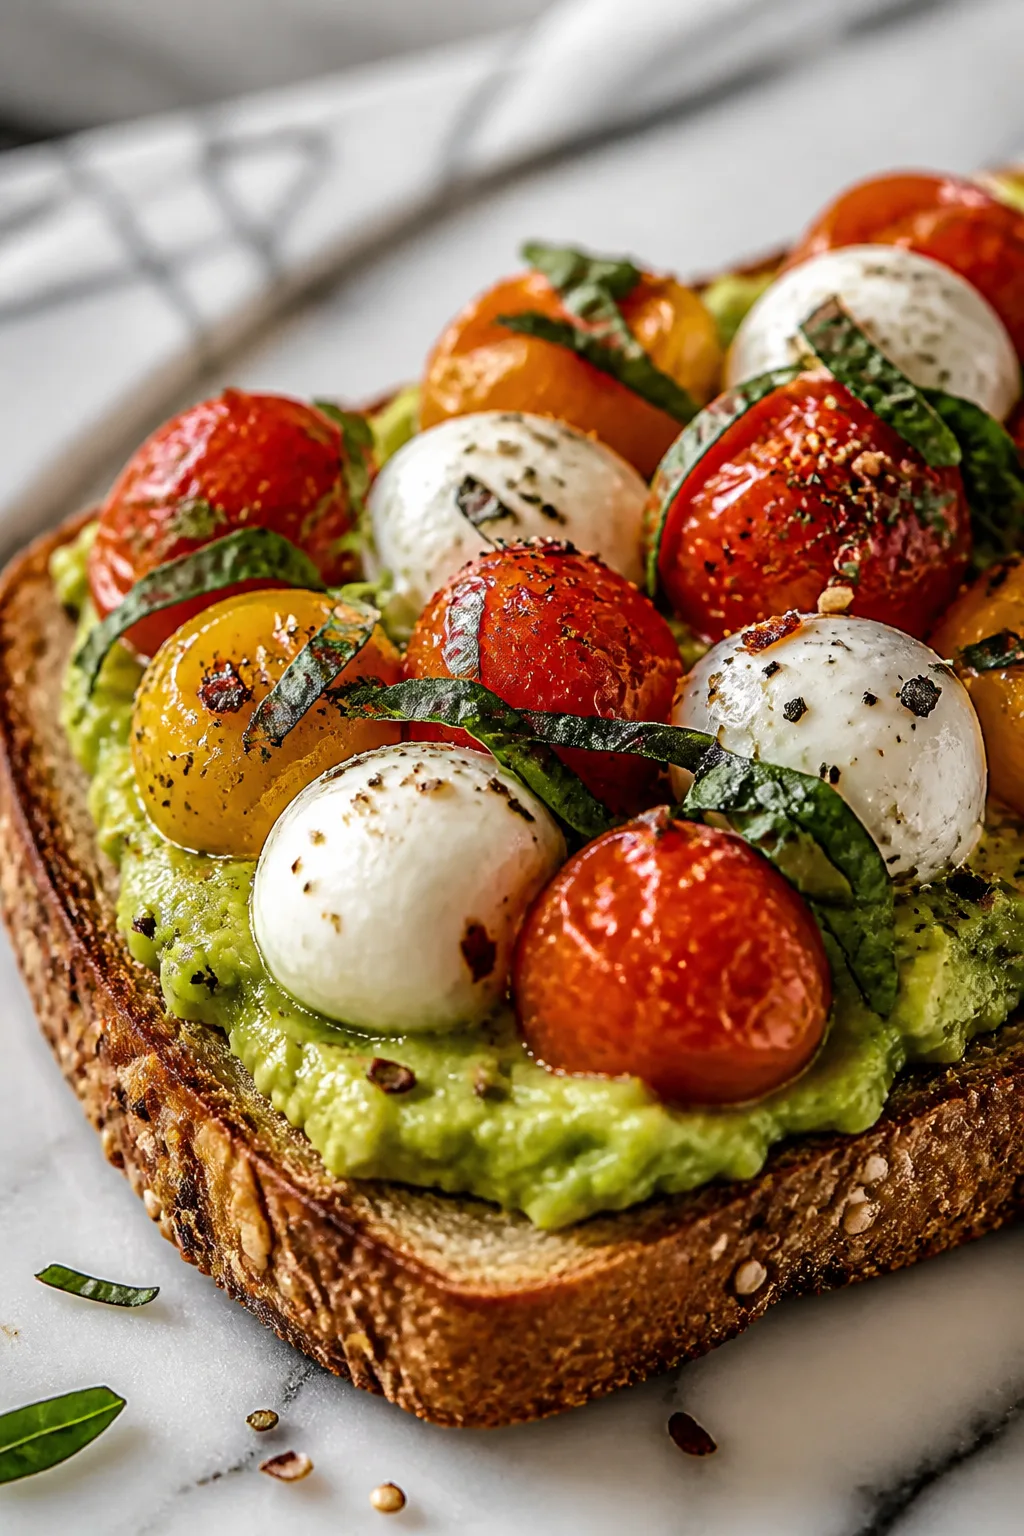
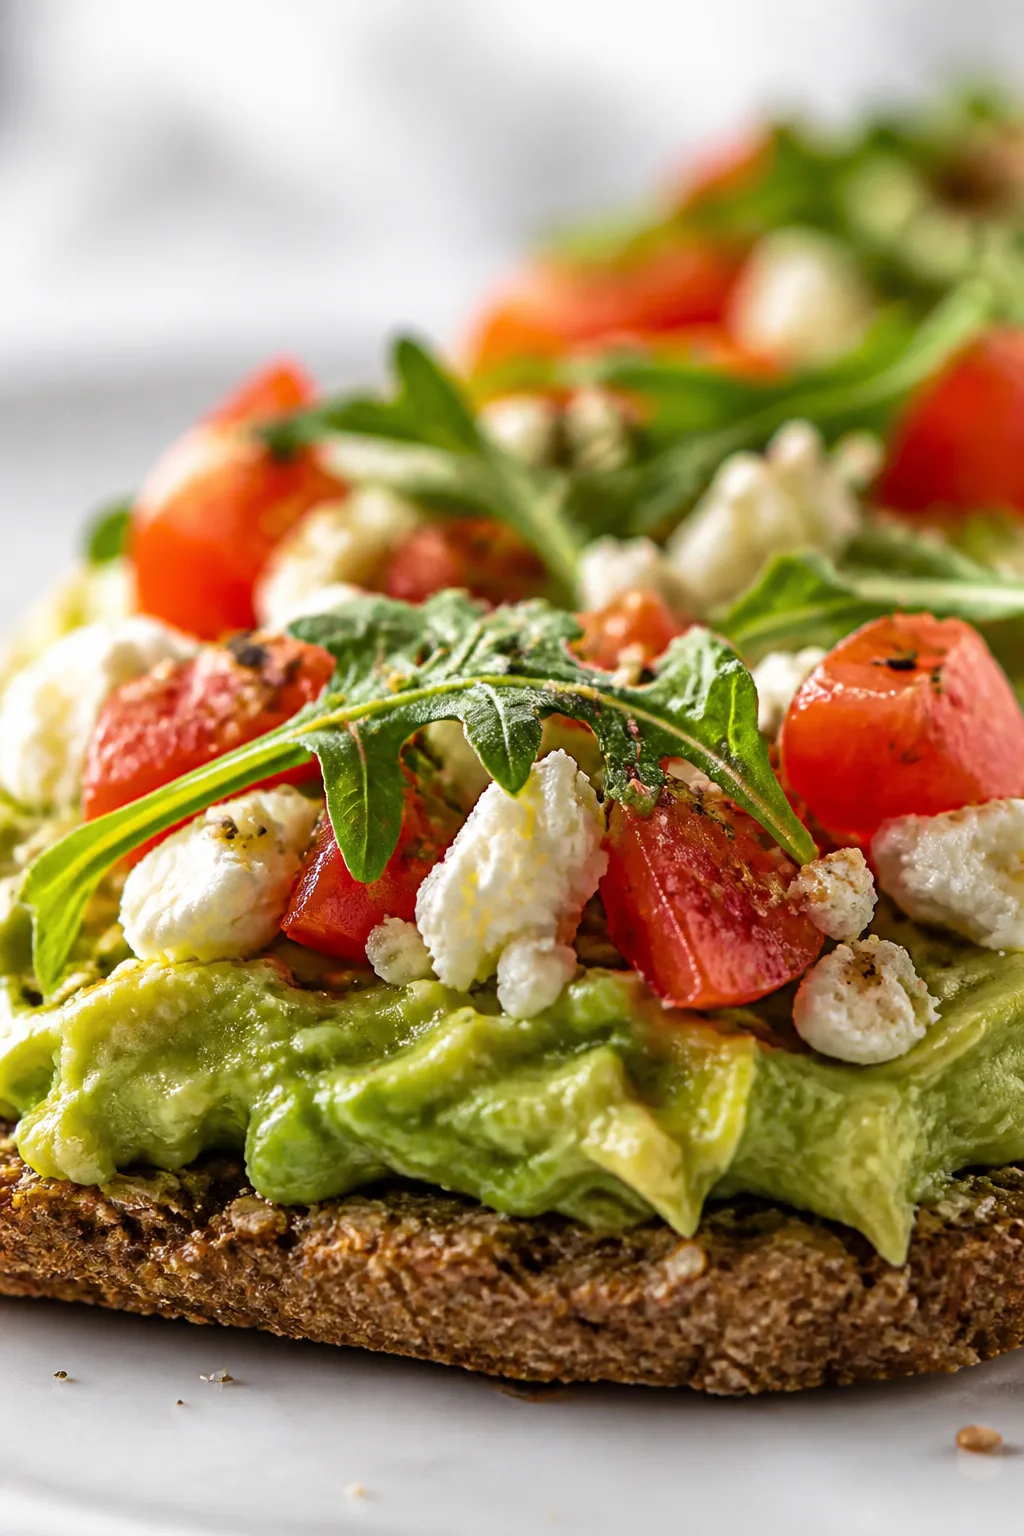
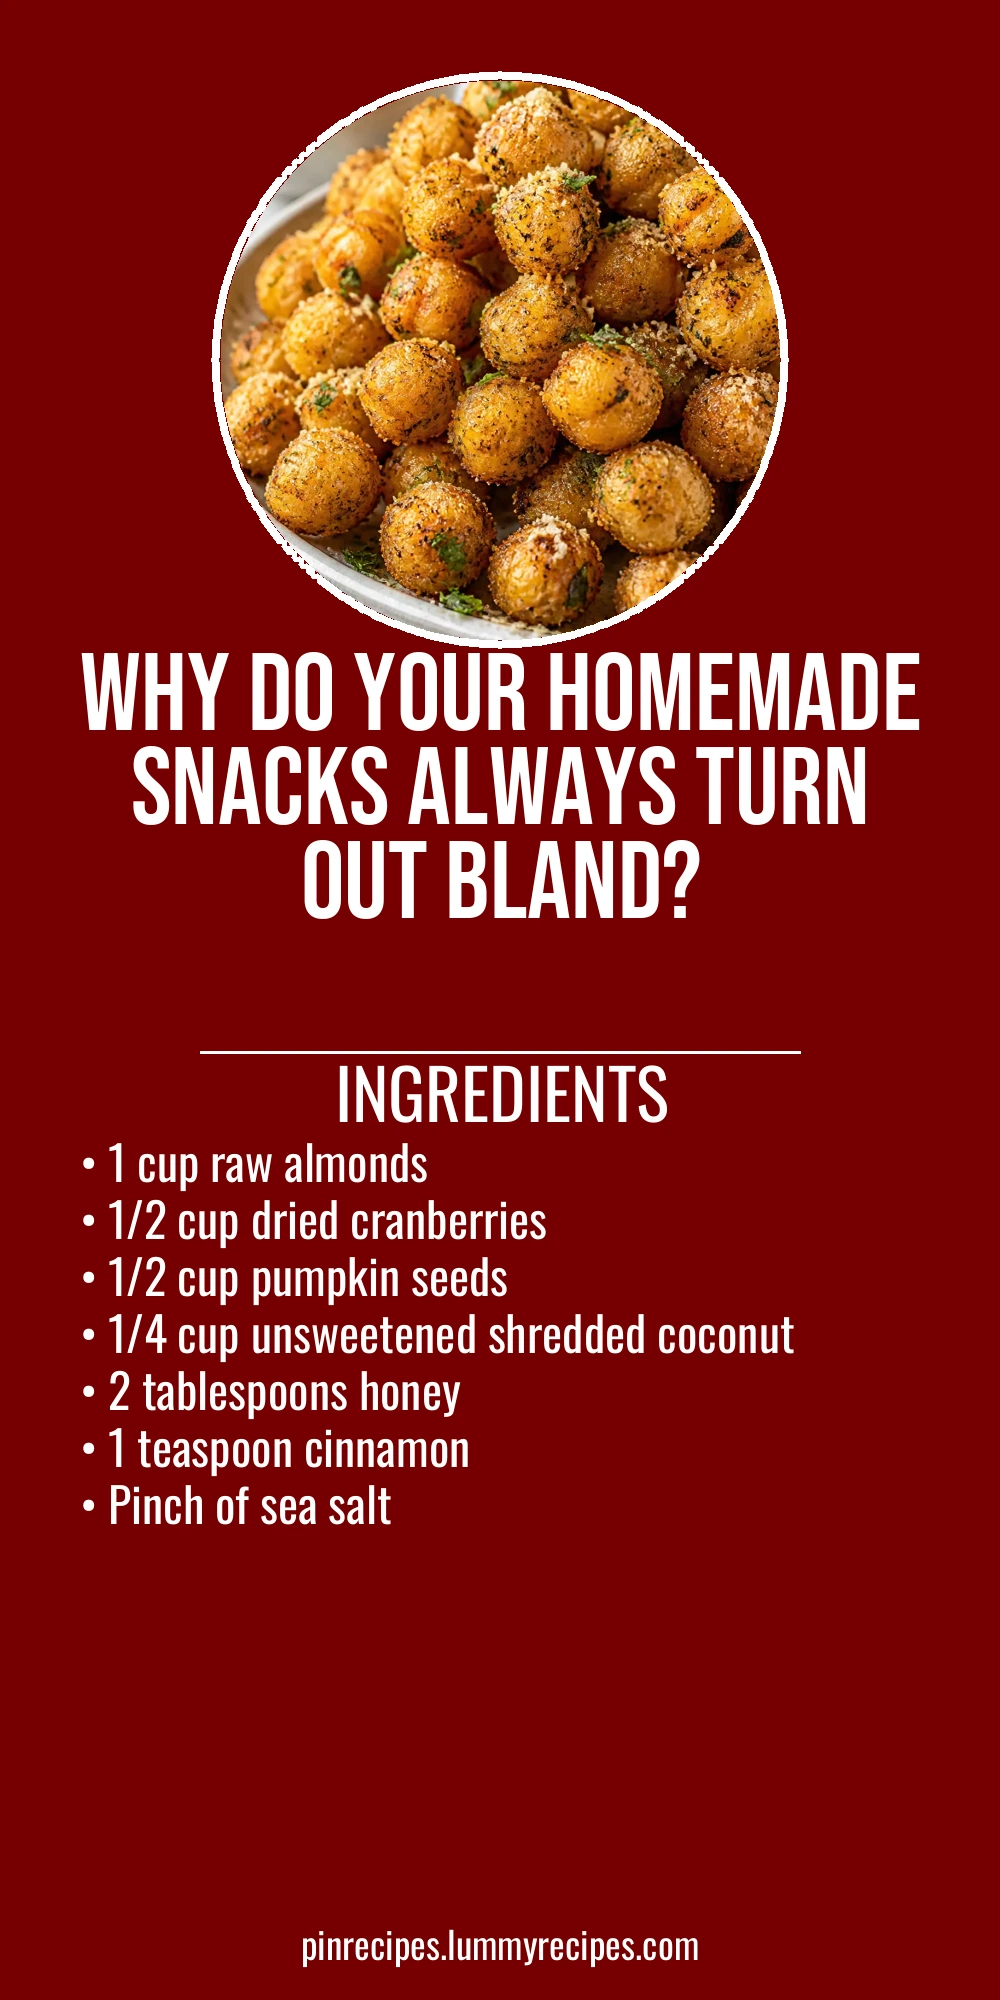
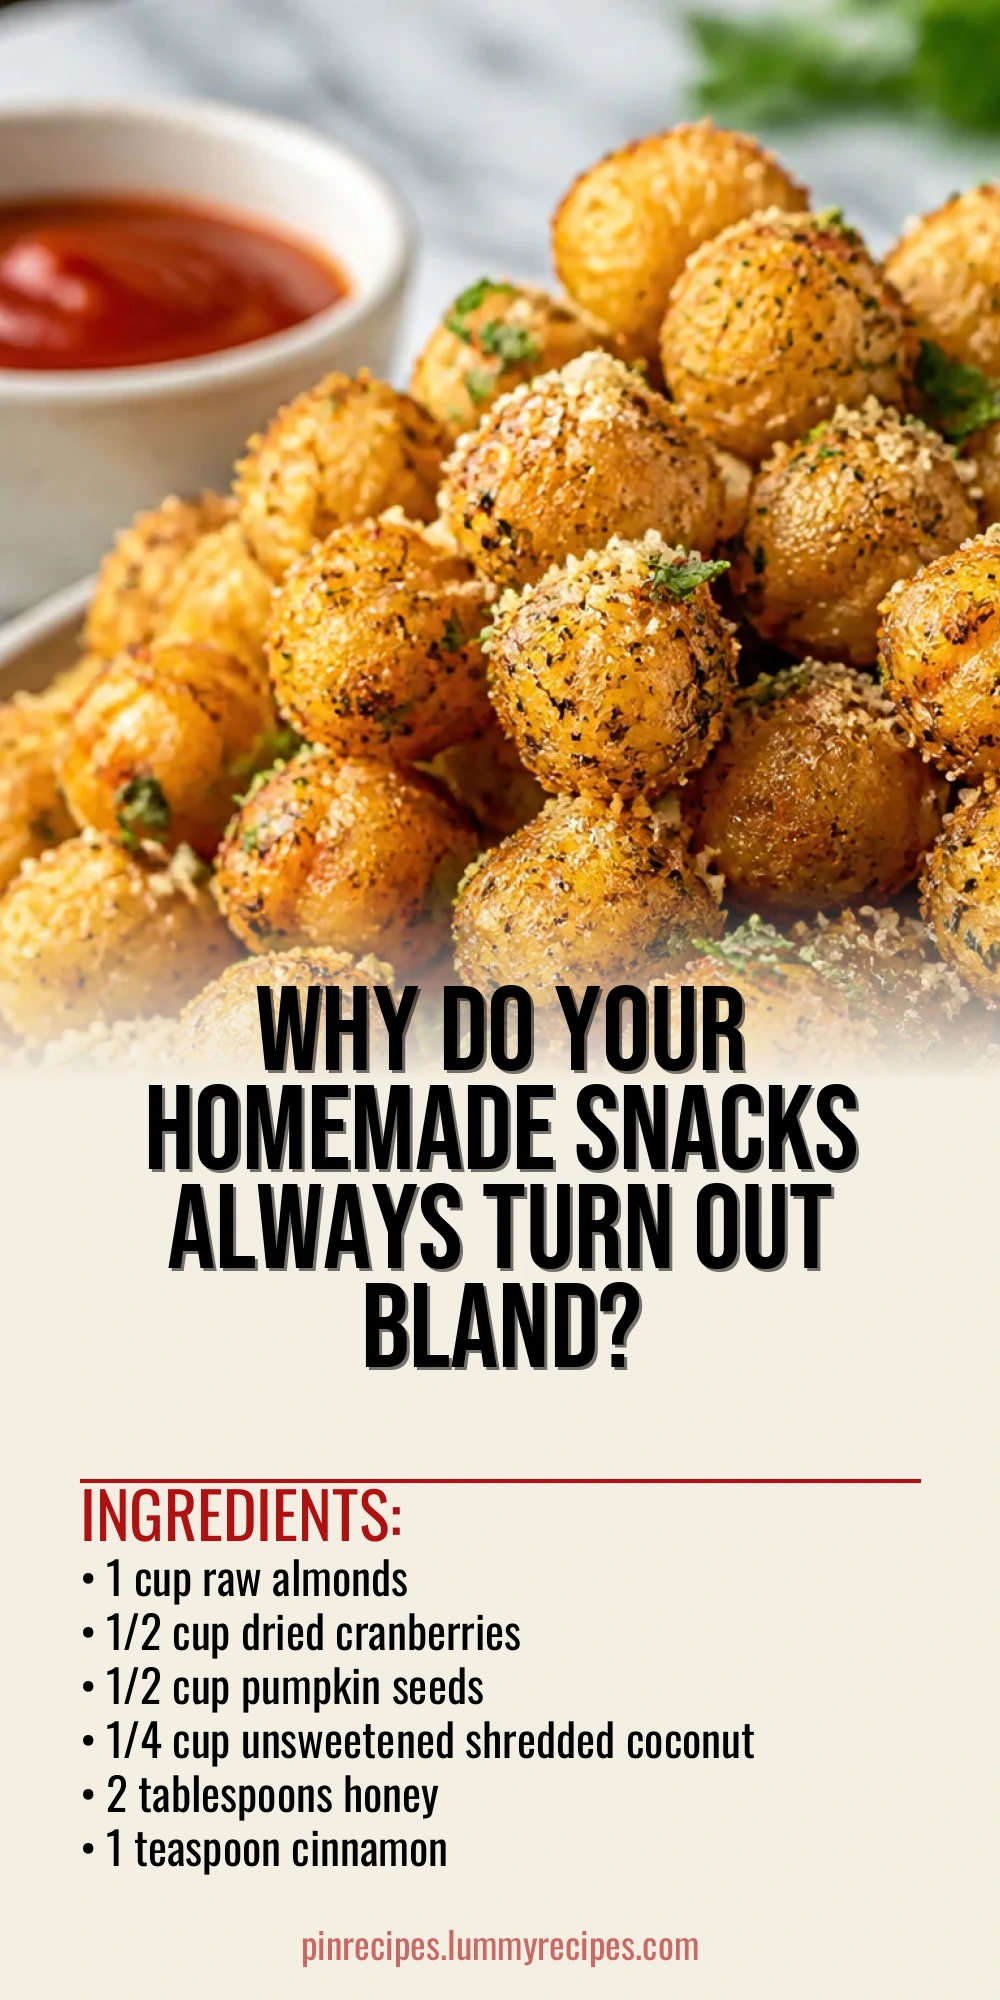
I love whipping up these healthy homemade snacks because they’re simple, tasty, and keep me fueled throughout the day. Using wholesome ingredients like nuts and dried fruit, they’re perfect for a quick bite or packing in lunchboxes.
Introduction
I first started making these healthy homemade snacks when I wanted something quick and nourishing for my afternoon cravings. Most store-bought options felt too sugary or processed, so I experimented with simple, wholesome ingredients. What sets this version apart is the mix of crunchy nuts and seeds with just a touch of honey and cinnamon for warmth — it’s a flavor combo my family can’t get enough of. The trick I learned is to toast the nuts and seeds lightly before mixing everything, which brings out a deeper flavor and adds a satisfying crunch. These snacks are great for keeping energy up between meals or packing in lunchboxes, and they come together in under 20 minutes. Plus, they store well, so you can make a batch ahead and have a ready-to-go snack anytime. I think you’ll love how easy and versatile they are — they’re perfect for busy days when you want something nourishing without fuss.
What You'll Need
Approximately 6 cups, 6 servings
- 1 cup raw almonds
- 1/2 cup dried cranberries
- 1/2 cup pumpkin seeds
- 1/4 cup unsweetened shredded coconut
- 2 tablespoons honey
- 1 teaspoon cinnamon
- Pinch of sea salt
How To Do It
Step 1
Preheat your oven to 350°F (175°C). Spread the raw almonds and pumpkin seeds on a baking sheet in an even layer. Toast them in the oven for about 8-10 minutes, stirring halfway through to ensure even browning. Toasting nuts and seeds enhances their natural oils and flavor, giving your snack mix a richer taste and crunch. Watch closely to avoid burning, as nuts can go from toasted to burnt quickly.
⏱ Time: 10 minutes
✓ Doneness: Nuts and seeds should be golden brown and fragrant.
Step 2
While the nuts cool slightly, mix the dried cranberries, shredded coconut, cinnamon, and sea salt in a large bowl. Once the toasted nuts and seeds are cool enough to handle, add them to the bowl. Drizzle the honey over the mixture and toss everything together until evenly coated. The honey acts as a natural binder and adds a subtle sweetness that balances the savory notes. Be gentle when mixing to keep the nuts intact and maintain that delightful crunch.
⏱ Time: 5 minutes
✓ Doneness: The mixture should look evenly coated with honey and spices.
Step 3
Spread the snack mix onto a parchment-lined baking sheet and let it cool completely at room temperature. This step helps the honey set slightly, so the mix clumps together a bit, making it easier to grab handfuls. If you prefer looser pieces, you can skip this step and store immediately in an airtight container.
⏱ Time: 15 minutes
✓ Doneness: Snack mix is cool to the touch and slightly clumped.
Step 4
Transfer the cooled snack mix into an airtight container for storage. Keep it at room temperature or in the fridge if you prefer it chilled. This snack mix stays fresh for about a week, making it great for meal prep or quick grab-and-go options.
⏱ Time: 2 minutes
✓ Doneness: Stored in a sealed container, ready to enjoy anytime.
Step 5
To serve, scoop out your desired portion and enjoy as is, or sprinkle over yogurt or oatmeal for an extra crunchy boost. These snacks add texture and flavor, making breakfast or snack time more satisfying.
⏱ Time: 1 minute
✓ Doneness: Snack is ready to eat or use as a topping.
Step 6
If you want to add a little variety, toss in some dark chocolate chips or chopped dried apricots after mixing. This adds a touch of indulgence without overpowering the healthy base. Just be sure to add these extras after the honey coating step to avoid melting or clumping.
⏱ Time: 3 minutes
✓ Doneness: Extras evenly distributed without clumping.
Step 7
For a savory twist, swap the cinnamon and honey for smoked paprika and a pinch of cayenne pepper before mixing. This variation gives the snack a smoky, spicy kick that pairs well with the crunchy seeds and nuts.
⏱ Time: 3 minutes
✓ Doneness: Spices evenly coated on the mix with no clumps.
Step 8
If you prefer your snacks less sweet, reduce the honey to 1 tablespoon or replace it with pure maple syrup for a different flavor profile. The syrup also helps bind the mix while adding a subtle sweetness.
⏱ Time: 2 minutes
✓ Doneness: Mixture is lightly coated and sticky enough to hold together.
Step 9
Always taste your snack mix before storing and adjust salt or spice levels to your liking. This final tweak ensures every batch suits your personal preference perfectly.
⏱ Time: 2 minutes
✓ Doneness: Balanced flavor with no overpowering notes.
Pro Tips
Toast nuts and seeds evenly by stirring halfway through baking.
Even toasting ensures consistent flavor and prevents burning. Nuts on the edges of the pan can brown faster, so stirring redistributes them for uniform heat exposure, producing a balanced crunch and aroma.
Cool nuts completely before mixing with honey.
If nuts are too hot, the honey can become too runny and the coating won’t stick well. Cooling helps the honey bind properly, creating a nice texture without sogginess.
Use parchment paper for easy cleanup and even toasting.
Parchment prevents sticking and makes transferring the toasted nuts easier. It also helps distribute heat evenly, reducing the risk of burnt spots.
Adjust spices to your taste but start with small amounts.
Spices like cinnamon can quickly overpower a snack mix. Starting small lets you build flavor gradually without masking the natural nutty notes.
Store snacks in airtight containers to maintain freshness.
Exposure to air causes nuts to go stale and lose crunch. Airtight containers preserve texture and flavor for days, so your snacks stay enjoyable longer.
Add mix-ins like chocolate chips after coating with honey.
Adding chocolate before coating can cause melting or clumping. Adding them last keeps their shape and texture intact.
Experiment with sweet and savory variations for variety.
Changing spices or sweeteners keeps the snack interesting and lets you tailor it to different moods or meals, increasing its versatility.
Common Mistakes to Avoid
Burning nuts during toasting
Why it happens It’s easy to get distracted or set the oven too high, causing nuts to burn quickly due to their natural oils.
Fix Set a timer and stir nuts halfway through baking. Use lower temperature if needed and watch closely during the last few minutes to pull them out at the perfect golden-brown stage.
Mixing honey while nuts are still hot
Why it happens Hot nuts cause the honey to become too liquid and runny, preventing proper coating.
Fix Allow nuts to cool to room temperature before combining with honey to ensure the mixture binds well and maintains texture.
Using pre-salted or flavored nuts
Why it happens Pre-seasoned nuts can throw off the flavor balance and make the snack too salty or overpowering.
Fix Always start with raw, unsalted nuts and control seasoning yourself for best results.
Storing snacks in non-airtight containers
Why it happens Exposure to air leads to stale nuts and loss of crunch.
Fix Use airtight containers or resealable bags to keep snacks fresh and crunchy for longer.
Overloading the mix with too many ingredients
Why it happens Too many flavors or textures can clash and make the snack less enjoyable.
Fix Keep the ingredient list simple and balanced, adding extras sparingly to maintain harmony.
Variations
Chocolate Chip and Cherry Snack Mix
Add 1/4 cup dark chocolate chips and 1/4 cup chopped dried cherries after mixing the honey coating. This adds a sweet, indulgent touch without losing the healthy base. Expect a chewier texture and a richer flavor profile.
Note: Add mix-ins after coating to avoid melting or clumping.
Savory Spiced Snack Mix
Replace cinnamon and honey with 1 teaspoon smoked paprika, 1/2 teaspoon cayenne, and 1 tablespoon olive oil. This variation offers a smoky, spicy kick perfect for savory snack lovers. It’s less sweet but equally addictive.
Note: Toss nuts in oil and spices before toasting for even flavor.
Maple and Walnut Snack Mix
Swap almonds for walnuts and honey for pure maple syrup. This mix has a softer texture and a distinct maple flavor, great for fall or winter snacking. Toast walnuts gently to avoid bitterness.
Note: Maple syrup tends to be thinner; adjust quantity to prevent sogginess.
Gluten-Free Granola Style Mix
Add gluten-free oats and chia seeds to the base recipe. This creates a granola-like snack that’s great for breakfast or topping yogurt. It’s heartier and more filling with extra fiber.
Note: Toast oats separately to avoid burning before mixing.
No-Bake Energy Bites
Combine all ingredients with a bit more honey and roll into balls instead of baking. These bite-sized snacks are portable and perfect for on-the-go energy boosts.
Note: Chill bites for at least 30 minutes to set before serving.
Nutrition
Per Serving:
Nutritional values are estimates and may vary based on specific ingredients used.
Storage & Tips
Room Temperature
Store the snack mix in an airtight container at room temperature for up to 5 days. Keep it in a cool, dry place away from direct sunlight to maintain freshness and crunch. Avoid humid areas as moisture can soften the mix.
Refrigerator
You can refrigerate the snack mix for up to 2 weeks in an airtight container. The cooler temperature helps extend shelf life, but the mix may lose some crunch. Let it come to room temperature before eating for best texture.
Freezer
Freeze the snack mix in a sealed freezer bag or container for up to 3 months. To prevent freezer burn, remove as much air as possible before sealing. Thaw at room temperature before serving; the texture will be close to fresh.
Reheating
This snack mix is best enjoyed cold or at room temperature. If you prefer it warm, toast it briefly in a 300°F oven for 3-5 minutes to refresh the crunch without burning. Avoid microwaving as it can make the mix soggy.
Make Ahead
Prepare the snack mix up to 2 days ahead and store in an airtight container at room temperature. Toast nuts and seeds in advance, then mix with honey and other ingredients just before serving to maintain freshness and texture.
FAQ
Can I use other nuts instead of almonds and pumpkin seeds?
Absolutely! Walnuts, pecans, cashews, or sunflower seeds work great. Just keep in mind that different nuts have different toasting times and textures. Adjust the toasting time accordingly and watch closely to avoid burning.
How long does this snack mix keep fresh?
Stored properly in an airtight container at room temperature, the snack mix stays fresh for about 5 days. Refrigerating can extend this to 2 weeks, but the texture might change slightly. Freezing is also an option for up to 3 months.
Can I make this recipe vegan?
Yes! Substitute honey with pure maple syrup or agave nectar to keep it vegan. The flavor will be slightly different but still delicious and sticky enough to bind the ingredients.
Is it okay to skip the toasting step?
You can skip toasting for a quicker snack, but toasting really enhances flavor and crunch. Raw nuts tend to have a milder taste and softer texture, so toasting is recommended for best results.
How can I make the snack mix less sweet?
Reduce the honey or sweetener amount, or omit the dried fruit. You can also add more nuts and seeds to balance the sweetness. Adding a pinch more salt can also help offset sweetness.
Can I add chocolate chips to this snack mix?
Yes, but add them after the honey coating step and once the mix has cooled to prevent melting. This keeps the chocolate chips intact and adds a lovely sweet touch.
What if my snack mix turns out too sticky?
If it’s too sticky, spread it out on parchment and let it cool completely to firm up. You can also reduce the honey slightly next time or add a bit more nuts and seeds to absorb excess moisture.
Can I store this snack mix in the freezer?
Yes, freezing is a great way to extend shelf life up to 3 months. Use a sealed container or freezer bag, remove excess air, and thaw at room temperature before eating.
Is this snack mix suitable for kids?
Definitely! The flavors are mild and naturally sweet, plus the ingredients are wholesome and nutritious. Just be mindful of nut allergies and adjust ingredients accordingly.
How can I make this snack mix spicier?
Add a pinch of cayenne pepper or chili powder to the spice mix before coating with honey. Start with a small amount to avoid overpowering the other flavors.
Final Thoughts
Give this healthy homemade snack recipe a try and enjoy a tasty, wholesome treat anytime. I’d love to hear how your family likes it—don’t forget to share your results!