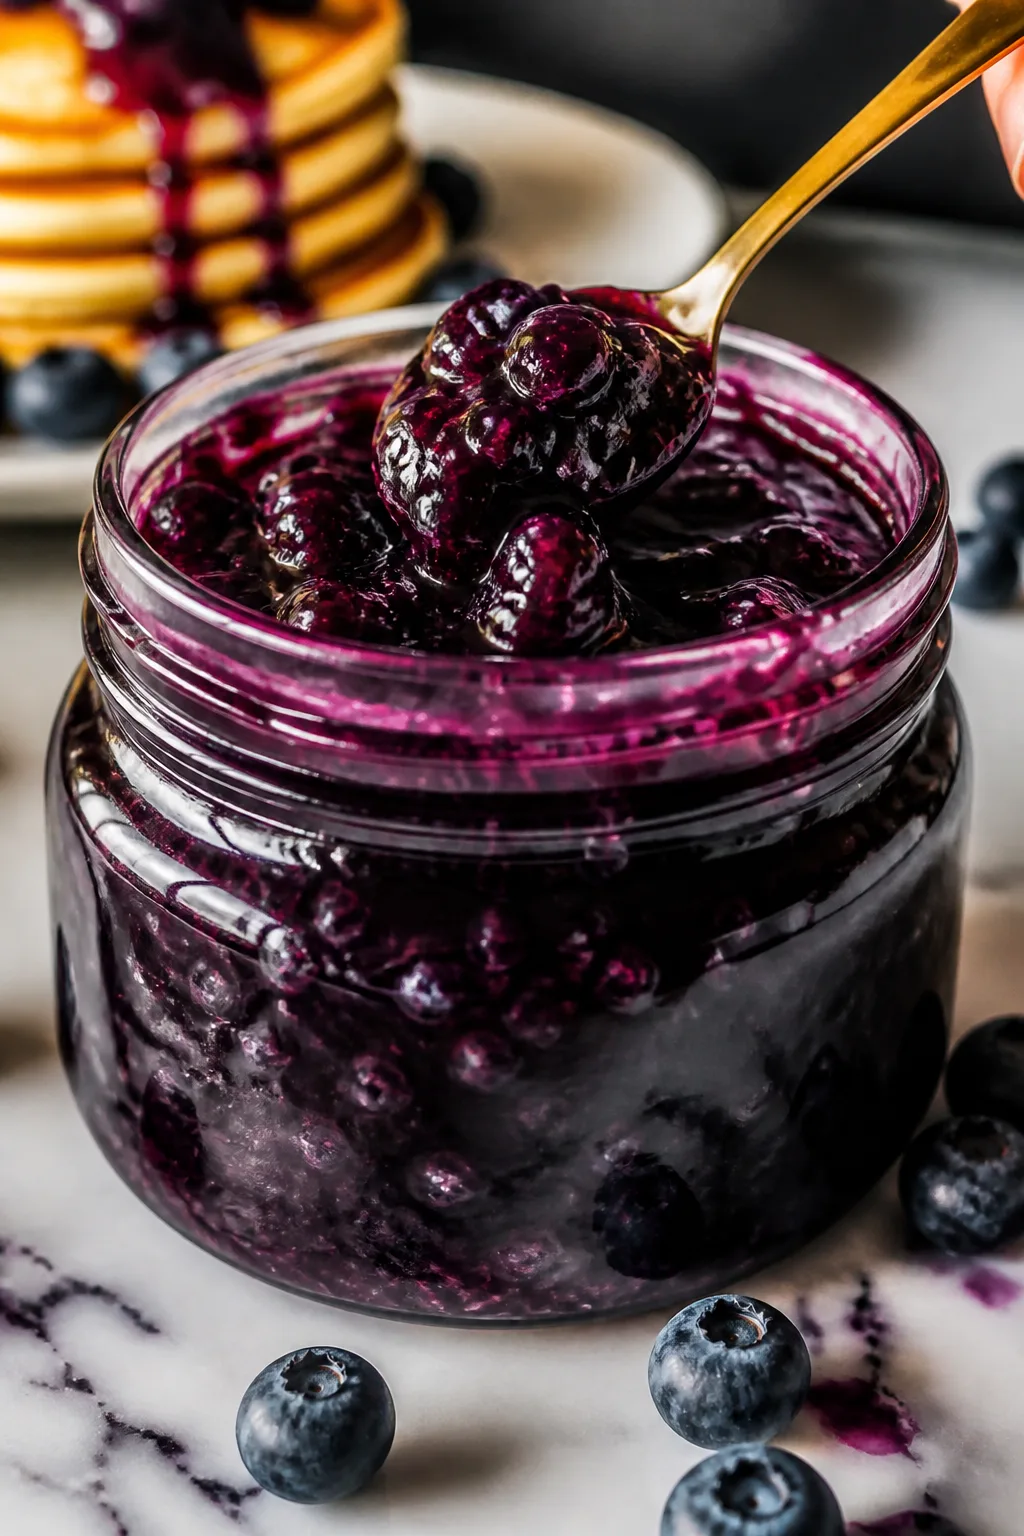
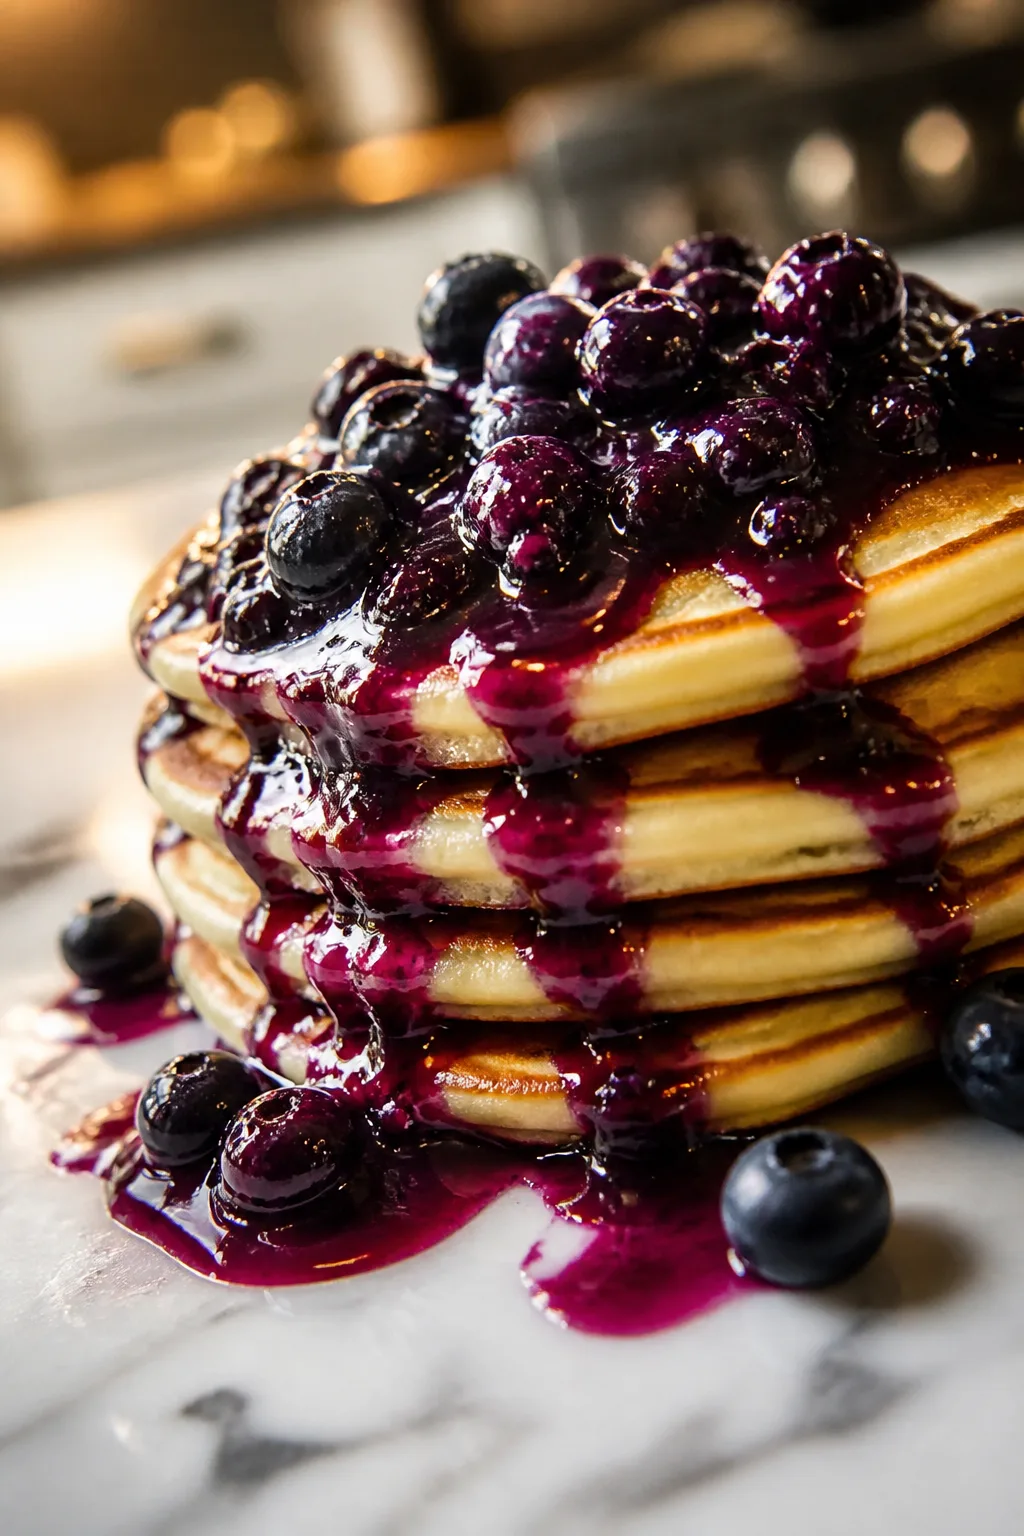
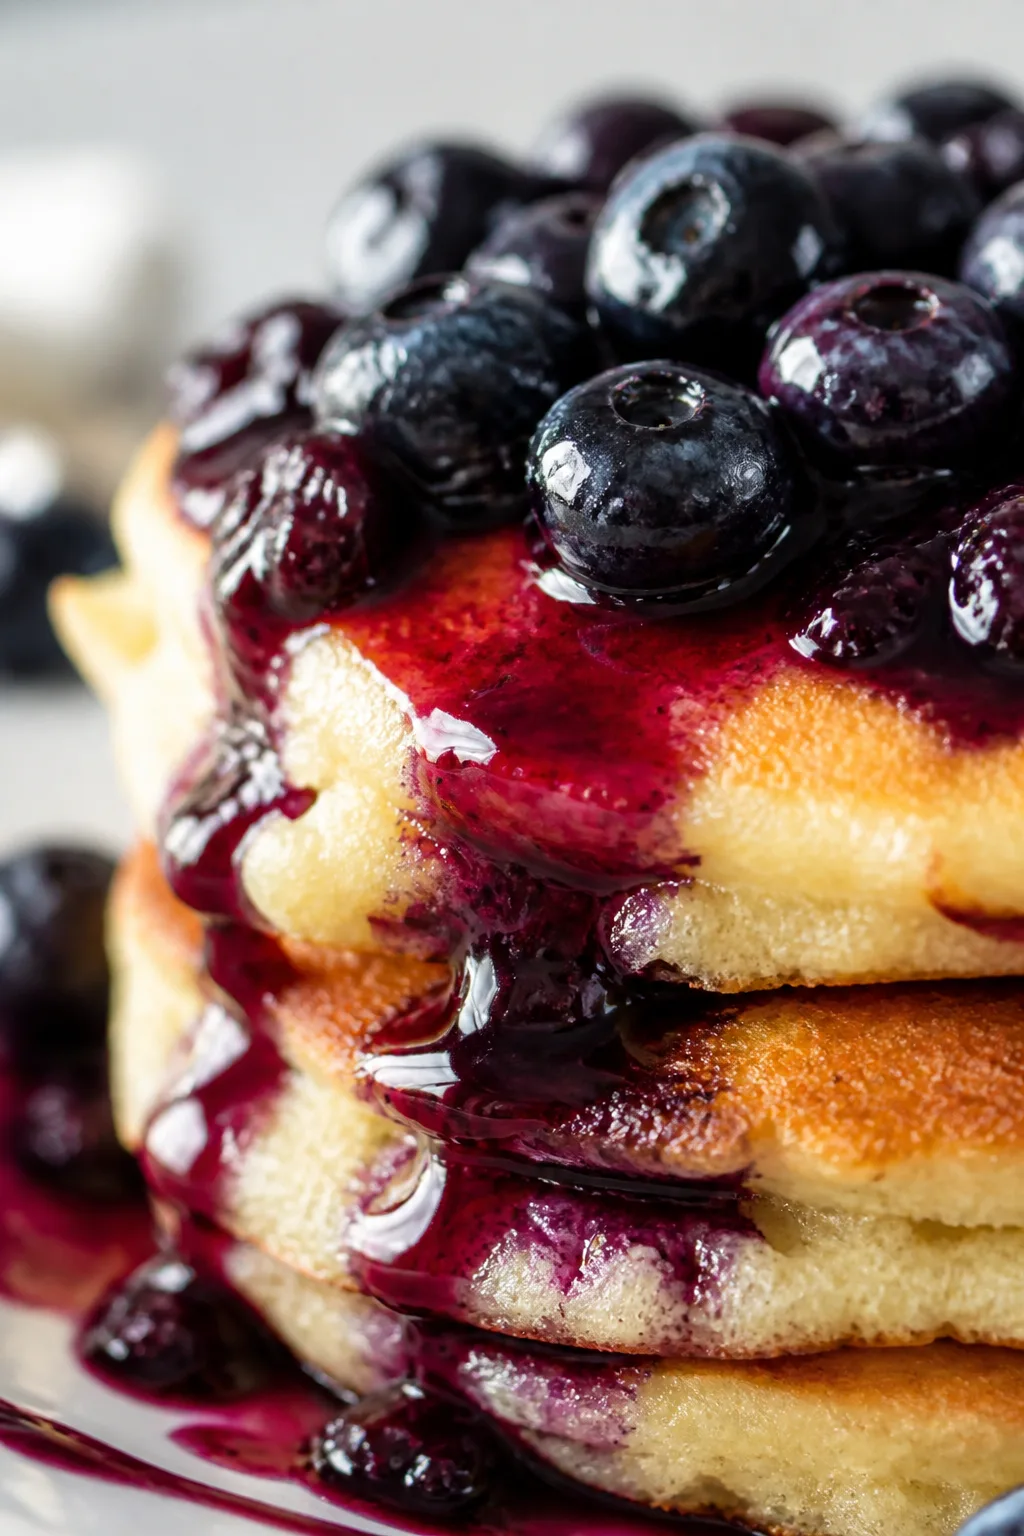
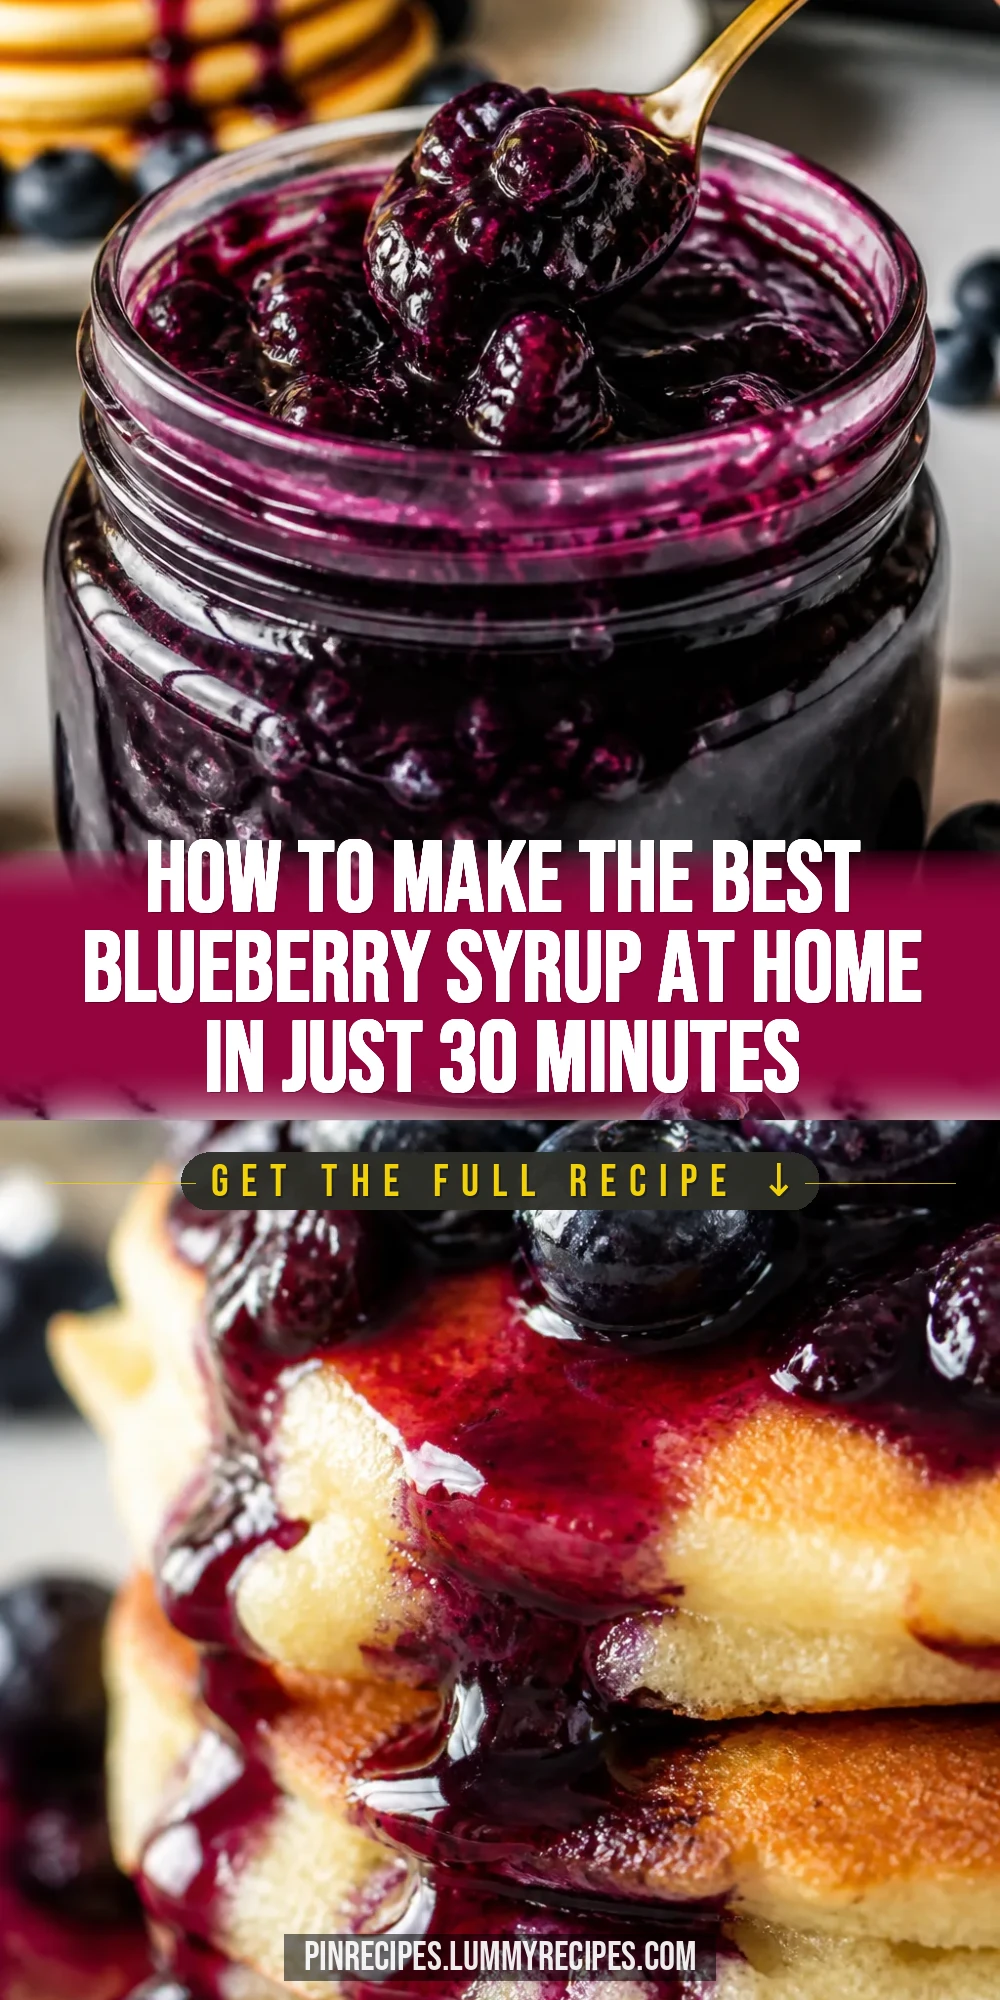
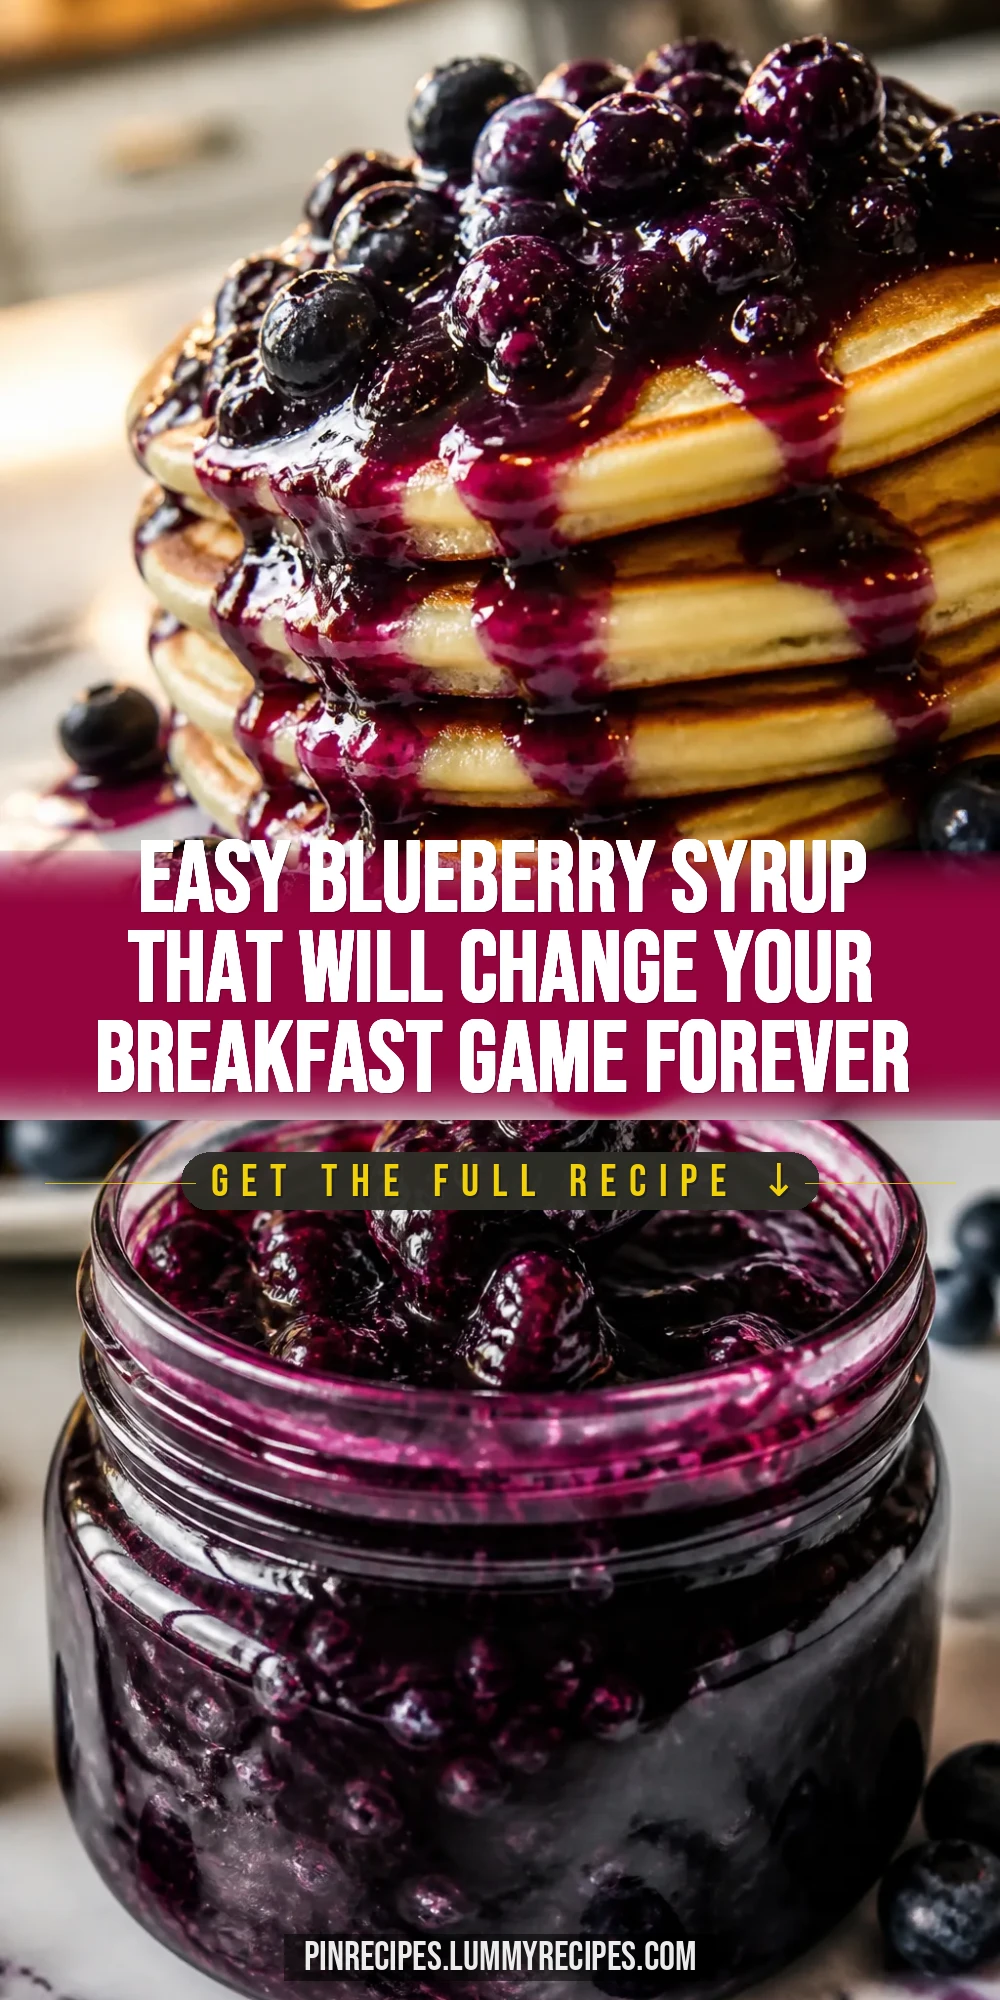
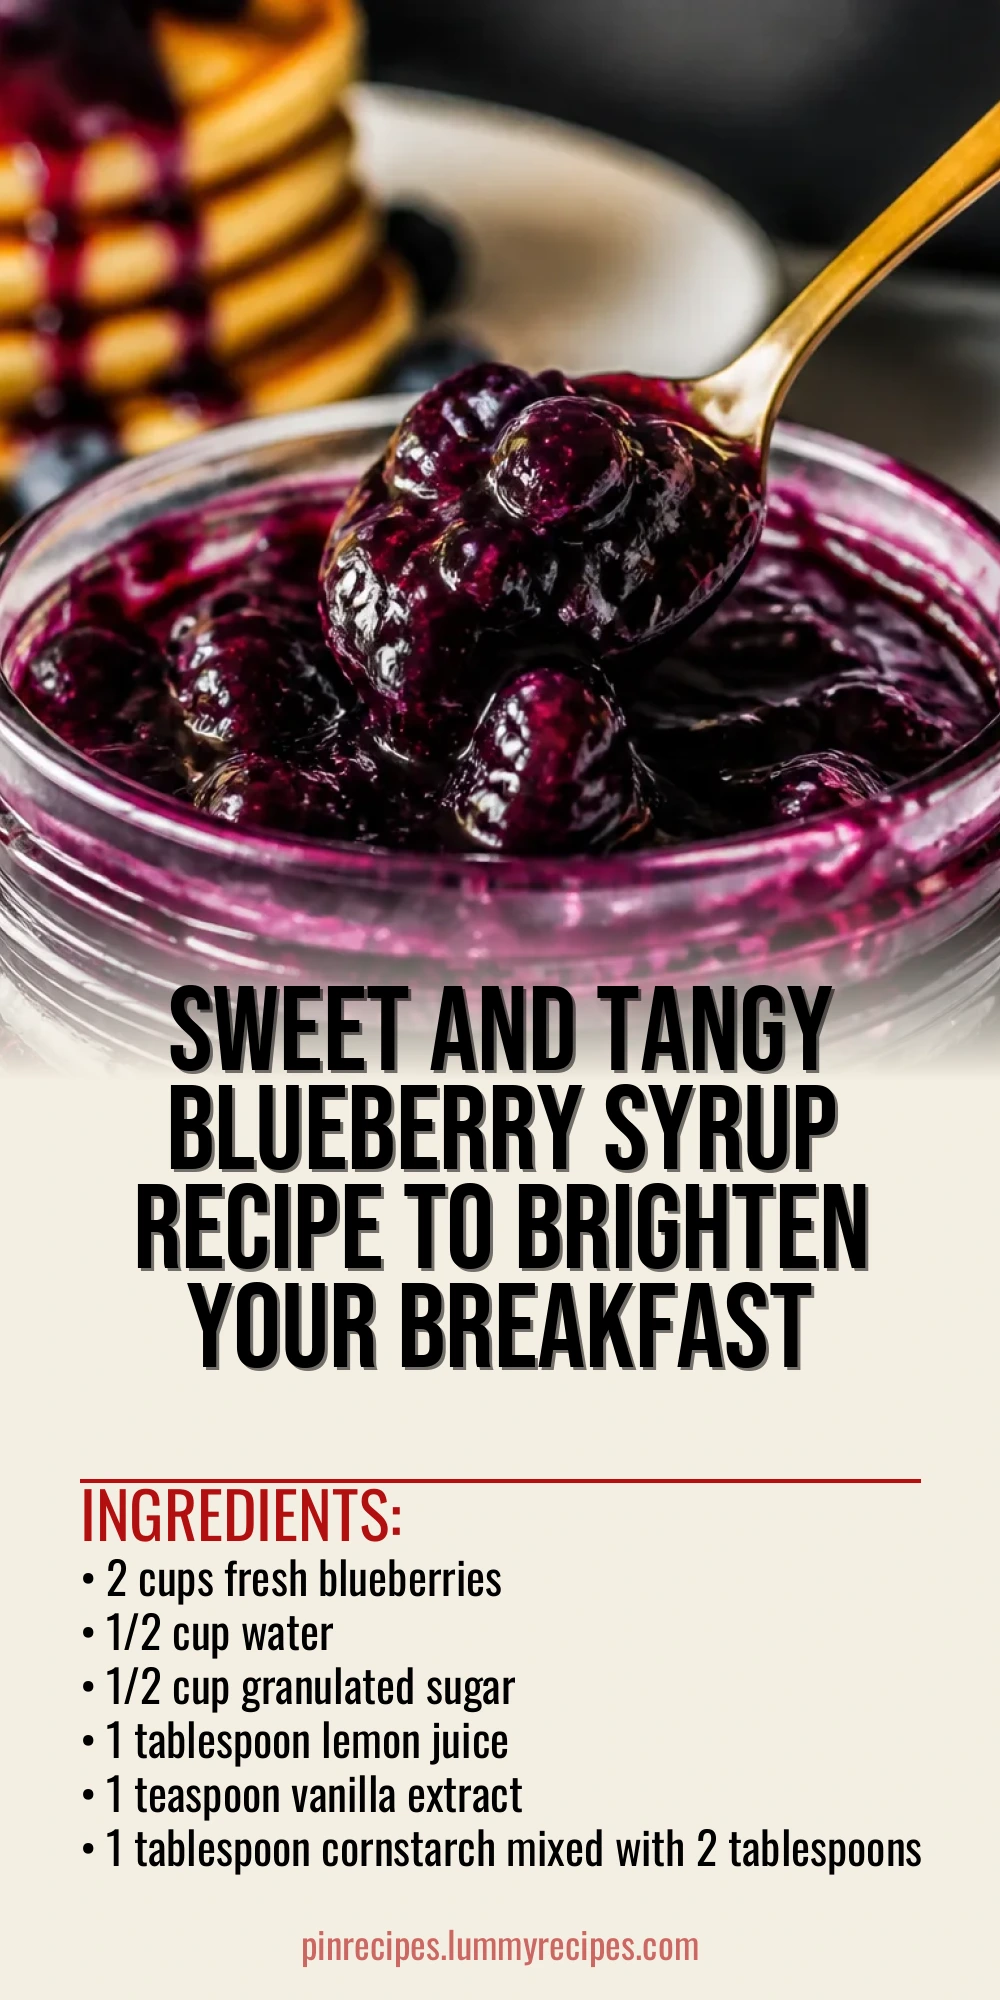
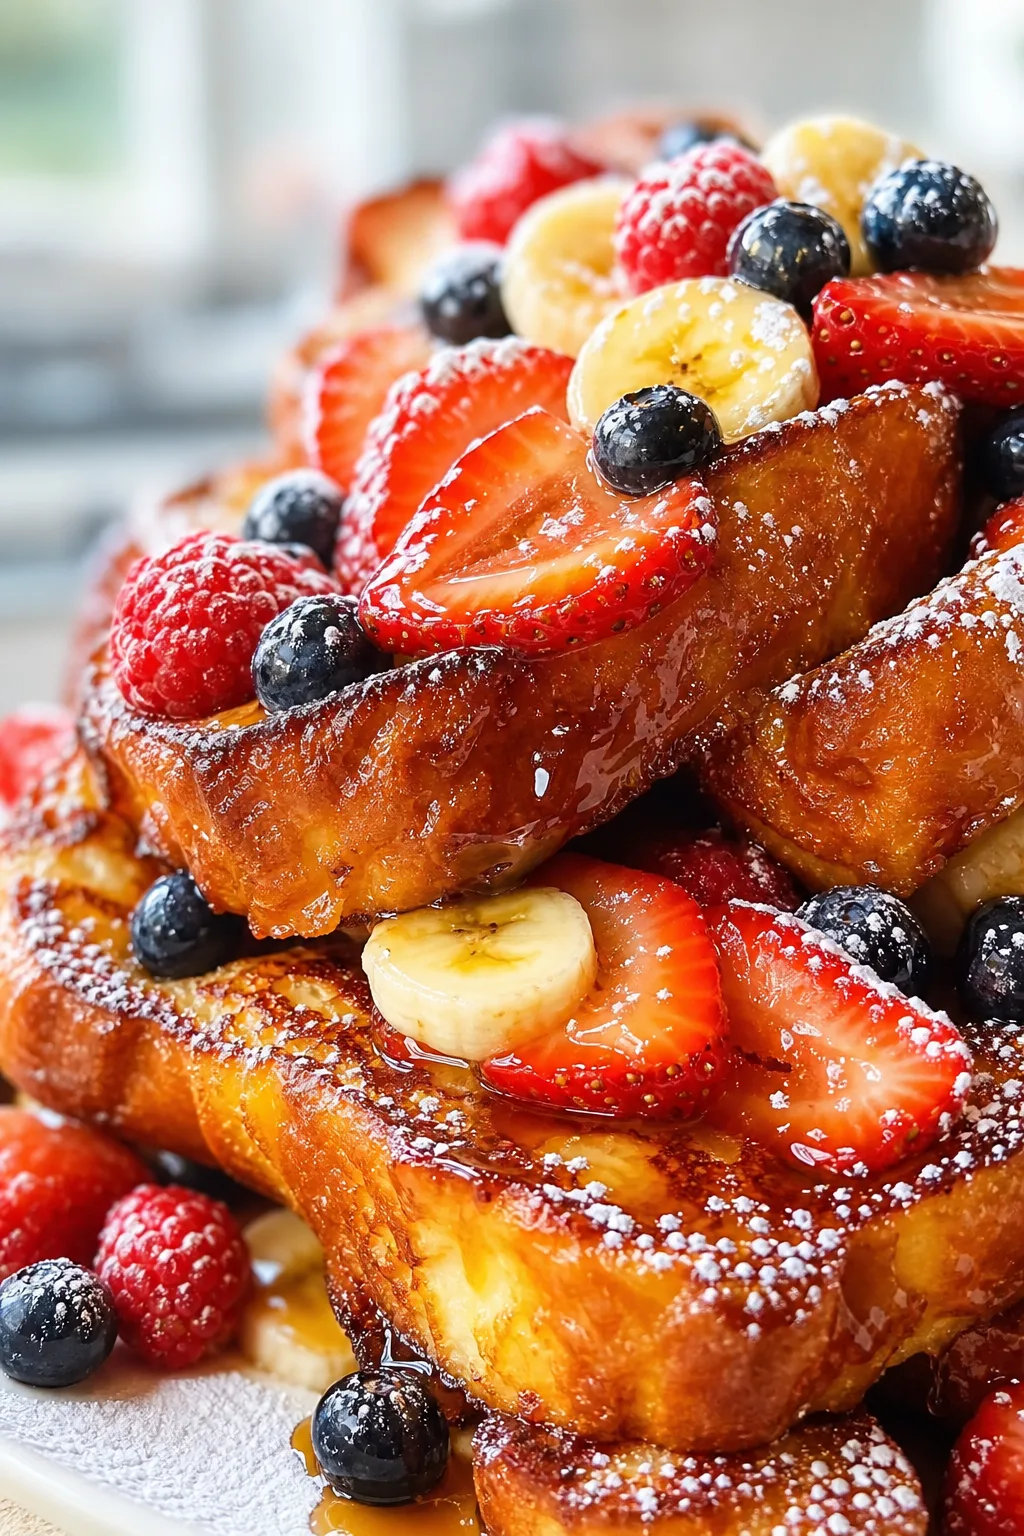
This homemade blueberry syrup is bursting with fresh fruit flavor and just the right amount of sweetness. Made with a simple simmering technique, it’s perfect for drizzling over pancakes or yogurt on a lazy weekend morning.
Introduction
I first made blueberry syrup a few summers ago when I had a surplus of fresh berries from my garden. I wanted something simple and versatile to enjoy beyond just eating the berries on their own. This version is my favorite because it’s not overly sweet and has a fresh, bright flavor thanks to the lemon juice. The trick I learned is to gently simmer the berries just enough to release their juices without losing that fresh taste. Adding a little vanilla at the end gives it a warm, comforting note. It’s perfect drizzled over pancakes, waffles, or even stirred into yogurt for a quick breakfast treat. I’ve tried store-bought syrups before, but nothing beats this homemade goodness. It’s quick, requires just a few ingredients, and the result is a rich, flavorful syrup that feels like a little summer celebration in every bite. Plus, it keeps well in the fridge, so you can enjoy it all week long.
What You'll Need
Approximately 1 1/2 cups syrup, 6 servings
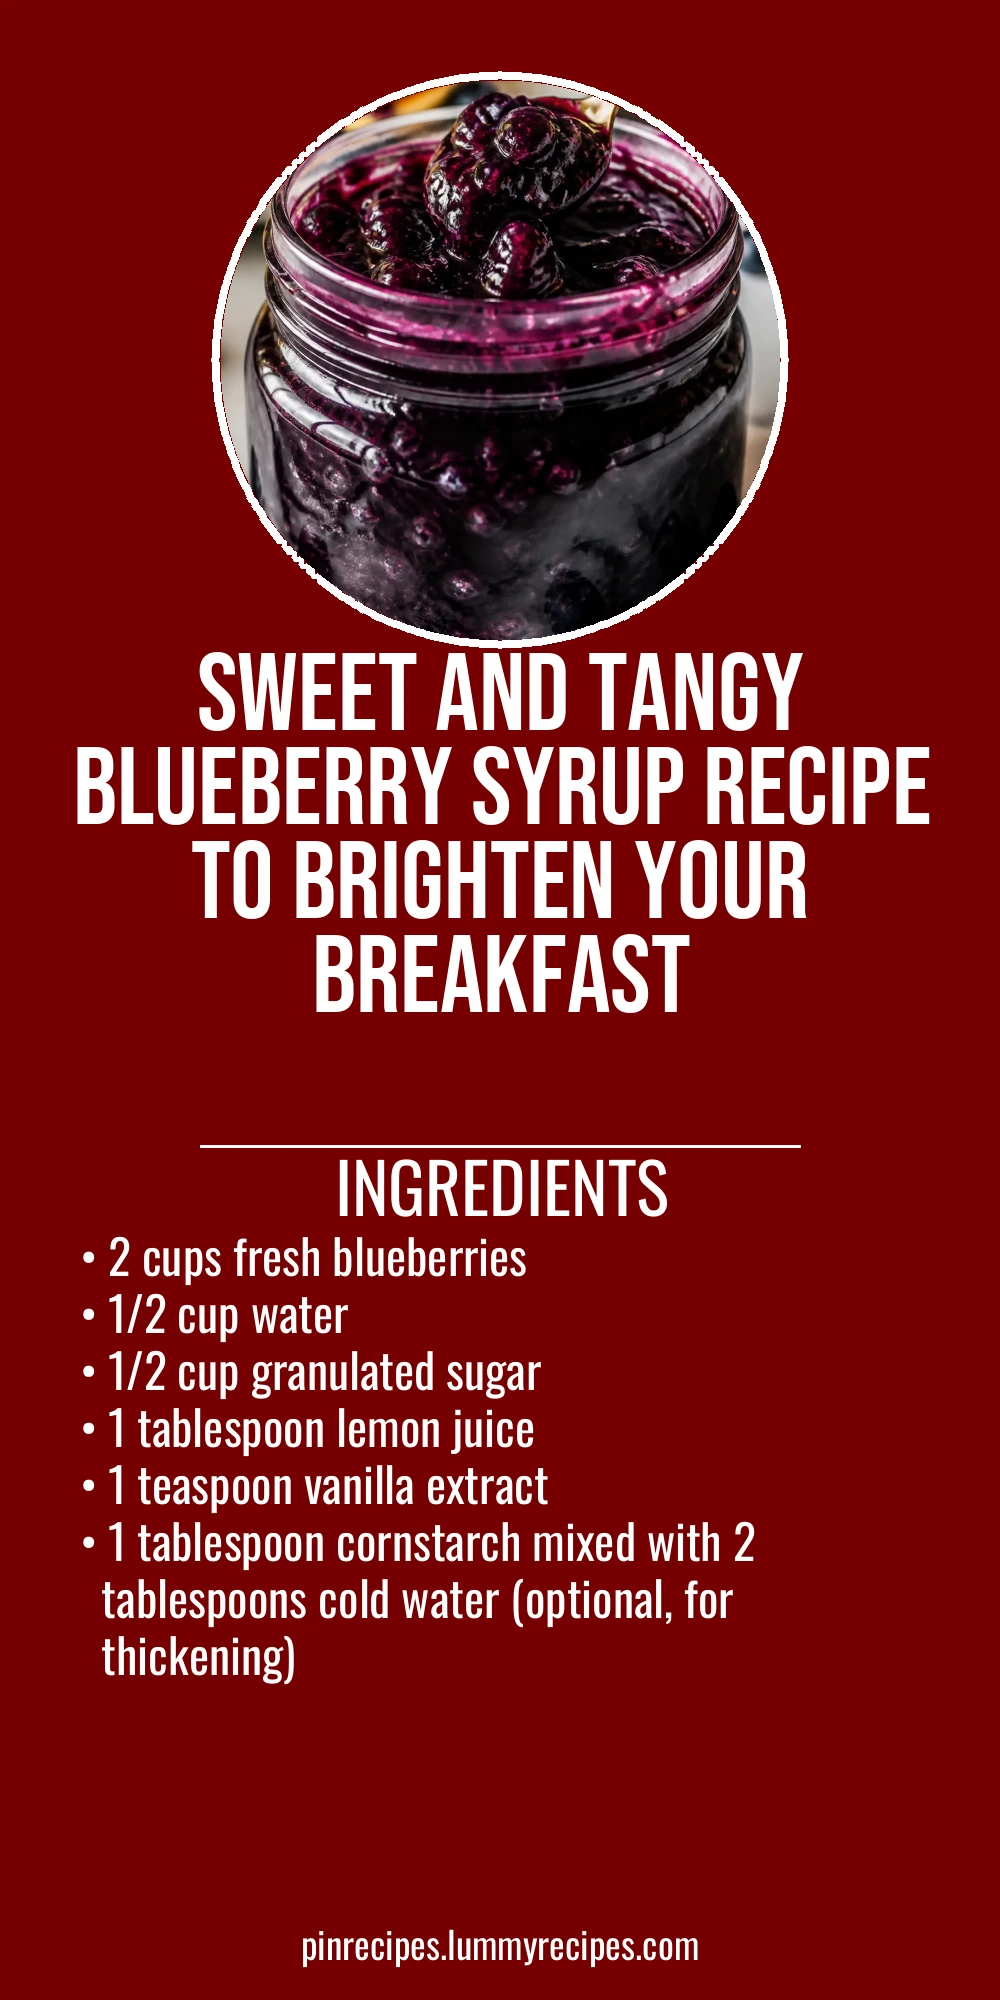
- 2 cups fresh blueberries
- 1/2 cup water
- 1/2 cup granulated sugar
- 1 tablespoon lemon juice
- 1 teaspoon vanilla extract
- 1 tablespoon cornstarch mixed with 2 tablespoons cold water (optional, for thickening)
How To Do It
Step 1
Start by rinsing your fresh blueberries under cold water and picking out any stems or leaves. Place them in a medium saucepan along with the water and granulated sugar. This step is crucial because the water helps dissolve the sugar and creates the base for your syrup. Using fresh berries gives the syrup a bright, natural flavor that canned or frozen berries often lack. Avoid boiling too hard here; you want a gentle simmer to slowly coax the juices out without breaking down the berries too much.
⏱ Time: 5 minutes
✓ Doneness: Berries begin to soften and the sugar dissolves completely, creating a fragrant, bubbling mixture.
Step 2
Once the berries start to soften, use a wooden spoon or potato masher to gently crush them, releasing more juice and color. This helps thicken the syrup naturally and intensifies the blueberry flavor. Keep the heat low to medium; if it’s too high, the syrup can scorch or become bitter. Stir occasionally to prevent sticking. This slow simmer is key to developing a deep, rich flavor without losing the fresh notes of the berries.
⏱ Time: 10 minutes
✓ Doneness: The mixture thickens slightly and turns a beautiful deep purple color.
Step 3
If you prefer a thicker syrup, mix the cornstarch with cold water to make a slurry and slowly stir it into the simmering blueberries. This will help the syrup thicken up nicely without clouding the color. Keep stirring and cook for another 2-3 minutes until you see the syrup coat the back of a spoon. Be careful not to add too much cornstarch or cook too long, or the syrup might become gummy.
⏱ Time: 3 minutes
✓ Doneness: Syrup thickens to a pourable but not runny consistency.
Step 4
Remove the saucepan from heat and stir in the lemon juice and vanilla extract. The lemon juice brightens the flavor and balances the sweetness, while the vanilla adds a cozy warmth that rounds out the syrup. Don’t skip this step—it really elevates the taste. Let the syrup cool a bit before transferring it to a jar or bottle for storage.
⏱ Time: 2 minutes
✓ Doneness: Syrup has a glossy finish and a fresh, balanced aroma.
Step 5
Allow the syrup to cool completely at room temperature before sealing it tightly and refrigerating. Cooling helps the syrup thicken a little more and develop its full flavor. If you try to use it hot, it might be too thin and runny. Once cooled, it’s ready to drizzle over your favorite breakfast foods or desserts.
⏱ Time: 15 minutes
✓ Doneness: Syrup is cool to the touch and slightly thickened.
Step 6
For a smoother syrup, you can strain the mixture through a fine mesh sieve to remove the berry skins and seeds. This is optional but makes for a more elegant texture, especially if you’re serving it for guests or prefer a silky finish. Use a spoon to press the pulp gently to extract as much liquid as possible.
⏱ Time: 5 minutes
✓ Doneness: Syrup is clear and smooth without berry bits.
Step 7
Store your blueberry syrup in a clean glass jar or bottle with a tight lid. Keep it refrigerated and use within 7-10 days for the best flavor and freshness. The syrup can also be frozen in ice cube trays for longer storage, which makes portioning easy later on.
⏱ Time: N/A
✓ Doneness: Jar is sealed and syrup is chilled.
Step 8
When reheating, warm the syrup gently in a small saucepan or microwave until just heated through. Avoid boiling again, as this can change the flavor and texture. If the syrup has thickened too much in the fridge, add a splash of water to loosen it up while warming.
⏱ Time: 2-3 minutes
✓ Doneness: Syrup is warm and pourable.
Step 9
Serve your blueberry syrup over pancakes, waffles, French toast, or even vanilla ice cream. It’s also fantastic stirred into plain yogurt or oatmeal for a fruity boost. Enjoy the burst of fresh blueberry flavor that only homemade syrup can deliver!
⏱ Time: N/A
✓ Doneness: Syrup is evenly drizzled and enhances the dish.
Pro Tips
Use fresh lemon juice instead of bottled for the best flavor.
Fresh lemon juice has a brighter, cleaner acidity that lifts the blueberry flavor and balances the sweetness. Bottled lemon juice can taste dull or overly acidic, which affects the syrup’s overall taste.
Simmer gently instead of boiling hard to preserve fresh berry flavor.
High heat can break down the berries too aggressively, leading to bitterness and loss of vibrant color. A gentle simmer extracts juice slowly while keeping the syrup bright and flavorful.
Add vanilla extract off the heat to keep its aroma intact.
Vanilla’s delicate aroma evaporates if cooked too long. Stirring it in after removing the syrup from heat preserves its warm, comforting notes.
Mash berries gently to release juice without turning syrup grainy.
Over-mashing can break down skins excessively, creating a gritty texture. Gentle crushing balances flavor extraction with smoothness.
Use a cornstarch slurry for thicker syrup if desired.
Cornstarch thickens the syrup without clouding color or altering flavor. Adding it gradually prevents lumps and ensures a smooth texture.
Strain the syrup for a smooth finish if you prefer no berry bits.
Straining removes seeds and skins, giving the syrup a polished look and silky texture, especially nice for serving guests or drizzling on desserts.
Store syrup in a clean glass jar with a tight lid to maintain freshness.
Proper storage prevents spoilage and keeps flavors fresh. Glass jars don’t absorb odors and are easy to clean and reuse.
Common Mistakes to Avoid
Boiling the syrup too hard causing bitterness.
Why it happens Many cooks assume higher heat speeds up cooking, but intense boiling breaks down berries too fast, releasing bitter compounds and dulling color.
Fix Maintain a gentle simmer, stirring occasionally, to slowly extract flavor and keep syrup bright. Adjust heat as needed to avoid rapid boiling.
Skipping lemon juice and ending up with a flat-tasting syrup.
Why it happens It’s easy to overlook lemon juice since it’s a small amount, but it plays a critical role in balancing sweetness and enhancing flavor.
Fix Always add fresh lemon juice near the end of cooking. It brightens the syrup and prevents it from tasting overly sweet or dull.
Adding cornstarch directly without mixing causing lumps.
Why it happens Cornstarch clumps when added dry to hot liquid, resulting in an uneven texture.
Fix Mix cornstarch with cold water first to make a slurry, then slowly whisk it into the simmering syrup to thicken smoothly.
Not cooling syrup before storing leading to condensation and spoilage.
Why it happens Hot syrup in a sealed container creates moisture, encouraging bacterial growth and spoilage.
Fix Allow syrup to cool completely at room temperature before sealing and refrigerating to maintain freshness.
Using frozen berries without adjusting cooking time causing watery syrup.
Why it happens Frozen berries release more water and need longer cooking to reduce liquid and concentrate flavor.
Fix If using frozen berries, simmer longer to evaporate excess water and thicken syrup properly.
Variations
Cinnamon Blueberry Syrup
Add a cinnamon stick to the simmering blueberries for a warm, spicy twist that’s perfect for fall breakfasts. Remove the stick before serving. This variation adds cozy depth and pairs wonderfully with pancakes or French toast.
Note: Simmer the cinnamon stick with the berries from the start to infuse flavor fully; remove before adding lemon and vanilla.
Sugar-Free Blueberry Syrup
Use a natural sweetener like honey or maple syrup instead of granulated sugar for a healthier option. The flavor will be slightly different but still delicious and perfect for those watching sugar intake.
Note: Add honey or maple syrup toward the end of cooking to preserve their flavors and avoid burning.
Blueberry-Lavender Syrup
Infuse the syrup with dried culinary lavender buds for a floral note that’s both elegant and surprising. Great for special occasions or tea time treats.
Note: Add lavender buds during simmering and strain them out along with berry skins for a smooth syrup.
Mixed Berry Syrup
Combine blueberries with raspberries and blackberries for a richer, more complex flavor. This syrup is bursting with berry goodness and slightly tangier than blueberry alone.
Note: Adjust cooking time to ensure all berries break down evenly; raspberries cook faster so watch the texture.
Spiced Orange Blueberry Syrup
Add a strip of orange zest and a pinch of ground cloves during cooking for a citrusy, spiced syrup that’s festive and bright. Perfect for holiday breakfasts or desserts.
Note: Remove orange zest and cloves before adding lemon juice and vanilla to keep flavors balanced.
Nutrition
Per Serving:
Nutritional values are estimates and may vary based on specific ingredients used.
Storage & Tips
Room Temperature
Blueberry syrup can safely sit at room temperature for up to 2 hours if covered loosely. Beyond that, it’s best to refrigerate to prevent spoilage, especially in warm environments.
Refrigerator
Store syrup in an airtight glass jar or bottle for up to 7-10 days. The flavor remains fresh but the syrup may thicken slightly. Serve chilled or gently reheat before use to loosen the texture.
Freezer
Freeze syrup in ice cube trays or freezer-safe containers for up to 3 months. Wrap tightly to prevent freezer burn. Thaw in the refrigerator overnight and warm gently before serving to restore texture.
Reheating
Warm syrup gently on the stovetop over low heat or in short bursts in the microwave, stirring occasionally. Add a splash of water if too thick. Avoid boiling again as it can change flavor and texture.
Make Ahead
Prepare the syrup 1-2 days ahead and store refrigerated. This allows flavors to meld and the syrup to thicken perfectly. On serving day, just reheat gently and enjoy.
FAQ
Can I use frozen blueberries instead of fresh?
Yes, you can use frozen blueberries. Just thaw them first and be prepared to simmer the syrup a bit longer to reduce extra water released during thawing. The flavor might be slightly less bright than fresh berries, but it still works well.
How long does homemade blueberry syrup last in the fridge?
Stored in a sealed container, homemade blueberry syrup typically lasts 7-10 days in the refrigerator. Always check for any off smells or mold before using. Keeping it cold slows bacterial growth and preserves freshness.
Can I make this syrup without sugar?
Absolutely! You can substitute sugar with honey, maple syrup, or a sugar substitute of your choice. Add these sweeteners toward the end of cooking to preserve their flavor. Keep in mind the texture and sweetness level might vary slightly.
Why is my syrup too thin?
If your syrup is thin, it might need longer simmering to reduce liquid or you may want to add a cornstarch slurry to thicken it. Also, avoid skipping the simmer step or using too much water initially.
Can I skip straining the syrup?
Yes, straining is optional. Leaving the berry skins and seeds in gives the syrup a rustic texture and more fiber. Straining creates a smoother, more polished syrup, which is nice for certain dishes.
How do I prevent the syrup from burning?
Cook the syrup over low to medium heat and stir frequently to prevent sticking and burning. High heat can scorch the sugars and berries, resulting in a bitter taste and dark color.
Can I add other flavors to the syrup?
Definitely! Adding spices like cinnamon, vanilla, or citrus zest can enhance the syrup’s flavor. Add these during simmering to infuse or at the end for delicate notes.
Is it okay to freeze blueberry syrup?
Yes, freezing is a great way to extend shelf life. Freeze in small portions like ice cube trays for easy thawing. Thaw in the fridge overnight and warm gently before serving to restore texture.
Why did my syrup turn out grainy?
Graininess can happen if sugar isn’t fully dissolved or if the syrup is cooked at too high heat causing crystallization. Stir well during cooking and keep heat moderate to avoid this.
Can I use this syrup for drinks or cocktails?
Yes! Blueberry syrup makes a delicious addition to cocktails, lemonades, or sparkling water. You might want to strain it for a smoother texture and adjust sweetness to taste.
Final Thoughts
I hope you enjoy making and sharing this blueberry syrup as much as I do. It’s such a simple way to add a burst of fresh flavor to your breakfast table—give it a try and let me know how it turns out!