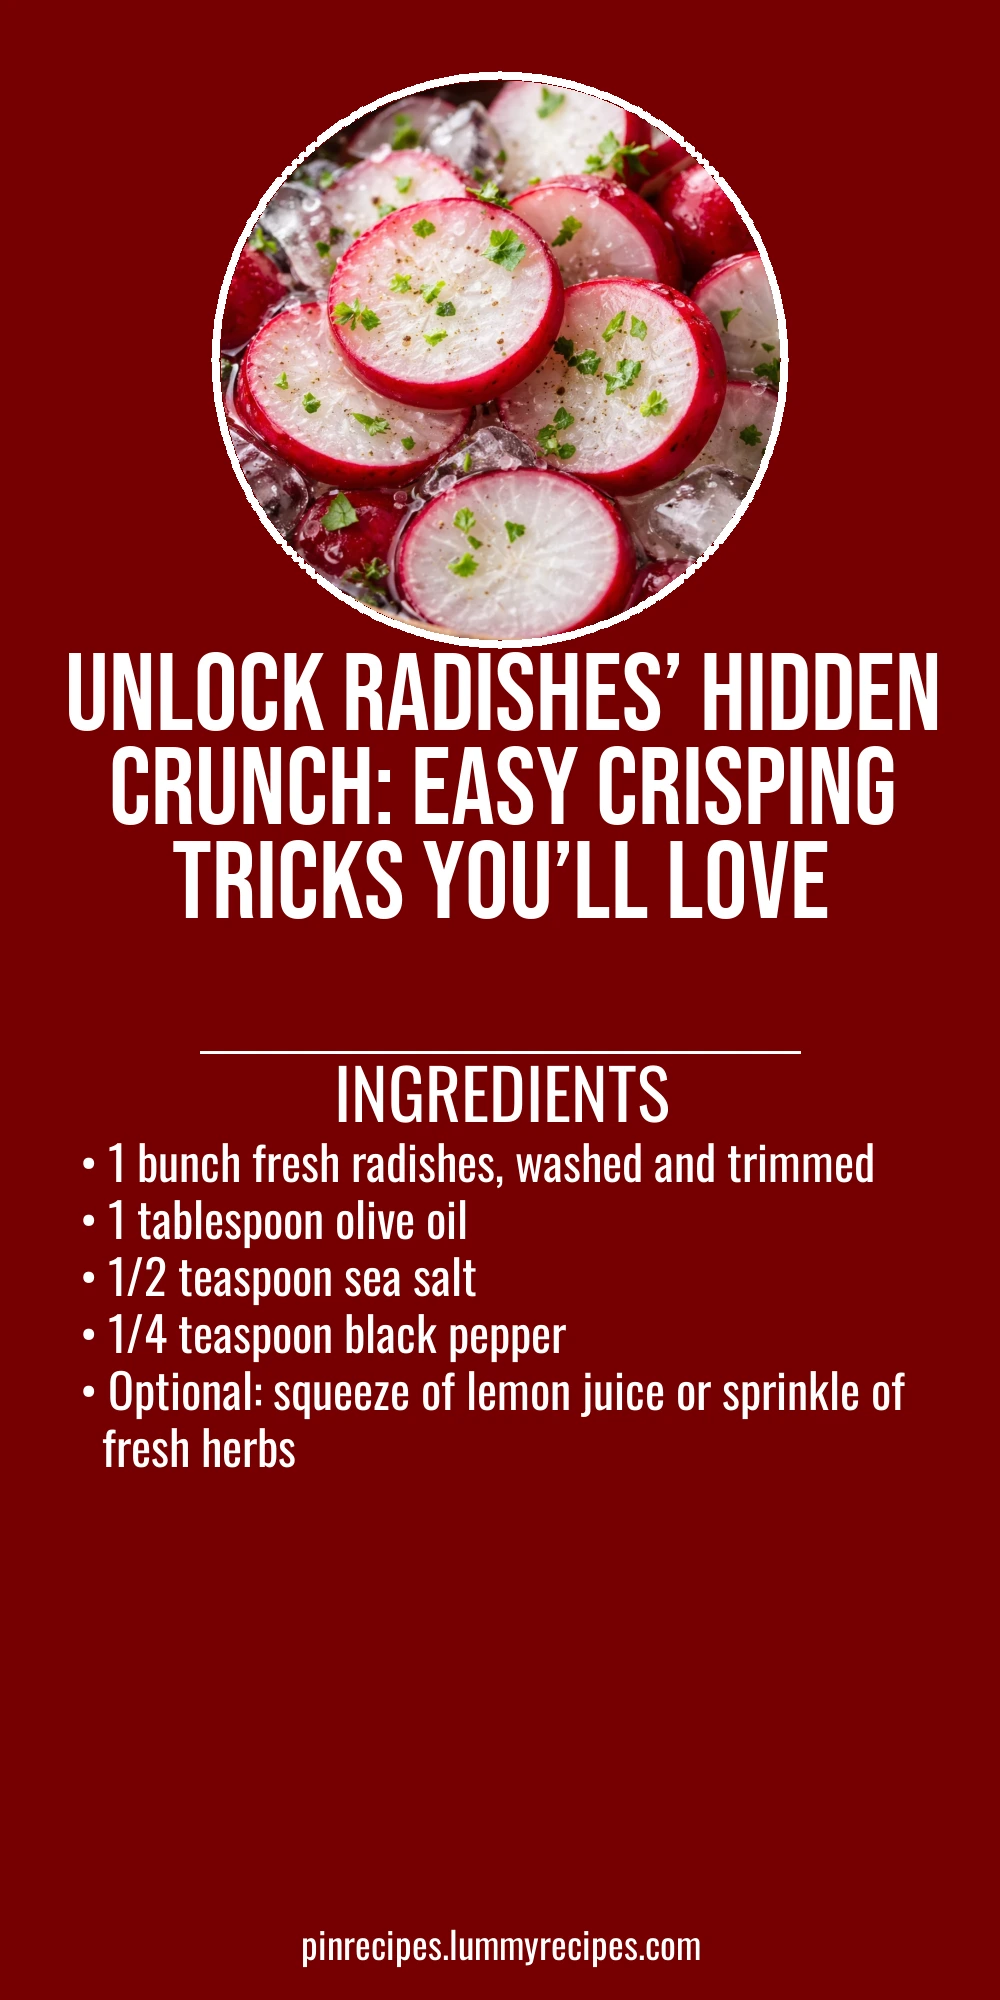
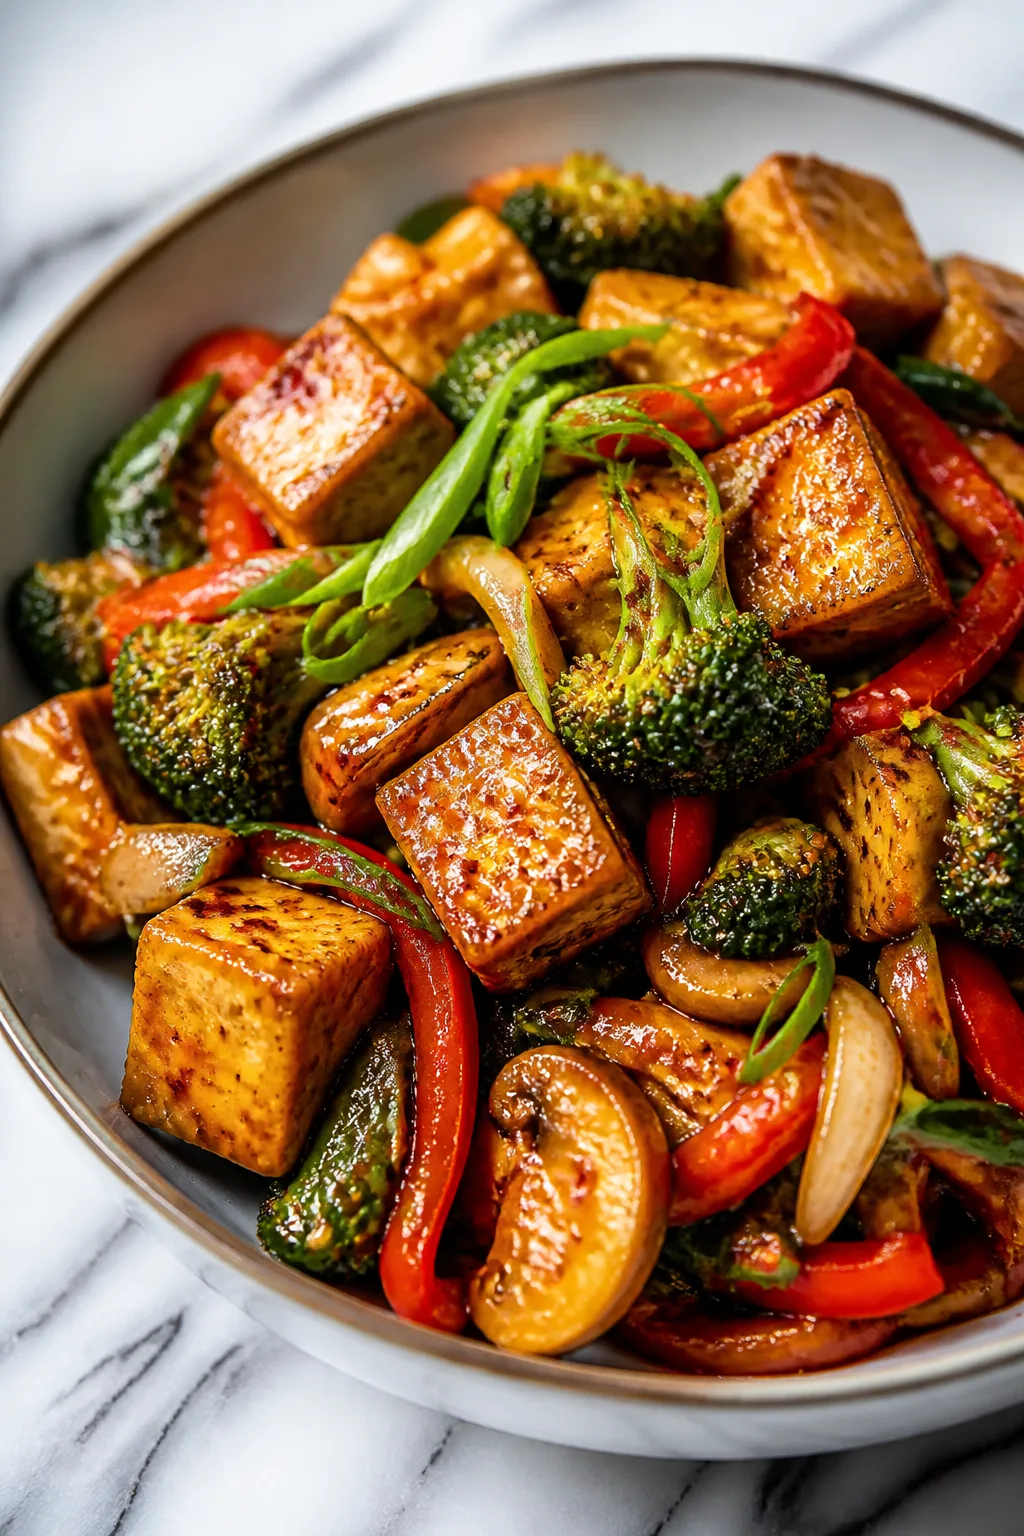
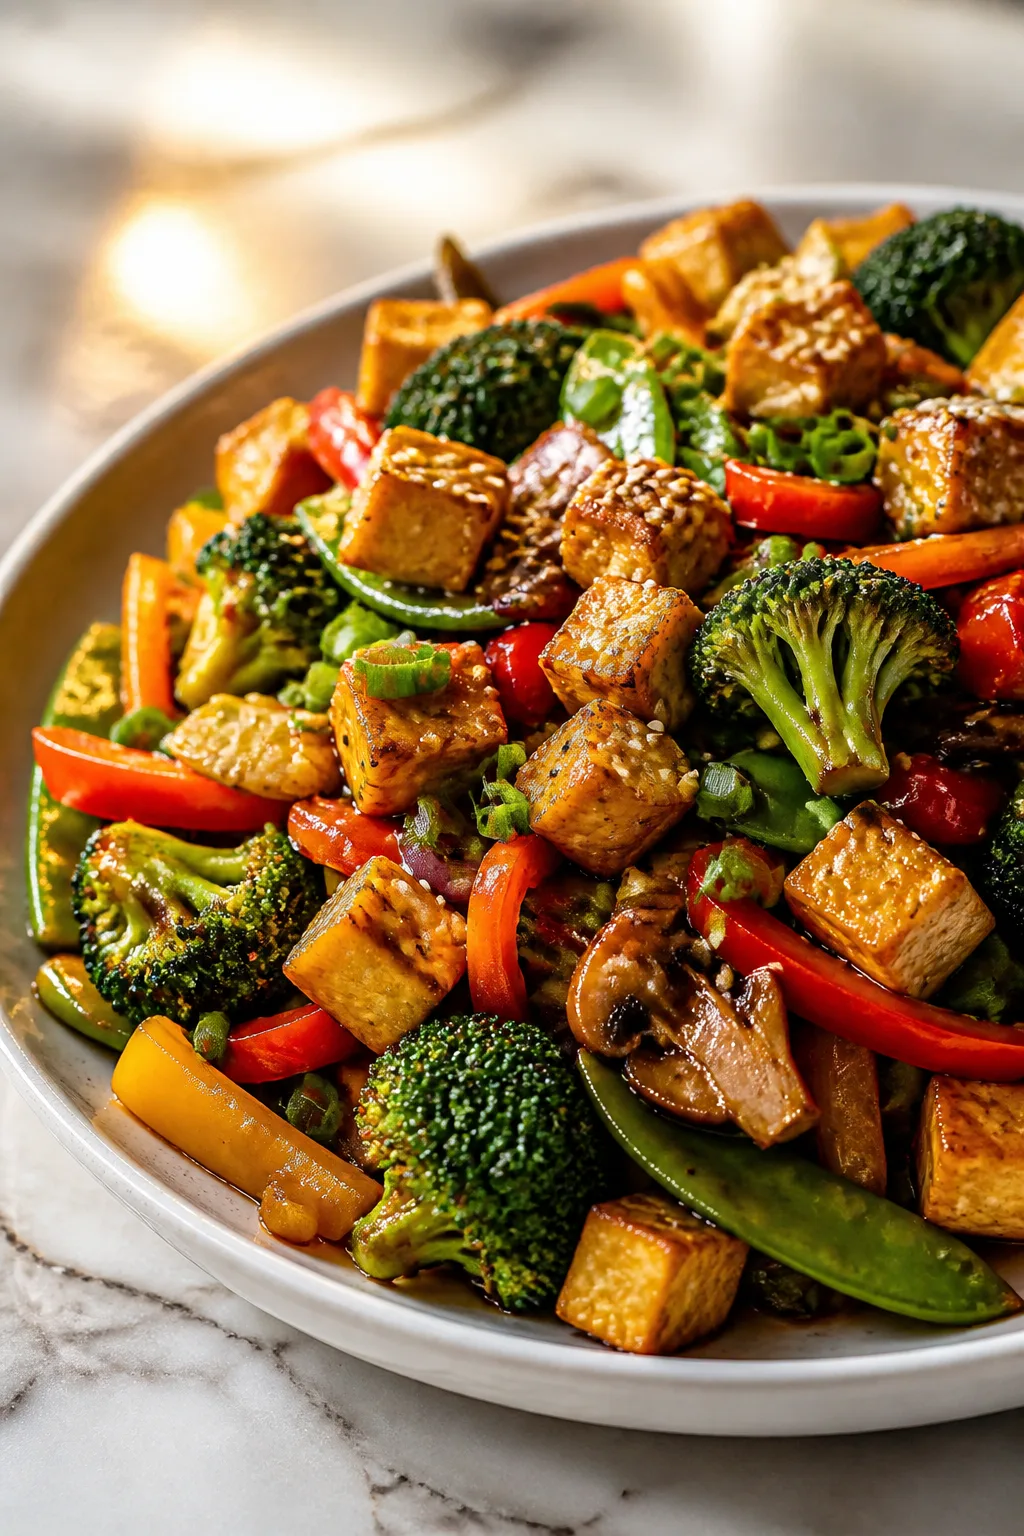
Radishes can be so much more than just a salad garnish. This quick method crisps them up beautifully, giving a satisfying crunch and a hint of sweetness. Great for snacking or adding fresh texture to any meal!
Introduction
I’ve always loved radishes for their peppery bite, but I used to find them a bit too watery or soft when just eaten raw. Then one day, I stumbled upon a simple trick that crisps them up beautifully, making them snap with every bite. This method is a game changer, especially when you want a quick, fresh snack or a crunchy salad addition. What makes it different? It’s all about drying them well and giving them a quick toss in a hot pan with just a touch of oil and salt. The heat draws out excess moisture and concentrates their flavor, while the oil helps create a light, crisp exterior. Plus, adding a squeeze of lemon or fresh herbs brightens everything up. The result is radishes that are crunchy, slightly sweet, and way more interesting than the usual raw slices. I love serving these as a snack or alongside grilled meats and roasted veggies. It’s such a simple upgrade that really elevates this humble root vegetable. If you’ve struggled to enjoy radishes before, give this a try — I promise it’ll change your mind!
How To Do It
Step 1
Start by washing your radishes thoroughly under cold water to remove any dirt. Trim off the tops and tails, then slice them thinly or into halves depending on size. The thinner the slices, the crisper they’ll get, but be careful not to slice so thin they become mushy when cooked. Dry the radishes very well using a clean kitchen towel or paper towels — this step is crucial because excess moisture will steam them instead of crisping. Taking the time to pat them dry ensures a nice sear and crunch later.
⏱ Time: 10 minutes
✓ Doneness: Radishes feel dry to the touch with no visible water droplets
Step 2
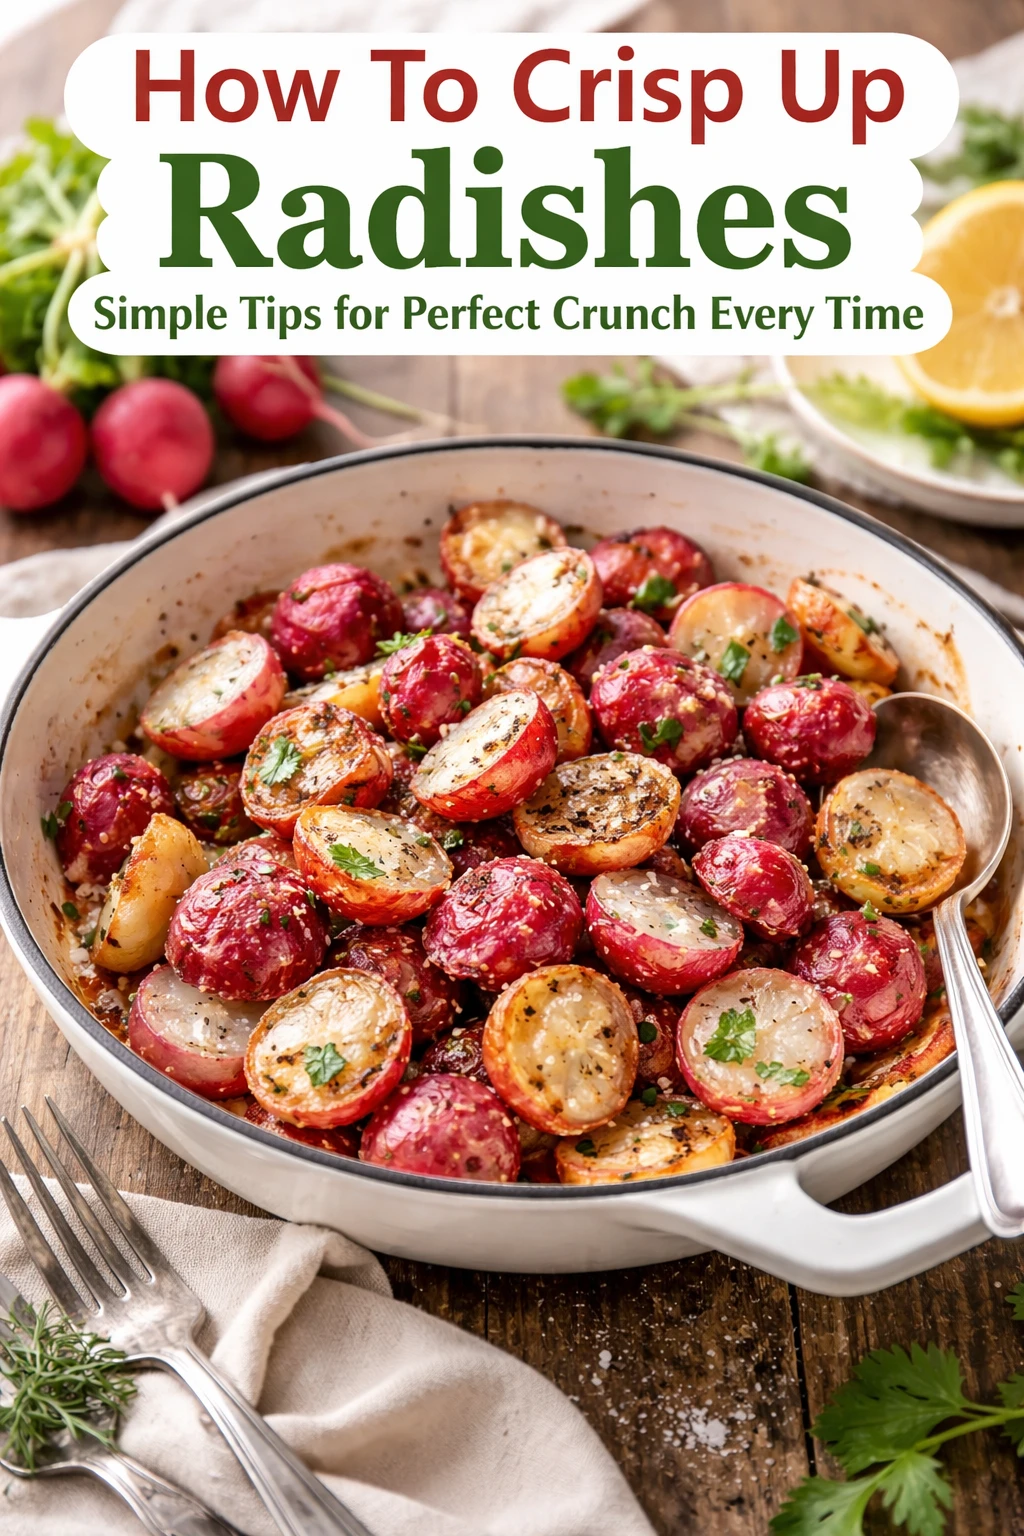
Heat a skillet over medium-high heat and add the olive oil. Once the oil shimmers but isn’t smoking, add the radishes in a single layer. Avoid overcrowding to ensure even crisping. Let them cook undisturbed for 2-3 minutes until the edges start to brown and crisp up. Then, toss or stir occasionally to brown other sides. This quick sauté draws out moisture and caramelizes their natural sugars, giving a lovely crunch and flavor boost. Season with sea salt and black pepper during cooking to enhance the taste.
⏱ Time: 5 minutes
✓ Doneness: Radishes have golden-brown edges and a firm, crisp texture
Step 3
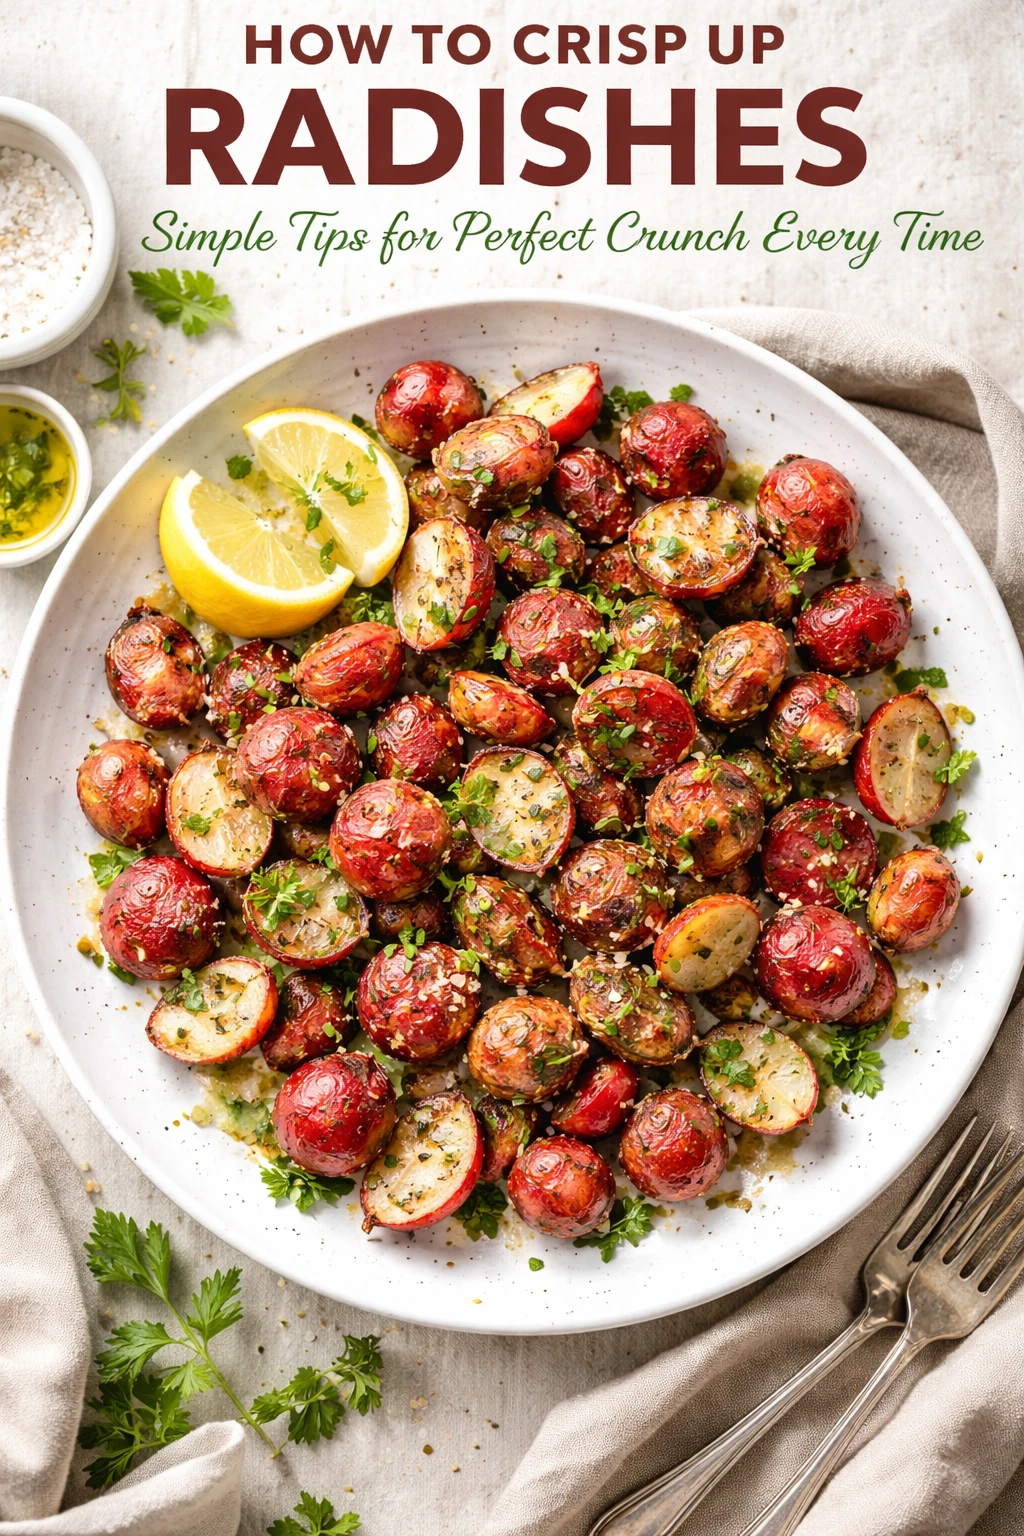
Once crisped, remove the radishes from the heat and transfer them to a bowl. If you like, add a squeeze of fresh lemon juice or sprinkle chopped herbs like parsley or dill for brightness. Toss gently to combine. This finishing touch adds freshness and balances the slight sweetness from caramelization. Serve immediately for best crunch, or let cool slightly to use as a salad topping or snack.
⏱ Time: 2 minutes
✓ Doneness: Radishes glisten lightly and smell fresh with a hint of lemon or herbs
Step 4
If you want to prepare ahead, cool the crisped radishes completely before storing in an airtight container. They’ll keep their crunch best for a few hours at room temperature or up to a day refrigerated. Reheat gently in a hot skillet to revive crispness before serving. Avoid microwaving as it can make them soggy.
⏱ Time: Varies
✓ Doneness: Radishes feel firm and not soggy after reheating
Step 5
For a spicy twist, sprinkle a pinch of chili flakes or smoked paprika during cooking. This adds warmth and depth without overpowering the radishes’ natural flavor. Experiment with different seasonings to find your favorite crunch combo!
⏱ Time: During cooking
✓ Doneness: Spices evenly coat radishes with no burning
Step 6
Try adding a small amount of butter along with olive oil for a richer flavor and slightly silkier texture. Butter browns quickly, so add it near the end of cooking and watch closely to avoid burning. This technique gives a nice nutty aroma and enhances the crispness.
⏱ Time: Last 1-2 minutes of cooking
✓ Doneness: Butter foams and browns lightly without smoking
Step 7
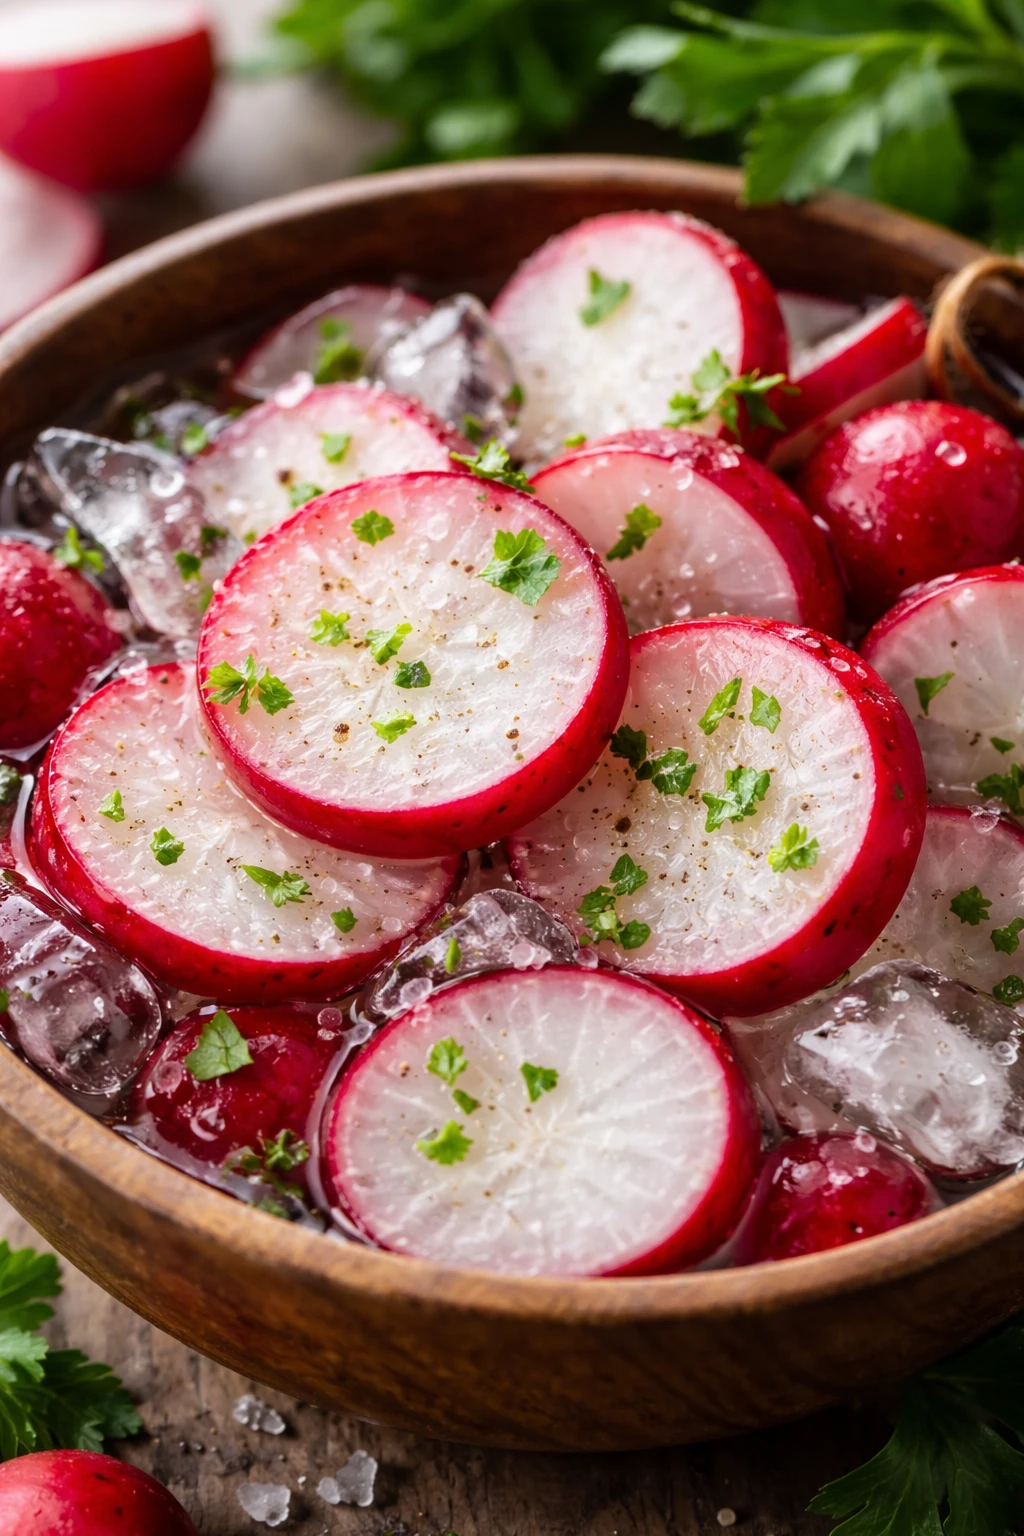
If you prefer a raw crunch, soak sliced radishes in ice water for 15-20 minutes before drying and serving. This hydrates and firms them up without cooking. It’s a great alternative if you want crisp radishes but no heat.
⏱ Time: 15-20 minutes soaking
✓ Doneness: Radishes snap crisply when bitten
Step 8
Avoid cutting radishes too thick or cooking at too low heat, as this will cause them to steam and become soft rather than crisp. High heat and thin slices are your friends for that perfect crunch.
⏱ Time: Throughout prep and cooking
✓ Doneness: Radishes remain firm and golden, not soggy or pale
Step 9
Serve your crisped radishes as a snack with a sprinkle of flaky sea salt, or toss into salads for extra texture. They also pair beautifully with creamy dips or grilled dishes. Enjoy the satisfying crunch and fresh flavor!
⏱ Time: Immediately
✓ Doneness: Radishes maintain crisp texture and vibrant color on plate
Pro Tips
Dry radishes thoroughly before cooking.
Removing surface moisture prevents steaming and promotes crisping. Water on the radish surface turns to steam in the pan, which softens the texture instead of creating a crispy crust.
Use high heat and don’t overcrowd the pan.
High heat encourages caramelization, while overcrowding traps steam and prevents browning. Cooking in batches if needed ensures even crisping.
Slice radishes thinly but not paper-thin.
Thin slices crisp up faster and more evenly, but slices that are too thin can become mushy. Aim for about 1/8 to 1/4 inch thickness for the best texture.
Add salt during cooking, not just after.
Salt draws out moisture and enhances flavor as the radishes cook, helping them crisp up better than salting only at the end.
Finish with a splash of acid like lemon juice.
Acid brightens flavors and balances the natural sweetness from caramelization, making the dish more vibrant and fresh.
Avoid microwaving leftover crisp radishes.
Microwaving steams the radishes, making them soggy. Reheat gently in a skillet to restore crispness.
Experiment with herbs and spices for variety.
Adding fresh herbs or spices like chili flakes can add layers of flavor and keep this simple dish exciting.
Common Mistakes to Avoid
Cooking radishes without drying them first.
Why it happens Many assume washing is enough, but leftover water causes steaming instead of crisping.
Fix Pat radishes completely dry with a towel before cooking to ensure they crisp up nicely.
Overcrowding the pan.
Why it happens Trying to cook too many radishes at once traps steam and prevents browning.
Fix Cook in batches with enough space so radishes can brown evenly.
Using low heat.
Why it happens Low heat cooks radishes slowly, leading to soft, steamed texture rather than crispness.
Fix Use medium-high heat for quick caramelization and crisp edges.
Slicing radishes too thick or too thin.
Why it happens Thick slices don’t crisp well; too thin slices can become mushy.
Fix Aim for uniform slices about 1/8 to 1/4 inch thick for best texture.
Skipping seasoning during cooking.
Why it happens Some add salt only after cooking, missing the chance to draw out moisture and enhance flavor.
Fix Season radishes with salt and pepper while cooking for better taste and texture.
Variations
Spicy Crispy Radishes
Add a pinch of cayenne pepper or chili flakes during cooking for a spicy kick. This variation is great for those who like a little heat and adds complexity to the natural radish flavor.
Note: Be careful not to burn the spices; add them midway through cooking to infuse flavor without bitterness.
Herb-Infused Radish Crunch
Toss crisped radishes with fresh chopped herbs like dill, parsley, or chives right after cooking. This adds freshness and a lovely aroma that pairs well with the caramelized notes.
Note: Add herbs off heat to preserve their bright color and delicate flavor.
Butter-Glazed Radishes
Swap half the olive oil for butter for a richer, nuttier flavor. The butter browns quickly, adding a silky texture and deep aroma that elevates the crisp radishes.
Note: Add butter near the end of cooking and watch closely to prevent burning.
Lemon Pepper Radishes
Finish your crisp radishes with freshly cracked black pepper and a generous squeeze of lemon juice. This combo brightens the dish and balances the natural sweetness with peppery zest.
Note: Add lemon juice just before serving to maintain freshness.
Raw Ice Water Soaked Radishes
For a no-cook option, soak sliced radishes in ice water for 20 minutes to firm them up and boost crunch. This is perfect for salads or snacking when you want a clean, fresh bite.
Note: Dry well after soaking to avoid watering down your dish.
Nutrition
Per Serving:
Nutritional values are estimates and may vary based on specific ingredients and portion sizes.
Storage & Tips
Room Temperature
Crisped radishes can be kept at room temperature for up to 2 hours if covered to prevent drying out. Beyond that, quality and safety decline.
Refrigerator
Store cooled crisp radishes in an airtight container in the fridge for up to 1 day. They may lose some crunch but can be briefly reheated in a skillet to restore texture.
Freezer
Freezing is not recommended as radishes will become watery and lose their crisp texture upon thawing.
Reheating
Reheat gently in a hot skillet over medium heat for 2-3 minutes, stirring occasionally. Avoid microwaving to prevent sogginess. Add a splash of oil if needed to refresh crispness.
Make Ahead
You can slice and dry radishes a day ahead and store them in the fridge. Cook them fresh just before serving for the best crunch and flavor.
FAQ
Can I use frozen radishes for this recipe?
Frozen radishes aren’t ideal because freezing breaks down their cell structure, making them mushy when cooked. For the best crisp results, always use fresh radishes.
What if my radishes are too spicy or bitter?
Cooking mellows sharpness and bitterness by caramelizing sugars. Also, soaking raw radishes in ice water for 15-20 minutes before drying and cooking can help reduce pungency.
Can I prepare radishes in advance?
You can slice and dry radishes a day ahead, but cook them just before serving to maintain crispness. Leftover cooked radishes can be stored refrigerated and gently reheated.
Is olive oil the only oil I can use?
Olive oil works well for flavor and health benefits, but you can use other oils with a medium-high smoke point like avocado or grapeseed oil. Avoid strong-flavored oils that mask radish taste.
How do I know when radishes are perfectly crisp?
They should have golden-brown edges and feel firm when you bite into them, with a satisfying snap but tender inside. Avoid overcooking to prevent softness.
Can I add other vegetables to this cooking method?
Yes! Vegetables like sliced carrots or turnips respond well to this quick sauté and crisping technique. Just adjust cooking times based on thickness and moisture.
What if my radishes turn out soggy?
Most likely they weren’t dried well or the pan was overcrowded, causing steaming. Make sure radishes are dry and cook in batches on high heat for crispness.
Can I use this technique for salad toppings?
Definitely! Crisped radishes add great texture and flavor to salads. Just cool them slightly before tossing to avoid wilting greens.
Final Thoughts
Give this simple crisping technique a try and rediscover radishes as a crunchy, flavorful snack or side. I’d love to hear how it turns out for you!