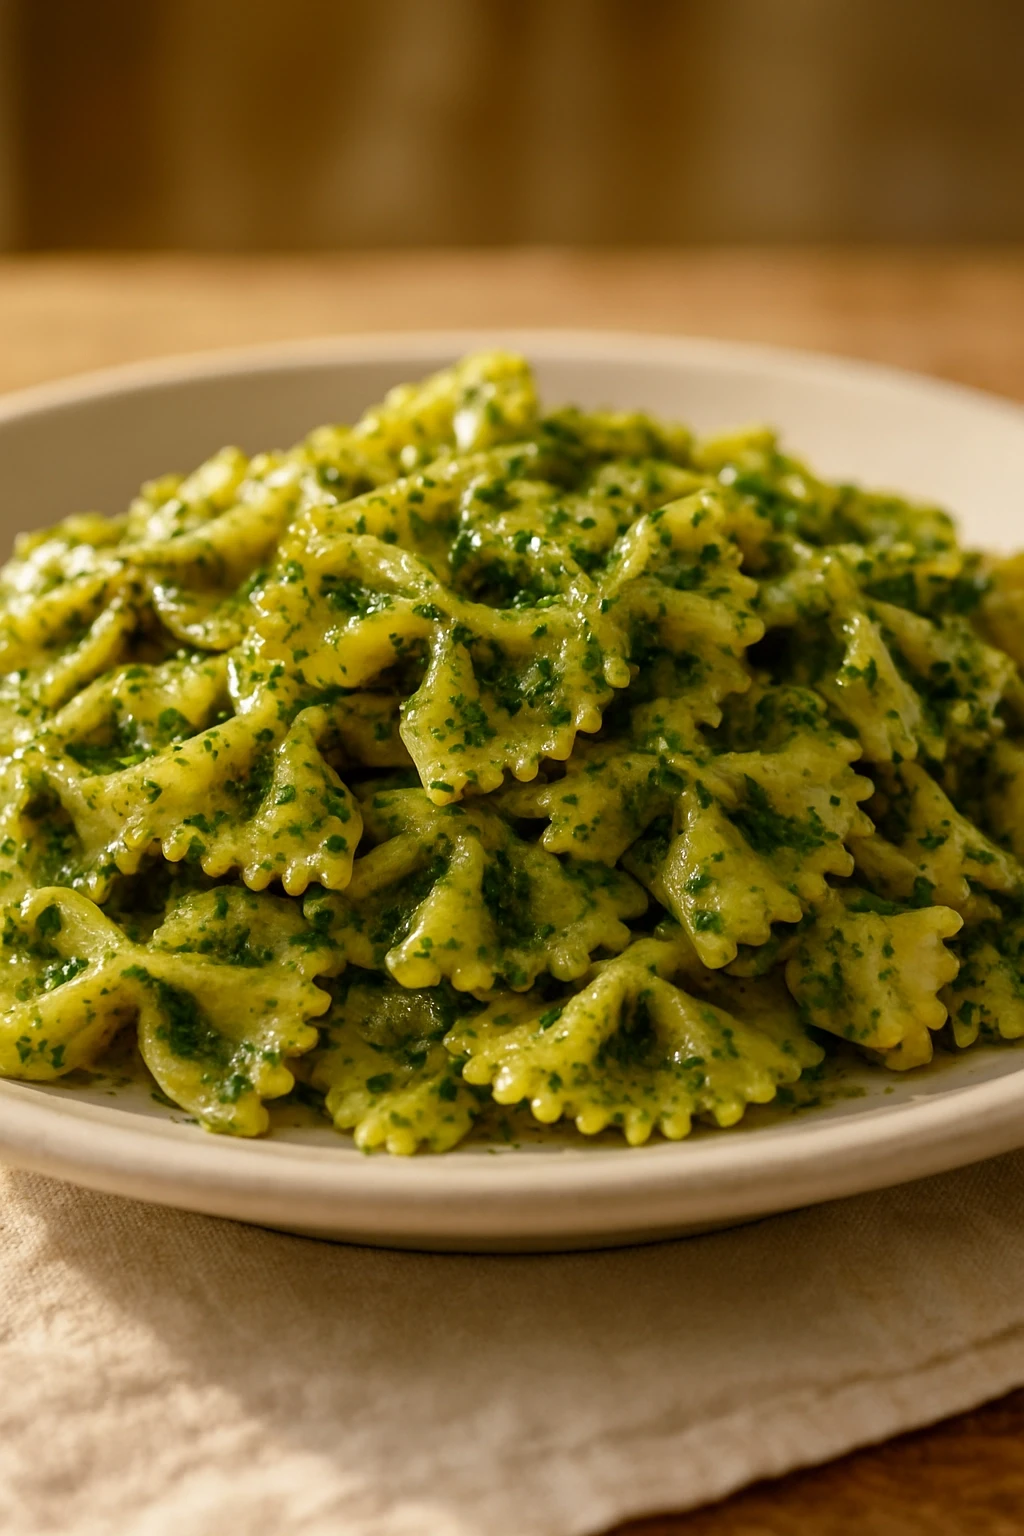
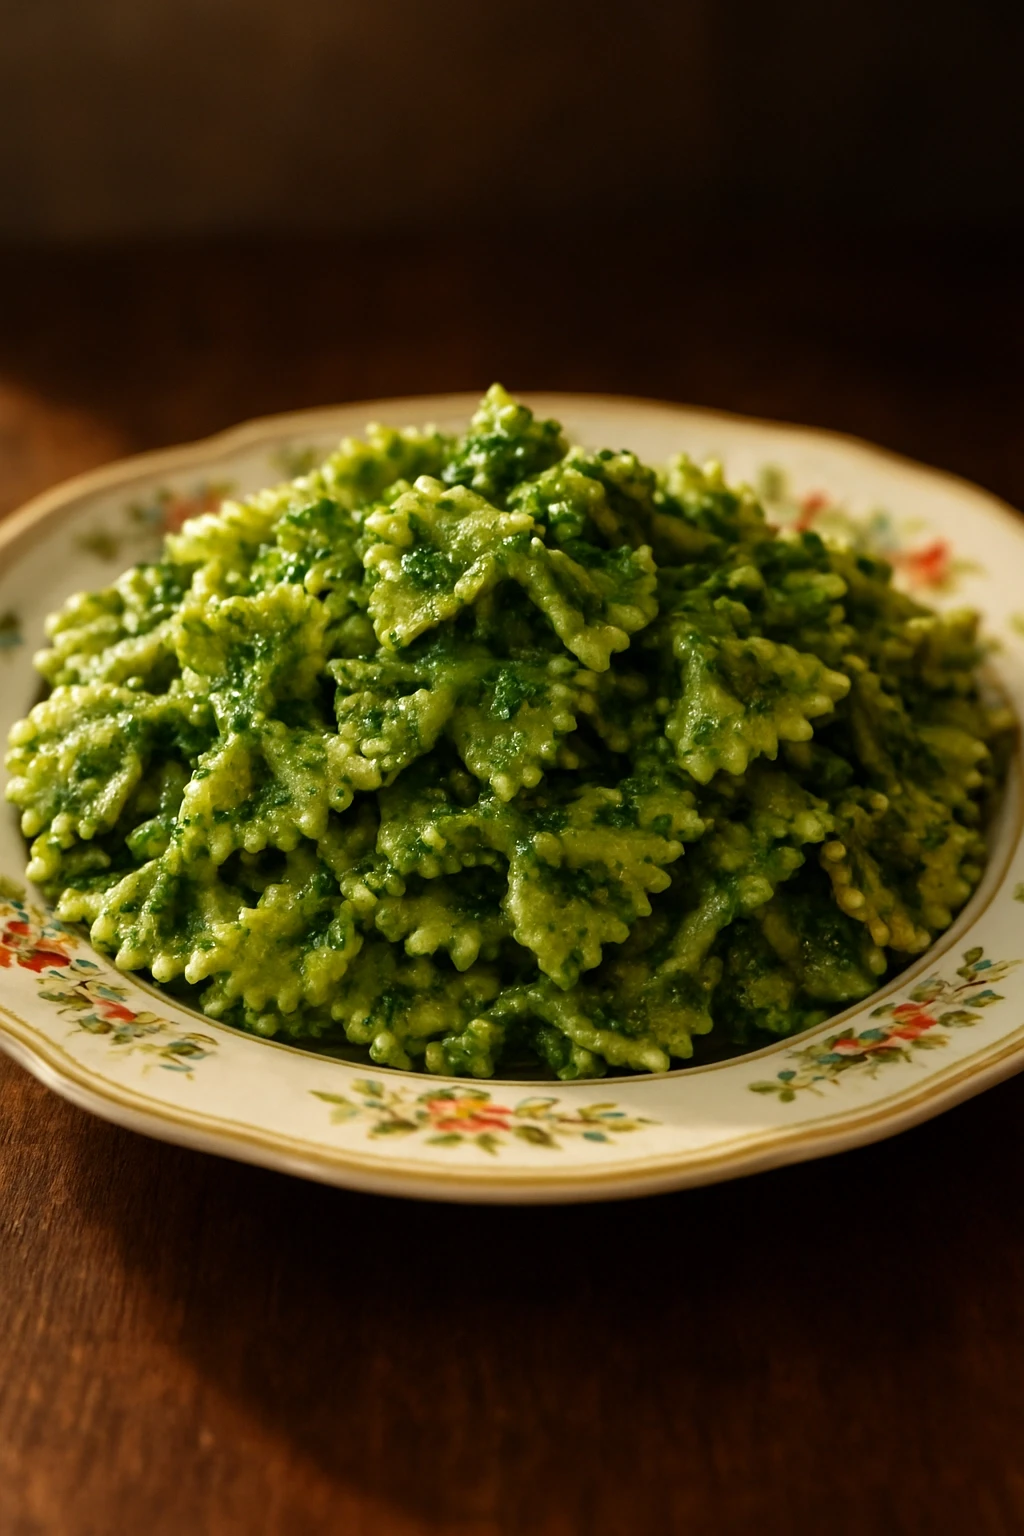
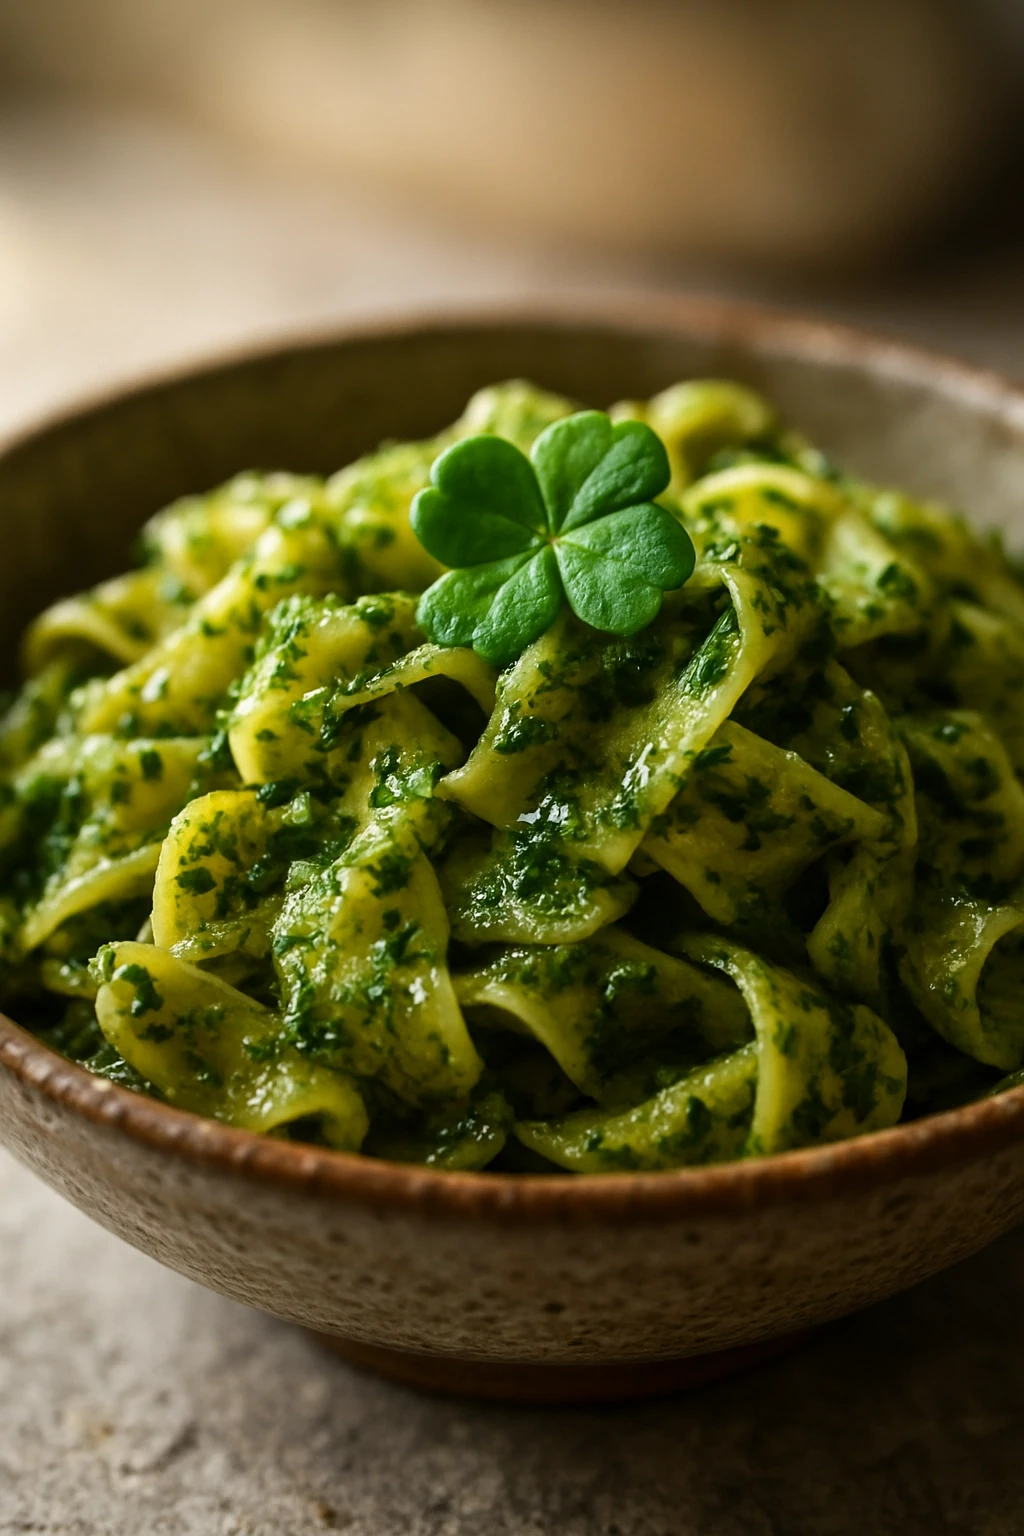
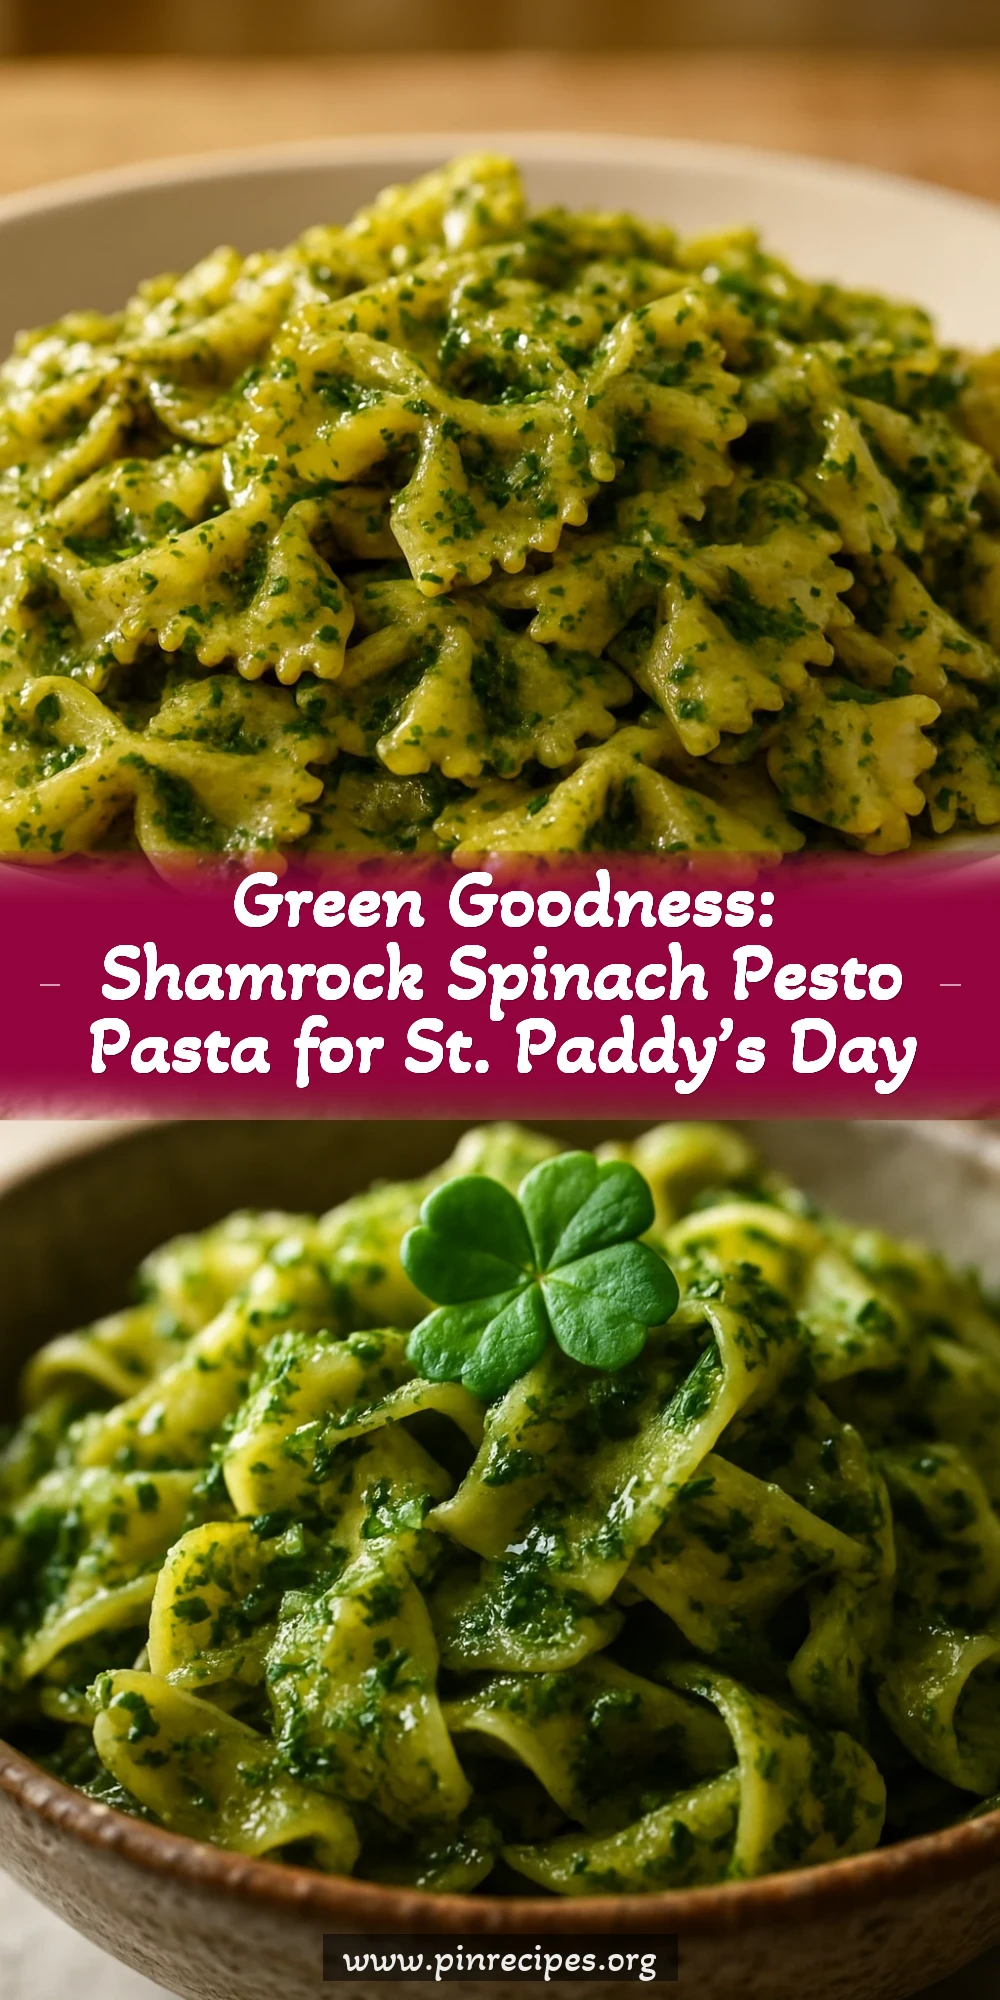
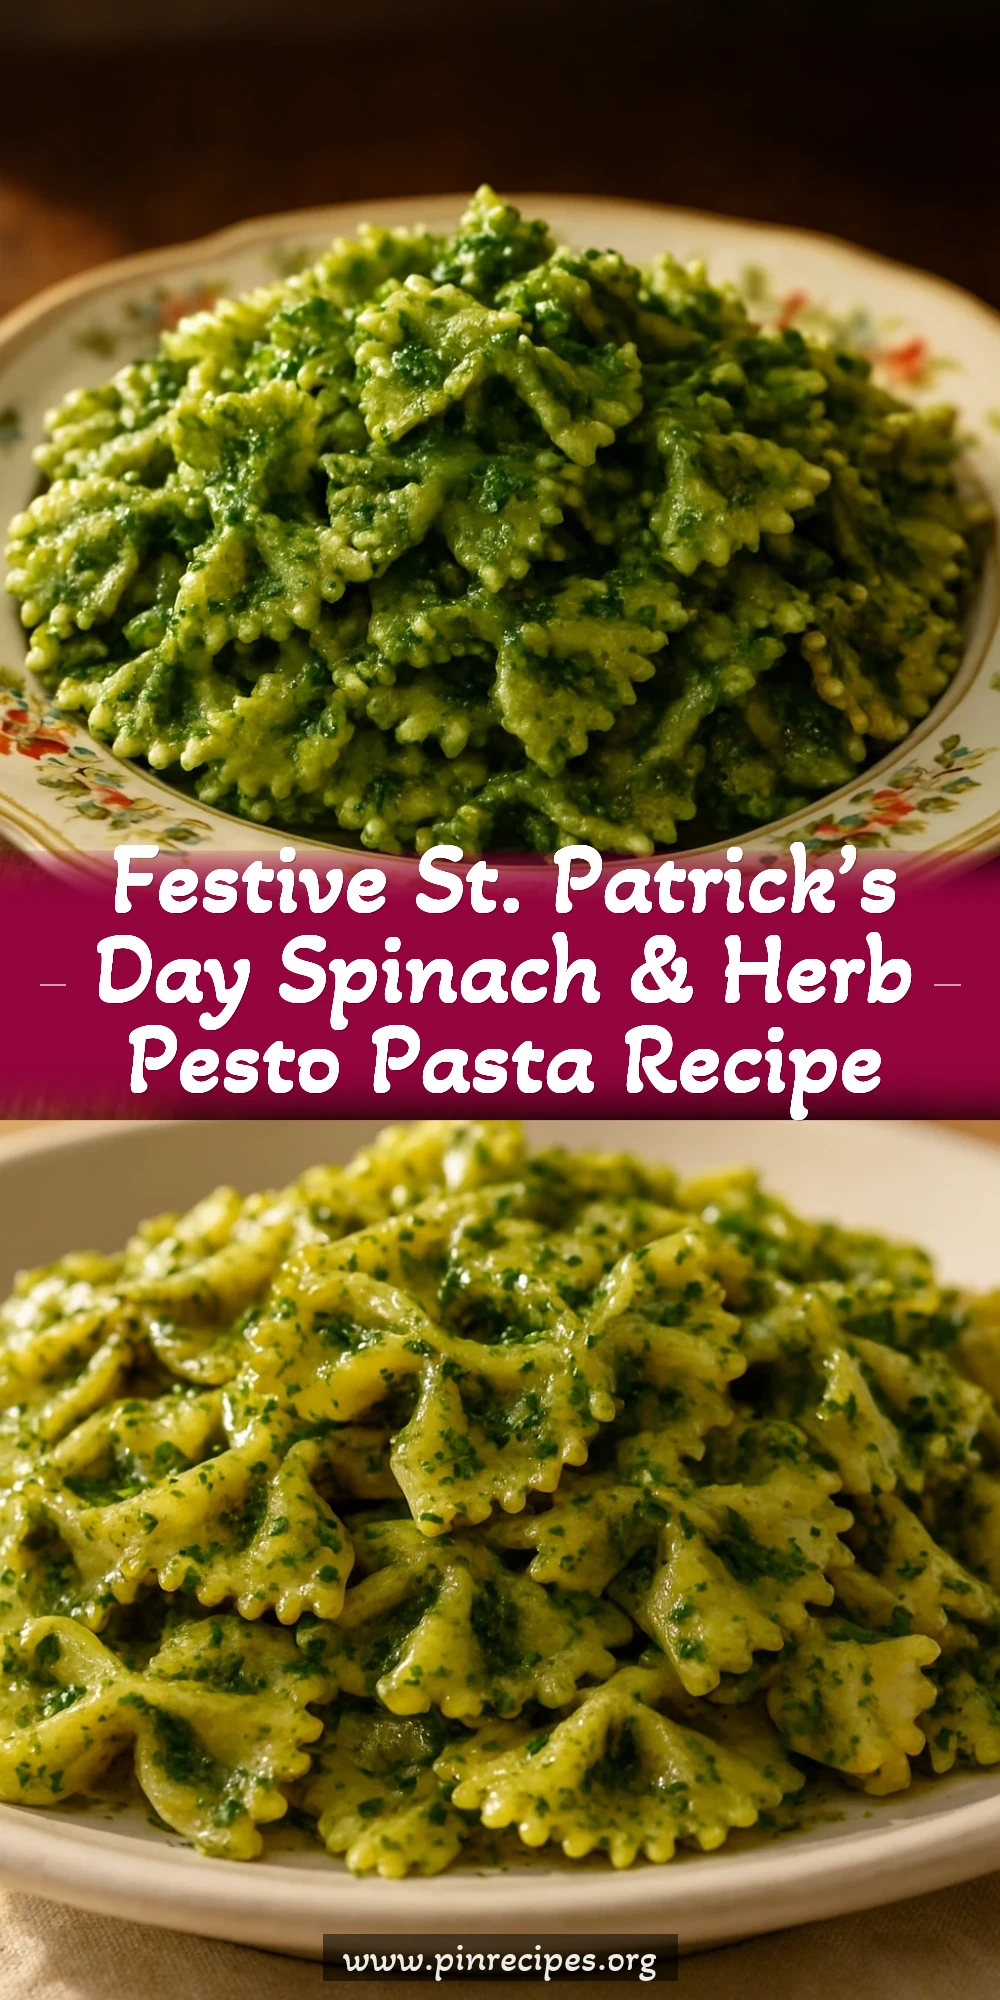
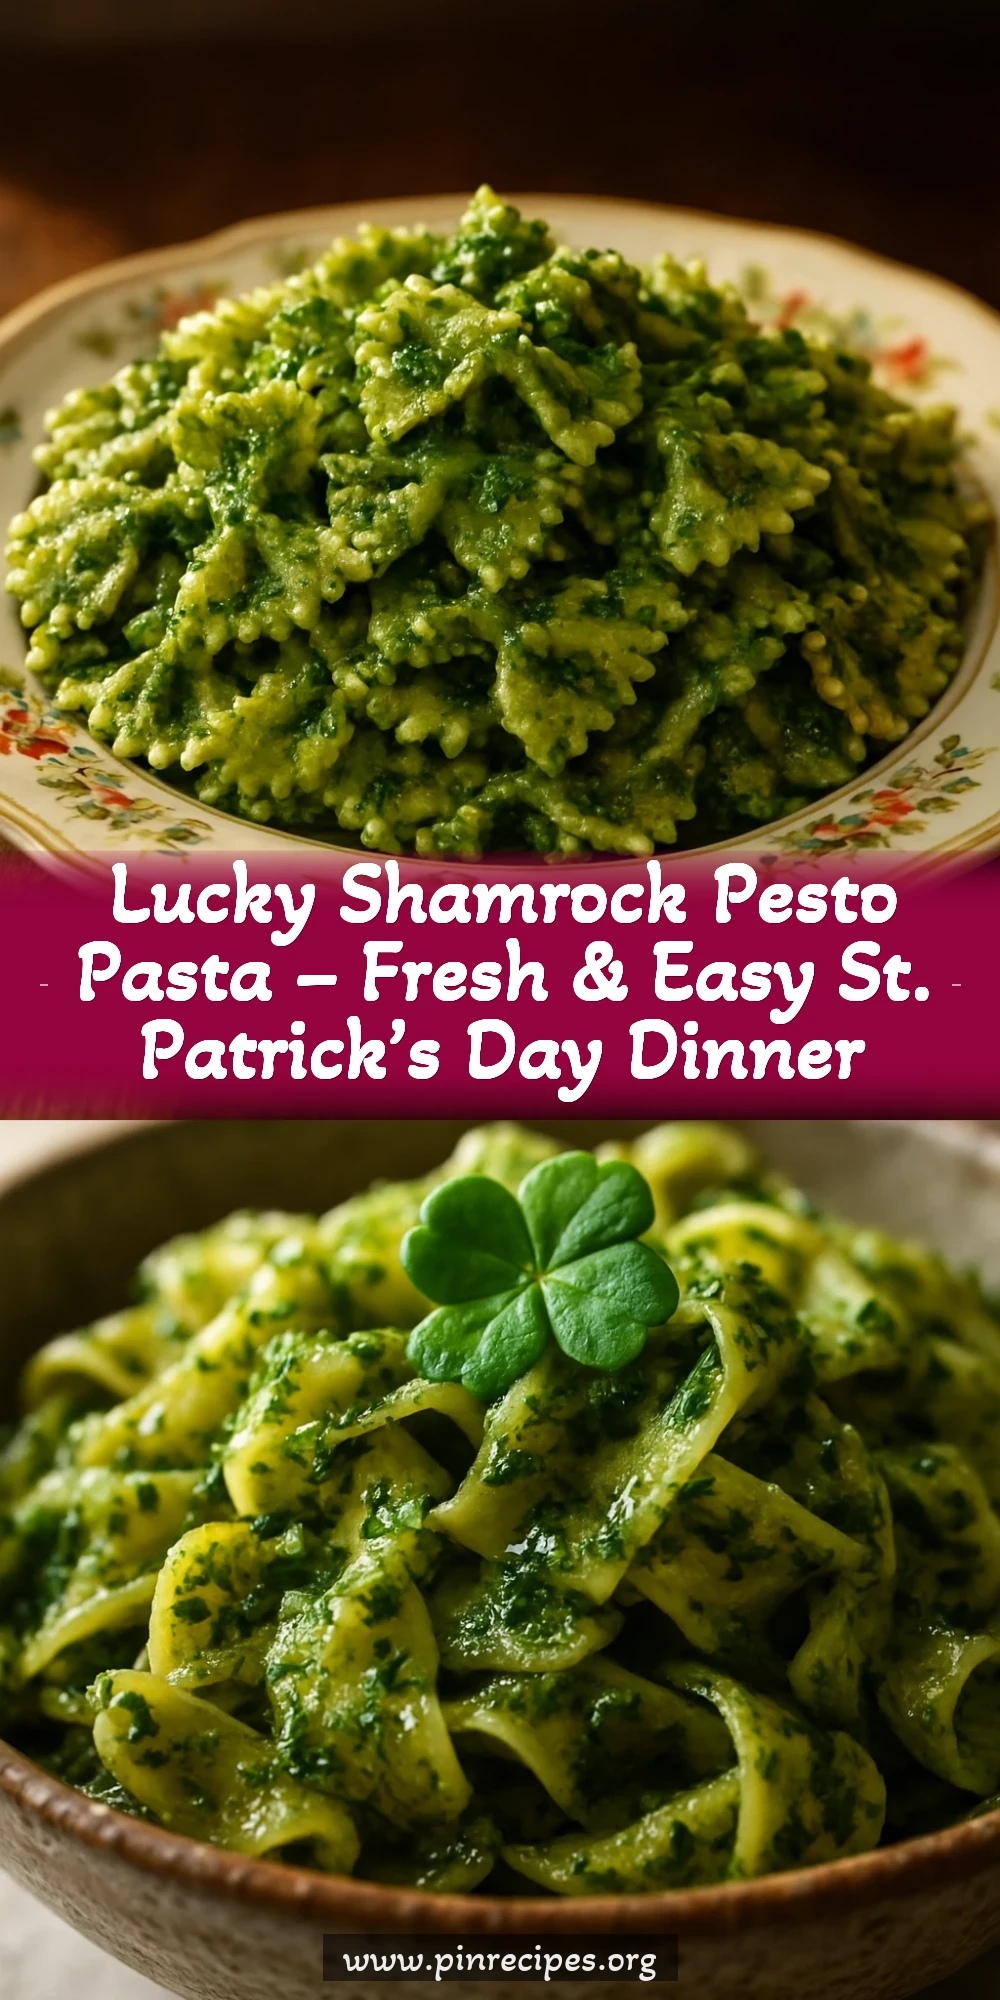
This vibrant green pasta is bursting with fresh herbs and spinach, perfect for celebrating St. Patrick’s Day. The secret? Toasted pine nuts blended into a bright, garlicky pesto. A fresh, festive dinner that’s ready in under 30 minutes!
Introduction
I first stumbled upon this green pesto pasta recipe a few years ago while trying to whip up something festive for St. Patrick’s Day. I wanted something that felt fresh and vibrant, not just the usual corned beef and cabbage. This version quickly became my go-to because it’s so simple yet packed with flavor. What sets it apart is the mix of fresh spinach with parsley and basil, which gives it a bright, earthy taste. Toasting the pine nuts before blending adds a wonderful nuttiness that you really notice. I’ve made it many times now, and it’s always a hit, especially when served with a squeeze of fresh lemon to brighten everything up. The pasta finishes with a silky, herbaceous sauce that clings perfectly to every strand. It’s light, fresh, and just a little indulgent with the Parmesan. Plus, it’s ready in about 30 minutes, which is perfect for a weeknight or a holiday meal that doesn’t require hours in the kitchen. If you love green food or want to surprise your family with something a bit different, give this a try!
How To Do It
Step 1
Bring a large pot of salted water to a rolling boil. Salt is crucial here because it seasons the pasta from within, enhancing the overall flavor. Add the pasta and cook according to package instructions until al dente, usually about 9-11 minutes. Avoid overcooking to keep the pasta firm and prevent it from becoming mushy once tossed with the pesto. Stir occasionally to prevent sticking. Once done, reserve about half a cup of the pasta water before draining; this starchy water will help loosen the pesto sauce later and help it cling beautifully to the noodles.
⏱ Time: 10-12 minutes
✓ Doneness: Pasta should be tender but still firm to the bite (al dente) and not mushy.
Step 2
While the pasta cooks, prepare the pesto. In a dry skillet over medium heat, toast the pine nuts until golden and fragrant, about 3-4 minutes, shaking the pan often to avoid burning. This step unlocks their rich, nutty flavor. Transfer the toasted pine nuts to a food processor along with fresh spinach, parsley, basil, garlic, and Parmesan. Pulse a few times to combine the ingredients roughly before slowly drizzling in the olive oil while the processor runs. This emulsifies the sauce, giving it a creamy texture. Season with salt, pepper, and a squeeze of lemon juice to brighten the flavors. If the pesto feels too thick, add a tablespoon or two of the reserved pasta water to loosen it up.
⏱ Time: 8-10 minutes
✓ Doneness: Pesto should be smooth but still have some texture, vibrant green, and aromatic with herbs and garlic.
Step 3
Return the drained pasta to the pot or a large mixing bowl. Pour the pesto over the pasta and toss gently but thoroughly to coat every strand. Use tongs or a pasta fork to lift and fold the pasta, ensuring the sauce spreads evenly. If the pesto seems too thick or the pasta looks dry, add a bit more reserved pasta water, a tablespoon at a time, until you reach a silky consistency. This technique helps the sauce cling better and prevents clumping. Taste and adjust seasoning with extra salt, pepper, or lemon juice if needed.
⏱ Time: 3-5 minutes
✓ Doneness: Pasta should be evenly coated with a glossy, vibrant green pesto sauce.
Step 4
Serve the pasta immediately on warm plates, garnished with extra grated Parmesan and a few toasted pine nuts for crunch. The contrast between the creamy pesto and the crunchy pine nuts adds a lovely texture. If you like, drizzle a little more olive oil on top for extra richness. This dish pairs beautifully with a crisp green salad or roasted vegetables for a complete meal.
⏱ Time: 2 minutes
✓ Doneness: Dish looks vibrant, fresh, and inviting with a slight sheen from olive oil.
Step 5
If you want to add a protein, grilled chicken or sautéed shrimp work wonderfully here. Cook them separately with simple seasoning like salt, pepper, and a touch of garlic powder to keep the flavors balanced. Add them on top of the pasta just before serving for a heartier meal. This keeps the pesto’s freshness intact without overpowering it.
⏱ Time: Optional, 10-15 minutes
✓ Doneness: Protein should be cooked through and nicely browned but not dry.
Step 6
For a vegan version, swap the Parmesan with nutritional yeast or a vegan cheese alternative. The pesto still tastes amazing and creamy but without dairy. Just be sure to adjust seasoning since these substitutes can vary in saltiness. Also, double-check that your pine nuts are raw and not roasted with any dairy additives.
⏱ Time: No extra time
✓ Doneness: Pesto remains creamy and flavorful despite the cheese swap.
Step 7
To make ahead, prepare the pesto a day in advance and store it in an airtight container in the fridge. It may thicken or darken slightly but will still taste fresh. Before tossing with pasta, bring it to room temperature and add a splash of olive oil or pasta water to loosen it up. This saves time on busy days and lets the flavors meld beautifully.
⏱ Time: Prep ahead
✓ Doneness: Pesto is smooth and bright after stirring and thinning if needed.
Step 8
When reheating leftover pesto pasta, do so gently to avoid drying out the sauce. Warm it in a skillet over low heat with a splash of water or olive oil, stirring frequently. Microwaving can work but tends to dry the dish if not careful. The goal is to revive the silky texture without cooking the pasta further.
⏱ Time: 5 minutes
✓ Doneness: Pasta is warm and coated with a glossy sauce, not sticky or dry.
Step 9
Finally, don’t forget to taste as you go, especially when seasoning the pesto. Fresh herbs and lemon juice can vary in intensity, so adjust salt, pepper, and acidity to your liking. This personal touch is what makes the dish truly yours and ensures every bite is balanced and flavorful.
⏱ Time: Throughout cooking
✓ Doneness: Balanced flavor with no overpowering garlic, salt, or lemon.
Pro Tips
Toast the pine nuts gently over medium heat, stirring constantly.
This even toasting prevents burning, which would impart a bitter taste. Toasting unlocks the nuts’ natural oils and aroma, enriching the pesto’s flavor. Skipping this step results in a flatter, less fragrant sauce.
Reserve some pasta water before draining to adjust sauce consistency.
The starchy water acts as a natural binder, helping the pesto cling to the pasta without thinning it too much. Adding it gradually allows you to control the sauce’s silkiness and prevents it from becoming watery.
Add olive oil slowly while blending to emulsify the sauce.
Drizzling oil gradually suspends tiny droplets evenly throughout the mixture, creating a creamy, glossy texture. Pouring it all at once can cause the sauce to separate or become oily.
Use freshly grated Parmesan instead of pre-grated cheese.
Freshly grated cheese melts more smoothly and has a richer flavor. Pre-grated varieties often contain additives that change texture and can make the pesto grainy or less cohesive.
Taste and adjust seasoning with salt and lemon juice at the end.
Herbs and lemon vary in intensity, so seasoning to taste ensures a balanced flavor. Lemon juice brightens the dish and cuts through richness, preventing the pesto from tasting heavy.
Cook the pasta just until al dente to maintain texture.
Overcooked pasta becomes mushy and won’t hold the sauce well. Al dente noodles provide a slight bite that contrasts nicely with the creamy pesto.
Serve pesto pasta immediately for the best flavor and texture.
Pesto can oxidize and darken if left too long, and pasta may absorb too much sauce, becoming dry. Freshly tossed pasta is glossy, vibrant, and full of flavor.
Common Mistakes to Avoid
Using pre-packaged pesto instead of fresh homemade.
Why it happens It’s easy and convenient to grab jarred pesto, but it often contains preservatives and less vibrant flavors.
Fix Make your own pesto with fresh herbs and toasted nuts. The flavor difference is huge, and it takes just minutes. Toast the nuts and blend fresh ingredients for a bright, aromatic sauce.
Overcooking the pasta until mushy.
Why it happens Rushing or ignoring package instructions leads to overdone pasta that doesn’t hold sauce well.
Fix Cook pasta until just al dente and test by biting a strand. It should be tender but still have a slight firmness. Drain promptly and toss with sauce right away.
Adding too much garlic, overpowering the pesto.
Why it happens Garlic is flavorful but can quickly dominate if added in excess.
Fix Start with a small amount (1-2 cloves) and taste before adding more. Roasting garlic first can mellow its sharpness if you prefer a milder flavor.
Not toasting pine nuts before blending.
Why it happens Skipping toasting saves time but sacrifices flavor depth.
Fix Toast pine nuts gently in a dry pan until fragrant and golden. This step enhances nuttiness and aroma, key to a rich pesto.
Using old or poor-quality olive oil.
Why it happens Sometimes cooks use whatever oil is on hand without considering freshness or flavor.
Fix Choose a fresh, good-quality extra virgin olive oil with fruity, grassy notes. Bad oil can make the pesto taste bitter or flat.
Variations
Add arugula for peppery bite
Swap half the spinach for fresh arugula to give the pesto a peppery kick. This adds complexity and a slight bitterness that contrasts nicely with the nuts and cheese. It’s a great way to mix up the flavor profile while keeping the vibrant green color.
Note: Arugula wilts faster and has a stronger flavor, so balance with mild herbs and taste before seasoning.
Use walnuts instead of pine nuts
Replace pine nuts with toasted walnuts for a more robust, earthy flavor. Walnuts are often more affordable and add a pleasant crunch. The pesto will be slightly darker and richer but still creamy and delicious.
Note: Toast walnuts gently to avoid bitterness and chop coarsely if you prefer some texture in the sauce.
Make it vegan by swapping Parmesan
Use nutritional yeast or a vegan cheese substitute instead of Parmesan to keep the pesto dairy-free. This version is lighter but still packs a cheesy, savory punch. Perfect for plant-based diets or lactose intolerance.
Note: Adjust salt carefully since nutritional yeast can vary in saltiness compared to cheese.
Add lemon zest for extra brightness
Grate a little lemon zest into the pesto along with the juice for a more intense citrus aroma. This lifts the sauce and adds a fresh, zingy note that complements the herbs beautifully.
Note: Use only the yellow part of the peel to avoid bitterness from the white pith.
Include a handful of grated zucchini
Add grated zucchini to the blender for extra moisture and a subtle sweetness. This boosts the pesto’s volume and adds a smooth texture without overpowering the herb flavors.
Note: Squeeze out excess moisture from zucchini before blending to prevent watery pesto.
Nutrition
Per Serving:
Nutritional values are estimates and may vary based on specific ingredients used.
Storage & Tips
Room Temperature
Pesto pasta can be left out at room temperature for up to 2 hours if covered loosely to prevent drying. Beyond that, bacteria growth increases, so it’s best to refrigerate promptly.
Refrigerator
Store leftover pasta in an airtight container for up to 3 days. The pesto may darken slightly and thicken, so stir in a splash of olive oil or warm water before serving. It tastes best reheated gently rather than eaten cold.
Freezer
Freeze pesto separately in airtight containers or freezer bags for up to 2 months. Pasta freezes less well but can be frozen if tightly wrapped. Thaw pesto overnight in the fridge and stir well before use. Avoid freezing pasta with sauce to maintain texture.
Reheating
Warm pesto pasta gently in a skillet over low heat with a splash of olive oil or water to loosen the sauce. Avoid microwaving on high heat which can dry out the dish. Stir frequently to heat evenly.
Make Ahead
Prepare the pesto up to 2 days ahead and refrigerate in a sealed container. Cook pasta fresh and toss with pesto just before serving to keep the noodles tender and sauce vibrant.
FAQ
Can I use frozen spinach instead of fresh?
Frozen spinach can be used but should be thawed and well-drained to avoid watery pesto. Fresh spinach is preferred for its bright color and texture, but if using frozen, squeeze out excess moisture and add less pasta water when mixing.
How do I store leftover pesto to keep it green?
Store pesto in an airtight container with a thin layer of olive oil on top to prevent oxidation. Refrigerate and use within 3 days. For longer storage, freeze in small portions. This helps maintain the vibrant green color and fresh flavor.
Can I make this pesto without a food processor?
The key is to chop everything as finely as possible and mix thoroughly to emulsify the oil.
What pasta shapes work best with pesto?
Long noodles like fettuccine, linguine, or spaghetti are classic choices because the sauce clings well to their strands. Short shapes like penne or fusilli also work and hold sauce in their crevices. Choose your favorite for texture preference.
How can I make the pesto spicier?
Add a pinch of red pepper flakes or a small amount of fresh jalapeño to the blender. Start with a little and taste to avoid overpowering the fresh herb flavors. The heat adds a nice contrast without overwhelming the dish.
Is it okay to use bottled lemon juice?
Fresh lemon juice is best for brightness and flavor complexity. Bottled lemon juice can be more acidic and less fresh-tasting, which may affect the pesto’s balance. If using bottled, add less and taste carefully.
Can I prepare the entire dish ahead of time?
You can make the pesto ahead, but it’s best to cook and toss the pasta just before serving. Pasta tends to absorb sauce and become mushy if mixed too early. Keep components separate until ready to serve.
What if my pesto turns out too thick?
Thin it out by stirring in reserved pasta water or a little extra olive oil a tablespoon at a time until you reach the desired consistency. This keeps the sauce silky and helps it coat the pasta evenly.
Final Thoughts
I hope you enjoy making and eating this shamrock-worthy green pesto pasta as much as I do! Don’t forget to share your photos and tweaks — I love seeing your kitchen adventures.