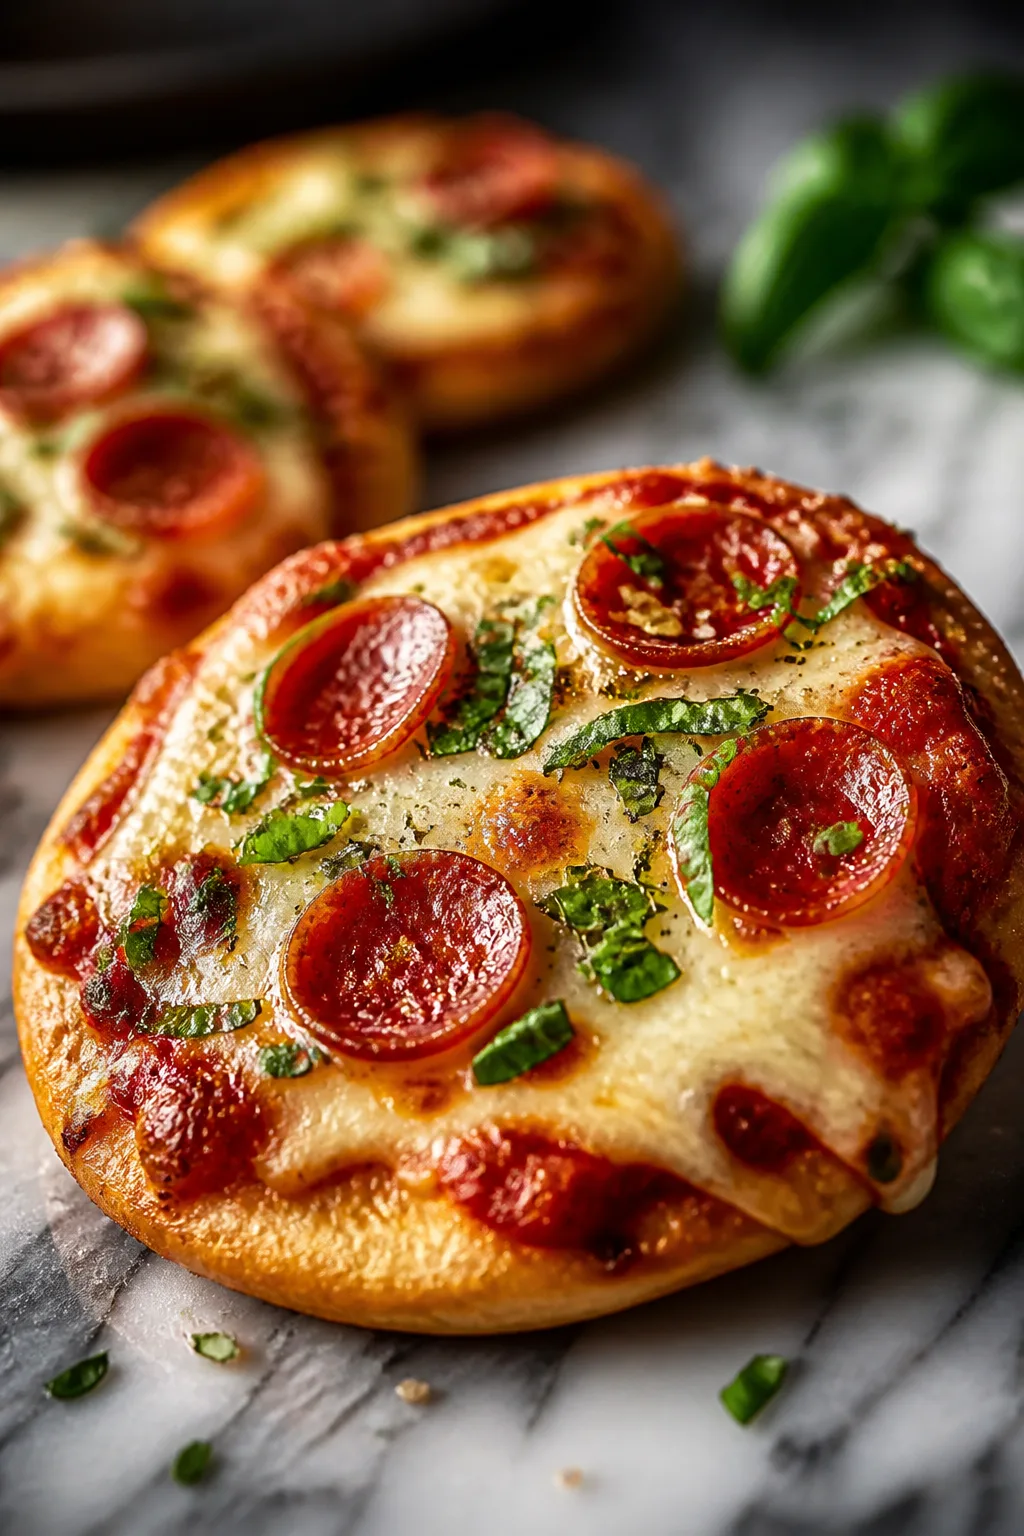
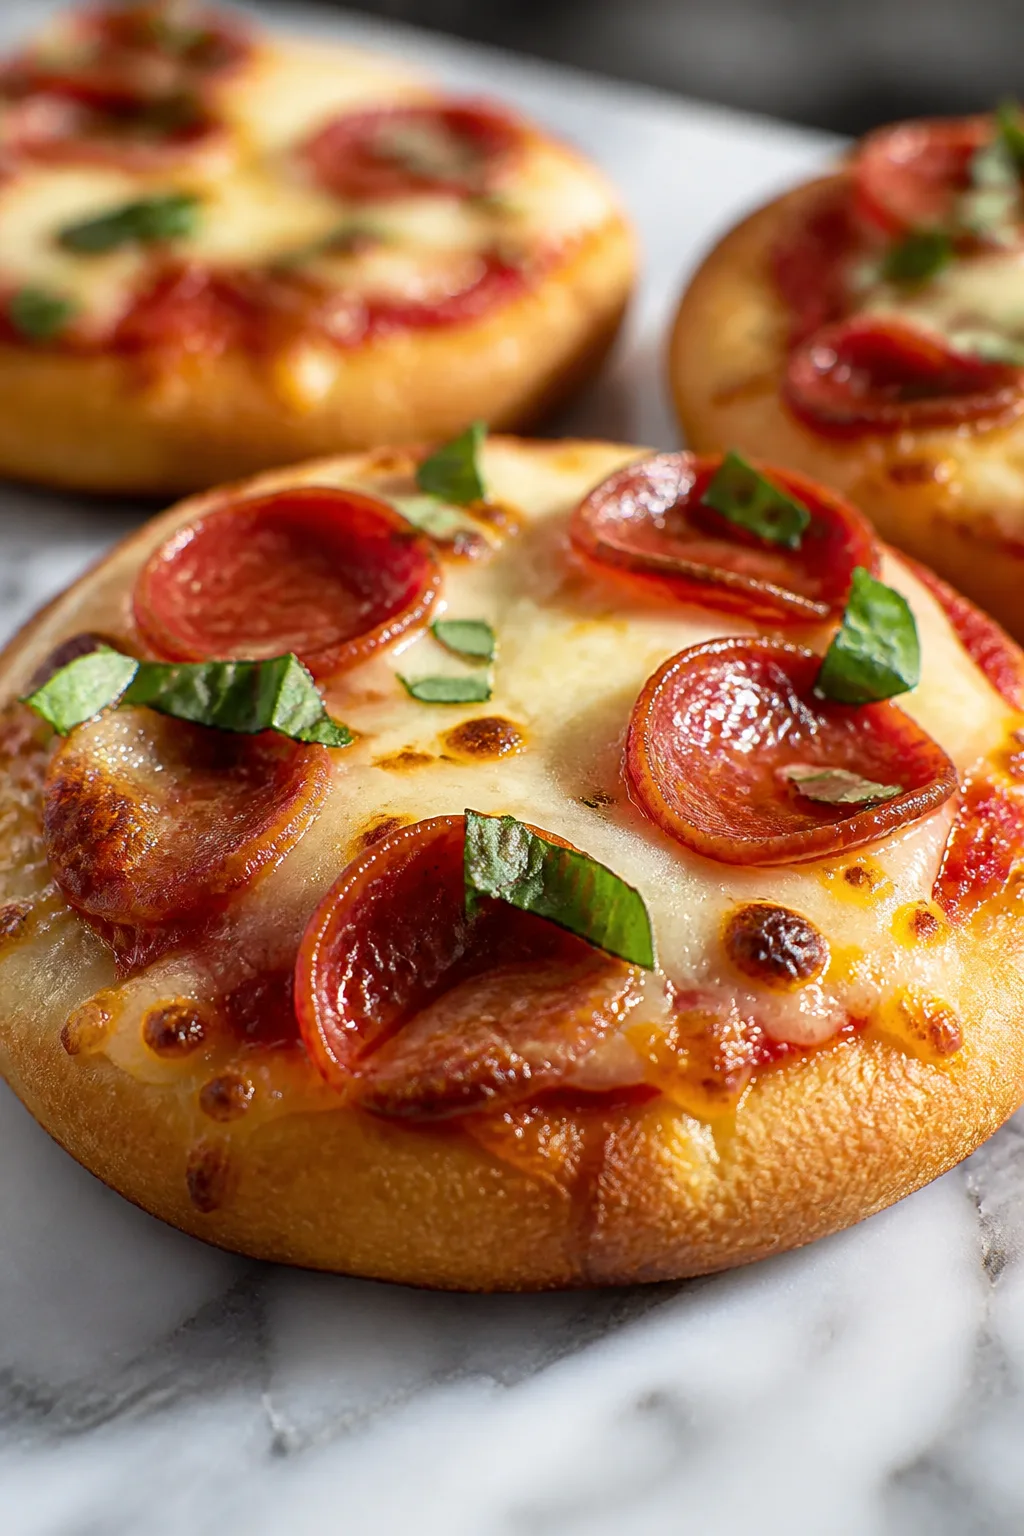
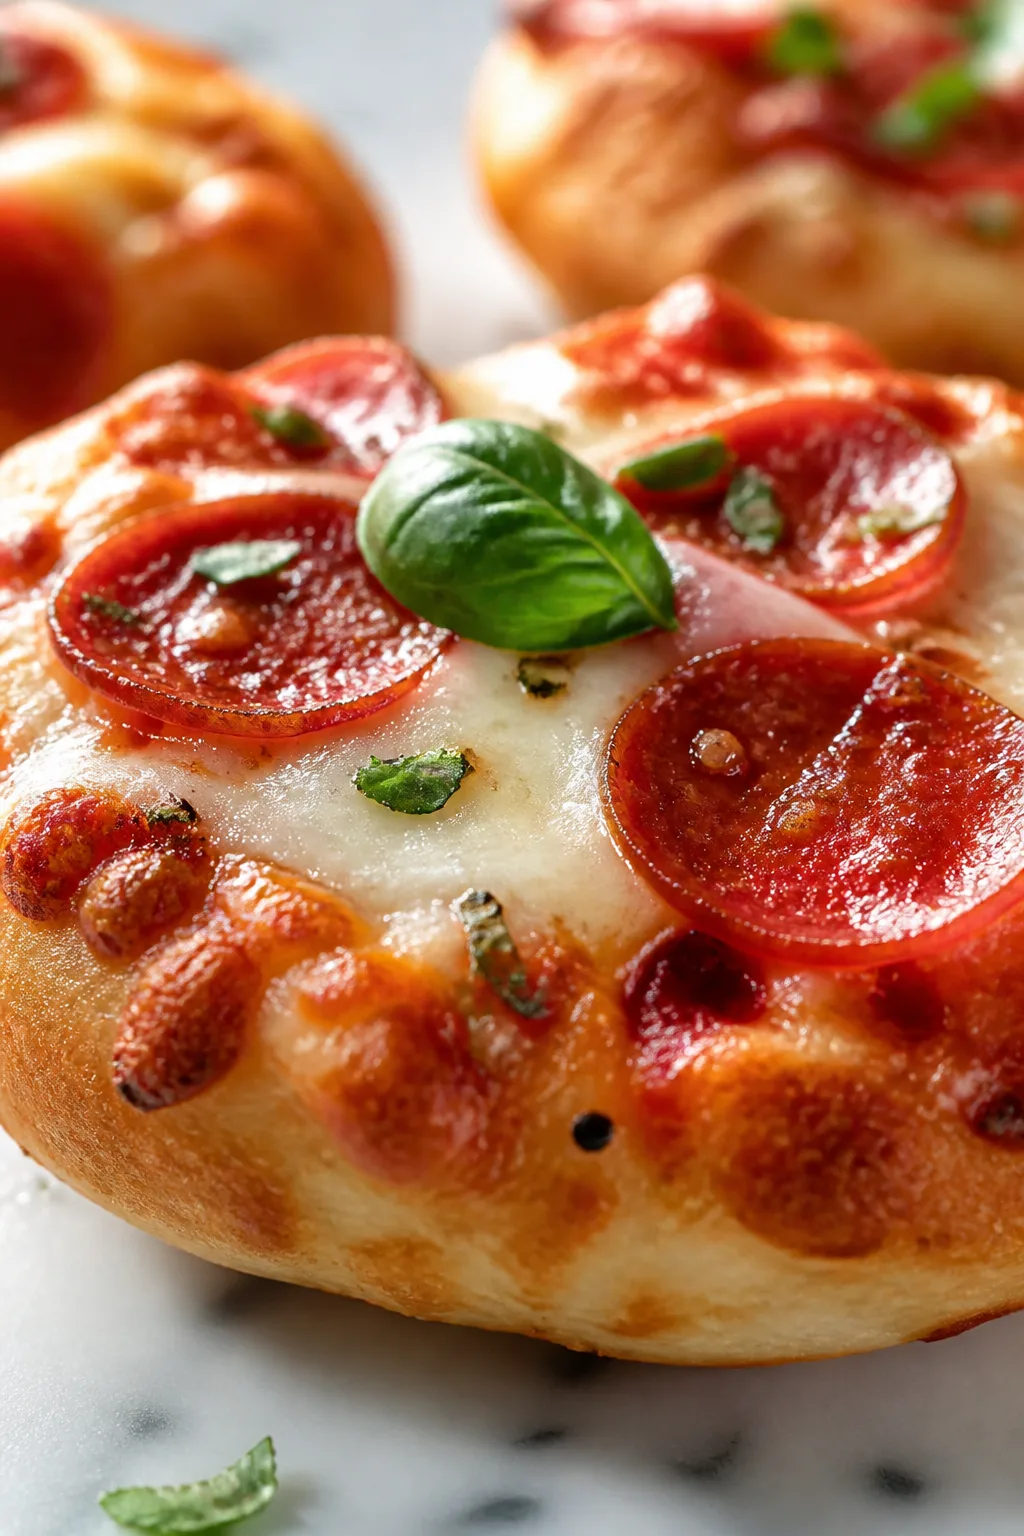
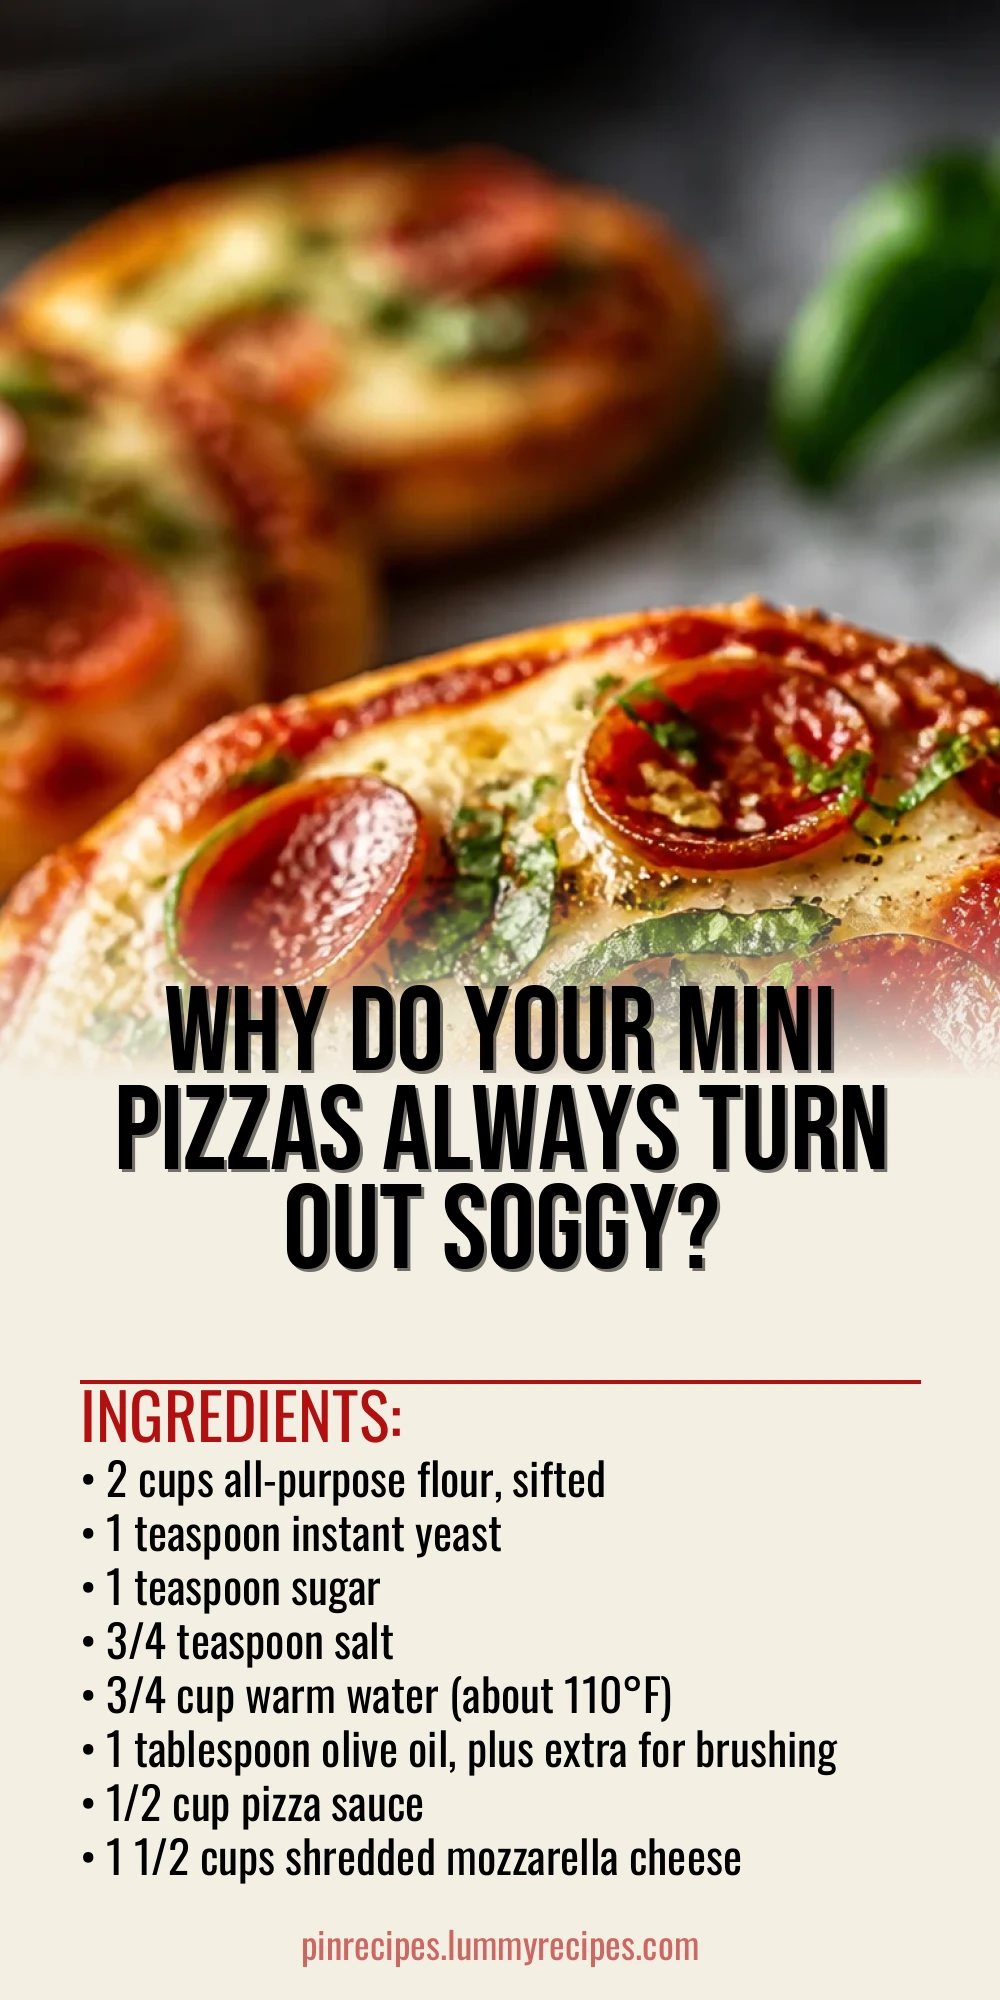
These mini pizzas are the ultimate crowd-pleasers — easy to customize and quick to bake. I love using a simple homemade dough that crisps just right. Great for casual dinners or weekend snacks!
Introduction
I remember the first time I tried making mini pizzas at home — it was a bit of a mess, honestly. The dough was too thick, and the toppings slid right off! Over time, I tweaked the recipe until I got that perfect balance: a thin, crisp crust with just enough chew and toppings that stay put. What makes my version different? I use instant yeast for a quick rise and a little olive oil in the dough for flavor and texture. Also, I roll the dough thinner than usual, which helps create that delightful crunch without drying out. These mini pizzas are perfect for family nights when everyone wants their own customized pie. Plus, they bake quickly, so dinner’s ready in no time. The finished pizzas have a golden crust with bubbly cheese and vibrant toppings — trust me, you’ll want to make these again and again!
What You'll Need
Approximately 8 mini pizzas, 4 servings
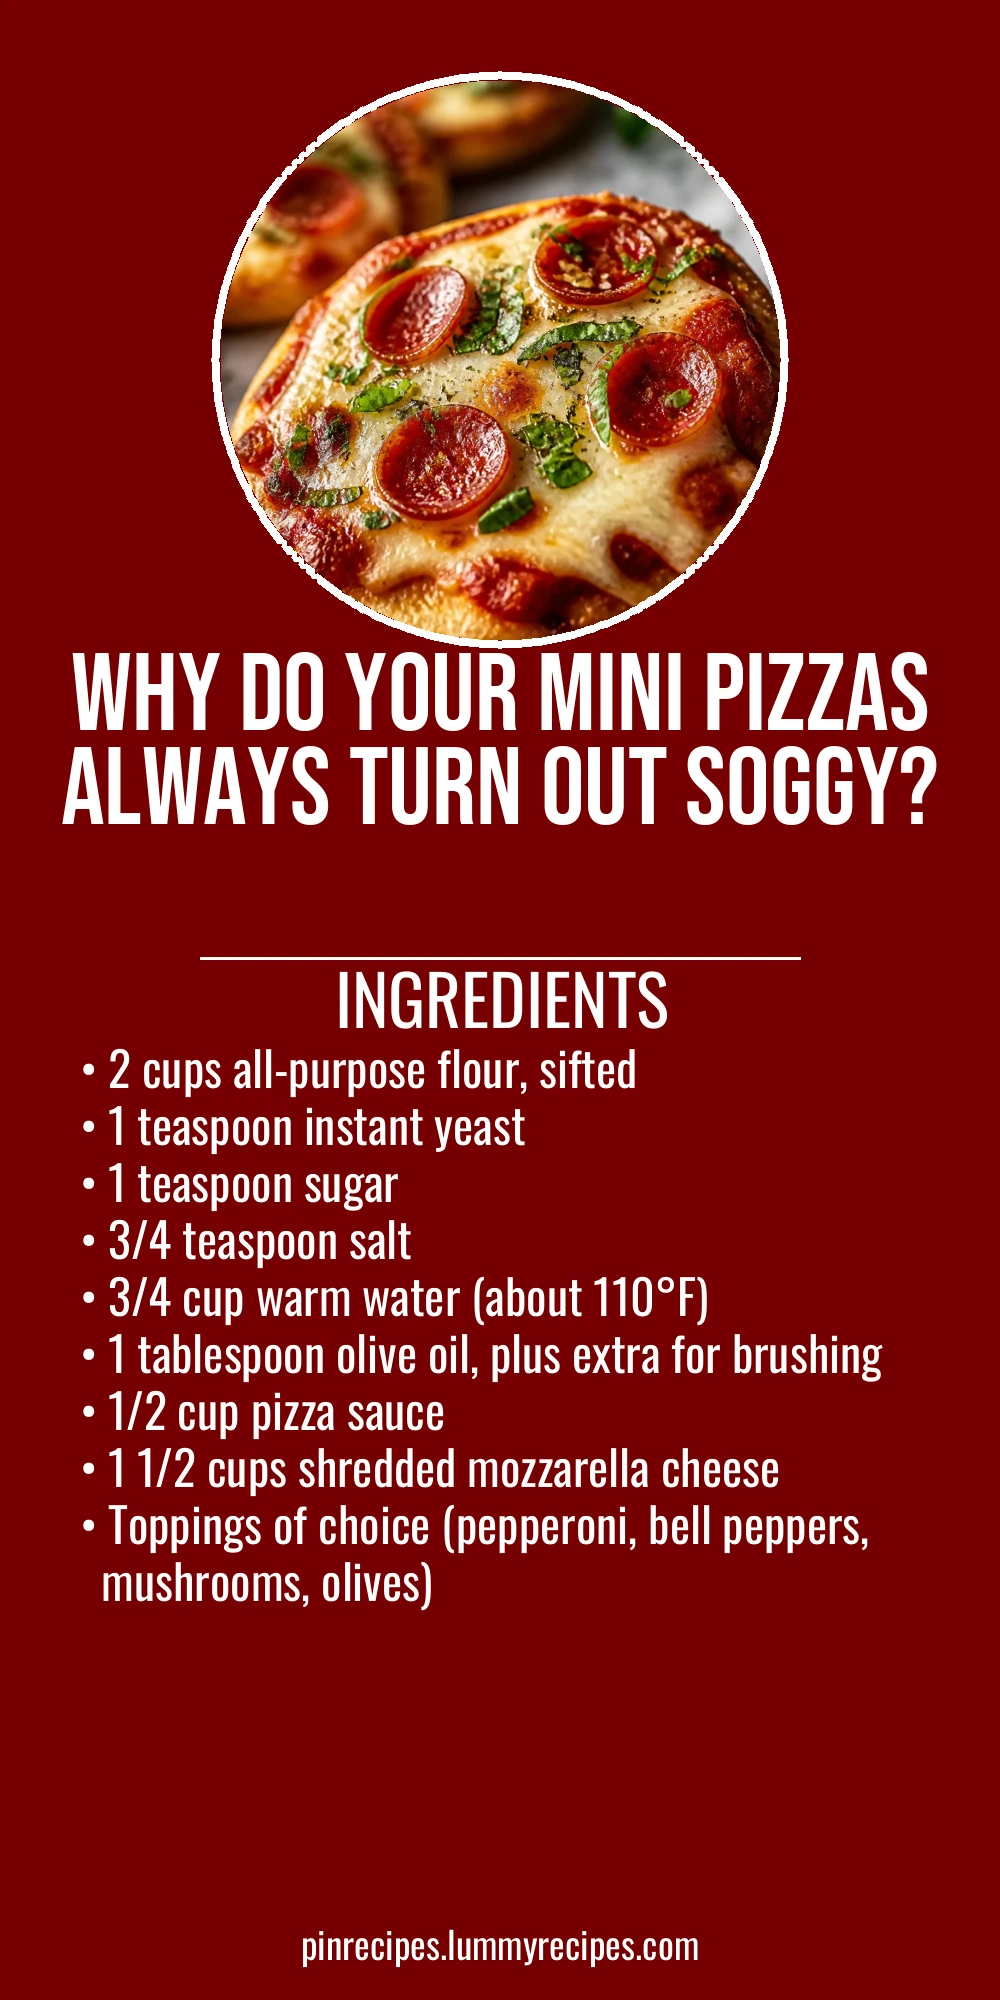
- 2 cups all-purpose flour, sifted
- 1 teaspoon instant yeast
- 1 teaspoon sugar
- 3/4 teaspoon salt
- 3/4 cup warm water (about 110°F)
- 1 tablespoon olive oil, plus extra for brushing
- 1/2 cup pizza sauce
- 1 1/2 cups shredded mozzarella cheese
- Toppings of choice (pepperoni, bell peppers, mushrooms, olives)
How To Do It
Step 1
In a large bowl, whisk together the flour, instant yeast, sugar, and salt. This dry mix is the foundation for your dough, so make sure it’s well combined. Mixing the dry ingredients first helps evenly distribute the yeast and salt, which is essential for proper rising and flavor. Avoid adding salt directly on top of yeast to prevent killing it. Once mixed, create a well in the center for the wet ingredients.
⏱ Time: 5 minutes
✓ Doneness: Dry ingredients are fully combined with no clumps
Step 2
Pour warm water and olive oil into the well. Slowly mix with a wooden spoon or your hand until a shaggy dough forms. The water temperature should be warm but not hot (about 110°F) to activate the yeast without killing it. Mixing slowly helps hydrate the flour evenly, which improves gluten development and dough texture.
⏱ Time: 5 minutes
✓ Doneness: Dough starts to come together, sticky but manageable
Step 3
Turn the dough onto a lightly floured surface and knead for about 8-10 minutes. Kneading develops gluten, which gives the dough elasticity and chewiness. If the dough sticks too much, sprinkle a little more flour, but don’t add too much or the crust will be tough. Knead until the dough is smooth and elastic.
⏱ Time: 10 minutes
✓ Doneness: Dough is smooth, elastic, and springs back when pressed
Step 4
Place the dough in a lightly oiled bowl and cover with a damp cloth or plastic wrap. Let it rise in a warm spot for about 1 hour or until doubled in size. This fermentation allows the yeast to produce gases, which create air pockets and a light texture in the crust. Don’t rush this step; a proper rise is key to fluffy yet crispy pizza bases.
⏱ Time: 60 minutes
✓ Doneness: Dough has doubled in size and feels airy
Step 5
Preheat your oven to 475°F (245°C) and place a baking sheet or pizza stone inside to heat. A hot surface helps the dough cook quickly from the bottom, giving a crisp crust. If you skip preheating, the dough may become soggy or undercooked.
⏱ Time: 15 minutes
✓ Doneness: Oven and baking surface are very hot
Step 6
Punch down the dough and divide it into 8 equal pieces. Roll each piece into a small ball, then flatten into a 5-inch circle on a floured surface. Rolling thin is crucial for mini pizzas — thick dough won’t crisp up well. Use light pressure to keep the dough airy.
⏱ Time: 10 minutes
✓ Doneness: Dough circles are thin, even, and hold shape
Step 7
Brush each dough circle lightly with olive oil to prevent sogginess from the sauce. Spread about 1 tablespoon of pizza sauce on each, leaving a small border around the edge. Too much sauce can weigh down the crust and make it soggy, so less is more here.
⏱ Time: 5 minutes
✓ Doneness: Sauce is evenly spread without pooling
Step 8
Sprinkle about 2 tablespoons of shredded mozzarella over the sauce, then add your favorite toppings. Don’t overload the pizzas — too many toppings can prevent even cooking and soggy crusts. I like a few slices of pepperoni and some bell pepper for color and flavor.
⏱ Time: 5 minutes
✓ Doneness: Toppings are evenly distributed and not piled high
Step 9
Carefully transfer the mini pizzas onto the preheated baking sheet or stone. Bake for 8-12 minutes until the crust is golden and cheese bubbles with slight browning. Watch closely near the end to avoid burning. The hot surface cooks the crust quickly, locking in crispness while melting the cheese perfectly.
⏱ Time: 8-12 minutes
✓ Doneness: Crust is golden brown and cheese is bubbly with spots of brown
Pro Tips
Let the dough rest after kneading for 10 minutes before shaping.
This resting period allows gluten strands to relax, making the dough easier to roll out without springing back. Skipping this can make shaping frustrating and uneven.
Use a pizza stone or preheated baking sheet to bake the pizzas.
A hot surface mimics a pizza oven’s floor, cooking the crust quickly and evenly for a crisp bottom. Baking on a cold pan often leads to soggy, undercooked crusts.
Don’t overload your mini pizzas with toppings.
Too many toppings trap moisture and steam, preventing the crust from crisping. A few well-chosen toppings keep the pizza balanced and delicious.
Brush the dough edges with olive oil before baking.
This helps the crust brown beautifully and adds a subtle flavor boost. It also creates a slight barrier to prevent sauce from soaking into the dough edges.
Use warm water around 110°F to activate yeast.
Water that’s too hot kills yeast, while too cold won’t activate it properly. Proper temperature ensures a good rise and light texture.
Cover the dough with a damp cloth during rising.
This prevents the surface from drying out and forming a crust, which can inhibit rising and create tough spots.
Roll dough thinly but evenly for consistent baking.
Uneven dough thickness causes some parts to cook faster than others, leading to burnt edges or undercooked centers.
Common Mistakes to Avoid
Using cold water to mix the dough
Why it happens Many assume any water temperature works, but cold water slows yeast activation, resulting in poor rising.
Fix Always use warm water around 110°F to activate yeast properly. Use a thermometer or test with your wrist to ensure it’s warm but not hot.
Skipping the dough rise or shortening it too much
Why it happens Impatience or time constraints lead cooks to rush this step, thinking it won’t make much difference.
Fix Allow the dough to double in size for full fermentation. This creates air pockets and flavor. If short on time, let it rise in a warm spot to speed things up.
Overloading pizzas with toppings
Why it happens It’s tempting to add lots of toppings, but this traps moisture and weight on the dough.
Fix Use a light hand with toppings. Choose a few favorites and spread evenly to maintain crust crispness.
Not preheating the baking surface
Why it happens Some skip this step to save time, unaware it affects crust texture.
Fix Preheat your baking stone or sheet for at least 15 minutes. This ensures a hot surface that crisps the crust quickly.
Rolling dough too thick
Why it happens Beginners often think thicker dough means a softer crust, but it can become doughy and undercooked.
Fix Roll dough to about 1/8 inch thickness for mini pizzas. This balances crispness and chewiness.
Variations
Gluten-Free Mini Pizzas
Swap regular flour for a gluten-free blend designed for baking. Add a teaspoon of xanthan gum if your blend lacks it to improve elasticity. Expect a slightly different texture — less chewy but still tasty! Use a gentle hand when rolling to avoid cracking.
Note: Gluten-free doughs need careful handling and often less kneading to prevent crumbling.
Whole Wheat Mini Pizzas
Replace half the all-purpose flour with whole wheat for a nuttier flavor and extra fiber. The dough will be denser, so add a bit more water to keep it moist. These are heartier and great for a more rustic pizza experience.
Note: Whole wheat flour absorbs more water; adjust hydration accordingly.
Cauliflower Crust Mini Pizzas
For a low-carb alternative, use finely grated cauliflower mixed with cheese and egg as the base. These crusts bake faster and have a different texture but still hold toppings well. Perfect if you want a veggie boost!
Note: Cauliflower crusts require pre-baking to firm up before adding toppings.
Spicy Mini Pizzas
Add crushed red pepper flakes to the sauce or sprinkle on top before baking for a kick. You can also use spicy sausage or jalapeño slices as toppings. Great for those who like a little heat!
Note: Spicy toppings may brown faster; watch closely while baking.
Margherita Style Mini Pizzas
Keep it simple with fresh mozzarella, sliced tomatoes, and basil leaves. Drizzle olive oil before baking for a classic Italian flavor. These are light, fresh, and perfect for summer meals.
Note: Add basil after baking to preserve its bright flavor and color.
Nutrition
Per Serving:
Nutritional values are estimates and may vary based on specific ingredients used.
Storage & Tips
Room Temperature
Mini pizzas can be kept at room temperature for up to 2 hours if covered loosely with foil or a clean kitchen towel. Beyond that, moisture can build up and the crust may soften.
Refrigerator
Store leftover mini pizzas in an airtight container for up to 3 days. They tend to lose crispness when cold, so reheat in the oven to restore texture rather than microwaving.
Freezer
Wrap mini pizzas individually in plastic wrap and place in a freezer-safe bag for up to 2 months. Thaw overnight in the fridge before reheating to avoid sogginess.
Reheating
Reheat mini pizzas in a preheated oven at 375°F for 8-10 minutes. This crisps the crust and melts the cheese nicely. Avoid microwaving as it makes the crust chewy and soggy.
Make Ahead
You can prepare the dough and let it rise up to 24 hours in the fridge for deeper flavor. Shape and top the pizzas just before baking. Alternatively, assemble pizzas and refrigerate for a few hours before baking.
FAQ
Can I use active dry yeast instead of instant yeast?
Yes, but you’ll need to proof active dry yeast first by dissolving it in warm water with a pinch of sugar and letting it sit for 5-10 minutes until bubbly. Instant yeast can be mixed directly with dry ingredients, which saves time.
How thin should I roll the dough for mini pizzas?
Aim for about 1/8 inch thickness. Rolling too thick results in doughy crusts, while too thin can tear and become crispy throughout. Thin but sturdy is the sweet spot for mini pizzas.
What’s the best way to prevent soggy crusts?
Brush the dough with olive oil before adding sauce, use a thin layer of sauce, and bake on a preheated stone or baking sheet. Also, avoid overloading toppings which trap moisture.
Can I freeze the dough before baking?
Absolutely! After the first rise, punch down the dough, divide into portions, wrap tightly, and freeze for up to 3 months. Thaw overnight in the fridge before shaping and baking.
How do I store leftover mini pizzas?
Keep them in an airtight container in the fridge for up to 3 days. Reheat in the oven to restore crispness. Avoid microwaving to prevent soggy crusts.
Can I use pre-made pizza sauce?
Yes, just pick a thicker sauce or simmer store-bought sauce to reduce excess liquid. Thin sauces can make the crust soggy.
What toppings work best on mini pizzas?
Simple toppings like pepperoni, bell peppers, mushrooms, olives, and fresh basil work great. Avoid too many wet ingredients like fresh tomatoes unless drained well.
How long do mini pizzas take to bake?
Usually 8-12 minutes at 475°F. Watch for golden crust and bubbly cheese. Baking times vary slightly with oven and thickness.
Final Thoughts
Give these mini pizzas a try for your next family night — they’re fun, customizable, and always a hit. Can’t wait to hear your favorite topping combos!