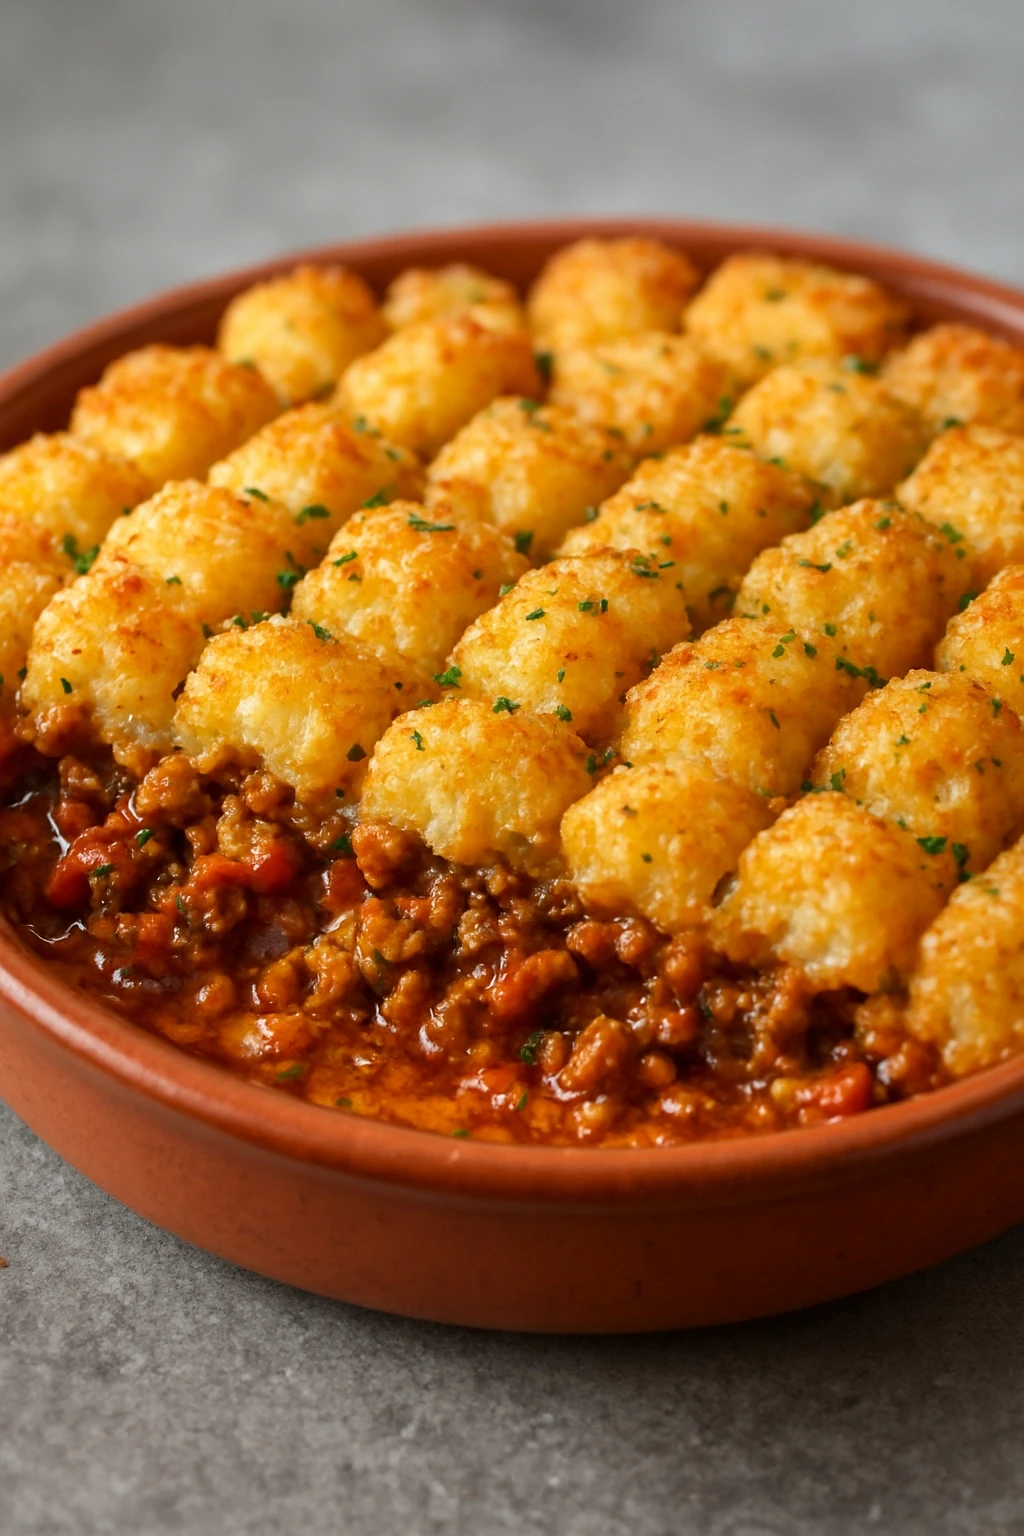
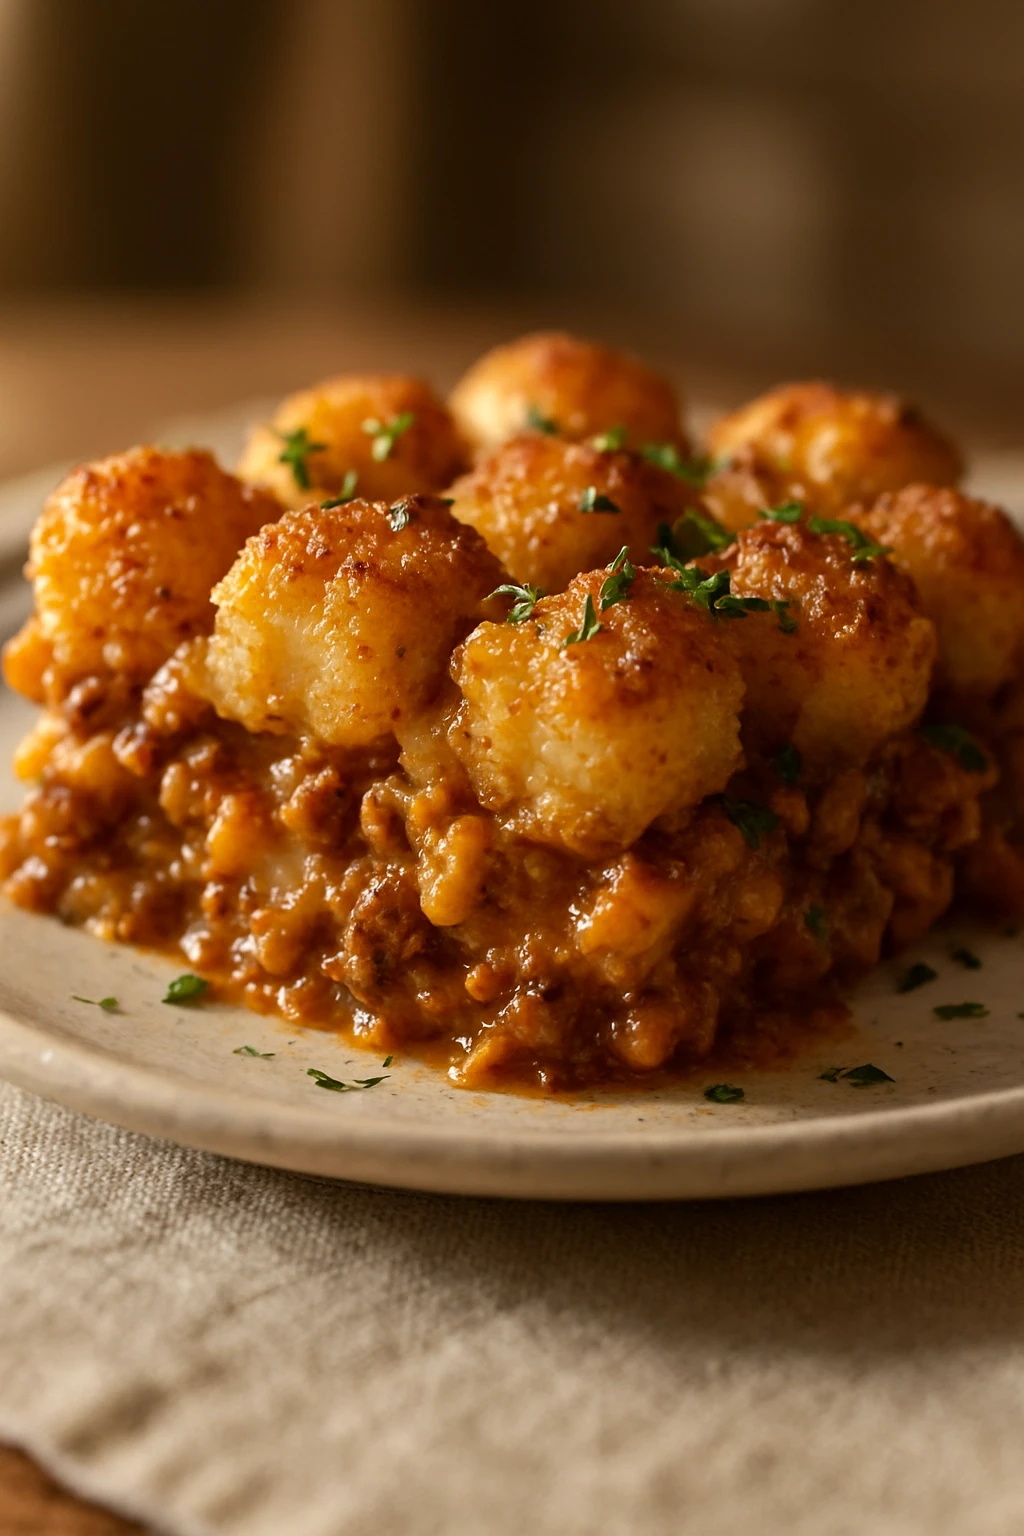
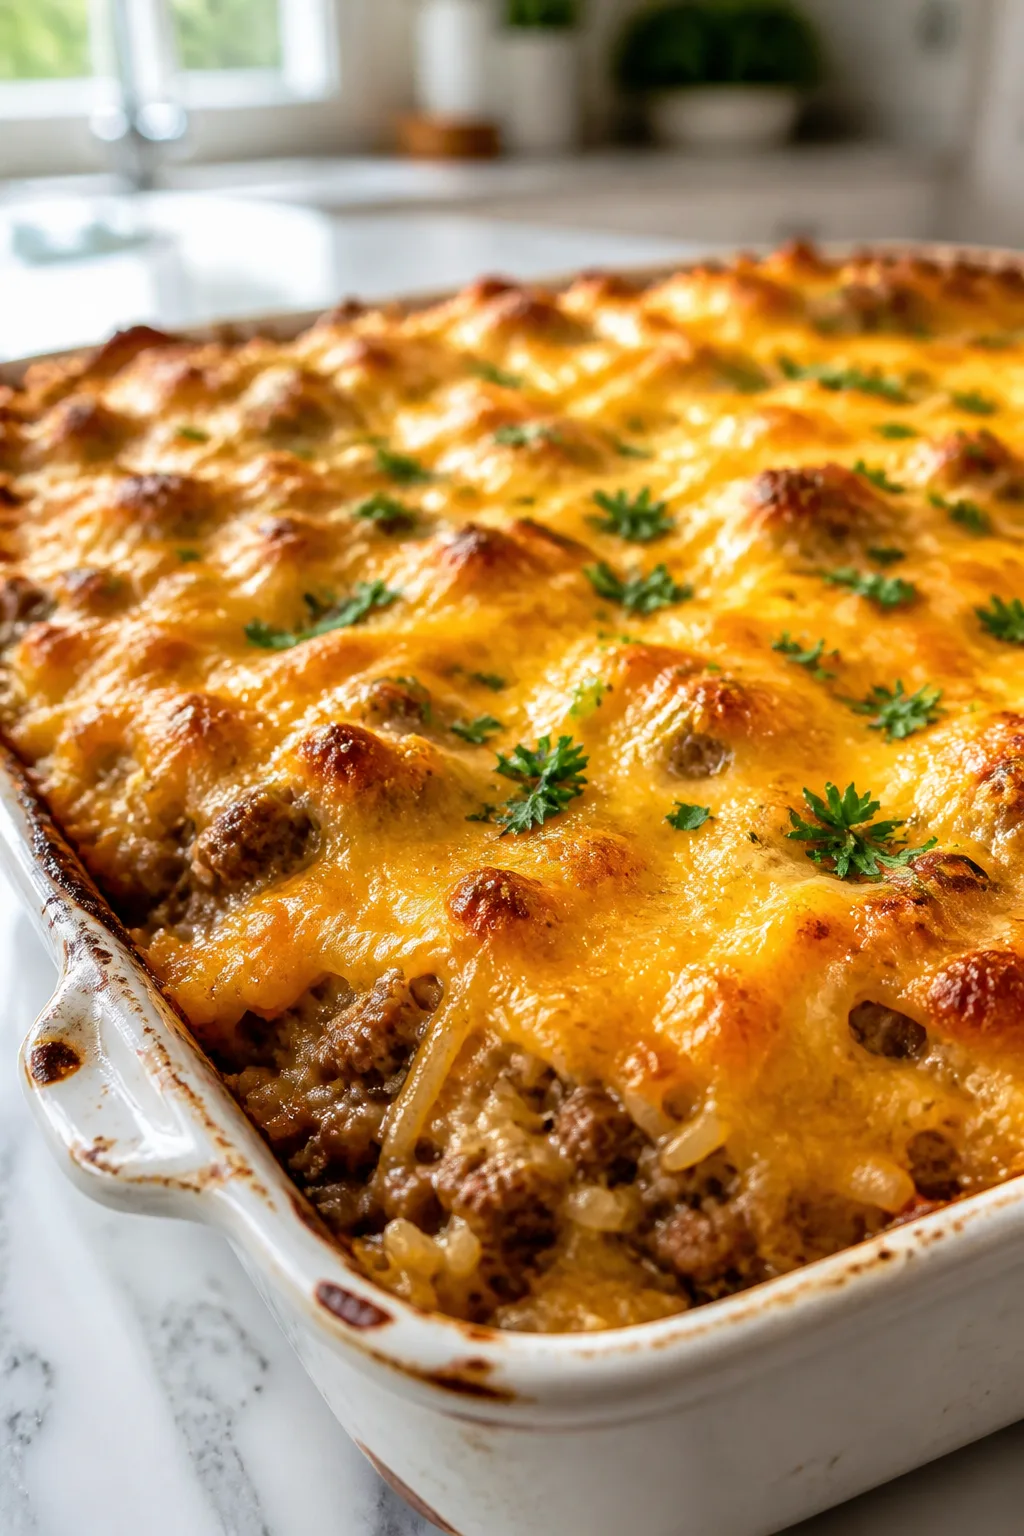
This hearty tater tot casserole is a weeknight lifesaver. Packed with flavor and ready in just one pan, it’s the ultimate comfort food for busy nights!
How To Do It
Step 1
In a large skillet over medium heat, brown the ground beef with the diced onion. This step is key to developing flavor, as the meat releases its juices and the onion becomes tender. Stir often to break up the meat, ensuring it cooks evenly. You want to achieve a nice golden color on the beef; this usually takes about 5-7 minutes. Avoid overcrowding the pan, as this can cause the meat to steam instead of brown.
⏱ Time: 7 minutes
✓ Doneness: The beef should be no longer pink, and the onions should be translucent.
Step 2
Add the minced garlic and cook for an additional minute until fragrant. Garlic adds a wonderful depth of flavor, but you want to be careful not to burn it as it can turn bitter quickly. Stir it in well with the beef and onion mixture, allowing it to cook just until you can smell its aroma. This step is quick, so keep an eye on it!
⏱ Time: 1 minute
✓ Doneness: The garlic should be fragrant without browning.
Step 3
Stir in the cream of mushroom soup and frozen mixed vegetables. This creates a creamy base for your casserole, and the vegetables add texture and nutrition. Make sure everything is well combined, and let it simmer for about 2-3 minutes. If you want to add more flavor, consider sprinkling in some Italian seasoning or a dash of hot sauce. Just remember, this is a family dish, so keep it balanced.
⏱ Time: 3 minutes
✓ Doneness: Everything should be heated through and well mixed.
Step 4
Sprinkle half of the shredded cheddar cheese over the meat mixture, stirring to incorporate it. This will give your casserole a cheesy flavor throughout. The cheese also helps to bind the mixture together as it melts. Once mixed, make sure to save the other half for the topping later. Let this mixture cook for another minute or so just to allow the cheese to melt slightly.
⏱ Time: 1 minute
✓ Doneness: The cheese should be melted and mixed in well.
Step 5
Transfer the beef mixture to a greased 9x13 inch baking dish, spreading it out evenly. This is where the magic happens! The tater tots will go on top, creating that signature crispy layer. Make sure to spread the mixture evenly so every bite has a good balance of flavors. If you want to make it extra cheesy, you can layer some cheese on top of the beef mixture before adding the tater tots.
⏱ Time: 2 minutes
✓ Doneness: The beef mixture should be evenly distributed in the baking dish.
Step 6
Arrange the frozen tater tots on top of the beef mixture in a single layer. You can get creative here with the arrangement, as it doesn’t have to be perfect. The tots will crisp up beautifully in the oven. For an extra kick, sprinkle some paprika or garlic powder over the tater tots before baking. This will enhance their flavor and give them a nice color.
⏱ Time: 2 minutes
✓ Doneness: The tater tots should be arranged in a single layer.
Step 7
Bake in a preheated oven at 400°F (200°C) for about 25 minutes. This will ensure the tater tots are golden and crispy while the cheese melts and bubbles underneath. Keep an eye on them towards the end of baking; you want that perfect golden color without burning. If you want it extra crispy, you can broil it for an additional 2-3 minutes, but watch closely!
⏱ Time: 25 minutes
✓ Doneness: The tater tots should be golden brown and the cheese bubbly.
One key technique is to brown the meat properly for flavor. A common mistake is skipping the cheese layer, which adds creaminess. If you have leftovers, store them in an airtight container for up to 3 days, and reheat in the oven for the best texture.