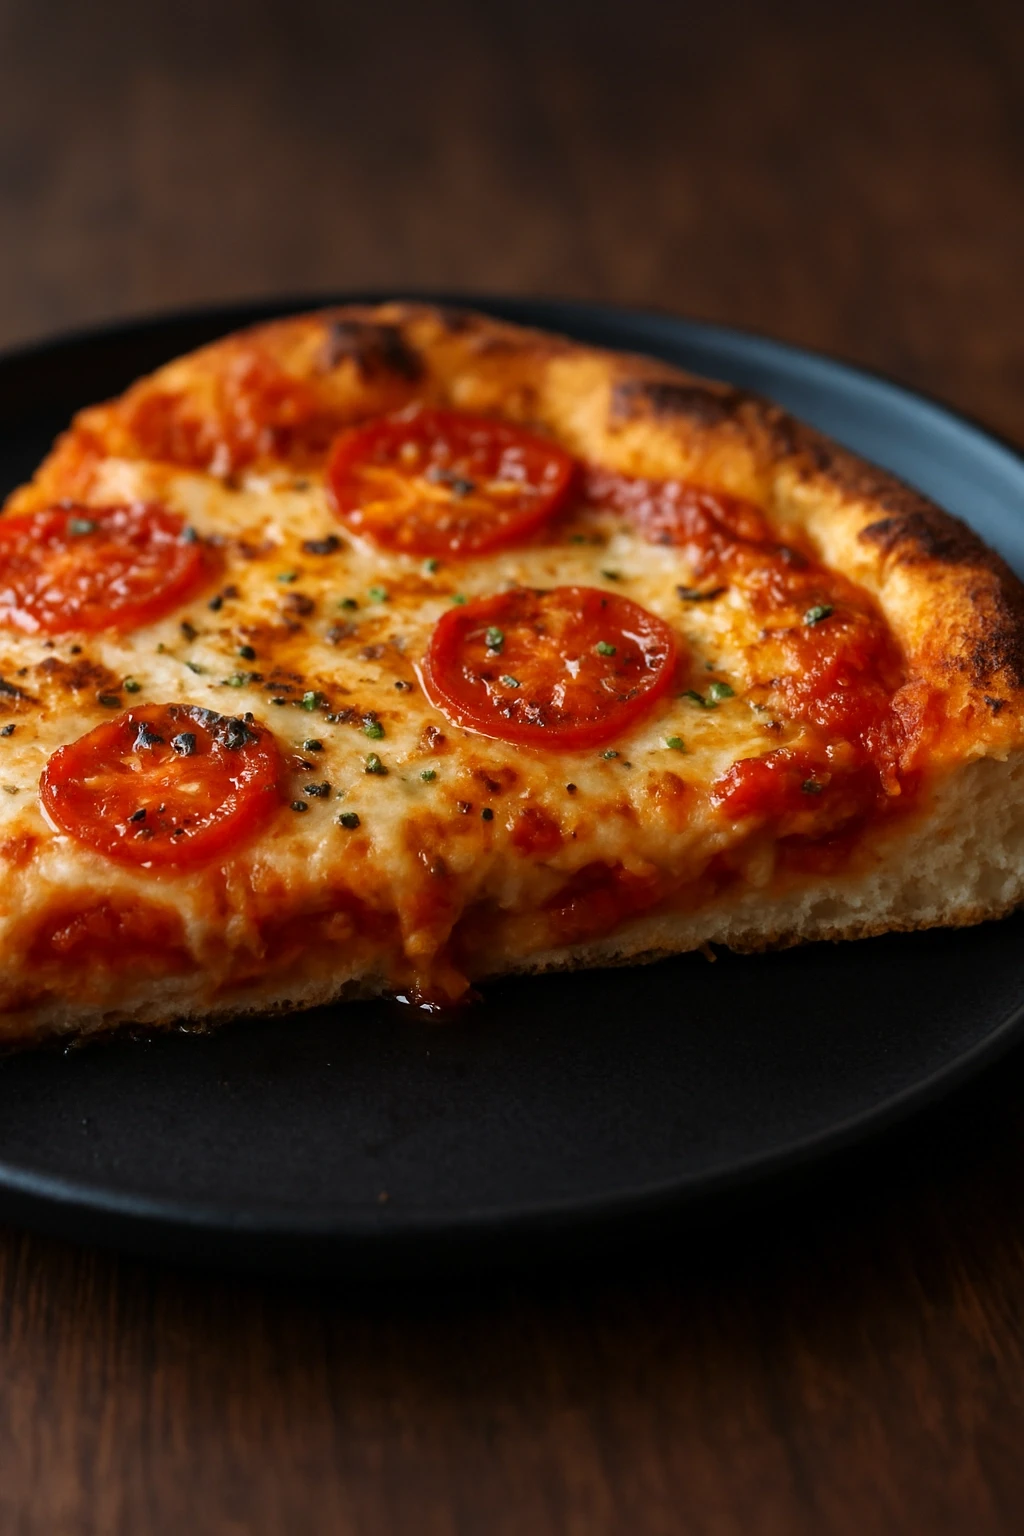
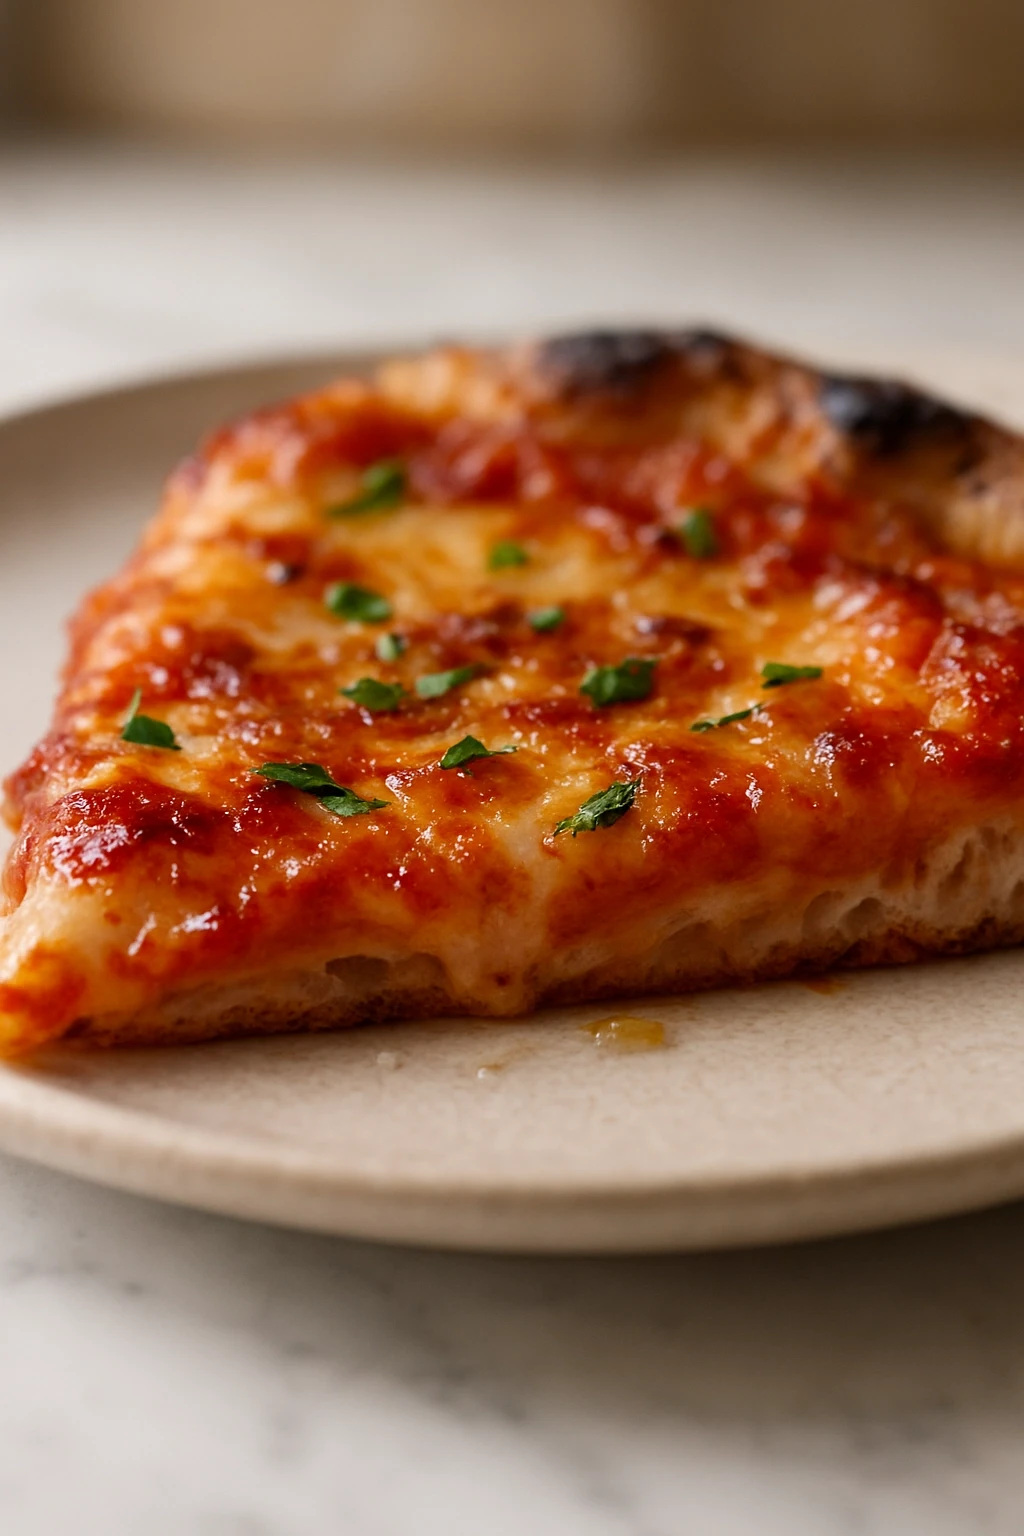
This pizza dough uses sourdough discard to add a subtle tang and great texture without the long wait. It’s super quick to make and perfect for a spontaneous homemade pizza night.
Introduction
I stumbled upon this quick sourdough discard pizza dough recipe when I wanted to reduce waste and still enjoy homemade pizza without the usual long fermentation. Using sourdough discard adds a lovely subtle tang and depth that you just don’t get with regular yeast dough. The best part? It comes together in under an hour, which is a game changer on busy weeknights. I’ve tried making it several times now, and the trick I learned is warming the water just right and kneading the dough until it’s smooth and elastic — it really helps develop the gluten for that perfect chewy crust. When baked, it has a golden, slightly blistered crust and a soft, airy crumb that holds toppings beautifully. I love how this recipe lets you get creative with whatever toppings you have on hand and still enjoy a truly satisfying pizza experience without the fuss.
What You'll Need
Enough dough for 2 medium pizzas, 4 servings
- 1 cup sourdough discard, room temperature
- 2 1/2 cups all-purpose flour, plus more for dusting
- 1 teaspoon salt
- 1 teaspoon sugar
- 1 tablespoon olive oil, plus extra for greasing
- 3/4 cup warm water (about 110°F)
- 1 teaspoon instant yeast
How To Do It
Step 1
Start by mixing the warm water with the instant yeast and sugar in a large bowl. Let it sit for about 5 minutes until it becomes frothy. This step activates the yeast, ensuring your dough will rise well. If you skip this or use water that’s too hot or cold, the yeast might not activate properly, resulting in dense dough. Watch for a bubbly surface—that’s your sign the yeast is alive and kicking.
⏱ Time: 5 minutes
✓ Doneness: Frothy, bubbly mixture on top
Step 2
Add the sourdough discard, olive oil, and salt to the yeast mixture. Stir to combine. Then gradually add the flour, mixing with a wooden spoon or your hands until it forms a shaggy dough. This gradual incorporation helps hydrate the flour evenly and prevents lumps. Rushing this step can make the dough uneven and harder to knead.
⏱ Time: 5 minutes
✓ Doneness: Dough starts to come together but still a bit rough
Step 3
Turn the dough onto a floured surface and knead for about 8-10 minutes. Use the heel of your hand to push the dough away, fold it back over, and repeat. This kneading develops gluten, which gives the dough structure and chewiness. If you don’t knead enough, the dough will be sticky and won’t rise properly; too much kneading can make it tough. You want a smooth, elastic dough that springs back when poked.
⏱ Time: 8-10 minutes
✓ Doneness: Smooth, elastic dough that holds shape
Step 4
Lightly oil a clean bowl and place your dough inside, turning it once to coat with oil. Cover with a damp cloth or plastic wrap and let it rise in a warm spot for about 45 minutes to an hour until it doubles in size. This resting period allows yeast to produce gas, making the dough airy. If your kitchen is cold, it might take longer, so be patient. Avoid rushing this step or the crust will be dense.
⏱ Time: 45-60 minutes
✓ Doneness: Dough roughly doubled and soft to touch
Step 5
Once risen, punch down the dough gently to release excess gas. Divide it into two equal portions for two pizzas. Shape each into a tight ball by folding edges underneath. This shaping helps create surface tension for a better rise in the oven. Don’t skip this or your dough may spread too much while baking.
⏱ Time: 5 minutes
✓ Doneness: Smooth, tight dough balls with taut surface
Step 6
Preheat your oven to 475°F (245°C) and if you have a pizza stone, place it inside to heat. This high heat is crucial for a crisp crust and proper oven spring. If you don’t have a stone, use a baking sheet turned upside down. Avoid lower temperatures which can make the crust soggy or pale.
⏱ Time: 15-20 minutes
✓ Doneness: Oven fully heated and stone or tray very hot
Step 7
On a floured surface, stretch or roll each dough ball into a 10-12 inch circle. Try not to overwork the dough here to keep it airy. If it resists stretching, let it rest for a few minutes to relax the gluten. This step shapes your pizza base and affects crust thickness and texture.
⏱ Time: 5-7 minutes
✓ Doneness: Evenly stretched dough circles without holes
Step 8
Transfer the dough onto a pizza peel or parchment paper. Add your favorite sauce, cheese, and toppings but don’t overload it or the crust won’t crisp properly. Less is more when it comes to toppings on homemade pizza dough.
⏱ Time: 5 minutes
✓ Doneness: Evenly topped dough ready for oven
Step 9
Slide the pizza onto the hot stone or baking sheet and bake for 10-15 minutes until the crust is golden and cheese is bubbly and slightly browned. Keep an eye on it so it doesn’t burn. The high heat develops a beautiful crust with those signature charred spots and a chewy interior.
⏱ Time: 10-15 minutes
✓ Doneness: Golden crust with bubbly, browned cheese
Pro Tips
Use a kitchen scale for measuring flour.
Measuring flour by weight ensures accuracy, which is crucial for dough consistency. Too much flour makes dough stiff and dry, while too little makes it sticky and hard to handle. Scales remove guesswork and lead to reliable results every time.
Let the dough rest for 10 minutes if it resists stretching.
Resting relaxes the gluten strands, making the dough easier to stretch without tearing. This prevents frustration and helps maintain an even thickness, which is key for a uniform crust texture.
Preheat your oven and pizza stone for at least 30 minutes.
A thoroughly heated stone mimics a professional pizza oven’s floor, giving the crust a quick oven spring and crisp bottom. Insufficient heat leads to a pale, soggy crust that lacks the characteristic chew and crunch.
Don’t overload the pizza with toppings.
Too many toppings add weight and moisture, preventing the dough from baking through properly. This can cause a soggy center and uneven cooking. Keep toppings balanced for a crisp crust and well-cooked toppings.
Use a bench scraper to handle the dough.
A bench scraper helps lift and turn sticky dough without tearing it or adding too much flour. This tool makes kneading and shaping easier and keeps your workspace cleaner.
Brush the crust edges with olive oil before baking.
Brushing oil helps the crust brown evenly and adds a subtle richness. It also prevents the edges from drying out or burning too quickly under high heat.
Use parchment paper to transfer pizza to the oven.
Parchment paper prevents sticking and makes it easier to slide the pizza onto a hot stone or baking sheet without deforming the dough. It also simplifies cleanup.
Common Mistakes to Avoid
Using cold water to activate yeast
Why it happens Many assume any water temperature works for yeast activation, but cold water slows or stops yeast activity, delaying or preventing rise.
Fix Always use warm water around 110°F. Use a thermometer to check if unsure. This ensures yeast wakes up quickly and starts producing gas for proper dough rise.
Adding too much flour during kneading
Why it happens Sticky dough can be intimidating, so cooks often add extra flour to make it manageable, but this dries out the dough.
Fix Flour your hands and surface lightly and knead gently. The dough will become less sticky as gluten develops. Resist adding too much flour to keep the dough tender and airy.
Skipping the dough resting period before shaping
Why it happens Impatience or lack of planning leads to skipping rest, making dough tough and hard to stretch.
Fix Allow dough to rest after rising and again during shaping if it resists. This relaxes gluten and prevents tearing, giving a tender crust.
Overloading pizza with toppings
Why it happens It’s tempting to pile on favorites, but too many toppings weigh down dough and add moisture.
Fix Use moderate amounts of sauce, cheese, and toppings to ensure the crust bakes through and stays crisp.
Not preheating the oven and baking surface adequately
Why it happens Rushing the process or underestimating heat needs leads to pale, soggy crusts.
Fix Preheat oven and stone at least 30 minutes to reach ideal baking temperature for a crispy, golden crust.
Variations
Whole Wheat Sourdough Pizza Dough
Swap half the all-purpose flour for whole wheat flour for a nuttier flavor and heartier texture. The dough will be denser and less airy but packed with wholesome goodness. You might need to add a bit more water since whole wheat absorbs more moisture.
Note: Knead a little longer to develop gluten in whole wheat dough and allow a slightly longer rise to compensate for the denser flour.
Herb-Infused Pizza Dough
Add 1 tablespoon of finely chopped fresh rosemary or oregano into the dough during mixing. This infuses the crust with an aromatic, savory note that pairs beautifully with classic toppings like tomato and mozzarella.
Note: Incorporate herbs gently to avoid overworking dough and adjust salt slightly if herbs are salty.
Gluten-Free Sourdough Pizza Dough
Use a gluten-free flour blend designed for baking and omit the sourdough discard if it contains gluten. Add xanthan gum for structure and increase hydration slightly. This version won’t be as chewy but still delicious.
Note: Gluten-free dough requires gentle handling and usually no kneading; rest times vary widely.
Thin Crust Sourdough Pizza
Roll the dough thinner than usual for a crispier, cracker-like crust. This works great for lighter toppings and a crunchier bite. Bake a few minutes less to avoid burning.
Note: Stretch dough carefully to avoid holes and reduce baking time by 2-3 minutes.
Stuffed Crust Pizza Dough
After shaping the dough, fold string cheese sticks into the outer edge and pinch to seal. This creates a cheesy, gooey crust surprise that’s always a hit with kids and cheese lovers.
Note: Seal edges tightly to prevent cheese leakage and bake a little longer to ensure crust cooks through.
Nutrition
Per Serving:
Nutritional values are estimates and may vary based on specific ingredients used.
Storage & Tips
Room Temperature
The dough can safely stay at room temperature for up to 2 hours covered with a clean towel. Beyond that, yeast activity may cause over-proofing or spoilage. Keep it covered to prevent drying out.
Refrigerator
Store the dough in an airtight container or wrapped tightly in plastic wrap for up to 3 days. The flavor will develop more sour notes over time. Bring to room temperature and let rest before shaping to relax gluten.
Freezer
Freeze dough balls wrapped tightly in plastic and placed in a freezer bag for up to 3 months. Thaw overnight in the fridge, then bring to room temperature before use. Freezing may slightly reduce rise but won’t impact flavor much.
Reheating
Reheat leftover pizza in a hot oven (about 375°F) for 5-7 minutes to crisp the crust. Avoid microwaving, which makes crust soggy. Adding a splash of water to the oven or a pan can help keep toppings moist.
Make Ahead
You can prepare dough 1-2 days ahead and refrigerate after the first rise. On serving day, divide, shape, and top the dough just before baking. This saves time and enhances flavor with longer fermentation.
FAQ
Can I use all sourdough discard without adding yeast?
You could, but the dough will take much longer to rise—often 8-12 hours or more. Adding instant yeast speeds up the process and ensures a reliable rise, which is great for quick meals. If you prefer pure sourdough, plan for longer fermentation times.
What if my dough is too sticky to handle?
Sticky dough is normal, especially with high hydration. Use lightly floured hands and surface, and avoid adding too much flour which can dry it out. Kneading will make it less sticky as gluten develops. A bench scraper can help manage sticky dough.
How do I know when the dough has risen enough?
The dough should roughly double in size and look puffed and airy. Press it gently with your finger—if the indentation springs back slowly but not completely, it’s ready. If it springs back quickly, it needs more time; if it doesn’t spring back, it may be over-proofed.
Can I make this dough without a pizza stone?
Yes, use a heavy baking sheet turned upside down and preheat it well. It won’t replicate the intense heat of a stone but will still bake the crust nicely. For best results, preheat the sheet for at least 20-30 minutes.
What’s the best way to stretch the dough without tearing?
Let the dough rest for 5-10 minutes if it resists stretching. Use your fingers to gently press from the center outward, rotating as you go. Avoid pulling too hard or using a rolling pin, which can deflate the dough and make it tough.
Can I freeze the dough after shaping into pizzas?
It’s better to freeze dough balls before shaping for best texture. If you freeze shaped pizzas, toppings might get soggy and the crust texture can change. If freezing shaped pizzas, wrap tightly and bake from frozen, adding a few extra minutes.
How do I get a crispy crust with this dough?
Bake at a high temperature (475°F or higher) on a preheated stone or heavy pan. Avoid overloading toppings and brush the crust edges with olive oil. Also, thinner crusts tend to crisp better than thick ones.
Can I substitute olive oil with another fat?
Yes, neutral oils like vegetable or canola work fine but won’t add the same flavor. Butter can be used for richness but may brown faster. Olive oil also helps with crust tenderness and browning, so it’s preferred.
Final Thoughts
Give this sourdough discard pizza dough a try next time you want a quick, tasty homemade pizza. I’d love to hear how it turns out for you!