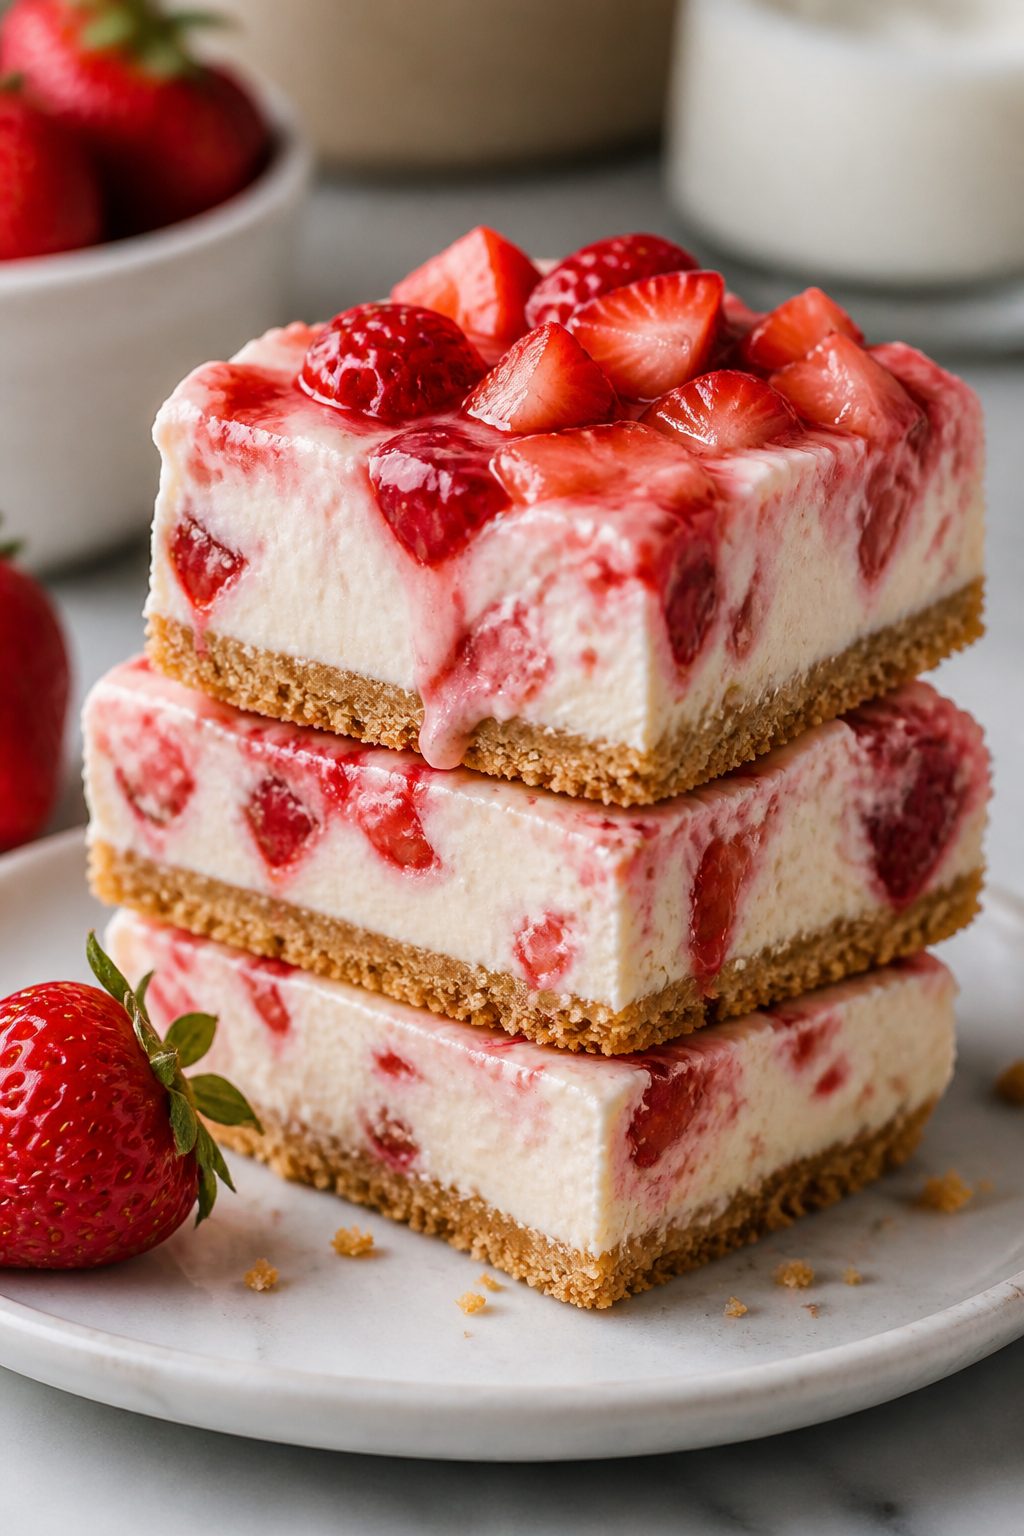
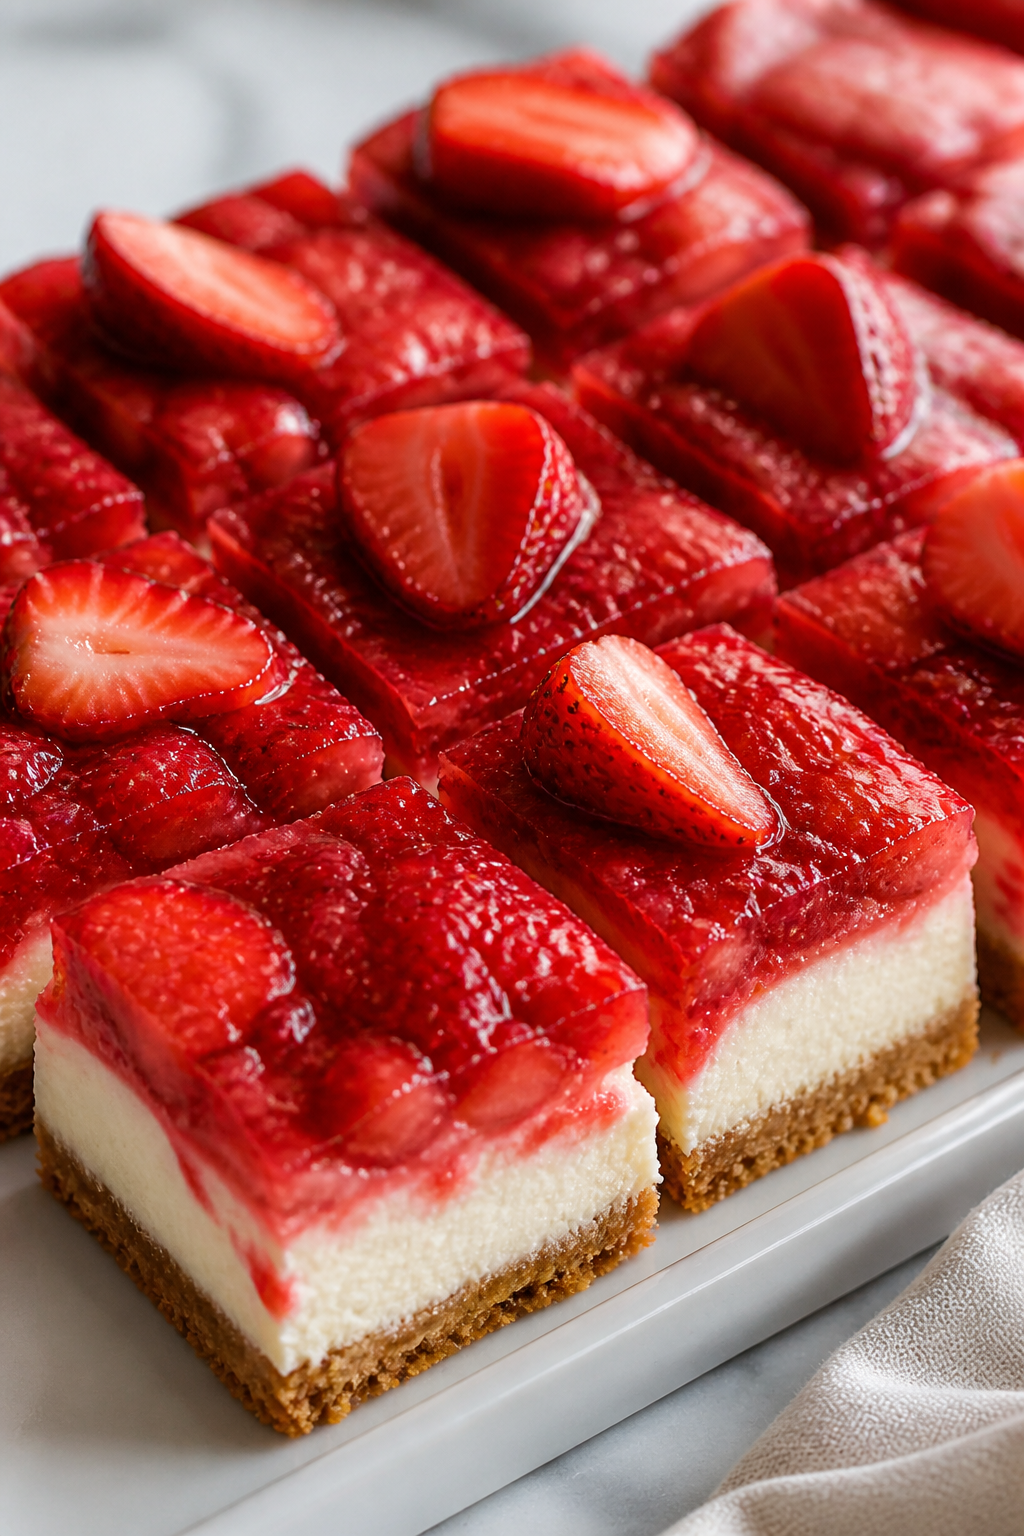
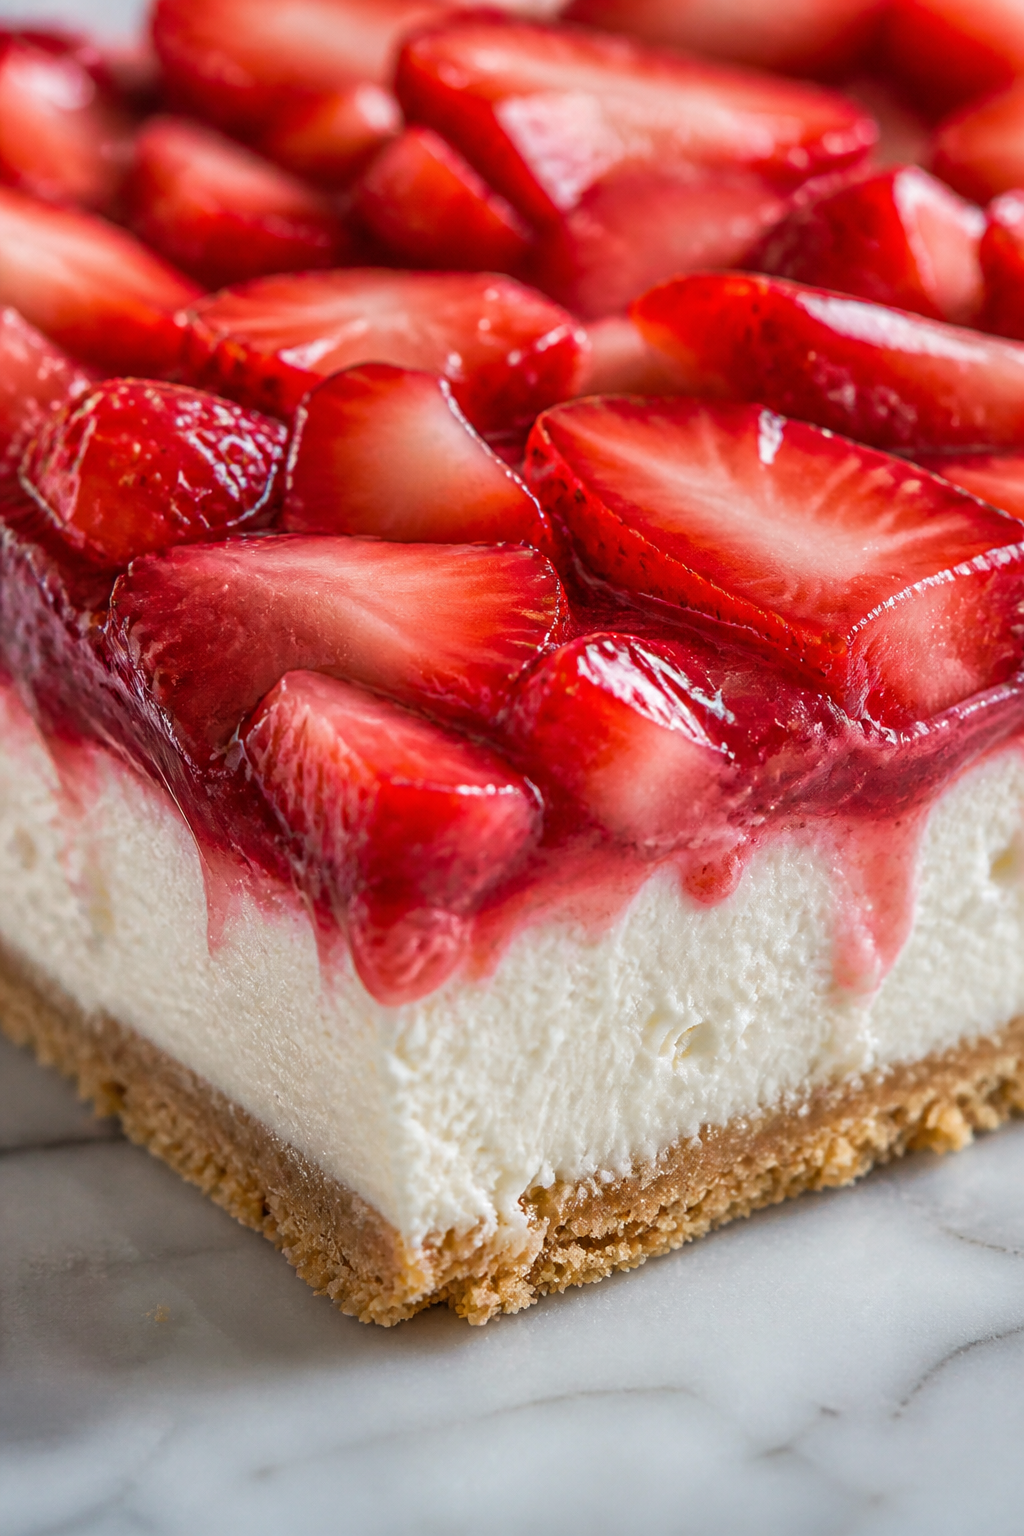
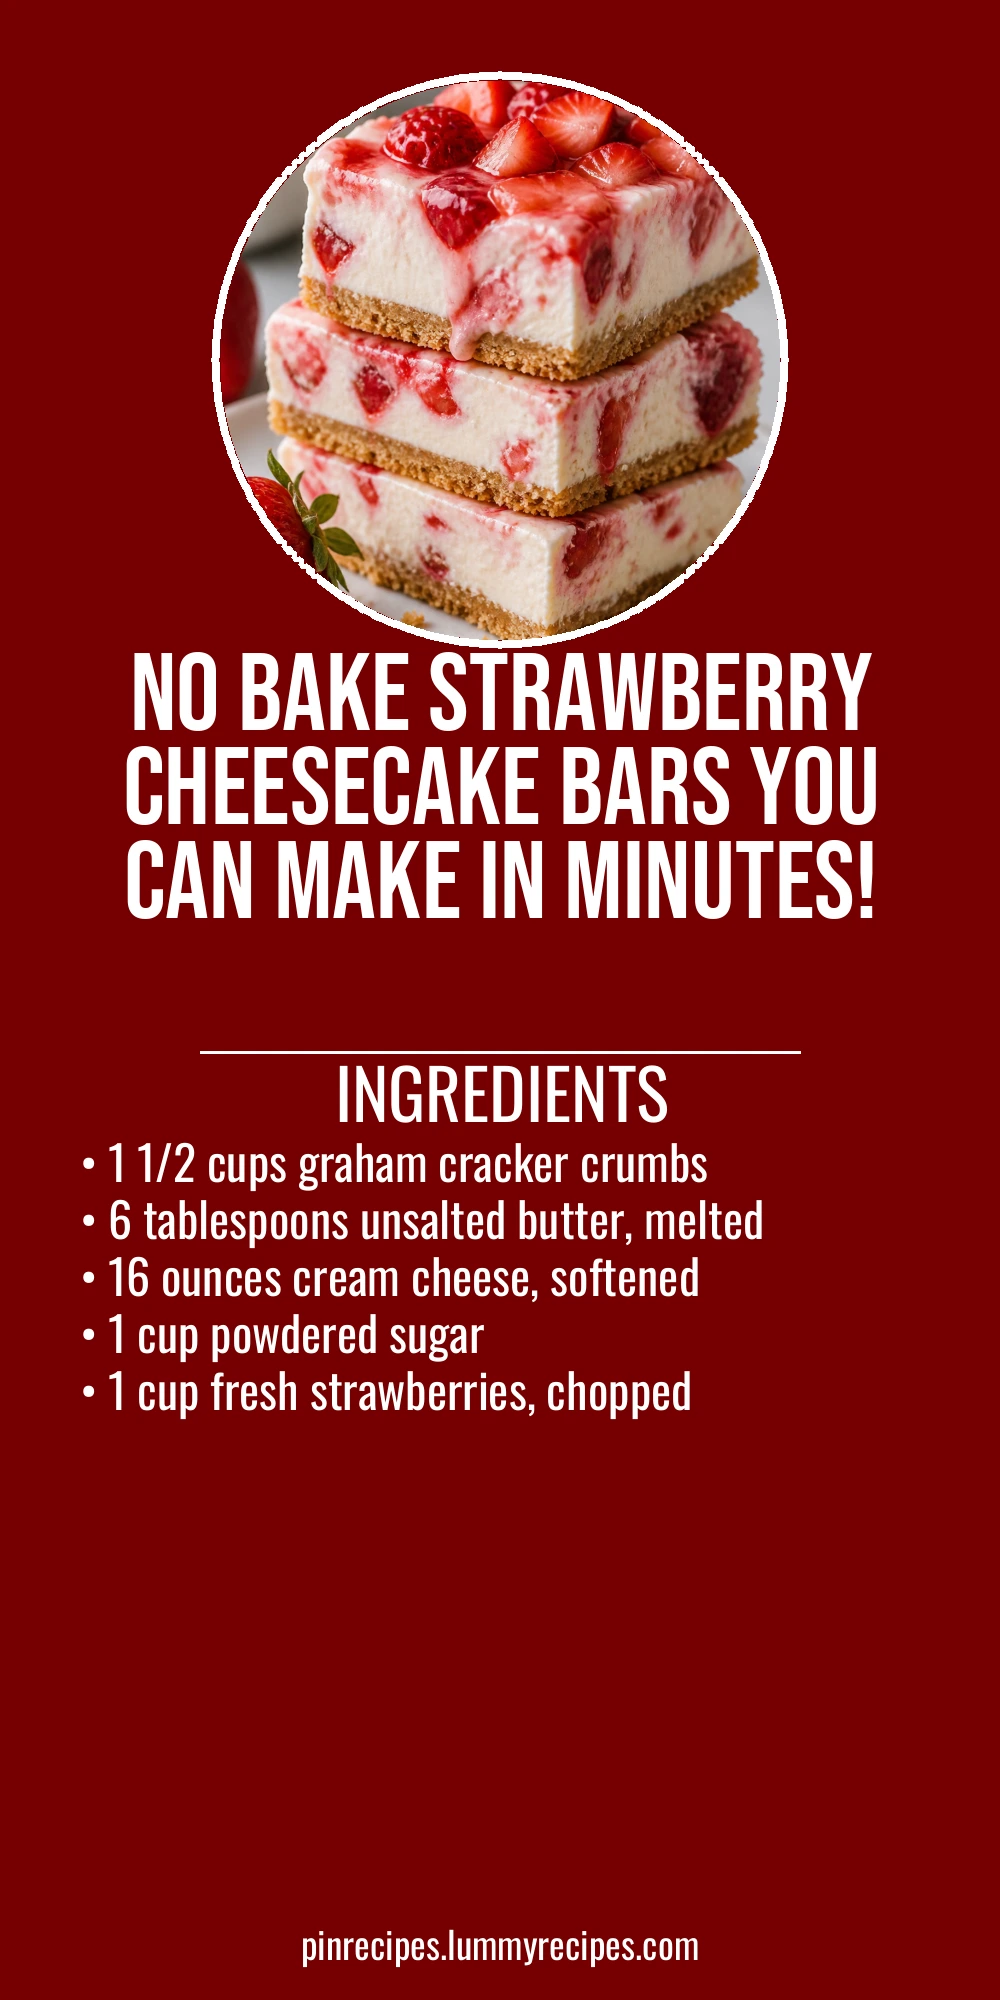
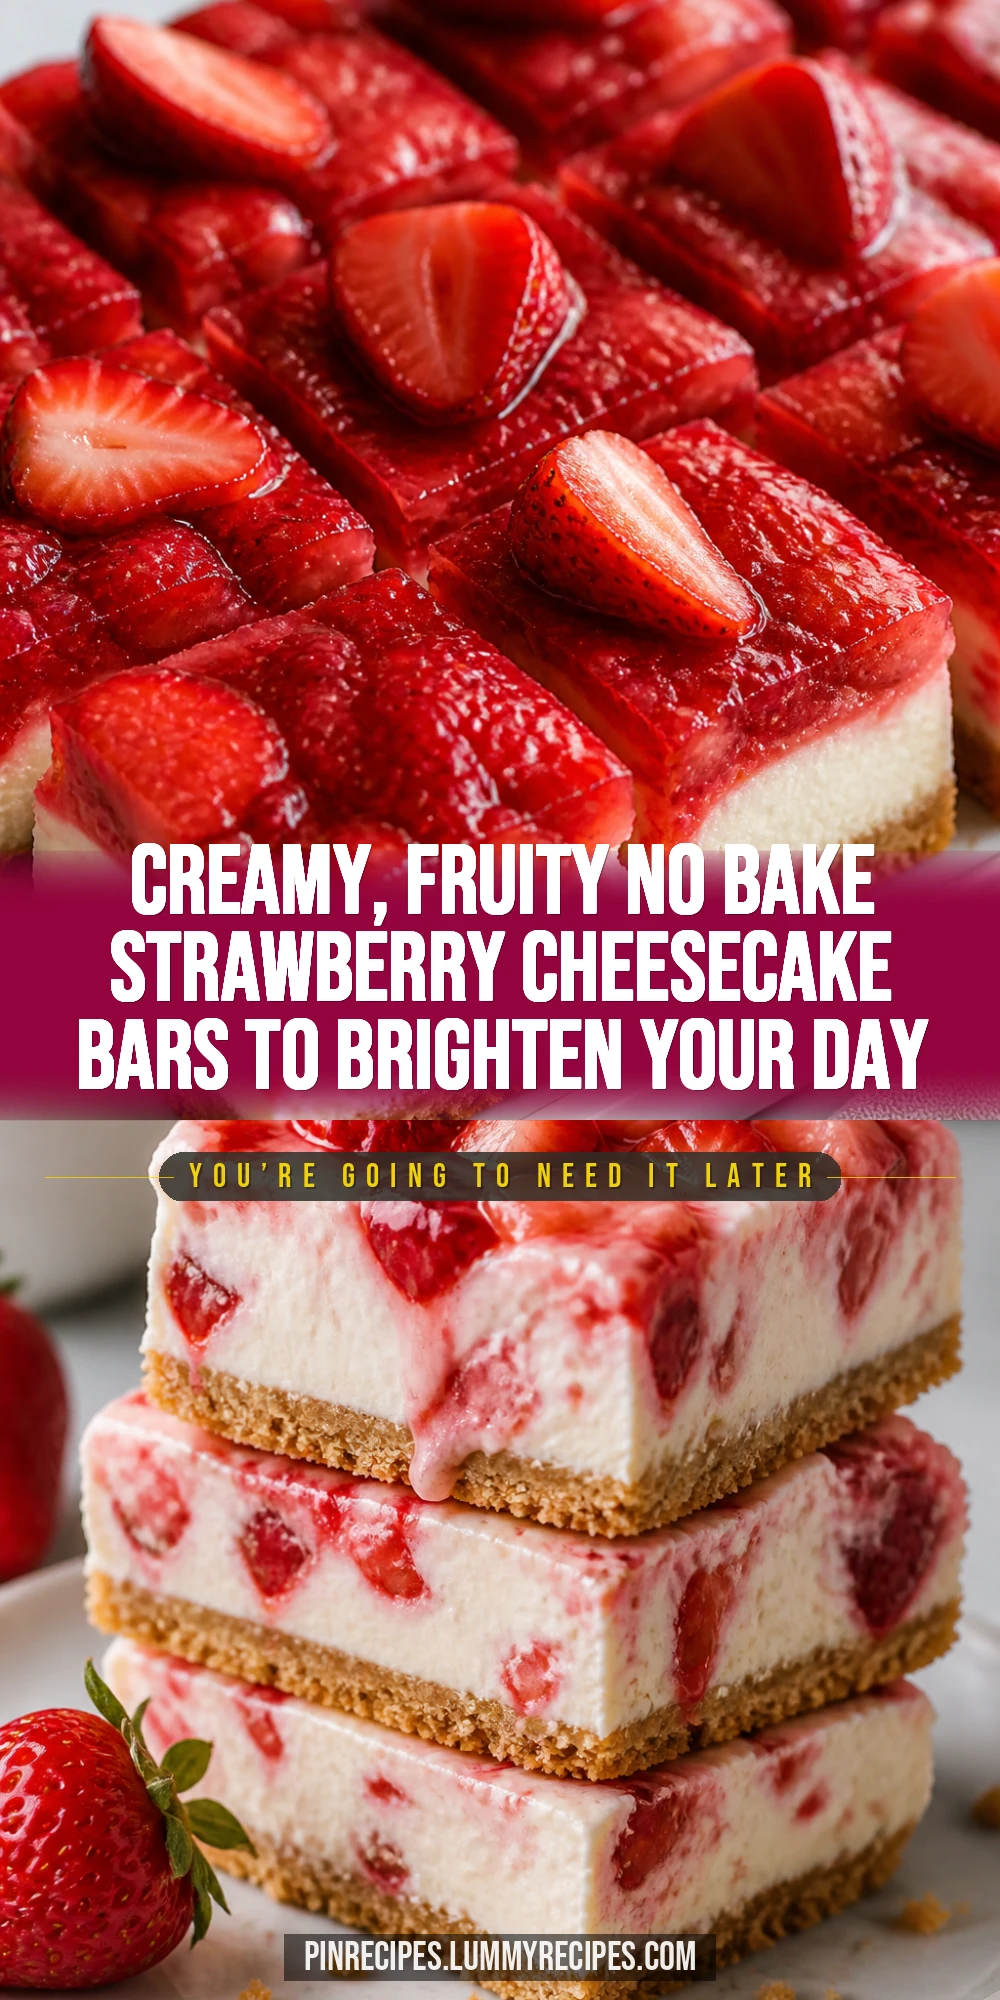
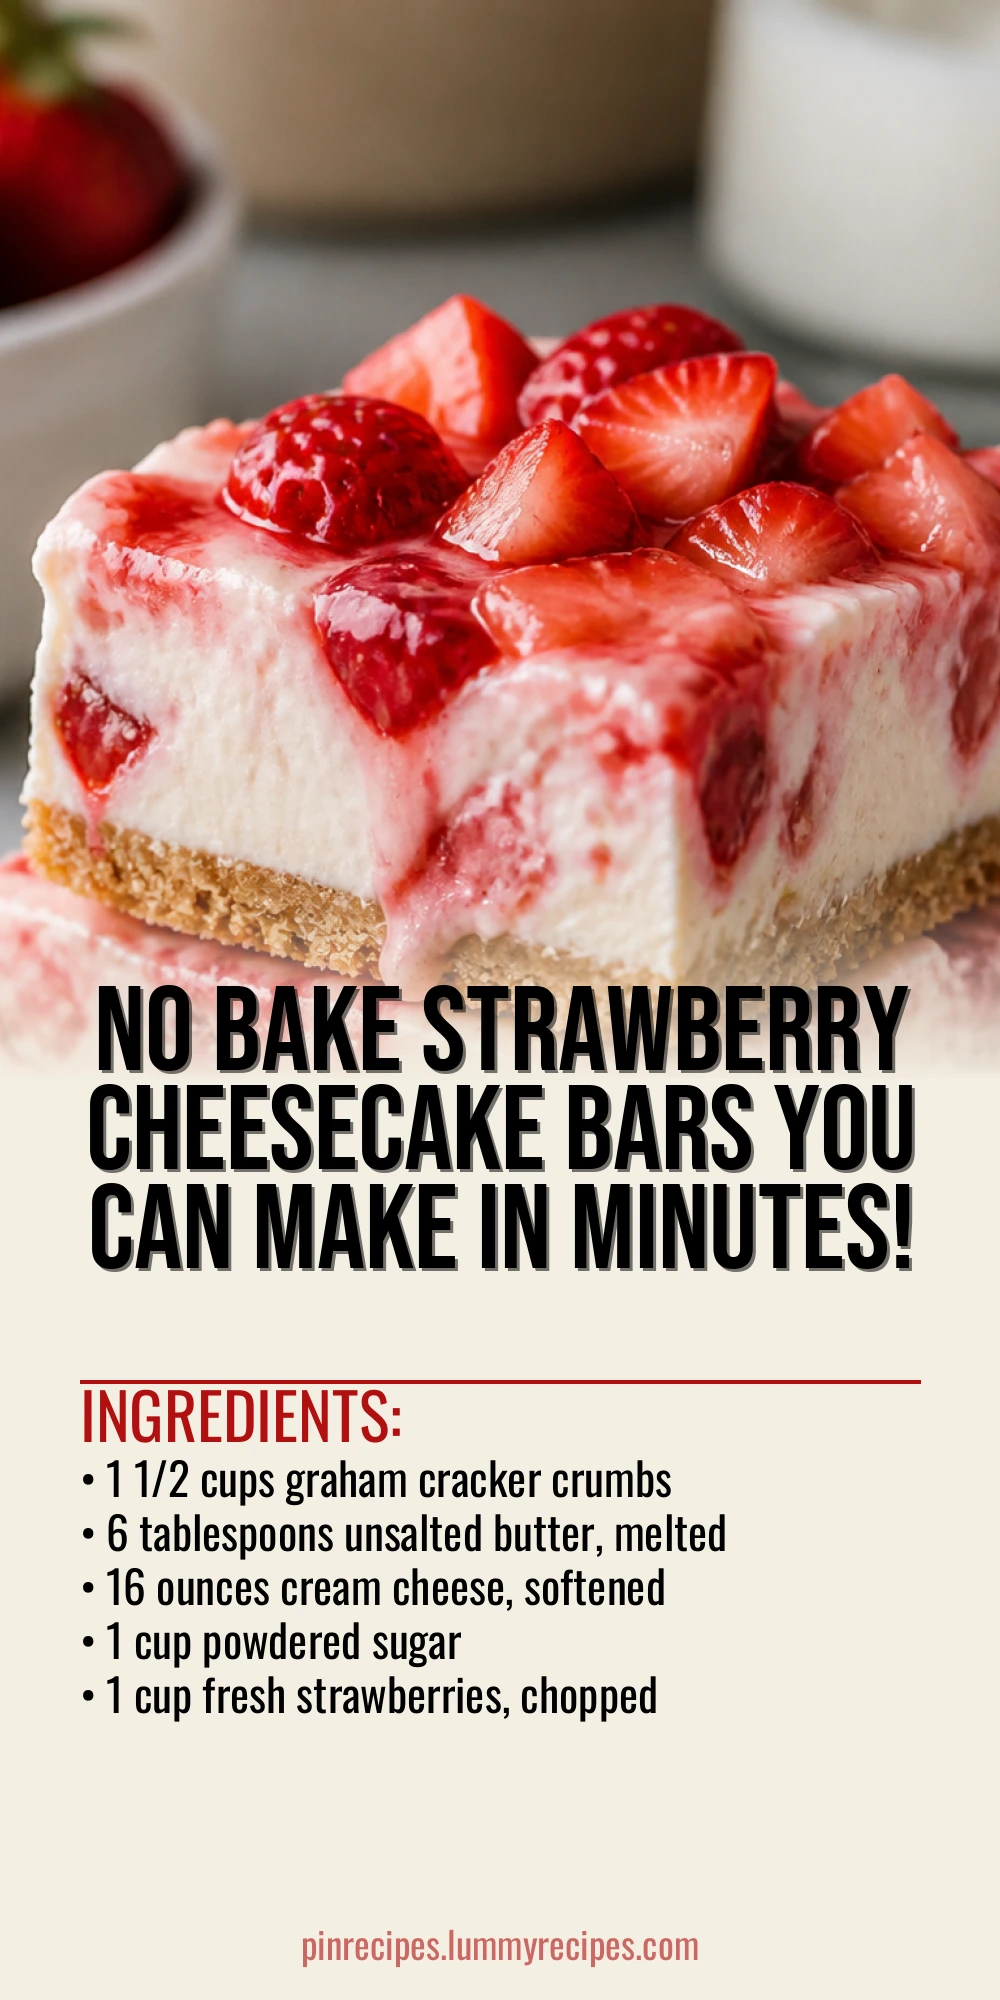
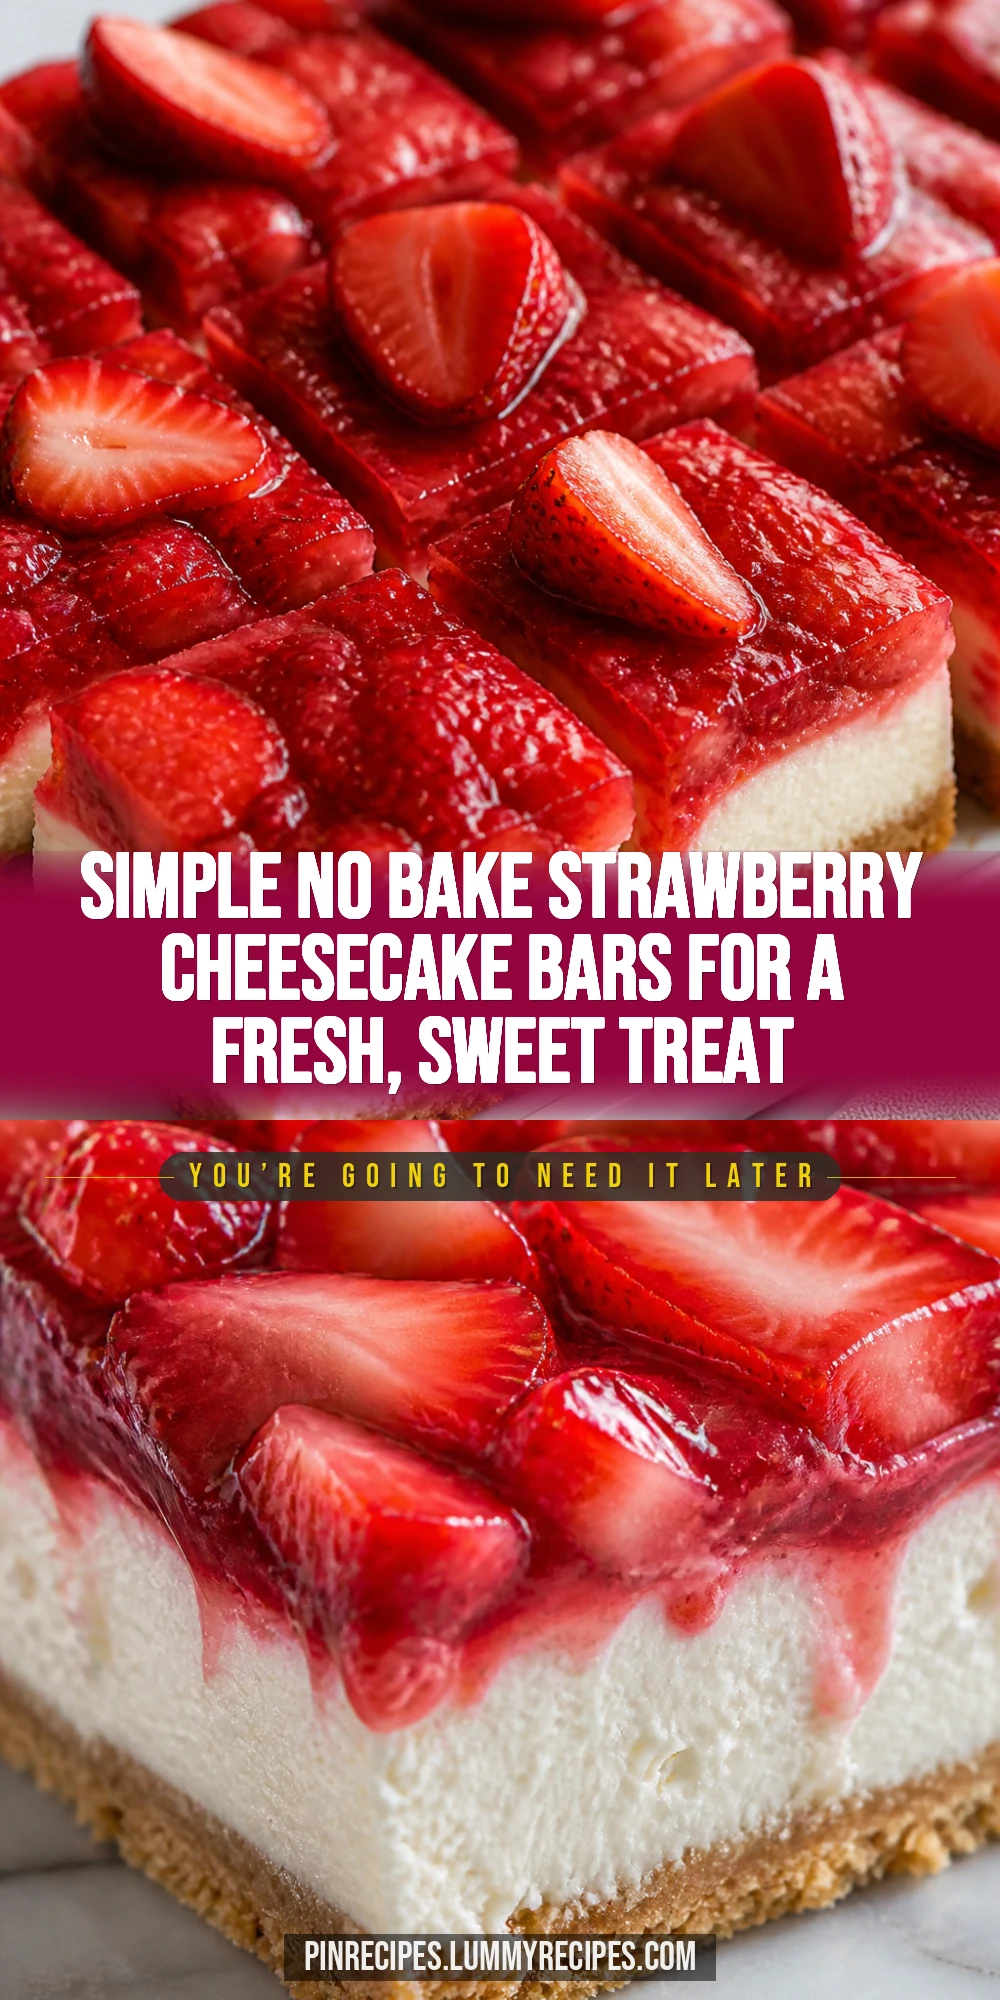
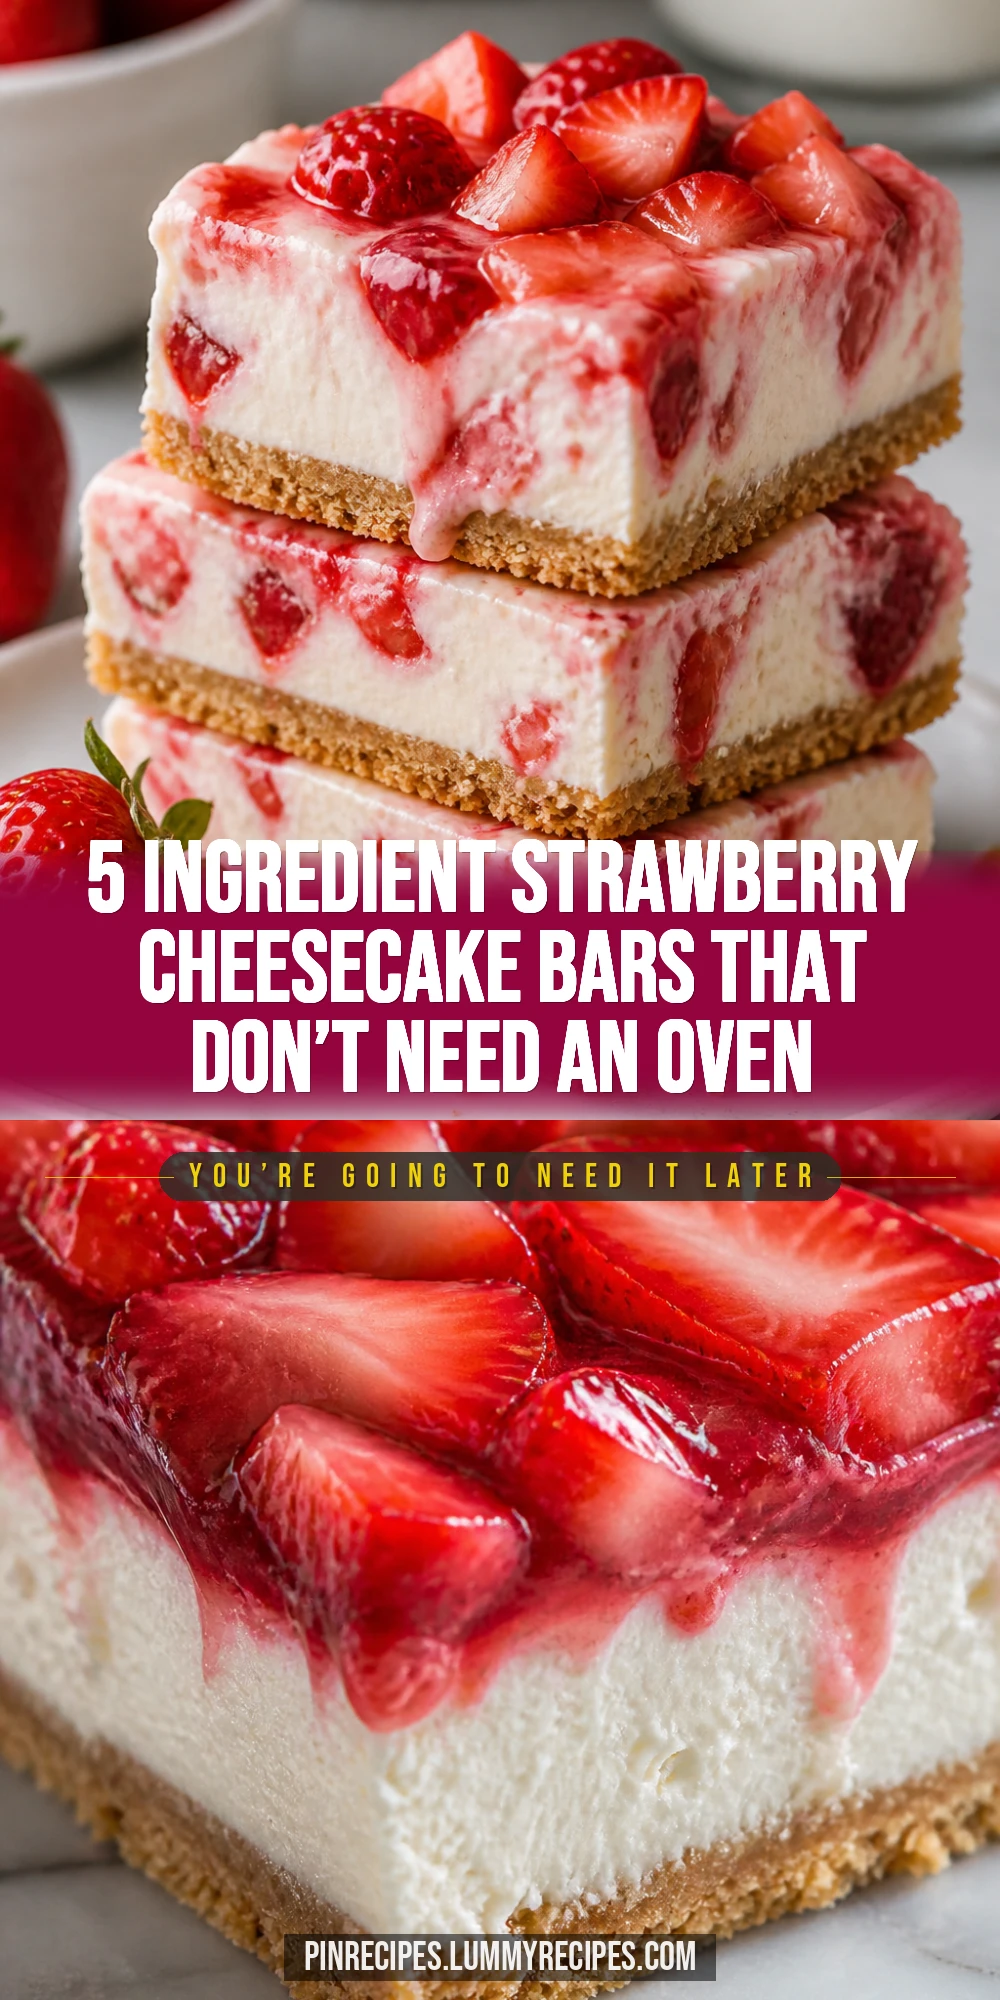
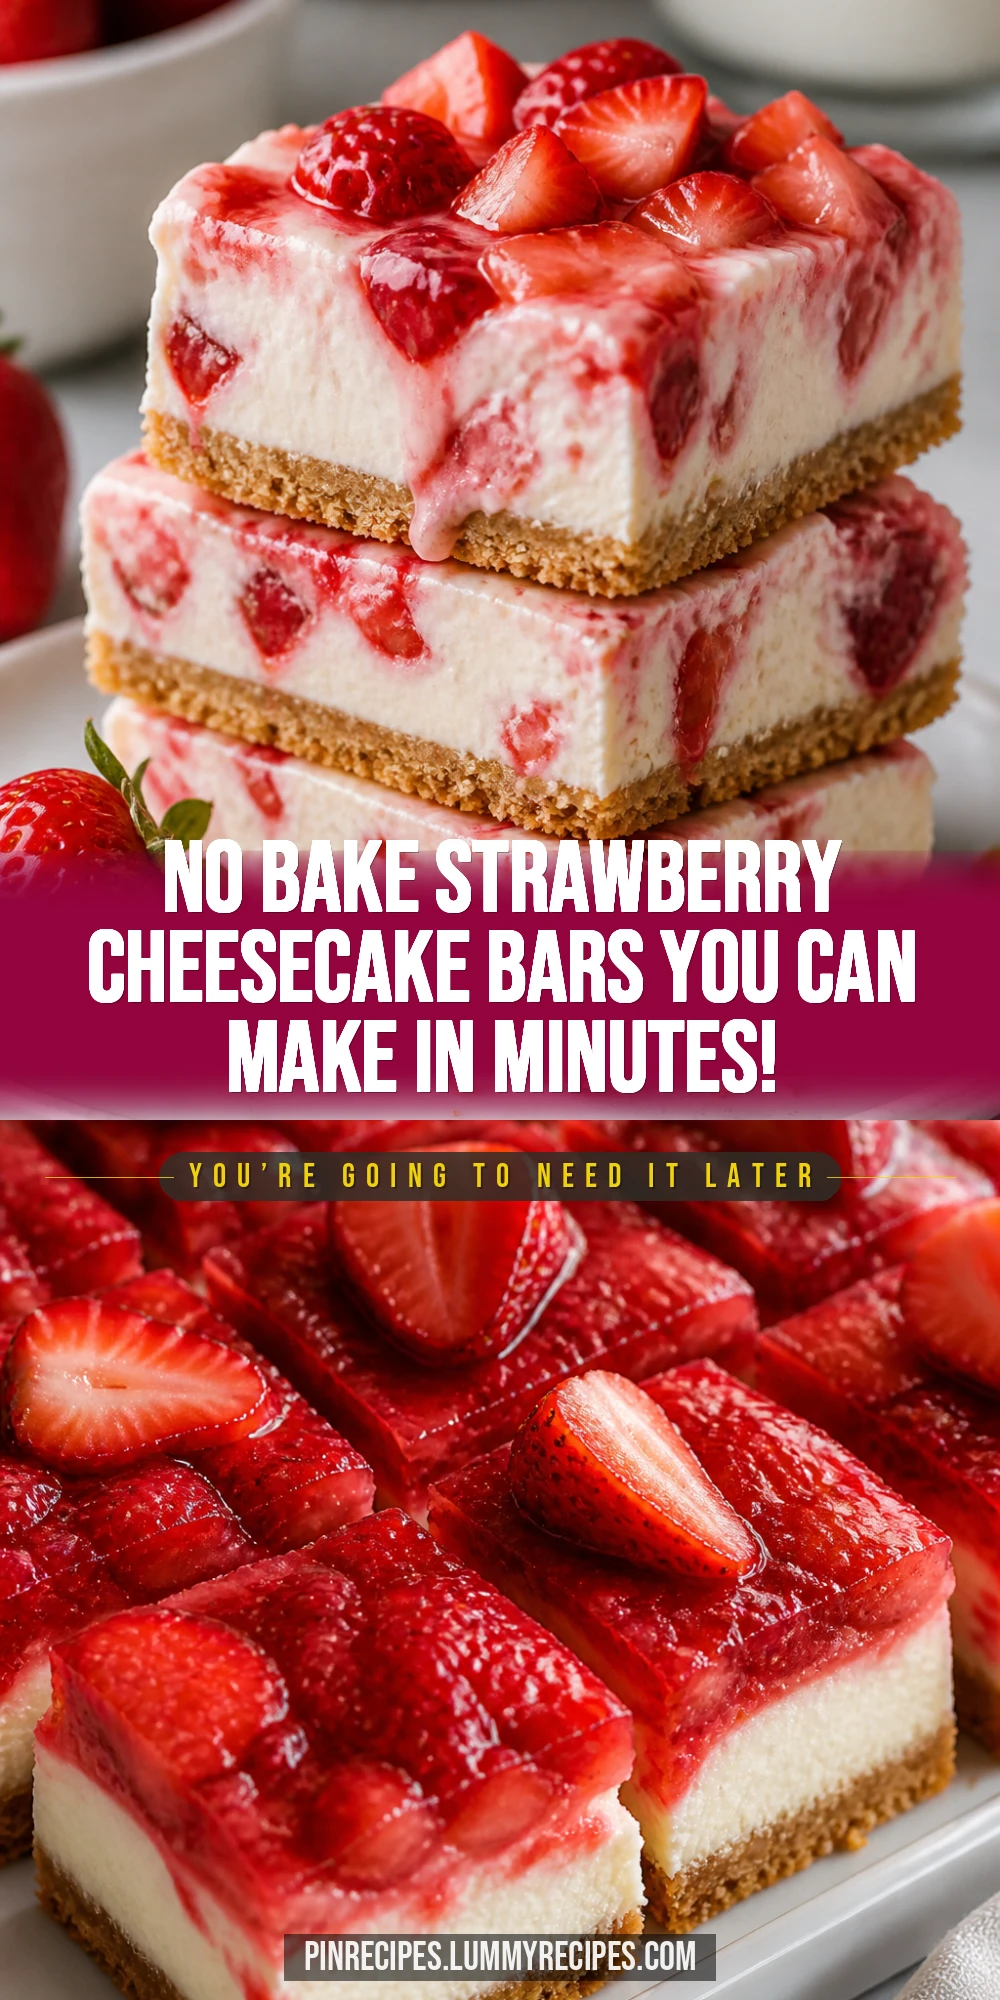
These no bake strawberry cheesecake bars are a breeze to make and perfect for warm days when you don’t want to turn on the oven. With just five ingredients, the creamy filling and fresh strawberry topping come together effortlessly. Great for casual get-togethers or a quick sweet treat!
Introduction
I first stumbled upon no bake cheesecake bars during a summer picnic when I didn’t want to fuss with the oven. Since then, I’ve made this simple 5 ingredient strawberry cheesecake bars recipe countless times. What I love most is how quick and fuss-free it is—no baking required! The buttery graham cracker crust pairs perfectly with the creamy, tangy filling, and the fresh strawberries on top add just the right amount of natural sweetness and a pop of color. I’ve tried other versions, but this one stands out because of its balance: not too sweet, not too dense, and so easy to customize. The secret is using softened cream cheese and powdered sugar whipped just enough to get a smooth texture without overmixing. Plus, letting it chill properly helps it set just right so you get clean bars that hold together beautifully. When you cut into these bars, you get that satisfying creamy bite with the crumbly crust and fresh strawberry burst. Honestly, it’s one of my go-to desserts for casual get-togethers or when I just want a quick homemade treat without the oven heat. I think you’ll love how simple and delicious these bars are—perfect for strawberry season or anytime you want a fuss-free cheesecake fix!
How To Do It
Step 1
Start by combining the graham cracker crumbs and melted butter in a medium bowl. Stir until the crumbs are evenly coated and the mixture resembles wet sand. This step is crucial because the butter acts as a binder to hold the crust together. If you skip this or don’t mix well, the crust may fall apart when you slice the bars. Press the mixture firmly and evenly into the bottom of an 8x8 inch pan lined with parchment paper. Use the back of a measuring cup to compact it tightly, ensuring a solid base that won’t crumble later.
⏱ Time: 10 minutes
✓ Doneness: The crust should look evenly packed and hold its shape when pressed gently.
Step 2
In a large bowl, beat the softened cream cheese until smooth and creamy using a hand mixer or stand mixer. Gradually add the powdered sugar and continue beating until fully incorporated and silky smooth. This step is important because beating the cream cheese well removes lumps and ensures a light texture. If you rush or don’t beat enough, the filling can be grainy or dense. The powdered sugar sweetens and stabilizes the cream cheese, giving the filling that classic cheesecake flavor and texture.
⏱ Time: 5 minutes
✓ Doneness: The filling should be smooth, creamy, and free of lumps.
Step 3
Pour the cream cheese mixture over the prepared crust and spread it evenly with a spatula. Make sure to cover the crust completely and smooth out the top to create an even layer. This helps the bars set uniformly and look neat once sliced. If you don’t smooth it well, the bars might have uneven thickness which affects presentation and texture.
⏱ Time: 5 minutes
✓ Doneness: The filling layer should be smooth and level.
Step 4
Chop the fresh strawberries into small pieces. Spread them evenly over the cheesecake layer. The fresh strawberries add a juicy, natural sweetness and a burst of color. Don’t skip this step as it balances the richness of the cream cheese filling. You can also gently press the strawberries into the filling so they stick better and don’t slide off when cutting.
⏱ Time: 5 minutes
✓ Doneness: Strawberries should be evenly distributed and lightly pressed into the filling.
Step 5
Cover the pan tightly with plastic wrap and refrigerate for at least 4 hours, preferably overnight. Chilling is essential because it allows the filling to firm up and the crust to set, making the bars easier to cut and hold their shape. If you cut them too soon, the filling will be too soft and the bars might fall apart.
⏱ Time: 4+ hours
✓ Doneness: Filling should be firm to the touch and bars should hold shape when cut.
Step 6
Once chilled, remove the cheesecake bars from the pan using the parchment paper edges. Place on a cutting board and use a sharp knife to slice into 9 equal bars. To get clean cuts, wipe the knife with a warm damp cloth between slices. This prevents the creamy filling from sticking and tearing the bars apart.
⏱ Time: 10 minutes
✓ Doneness: Bars should cut cleanly with minimal crumbling.
Step 7
Serve the bars chilled for the best texture and flavor. They’re perfect as a light dessert or sweet snack. If you want, garnish with extra fresh strawberries or a drizzle of honey for added flair. These bars keep well in the fridge and are even better the next day once the flavors meld.
⏱ Time: Immediate
✓ Doneness: Bars should be cold and firm but creamy inside.
Step 8
Store any leftovers in an airtight container in the refrigerator. This keeps the crust crisp and the filling fresh. Avoid leaving them out at room temperature for long periods as the cream cheese filling can soften and lose its texture.
⏱ Time: N/A
✓ Doneness: Bars remain firm and fresh when chilled properly.
Step 9
If you want to make these bars ahead, you can prepare everything up to the refrigeration step 1-2 days in advance. Just keep the pan tightly covered in the fridge until ready to serve. This makes them a great make-ahead dessert for gatherings or meal prep.
⏱ Time: N/A
✓ Doneness: Bars hold their shape and flavor after chilling.
Pro Tips
Use room temperature cream cheese for the smoothest filling.
Cold cream cheese can be lumpy and hard to whip, resulting in a grainy filling. Softened cream cheese blends easily with powdered sugar, creating a smooth, creamy texture essential for no bake cheesecake bars.
Press the crust firmly into the pan to prevent crumbling.
A loosely packed crust will fall apart when slicing. Firmly pressing the crumbs with a flat-bottomed cup or your fingers helps the butter bind everything together, making the crust sturdy and easy to cut.
Chill the bars for at least 4 hours or overnight.
Chilling allows the filling to set and the crust to firm up, which is critical for cutting neat bars. Cutting too soon results in a soft filling that won’t hold its shape.
Use a sharp knife warmed under hot water for clean cuts.
A warm knife glides through the creamy filling without dragging or tearing, giving you smooth edges and pretty bars. Wiping the knife between cuts prevents buildup.
Line your pan with parchment paper for easy removal.
Parchment paper allows you to lift the entire block out of the pan for easier slicing and serving, preventing damage to the bars or crust.
Don’t overmix the cream cheese filling.
Overmixing can incorporate too much air, causing cracks or a grainy texture once chilled. Beat just until smooth and combined for the best consistency.
Use fresh strawberries for the topping, not frozen.
Frozen strawberries release excess moisture when thawed, which can make the topping watery and affect the texture of the bars.
Common Mistakes to Avoid
Using cold cream cheese directly from the fridge
Why it happens Many assume cream cheese can be mixed straight away, but cold cream cheese is stiff and lumps easily.
Fix Let cream cheese sit at room temperature for at least 30 minutes before mixing. This ensures a smooth, creamy filling without lumps.
Not pressing the crust firmly enough
Why it happens People often just sprinkle crumbs loosely, thinking it will hold.
Fix Use the back of a measuring cup or your fingers to firmly press the crust into the pan. This creates a compact base that won’t crumble.
Skipping the chilling time
Why it happens Impatience or lack of planning leads to cutting bars too soon.
Fix Plan ahead to chill the bars for at least 4 hours or overnight. This step is essential for the filling to set and bars to hold shape.
Using frozen strawberries for the topping
Why it happens Frozen berries are convenient but release too much liquid.
Fix Always use fresh strawberries to avoid a watery topping that can ruin the texture.
Overmixing the cream cheese filling
Why it happens Trying to get extra fluffy texture can backfire.
Fix Mix just until smooth and combined. Overmixing can cause graininess or cracks in the filling after chilling.
Variations
Lemon Zest Strawberry Cheesecake Bars
Add 1 tablespoon of fresh lemon zest to the cream cheese filling for a bright, citrusy twist that complements the strawberries beautifully. This adds a refreshing zing and elevates the flavor complexity.
Note: Gently fold in the lemon zest after mixing the cream cheese and sugar to preserve its fresh aroma.
Chocolate Drizzle Strawberry Cheesecake Bars
Melt some dark chocolate and drizzle over the chilled bars just before serving. The rich chocolate pairs wonderfully with the sweet strawberries and creamy filling, adding a touch of indulgence.
Note: Allow the drizzle to set in the fridge for 10 minutes before slicing to avoid smudging.
Gluten-Free No Bake Strawberry Cheesecake Bars
Use gluten-free graham cracker crumbs or almond flour for the crust to make this dessert suitable for gluten-sensitive friends. The texture will be slightly different but still delicious and easy to slice.
Note: Press the crust firmly to compensate for the different crumb texture in gluten-free options.
Mixed Berry No Bake Cheesecake Bars
Swap half the strawberries for blueberries or raspberries to create a colorful mixed berry topping. This adds variety in flavor and a beautiful look, perfect for summer gatherings.
Note: Use fresh berries and gently press them into the filling to keep them in place.
Honey-Sweetened Strawberry Cheesecake Bars
Replace powdered sugar with 1/3 cup honey for a natural sweetener alternative. This gives the filling a subtle floral sweetness and a slightly softer texture.
Note: Mix honey thoroughly with softened cream cheese and chill longer to help the filling set properly.
Nutrition
Per Serving:
Nutritional values are estimates and may vary based on specific ingredients used.
Storage & Tips
Room Temperature
These bars can safely sit at room temperature for up to 2 hours if covered to prevent drying out. Beyond that, refrigeration is recommended to keep the cream cheese filling fresh and safe.
Refrigerator
Store leftover bars in an airtight container in the fridge for up to 4 days. The crust stays crisp and the filling remains creamy, though the strawberries may release some juice over time. Serve chilled for best texture.
Freezer
Freeze the bars wrapped tightly in plastic wrap and foil for up to 2 months. To thaw, place in the refrigerator overnight. The texture may soften slightly after freezing but still tastes great.
Reheating
No reheating needed—these bars are best served cold. If you prefer, let them sit at room temperature for 10-15 minutes before serving to soften slightly.
Make Ahead
Prepare the crust and filling up to 1-2 days ahead and keep covered in the fridge. Add the strawberry topping just before serving to keep berries fresh and vibrant.
FAQ
Can I use frozen strawberries for the topping?
I don’t recommend frozen strawberries because they release a lot of moisture when thawed, which can make the bars soggy and affect the crust’s texture. Fresh strawberries give the best flavor and appearance.
What if I don’t have graham crackers for the crust?
You can substitute with digestive biscuits or even crushed vanilla wafers. Just make sure to crush them finely and press firmly with melted butter to get a sturdy crust.
Can I make these bars vegan?
To make a vegan version, use dairy-free cream cheese and vegan butter substitutes. Keep in mind that the texture and flavor might differ slightly, but it still works well as a no bake dessert.
How long do these bars last in the fridge?
Stored properly in an airtight container, they keep well for up to 4 days. After that, the crust may soften and strawberries might start to release juice, so best to enjoy within that timeframe.
Can I add gelatin to make the filling firmer?
You can, but it’s not necessary if you chill the bars long enough. Adding gelatin will firm up the filling more but changes the texture slightly. If you want a firmer bar, dissolve gelatin in warm water and mix into the filling before chilling.
Is it okay to use low-fat cream cheese?
Low-fat cream cheese can make the filling less creamy and more watery. For the best texture and flavor, full-fat cream cheese is recommended.
Can I make these bars ahead for a party?
Absolutely! You can prepare everything except the strawberries 1-2 days ahead. Add fresh strawberries just before serving to keep them looking and tasting fresh.
What’s the best way to cut the bars cleanly?
Use a sharp knife warmed under hot water and wiped dry between cuts. This helps slice through the creamy filling without tearing or crumbling.
Final Thoughts
I hope you enjoy making these simple no bake strawberry cheesecake bars as much as I do! Don’t forget to share how yours turn out—I’d love to hear your tweaks and tips.