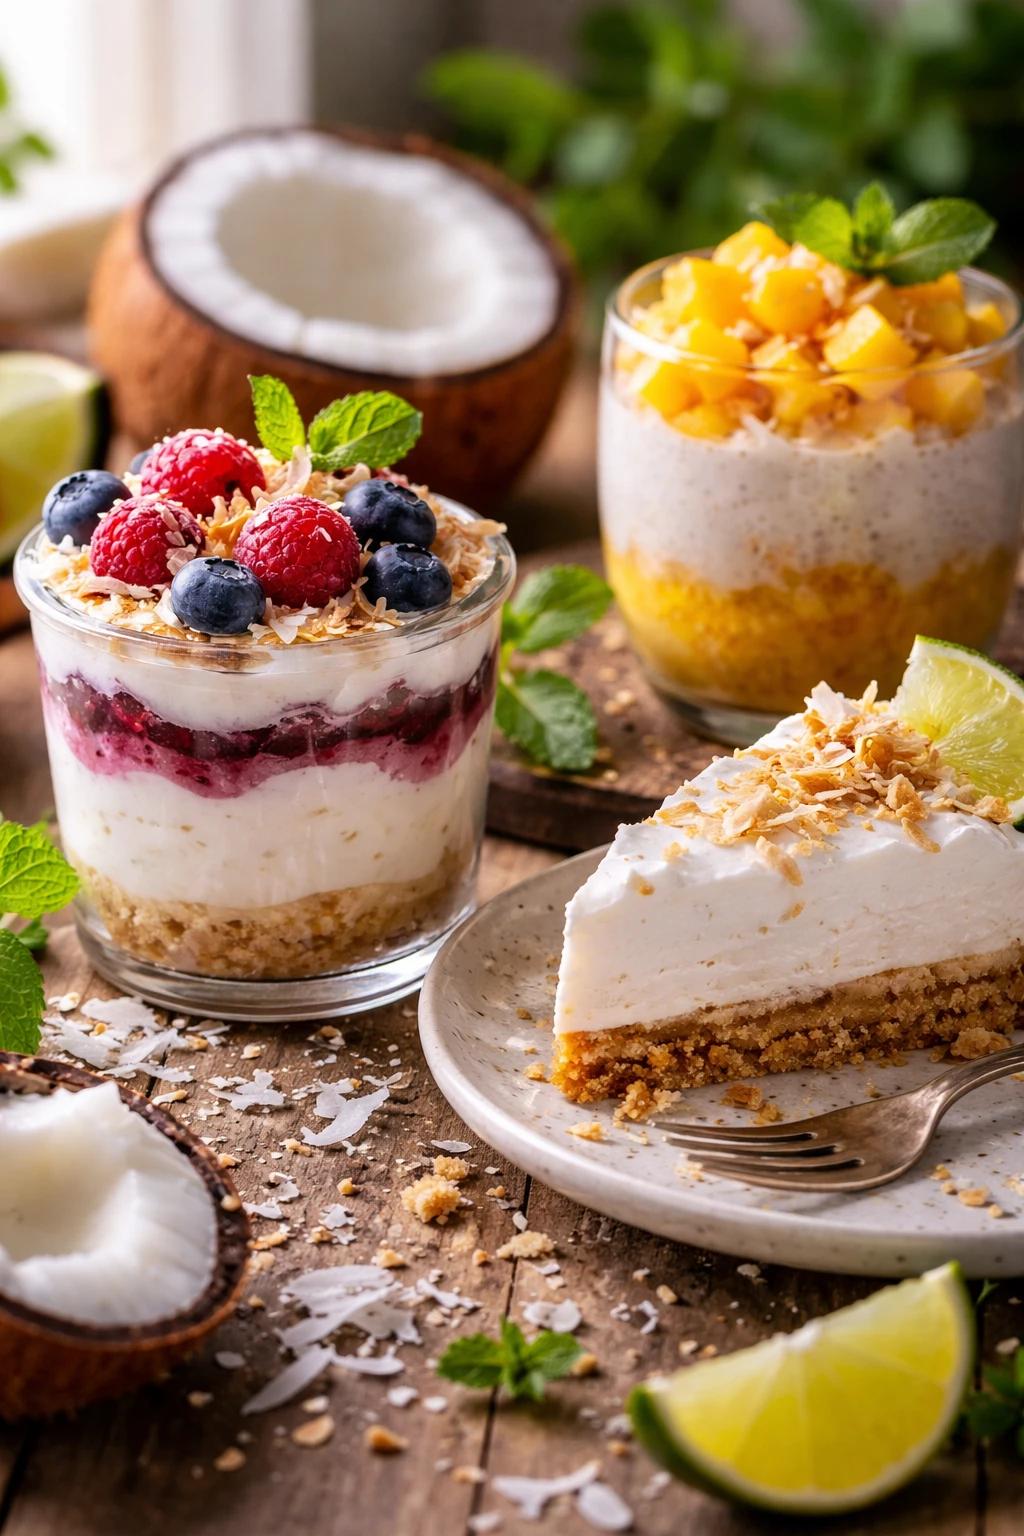
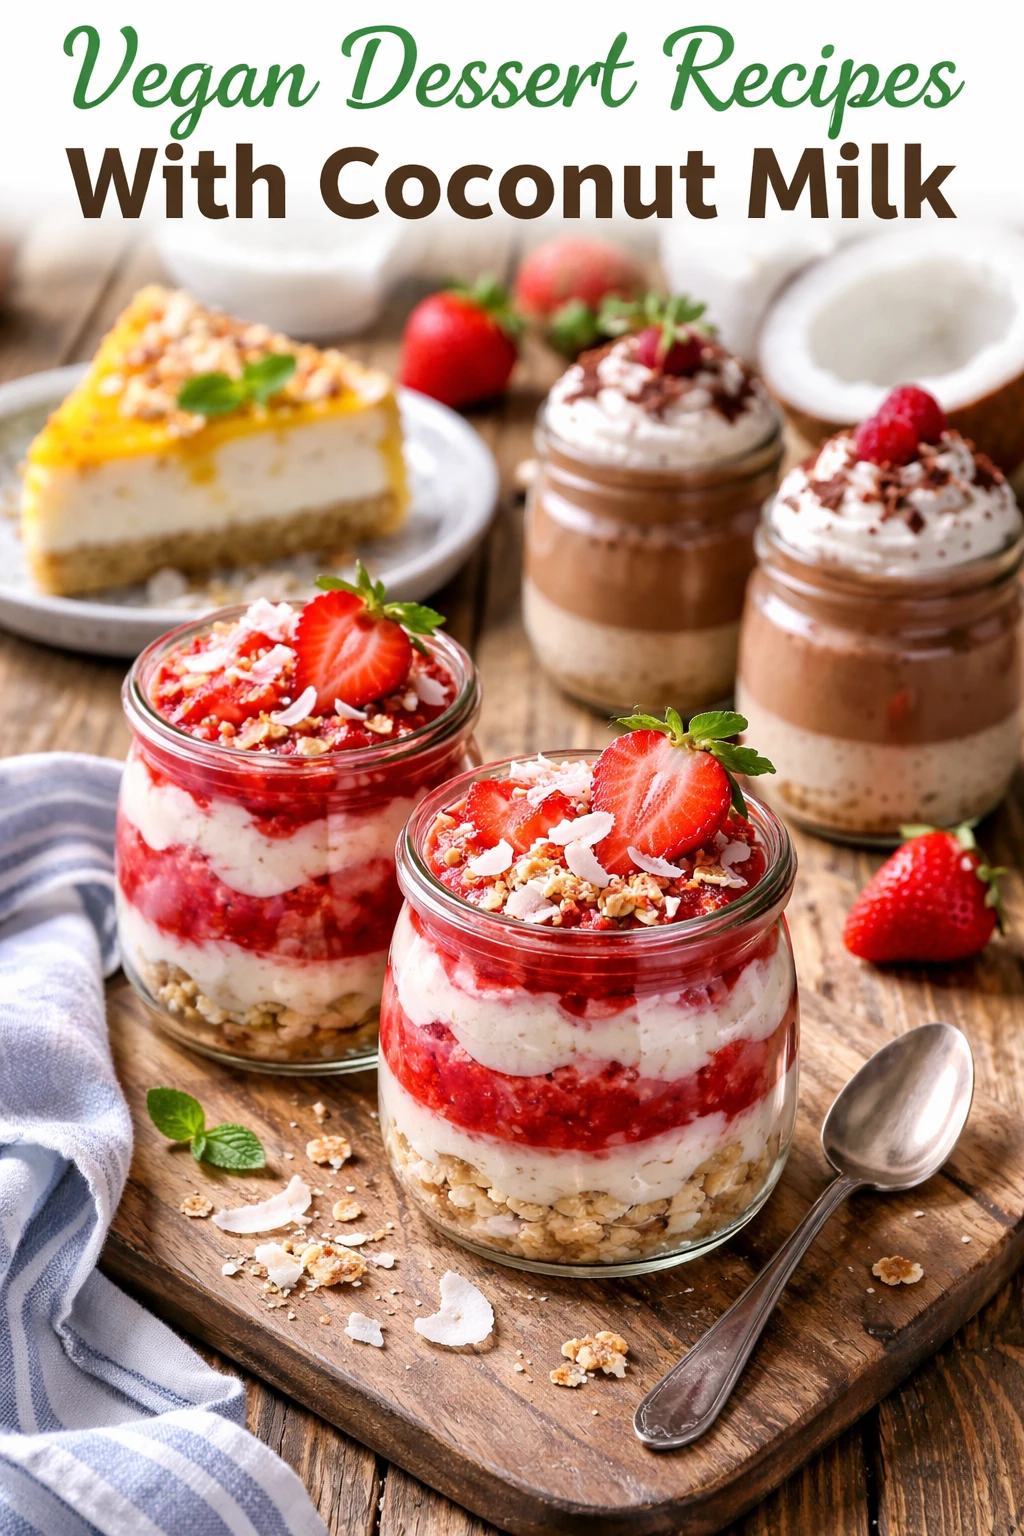
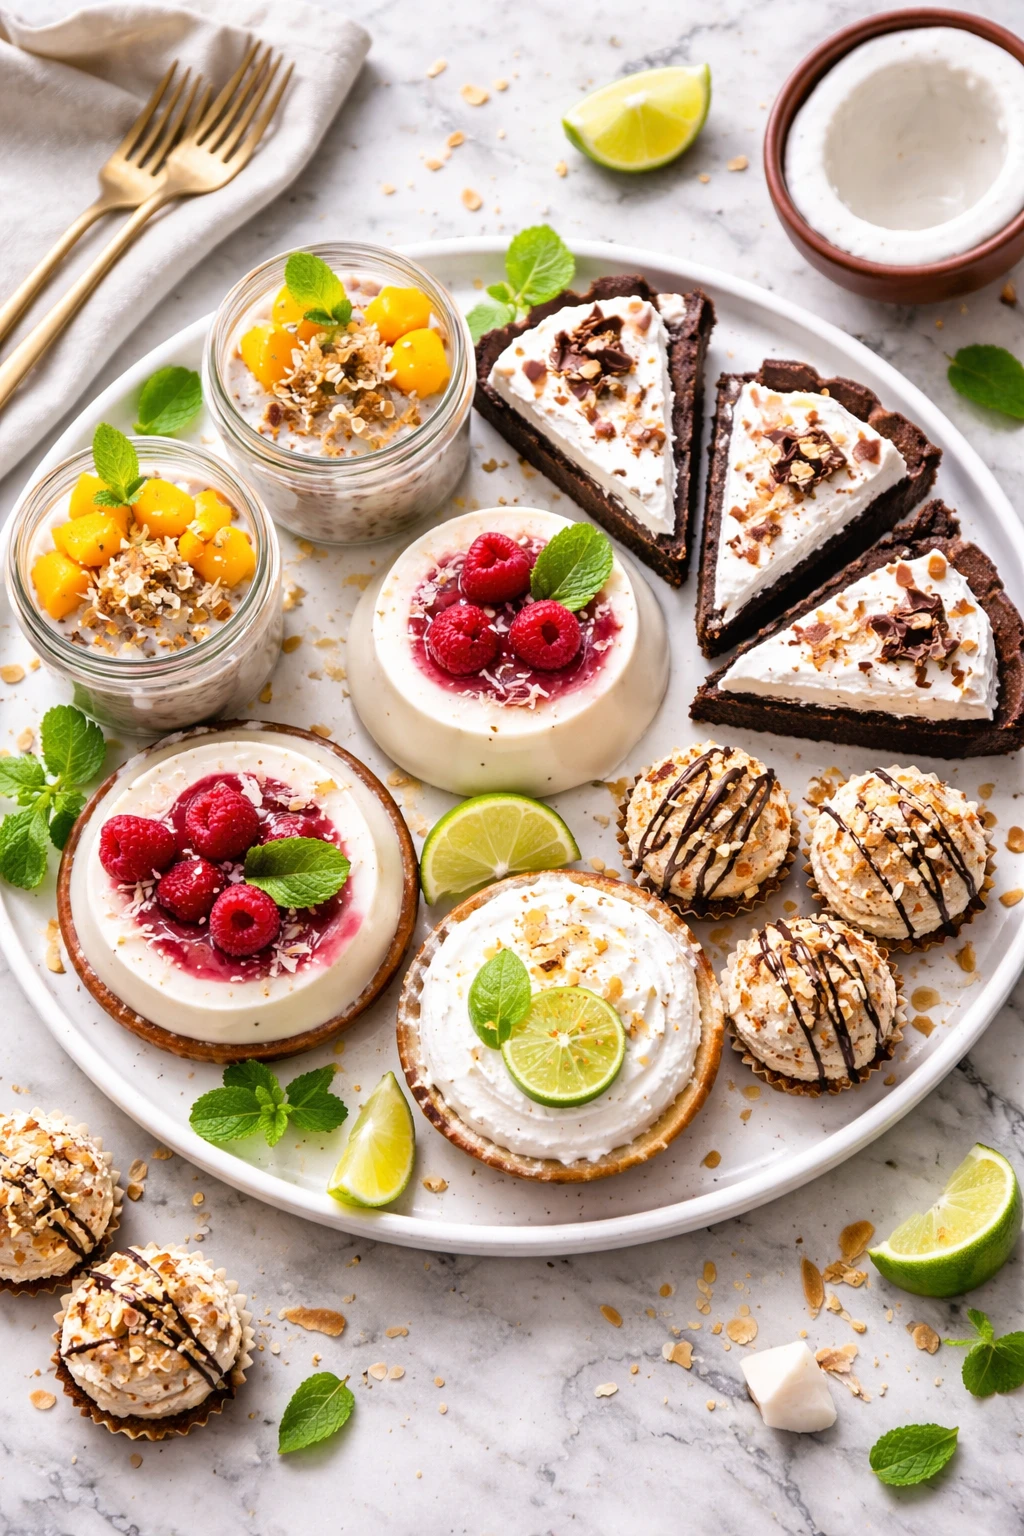
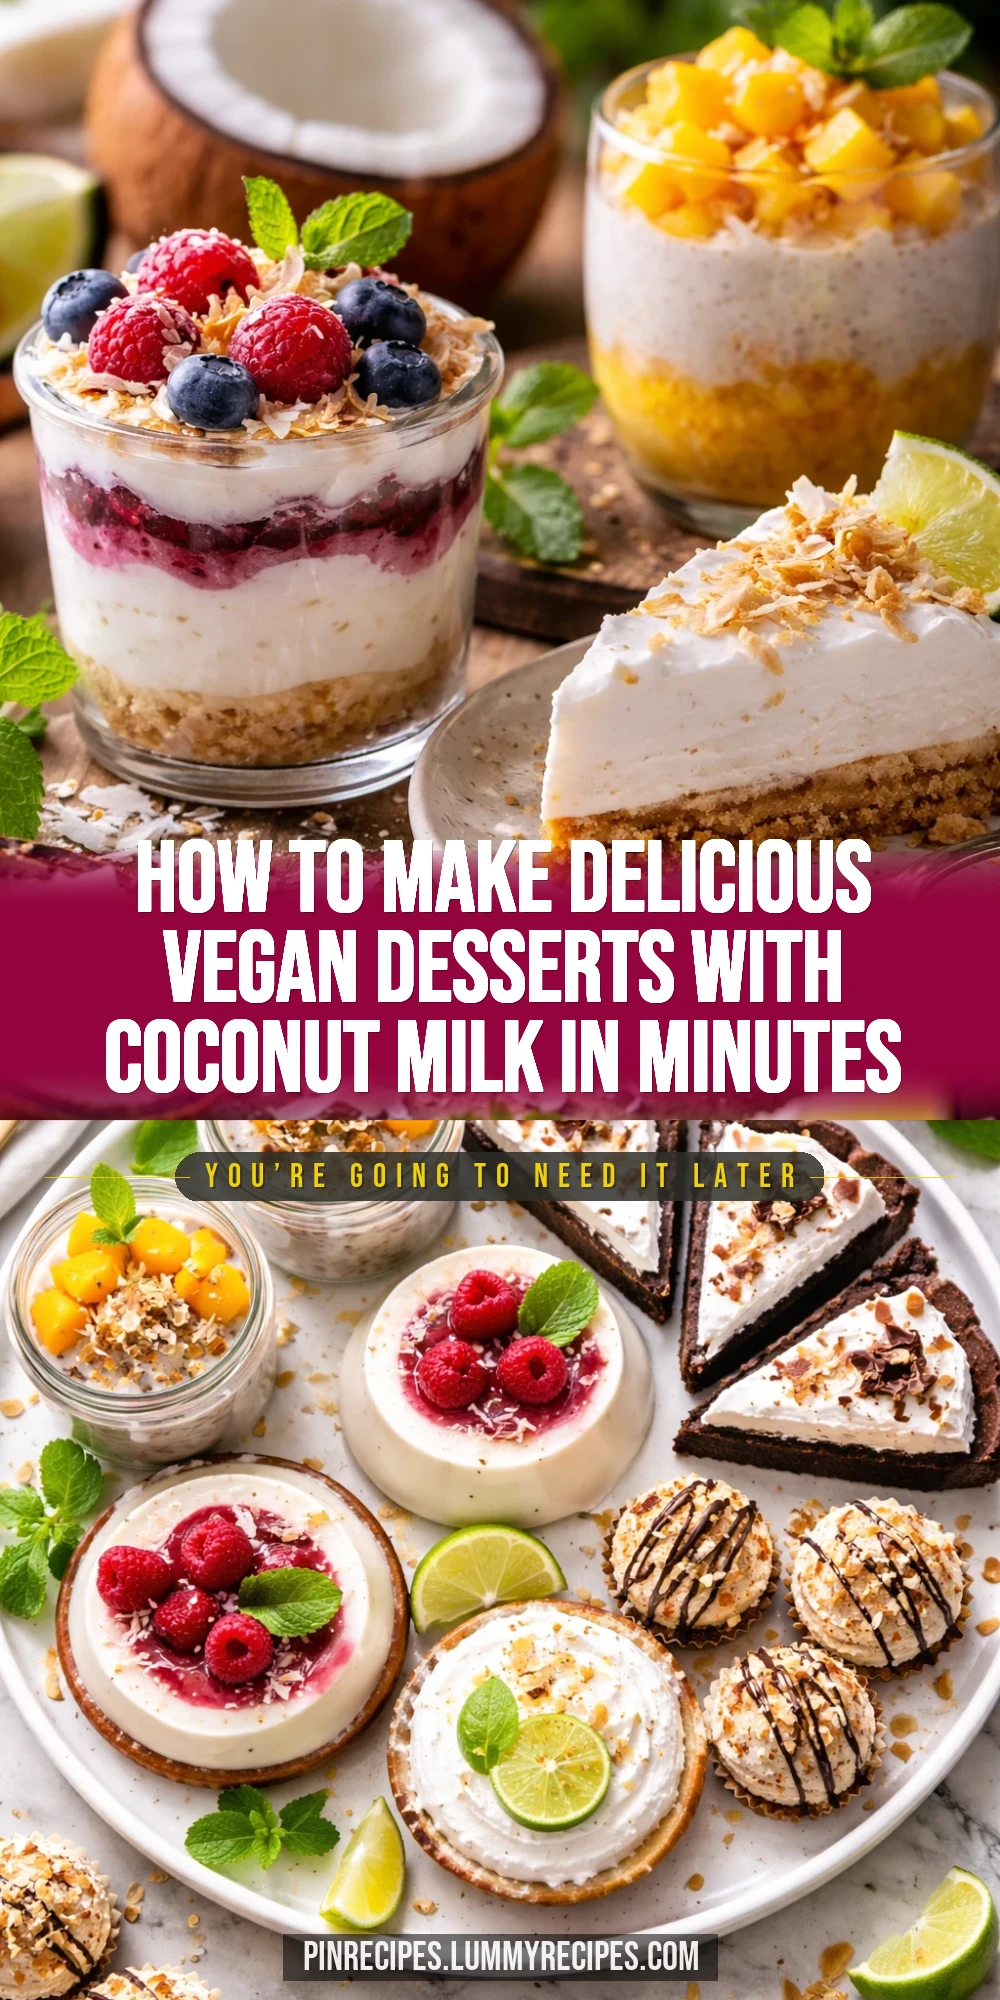
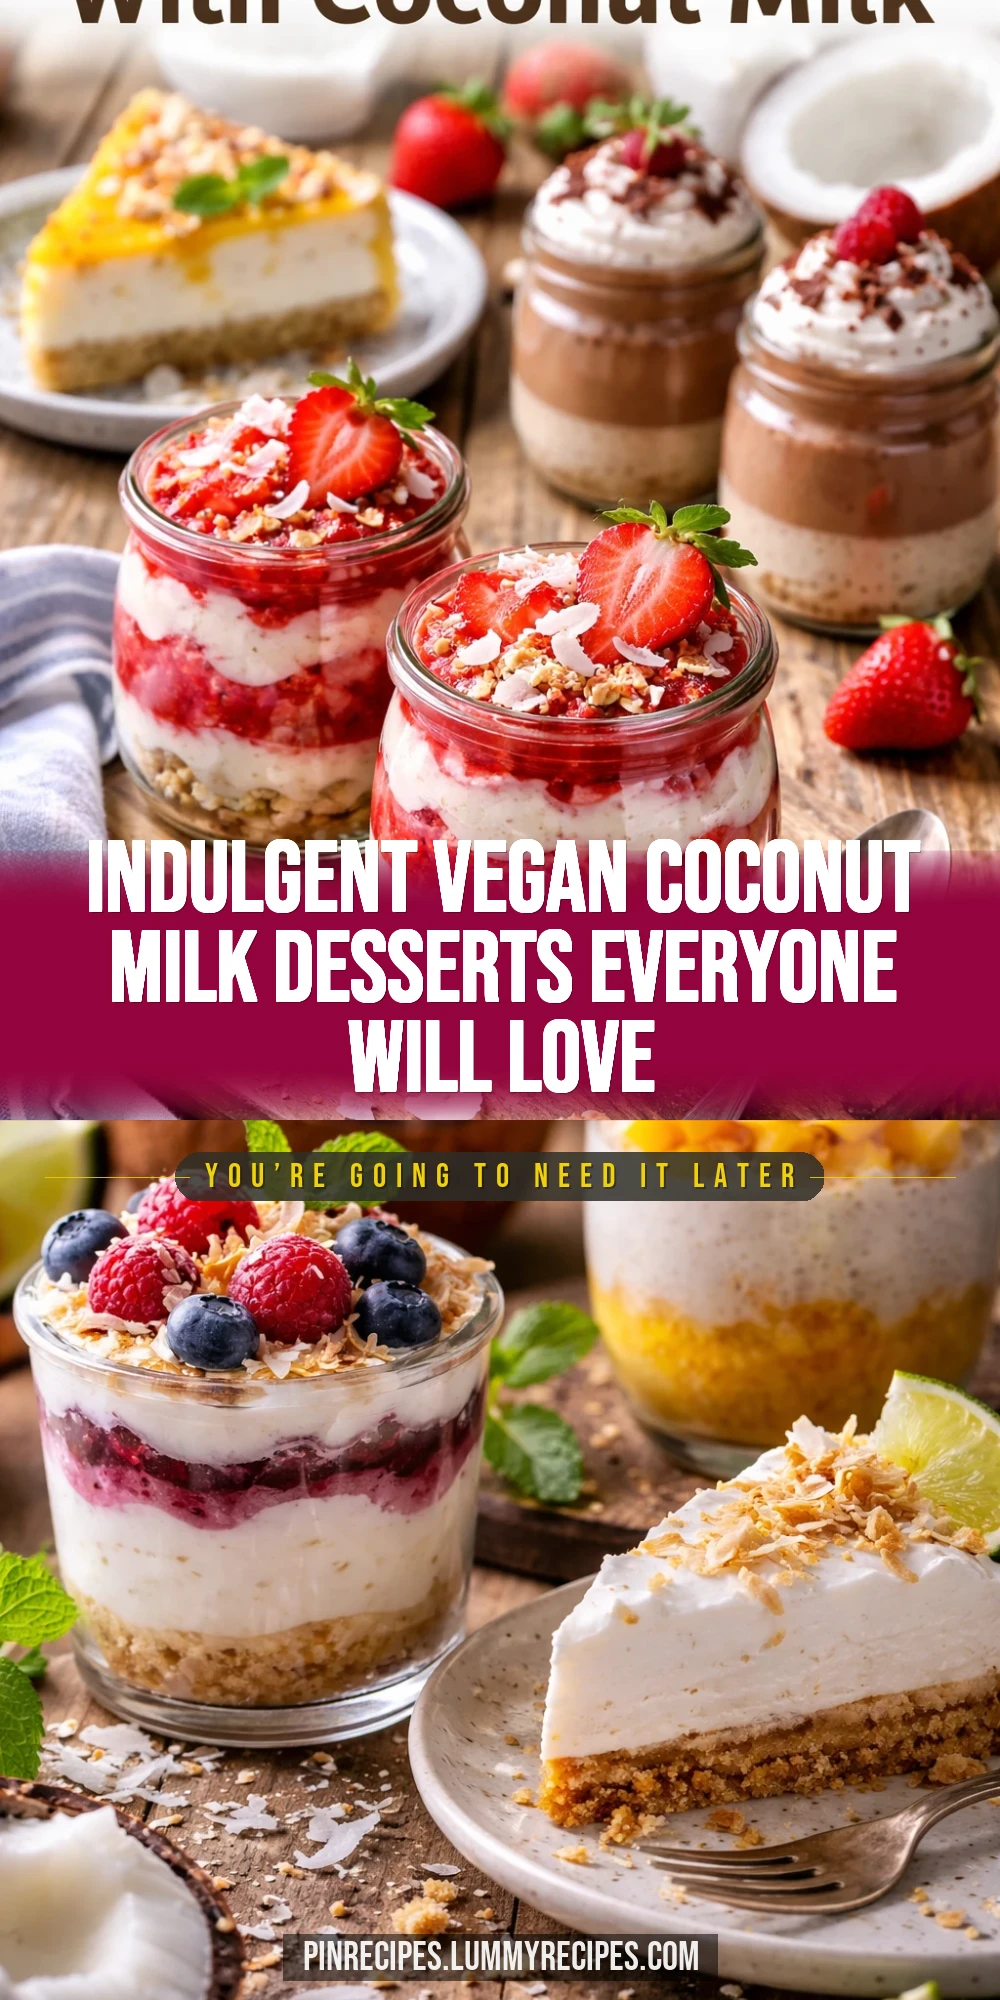
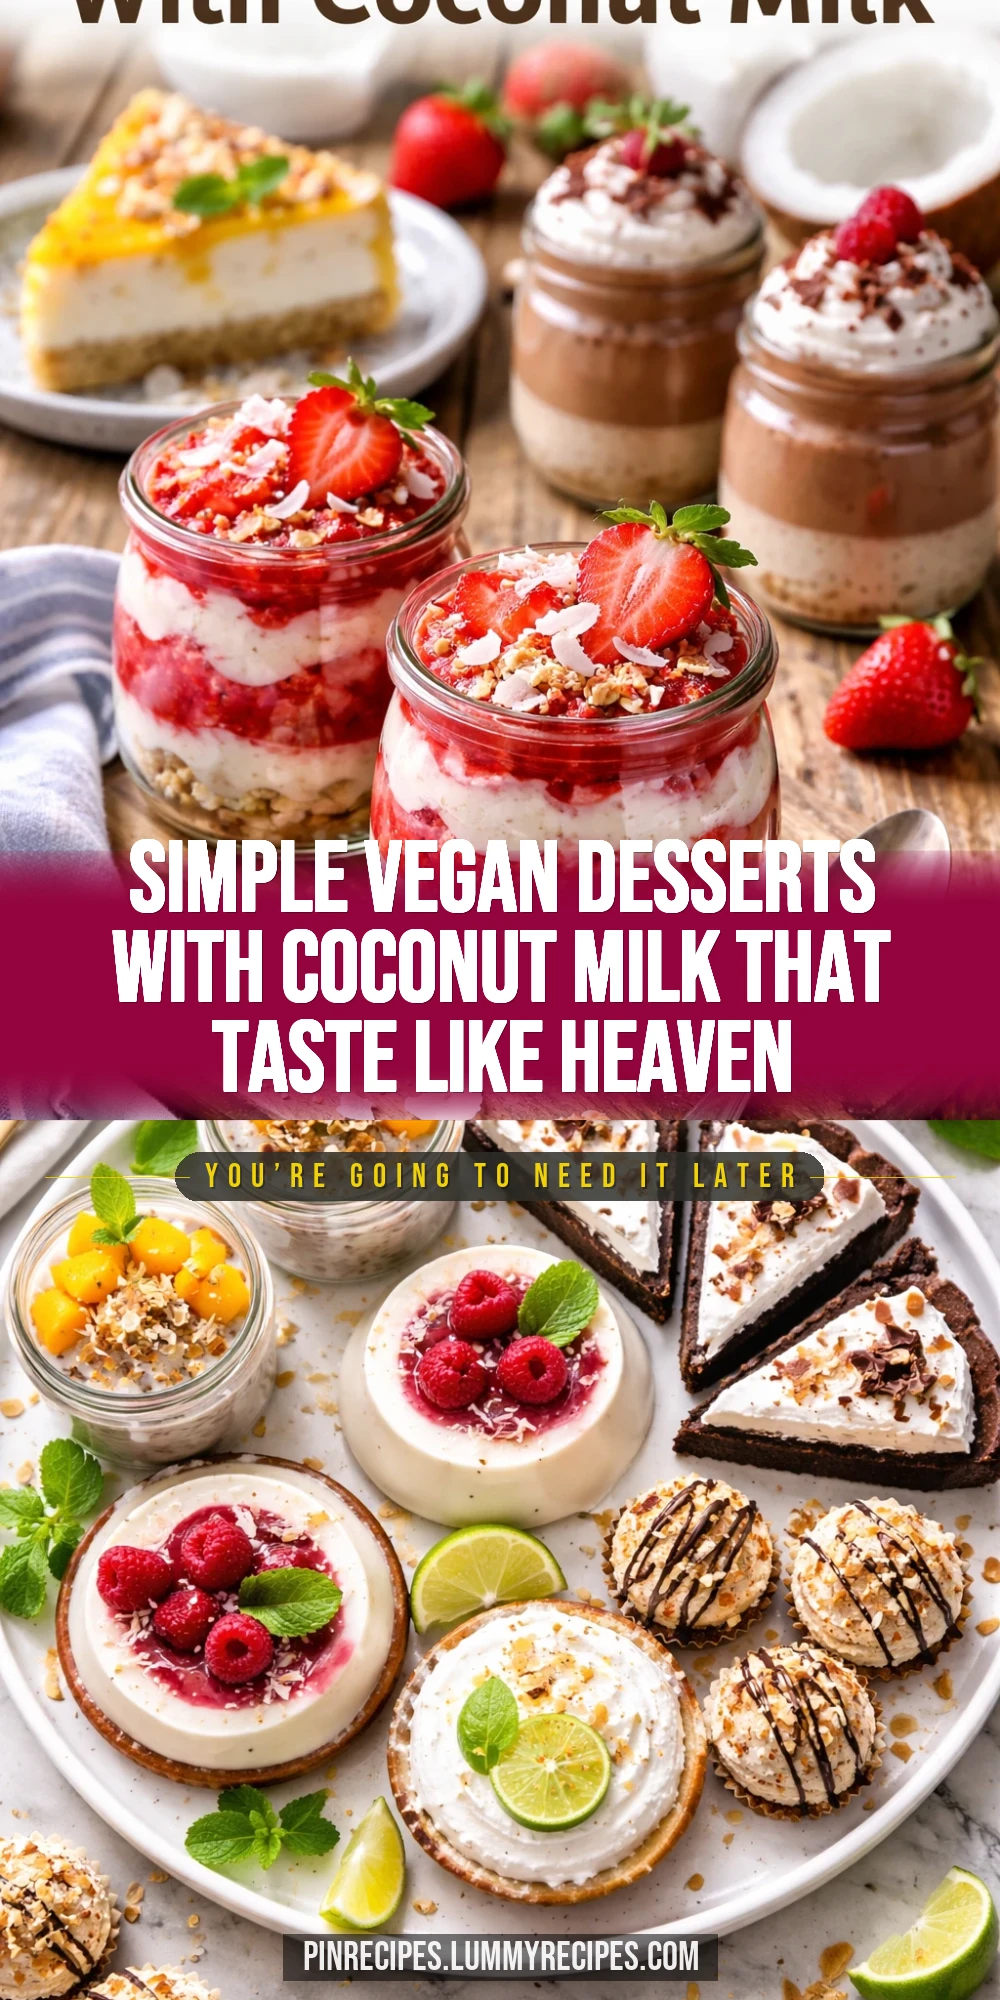
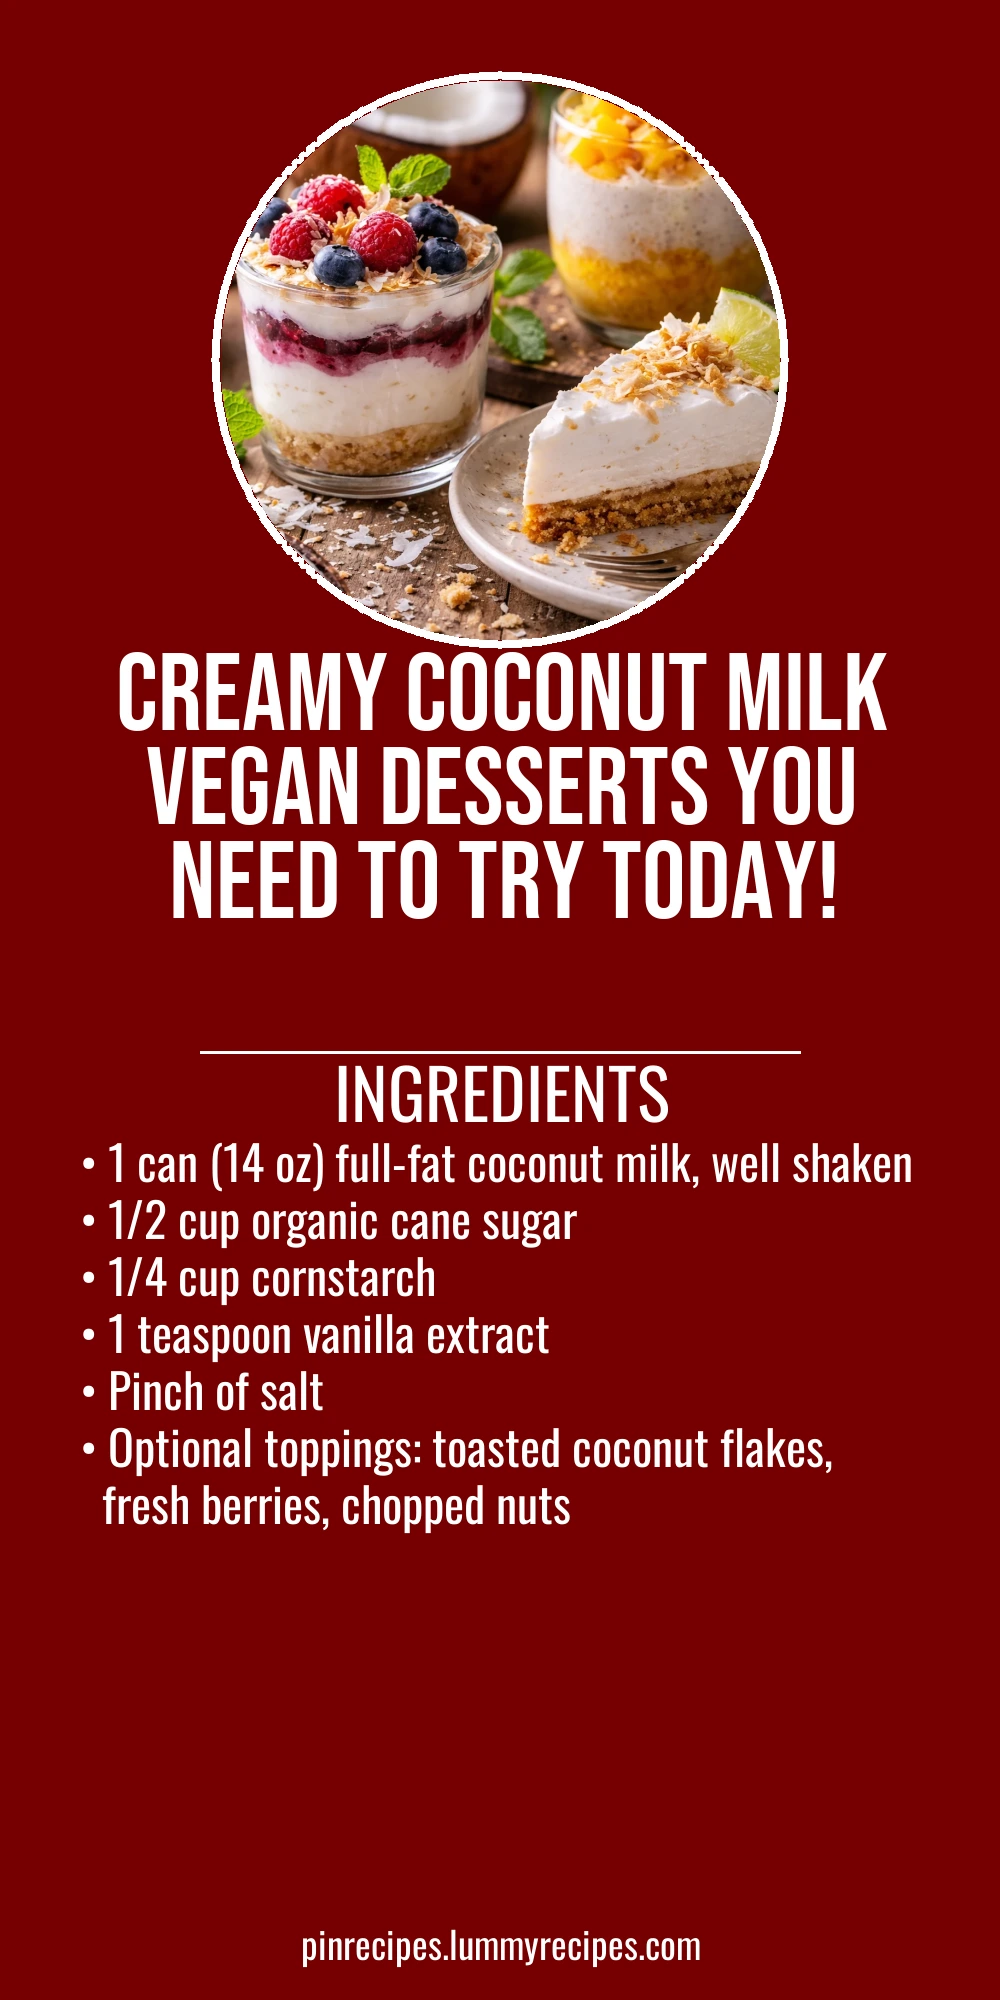
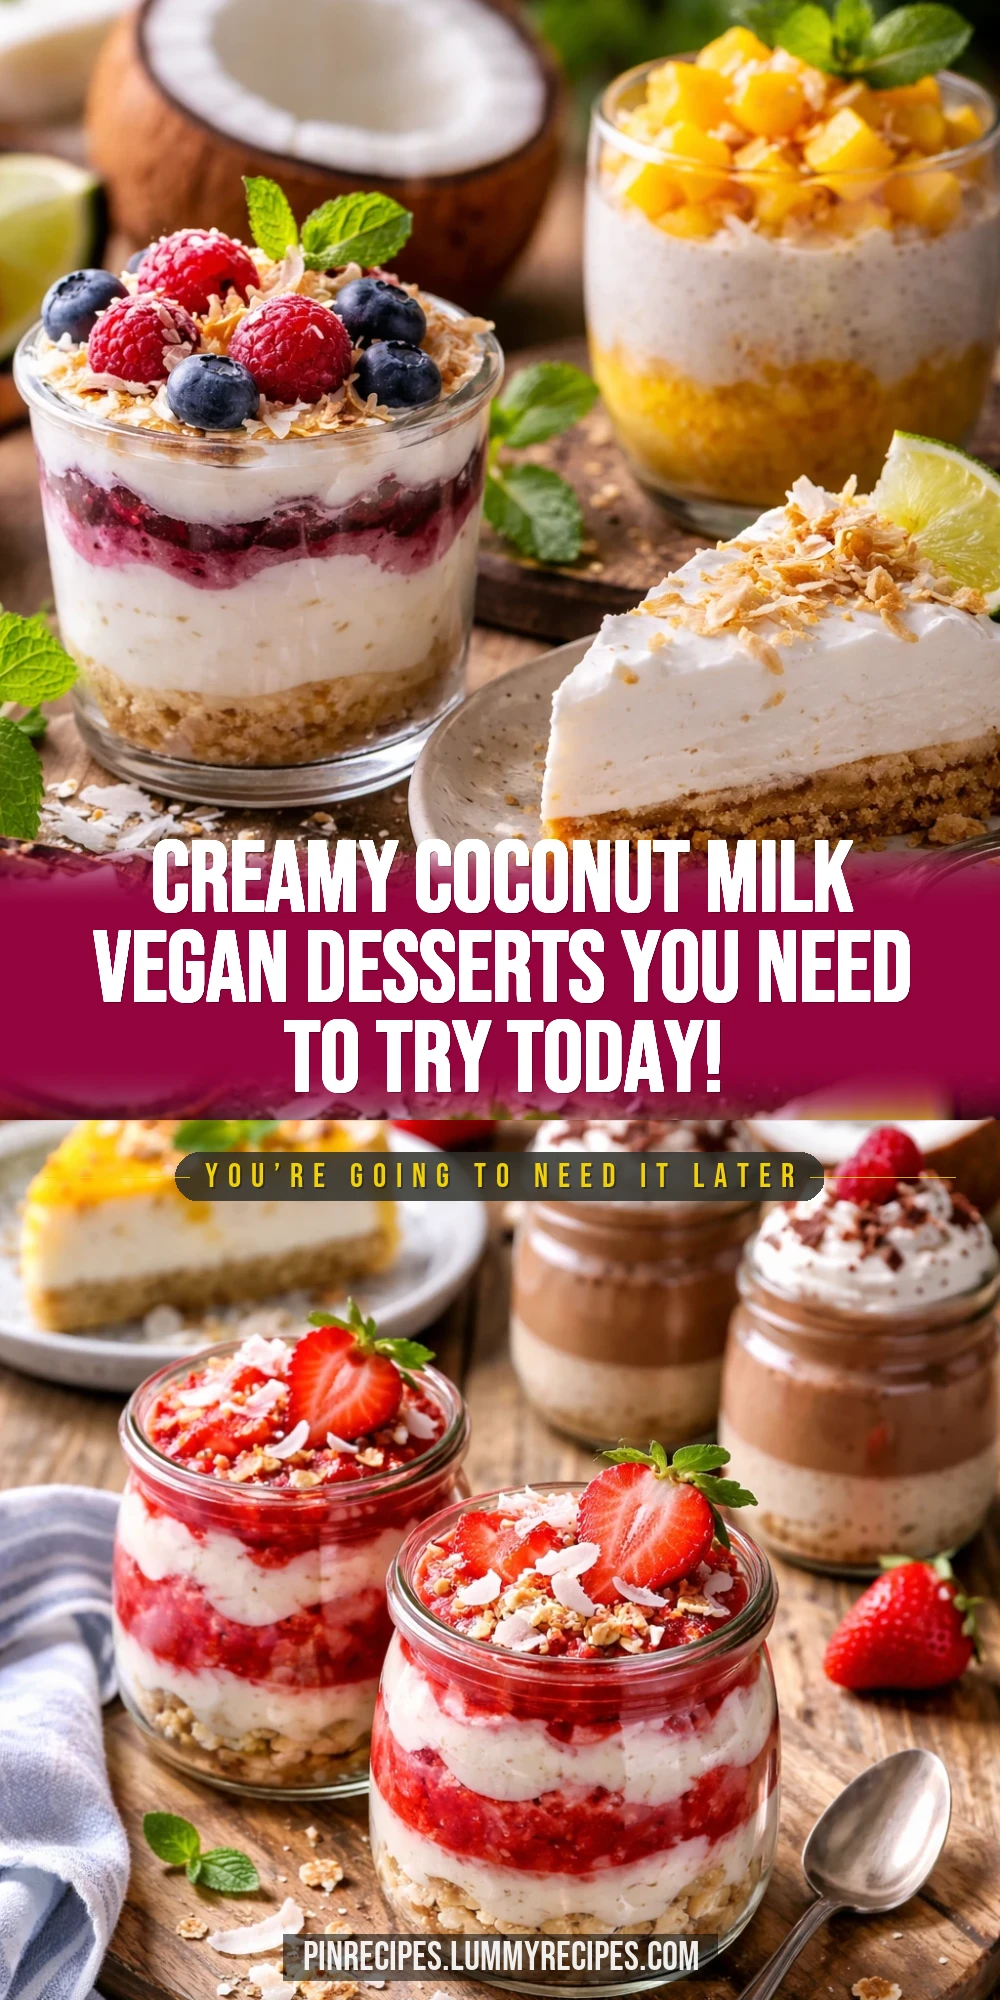
This vegan dessert recipe uses creamy coconut milk to create rich, luscious sweets that satisfy without dairy. The secret is using full-fat coconut milk for that silky texture. Great for anytime you want a comforting, plant-based treat!
Introduction
I first stumbled upon vegan desserts with coconut milk a few years ago when I was looking for dairy-free treats that didn't compromise on creaminess or flavor. Traditional desserts often rely on heavy cream or butter, which I avoid, so coconut milk became my go-to ingredient. What makes this recipe stand out is the use of full-fat coconut milk combined with cornstarch to achieve that perfect silky pudding texture without any eggs or dairy. I remember the first time I made it, it was a bit too runny because I underestimated the thickening power of cornstarch, but after tweaking the quantities, it turned out perfectly smooth and luscious. This dessert is incredibly versatile—you can enjoy it chilled as a refreshing snack or warm for a cozy treat. Plus, it’s naturally vegan and gluten-free, which makes it a crowd-pleaser for all kinds of dietary preferences. Whether you’re new to vegan cooking or a seasoned plant-based eater, this recipe is a delightful way to enjoy a sweet finale to any meal.
How To Do It
Step 1
Start by shaking the can of full-fat coconut milk well to mix the cream and liquid. Pour the coconut milk into a medium saucepan over medium heat. This step is crucial because the fat content in the coconut milk creates the creamy base of your dessert. Heating it gently allows the milk to warm evenly without curdling. Stir occasionally to prevent a skin from forming on top or burning at the bottom. Avoid rushing this step by cranking up the heat, as too high a temperature can cause separation and grainy texture.
⏱ Time: 5
✓ Doneness: The coconut milk should be warm and slightly steaming but not boiling.
Step 2
In a separate bowl, whisk together the sugar, cornstarch, and salt until fully combined. Slowly add about 1/4 cup of the warm coconut milk to this dry mix, whisking constantly to create a smooth slurry. This technique prevents lumps when you add the mixture back into the saucepan. If you skip this step and add the dry ingredients directly to the hot milk, you’ll end up with clumps that are hard to dissolve. The slurry ensures even thickening and a silky texture.
⏱ Time: 7
✓ Doneness: The mixture should be lump-free and smooth, resembling a thin batter.
Step 3
Pour the slurry back into the saucepan with the remaining warm coconut milk, stirring constantly over medium heat. Keep stirring to prevent the mixture from sticking to the bottom or forming lumps. The heat activates the cornstarch, thickening the dessert. Patience here is key—if you turn the heat too high, the pudding can scorch or become too thick too fast. Stirring continuously ensures a smooth, even texture.
⏱ Time: 8
✓ Doneness: The mixture thickens and coats the back of a spoon, resembling a soft pudding.
Step 4
Once thickened, remove the saucepan from heat and stir in the vanilla extract. This adds a lovely aromatic depth that balances the natural coconut flavor. Adding vanilla at the end preserves its fragrance and prevents it from evaporating with the heat. Skipping this step would make the dessert less flavorful and a bit flat.
⏱ Time: 2
✓ Doneness: The vanilla scent is noticeable and the pudding looks glossy.
Step 5
Pour the pudding into individual serving dishes or a large bowl. Let it cool to room temperature uncovered, then cover with plastic wrap directly on the surface to prevent a skin from forming. Refrigerate for at least 2 hours to fully set and chill. This chilling step is important because it firms up the pudding and enhances the flavors. If you skip chilling, the texture will be too loose and the dessert less refreshing.
⏱ Time: 10
✓ Doneness: The pudding is firm but still creamy and holds its shape when spooned.
Step 6
Before serving, add optional toppings like toasted coconut flakes, fresh berries, or chopped nuts. These add texture and contrast that elevate the dessert from simple to special. Toasting coconut flakes brings out their natural sweetness and crunch, which pairs beautifully with the smooth pudding. Don’t skip this step if you want a truly memorable treat.
⏱ Time: 5
✓ Doneness: Toppings are evenly distributed and add a colorful, crunchy finish.
Step 7
If you prefer a warm dessert, gently reheat the pudding in a saucepan over low heat, stirring constantly to avoid scorching. Add a splash of coconut milk if it thickened too much in the fridge. Warm it only until heated through, not boiling, to keep the creamy texture intact. Overheating can cause separation and graininess.
⏱ Time: 5
✓ Doneness: The pudding is warm and smooth, without lumps or curdling.
Step 8
For a variation, try blending in mashed ripe bananas or pureed mango before chilling. This adds natural sweetness and fruity flavor that complements the coconut milk. Be mindful that adding fruit puree can slightly change the texture, making it a bit softer, so adjust cornstarch slightly if needed to maintain firmness.
⏱ Time: 5
✓ Doneness: The pudding remains creamy but has a subtle fruity aroma and taste.
Step 9
Serve your coconut milk vegan dessert chilled or warm, depending on your mood. It pairs wonderfully with a cup of herbal tea or fresh fruit salad. This recipe is perfect for sharing with friends or enjoying as a personal treat. The smooth, rich texture and subtle sweetness make it a comforting yet light ending to any meal.
⏱ Time: 2
✓ Doneness: Dessert is plated attractively and ready to enjoy.
Pro Tips
Always whisk the cornstarch with cold liquid before adding to hot coconut milk.
This prevents lumps by allowing the starch granules to disperse evenly. Adding dry starch directly to hot liquid causes it to clump, resulting in an uneven texture that’s hard to fix.
Use full-fat canned coconut milk for the richest, creamiest dessert.
The fat content is crucial for mimicking dairy cream’s mouthfeel. Lower fat or carton coconut milk will yield a thinner, less satisfying texture that won’t set well.
Stir constantly over medium heat while thickening the pudding.
Continuous stirring prevents the mixture from sticking to the pan and forming lumps. It also ensures even heat distribution, which activates the starch properly for smooth thickening.
Add vanilla extract only after removing the pudding from heat.
Vanilla’s delicate aroma can evaporate or degrade at high heat, so adding it last preserves its flavor and enhances the dessert’s overall taste.
Cover pudding surface with plastic wrap while chilling to avoid skin formation.
Plastic wrap in direct contact prevents a thick skin from forming on top, which can be unappetizing and affect texture.
Toast coconut flakes just before serving for maximum crunch and flavor.
Toasted coconut adds a nutty aroma and texture contrast that complements the smooth pudding. Toasting too early can lead to sogginess.
Reheat gently on low heat if serving warm, adding a splash of coconut milk if needed.
High heat causes separation or graininess. Adding coconut milk loosens the texture and restores creaminess.
Common Mistakes to Avoid
Skipping the slurry step and adding cornstarch directly to hot coconut milk.
Why it happens Many cooks assume dry starch can be added directly, but this causes lumps because the starch clumps instantly in hot liquid.
Fix Always mix cornstarch with a small amount of cold liquid first to create a smooth slurry before combining with hot milk. This ensures even thickening and smooth texture.
Using light or low-fat coconut milk instead of full-fat.
Why it happens Some assume any coconut milk will work, not realizing fat content affects creaminess and texture.
Fix Choose canned full-fat coconut milk for best results. It provides the richness needed to mimic dairy and create a creamy dessert.
Heating the pudding too quickly or at too high a temperature.
Why it happens Rushing the cooking process can cause scorching or curdling, ruining texture.
Fix Cook over medium heat and stir constantly to gently activate starch without burning. Patience yields smooth pudding.
Not covering the pudding surface while chilling.
Why it happens Leaving pudding uncovered causes a skin to form on top, which is tough and unappealing.
Fix Press plastic wrap directly onto the pudding surface before refrigerating to prevent skin formation.
Adding vanilla extract too early during cooking.
Why it happens Heat can degrade vanilla’s flavor compounds, reducing aroma and taste.
Fix Add vanilla only after removing pudding from heat to preserve its delicate fragrance.
Variations
Mango Coconut Pudding
Blend in ripe mango puree before chilling for a tropical twist. The mango adds natural sweetness and fruity flavor that pairs beautifully with coconut.
Note: Because mango adds extra moisture, you may need to increase cornstarch slightly to maintain pudding thickness.
Chocolate Coconut Pudding
Add cocoa powder to the dry ingredients for a rich chocolate version. This variation is perfect for chocolate lovers seeking a vegan treat.
Note: Use unsweetened cocoa powder and adjust sugar to balance bitterness. Mix cocoa thoroughly to avoid lumps.
Matcha Coconut Pudding
Incorporate matcha powder into the cornstarch mixture for a vibrant green tea flavor. It adds antioxidants and a subtle earthy note.
Note: Sift matcha powder to prevent clumps and adjust sweetness to complement its bitterness.
Vanilla Bean Coconut Pudding
Use a scraped vanilla bean pod instead of extract for an intense vanilla flavor and pretty specks throughout the pudding.
Note: Simmer the pod in the coconut milk during heating, then remove before adding cornstarch slurry.
Spiced Coconut Pudding
Add warming spices like cinnamon, cardamom, or nutmeg to the coconut milk for a cozy, aromatic dessert perfect for cooler months.
Note: Infuse spices in the warm coconut milk before adding the slurry, then strain if desired for smooth texture.
Nutrition
Per Serving:
Nutritional values are estimates and may vary based on specific ingredients used.
Storage & Tips
Room Temperature
This coconut milk dessert can safely sit at room temperature for up to 2 hours if covered to prevent contamination. Beyond that, bacterial growth increases, so refrigerate promptly.
Refrigerator
Store in an airtight container for up to 4 days. Texture may firm up further when cold; serve chilled or gently reheat. Avoid repeated reheating to maintain quality.
Freezer
Freeze in airtight containers for up to 2 months. Coconut milk desserts may change texture slightly after freezing; thaw overnight in fridge and stir well before serving.
Reheating
Reheat gently on stovetop over low heat, stirring constantly. Add a splash of coconut milk if too thick. Avoid boiling to prevent curdling or separation.
Make Ahead
You can prepare the pudding base 1-2 days ahead, chill covered, and add toppings just before serving to keep them fresh and crunchy.
FAQ
Can I use light coconut milk instead of full-fat?
Light coconut milk has much less fat, which results in a thinner, less creamy dessert that may not set properly. For best results, use full-fat canned coconut milk to achieve the rich texture and mouthfeel this recipe requires.
How do I prevent lumps when thickening the pudding?
Always mix the cornstarch with a small amount of cold liquid first to create a slurry before adding it to hot coconut milk. Adding dry starch directly to hot liquid causes clumps that are hard to dissolve.
Can I sweeten this dessert with maple syrup or agave instead of sugar?
Yes, you can substitute maple syrup or agave, but it may slightly alter the texture and sweetness level. Liquid sweeteners add moisture, so you might need to adjust cornstarch to maintain thickness.
How long can I store this dessert in the fridge?
Stored in an airtight container, this dessert keeps well for up to 4 days. The texture may firm up more when chilled. You can enjoy it cold or gently reheat before serving.
Is it possible to make this dessert nut-free?
Absolutely! This recipe is naturally nut-free unless you add nut toppings. Just avoid any optional garnishes containing nuts, and the dessert remains safe for nut allergies.
Can I make this dessert ahead for a party?
Yes, you can prepare it 1-2 days ahead. Chill it covered in the fridge and add fresh toppings just before serving to keep everything fresh and vibrant.
What if my pudding is too thick or too thin after cooking?
If too thick, gently stir in a little more coconut milk while reheating to loosen it. If too thin, you can return it to heat and whisk in a bit more cornstarch slurry to thicken, cooking until desired consistency.
Can I add fruit purees to this pudding?
Yes, adding fruit purees like mango or banana works well and adds natural sweetness and flavor. Just be aware that purees add moisture, so you might need to increase the thickener slightly.
Final Thoughts
I hope you enjoy making and sharing this creamy vegan coconut milk dessert as much as I do. Don’t forget to try the variations and share your favorite toppings!