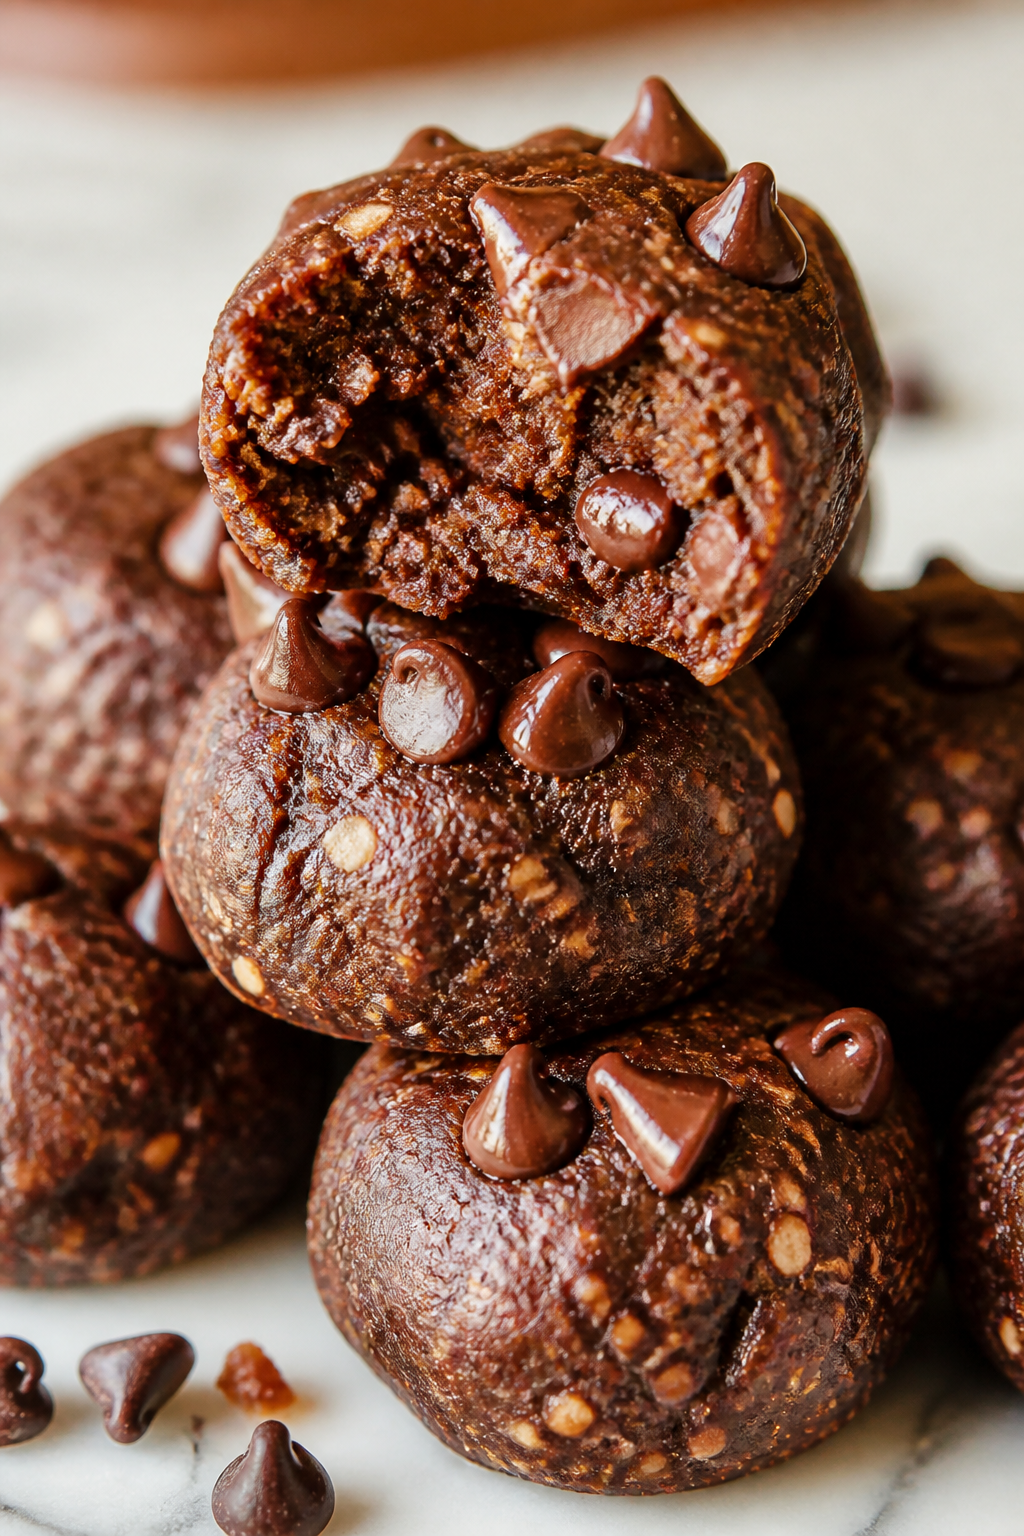
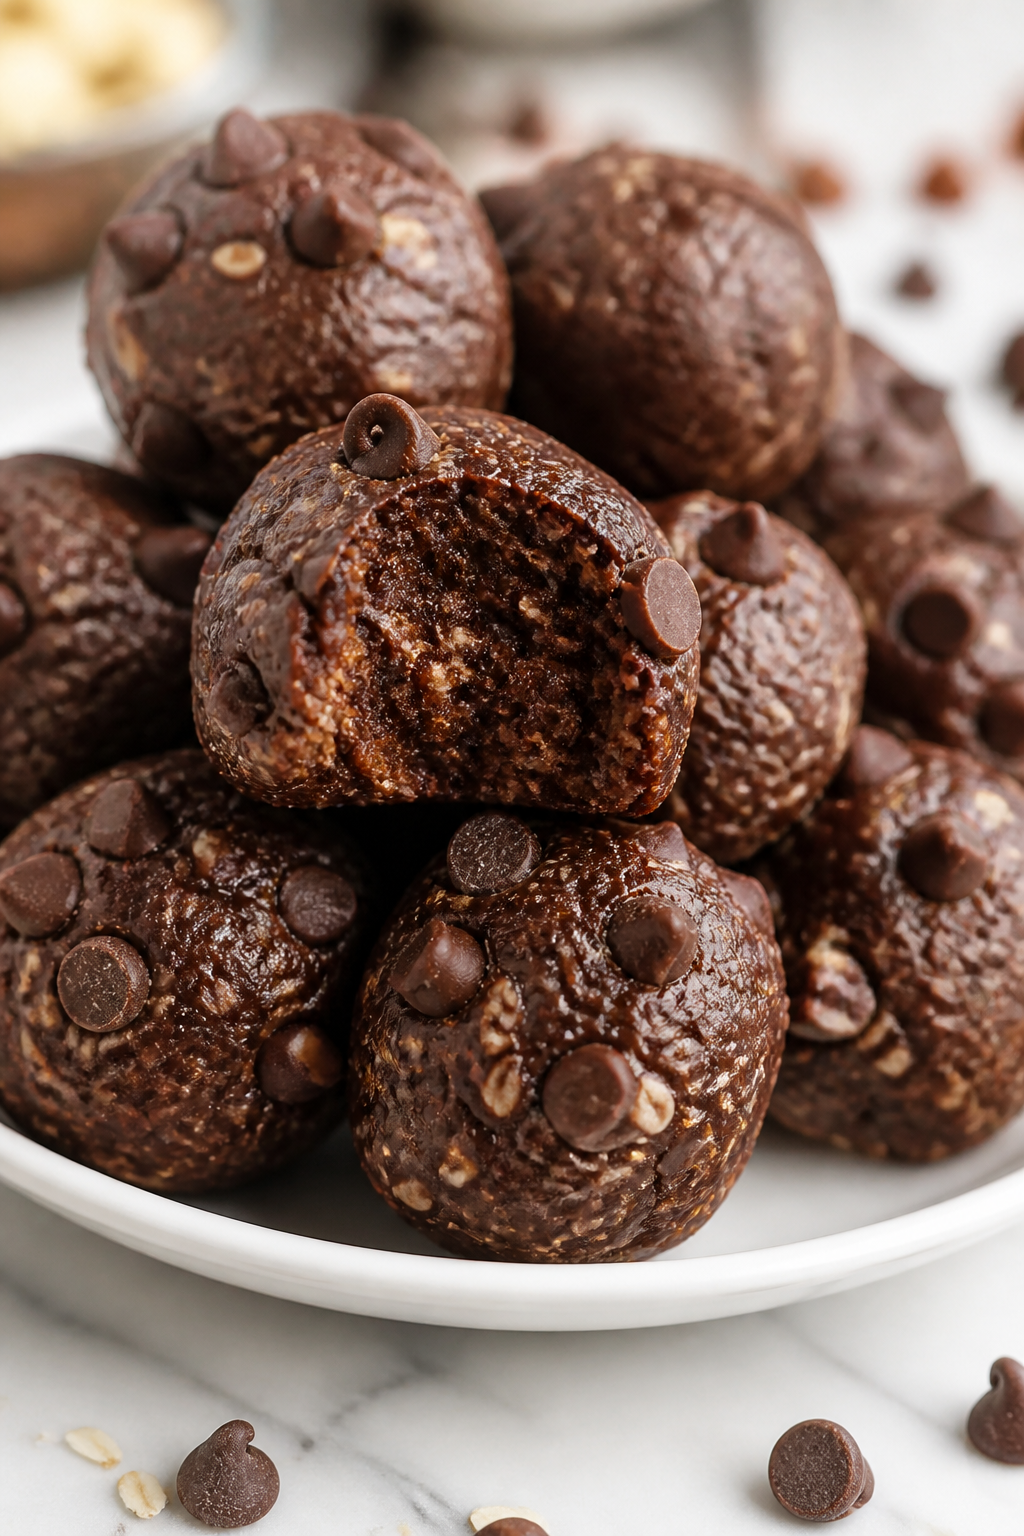
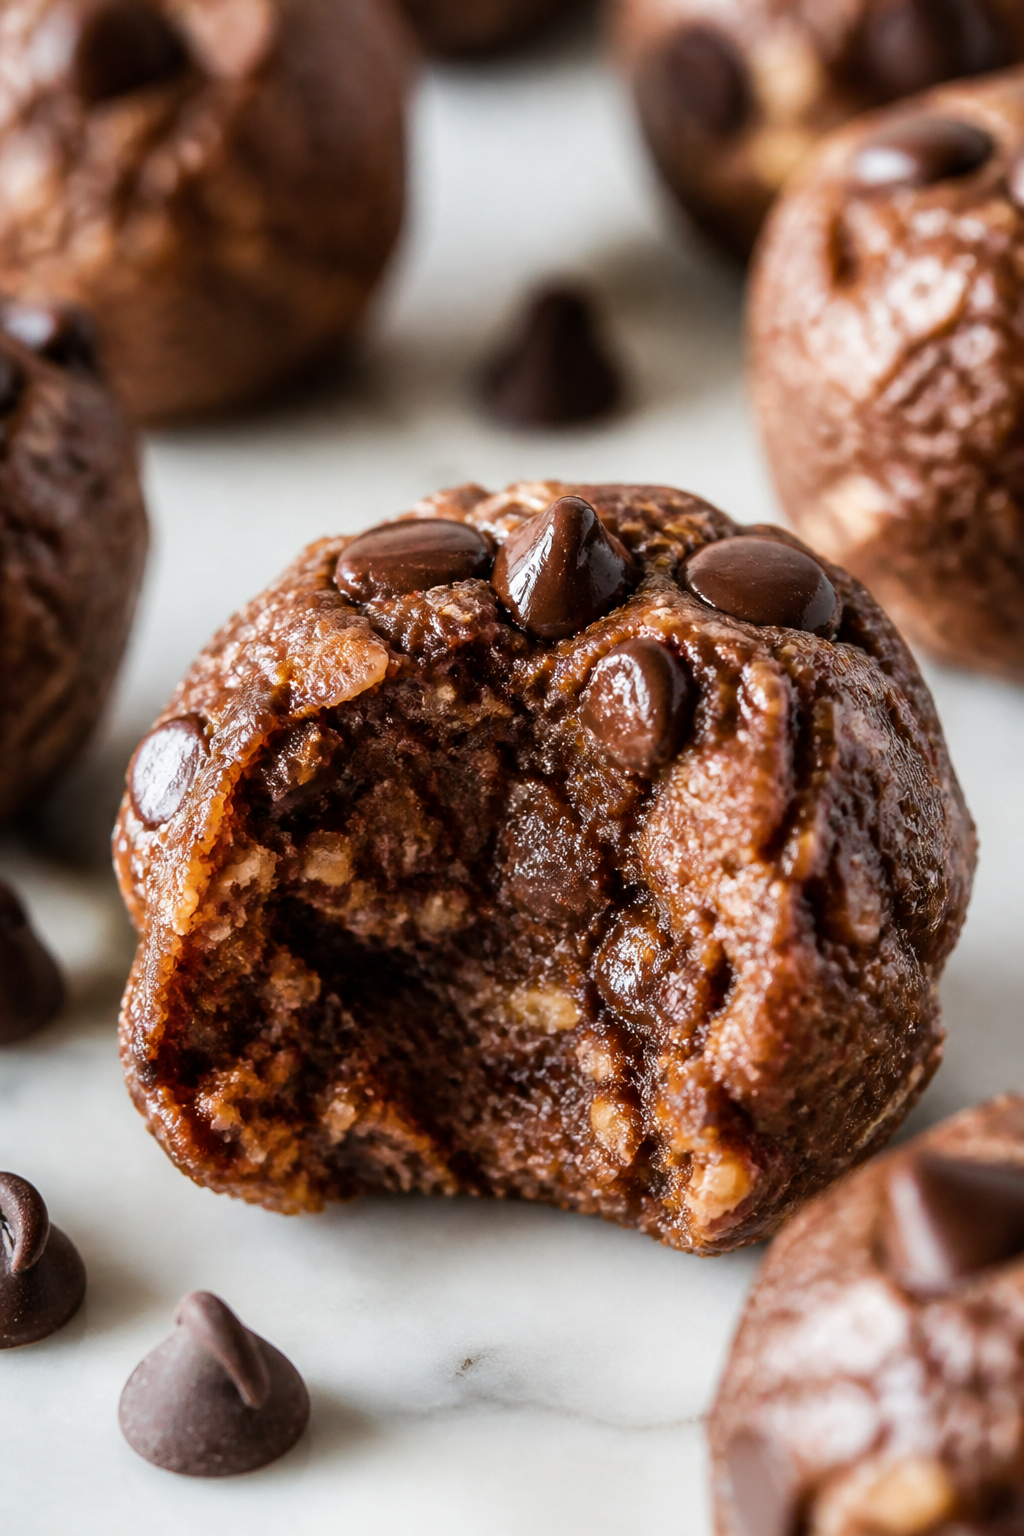
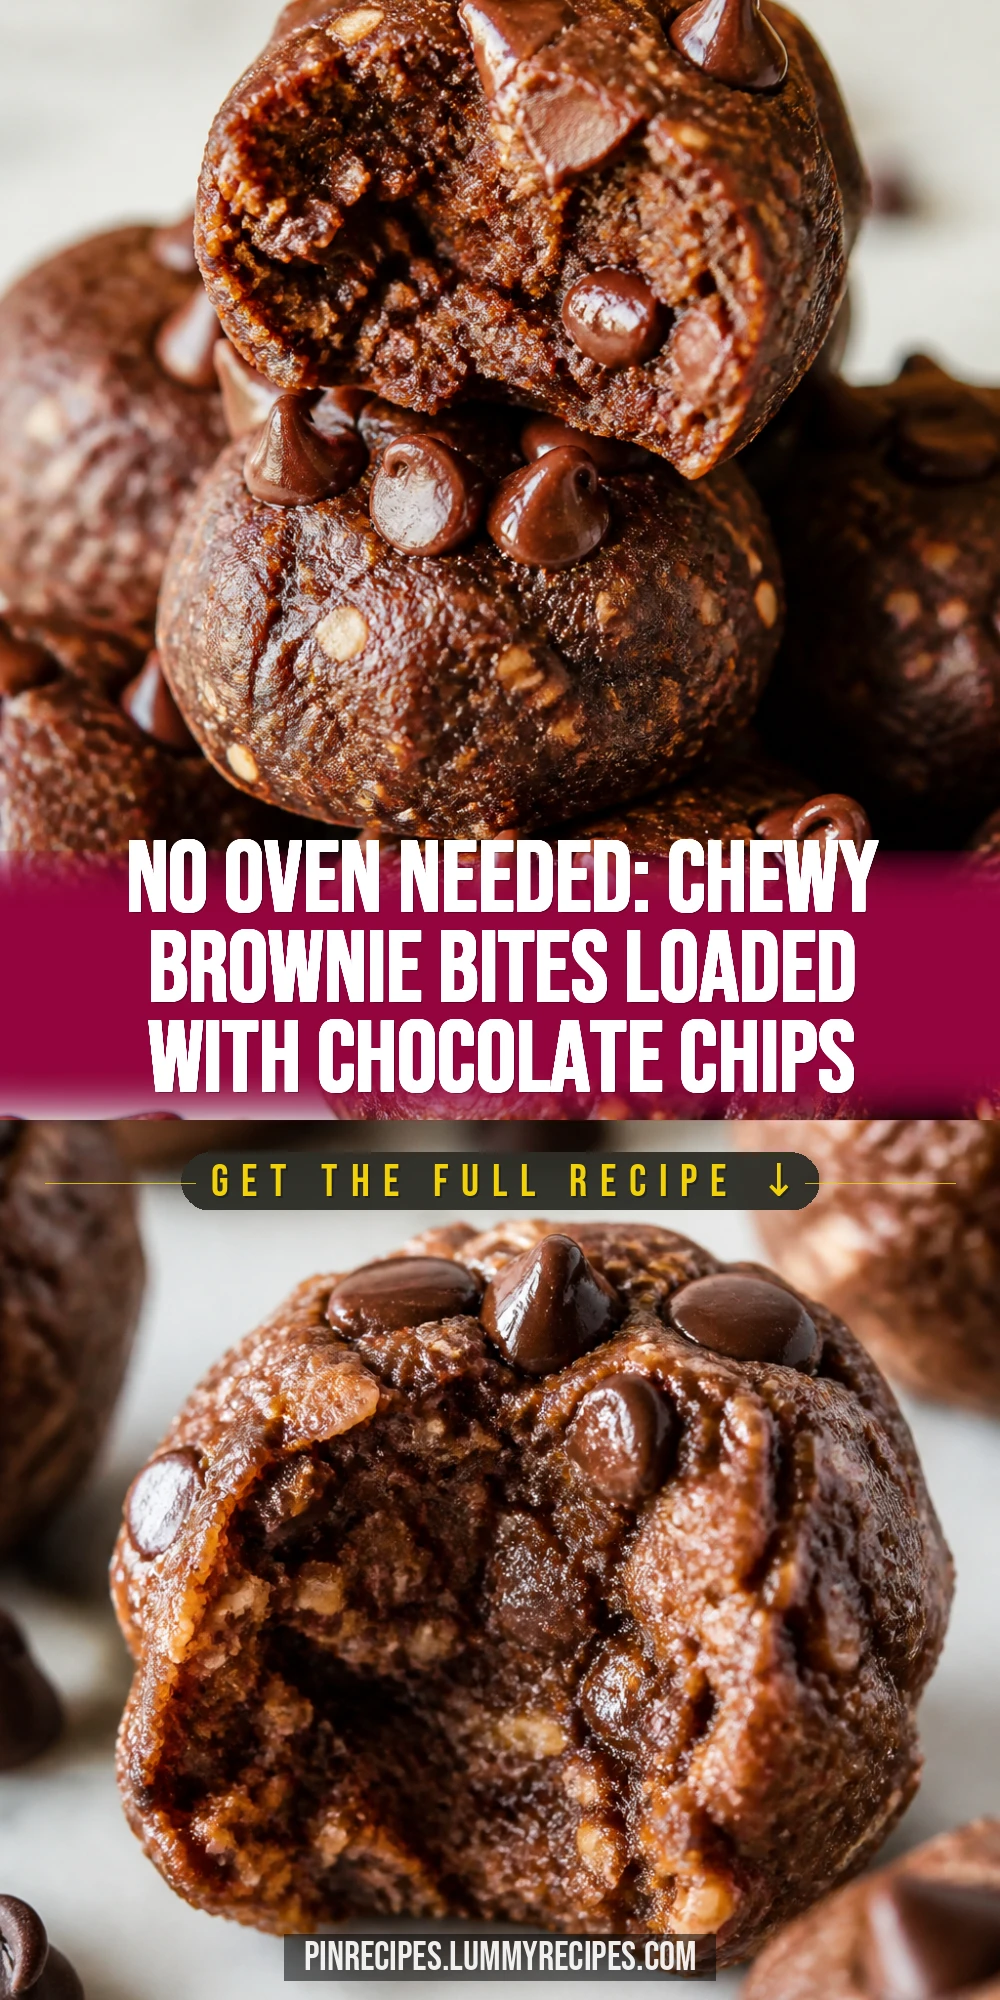
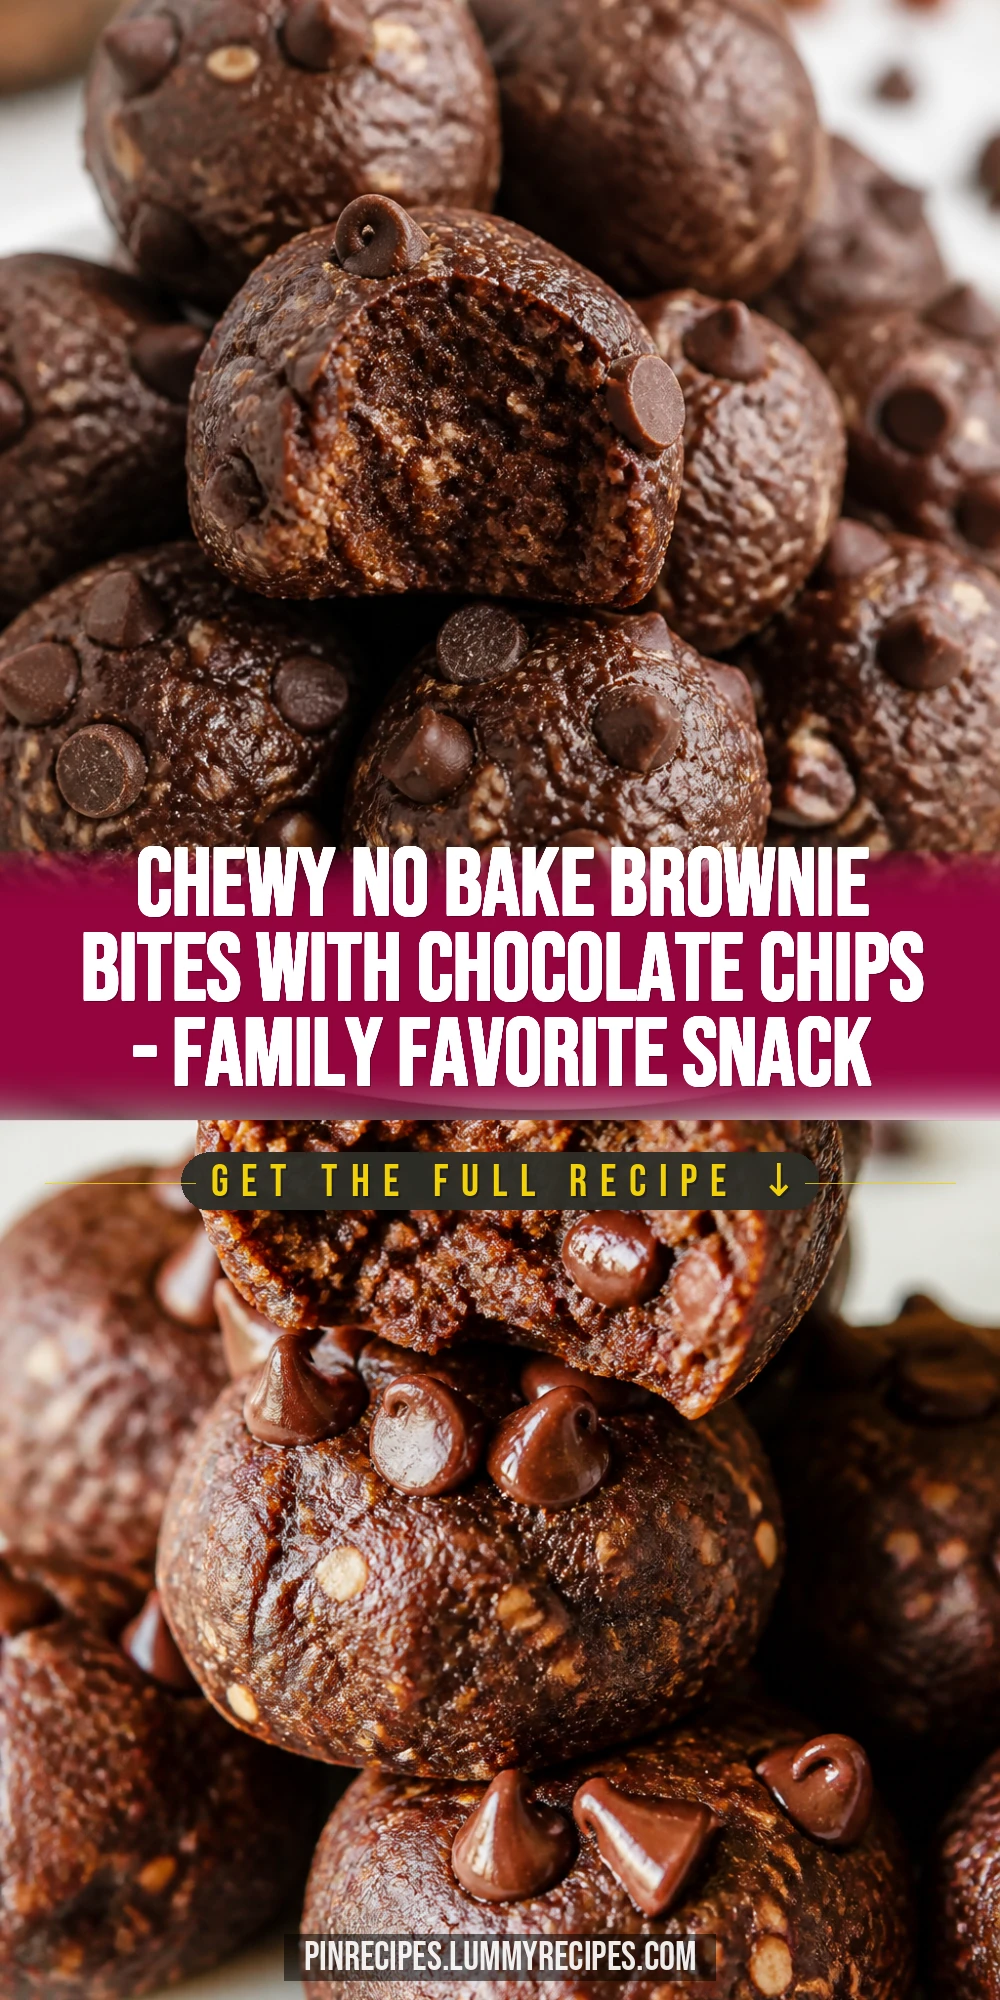
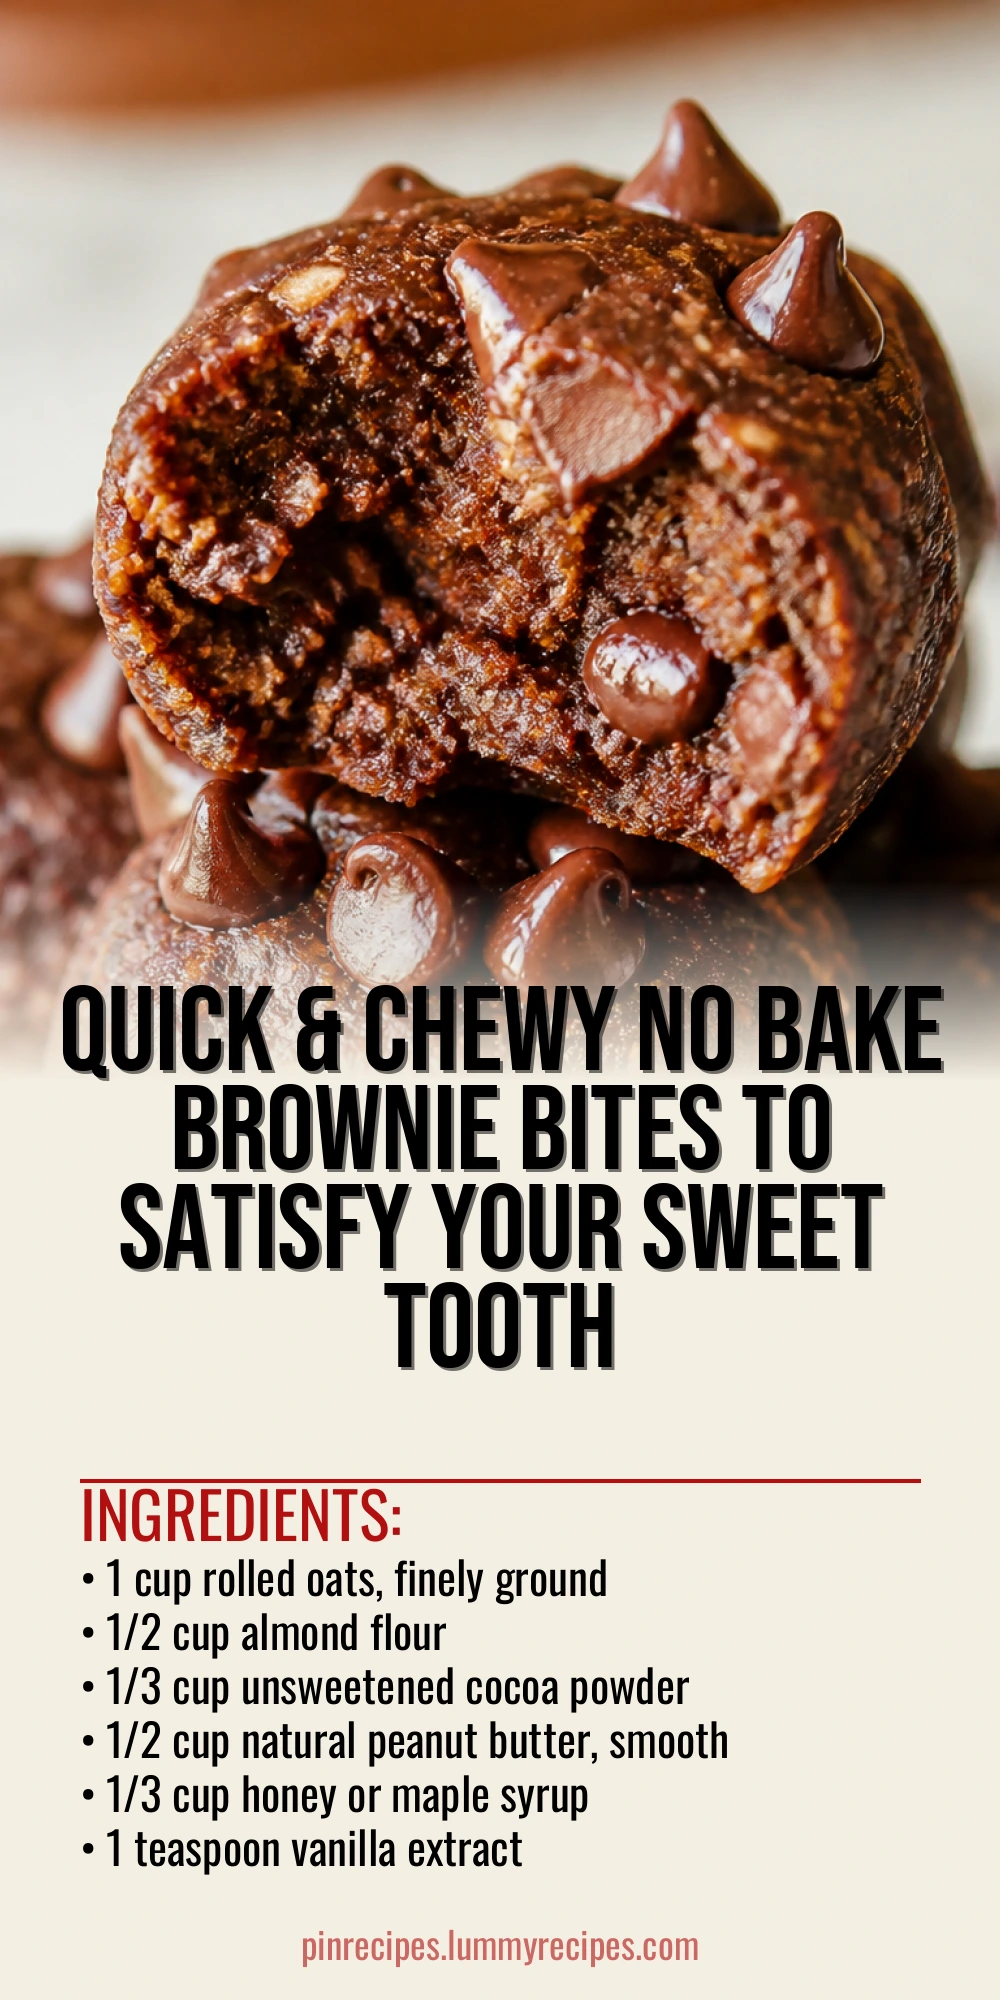
These chewy no bake brownie bites are a quick chocolate fix without turning on the oven. Packed with melty chocolate chips, they’re perfect for an afternoon treat or a last-minute dessert.
Introduction
I first stumbled upon no bake brownie bites a few years ago when I wanted a chocolate fix but didn’t want to heat up my kitchen. After some trial and error, I found the perfect balance of chewy and chocolatey without baking. What makes this version stand out is the use of finely ground oats combined with almond flour, which gives the bites a tender texture that’s not too dense or crumbly. Plus, the peanut butter and honey help bind everything together naturally, so no weird additives here. I love how quick and fuss-free these are — just mix, chill, and enjoy. They come together in under 20 minutes, making them great for last-minute snacks or a simple dessert after dinner. The chocolate chips add that extra melty surprise in every bite, which my family absolutely adores. Honestly, I’ve made these dozens of times, and they never fail to satisfy sweet cravings without the mess or wait of baking. If you want a cozy, homemade treat that’s easy and delicious, this is it!
What You'll Need
Approximately 16 brownie bites
- 1 cup rolled oats, finely ground
- 1/2 cup almond flour
- 1/3 cup unsweetened cocoa powder
- 1/2 cup natural peanut butter, smooth
- 1/3 cup honey or maple syrup
- 1 teaspoon vanilla extract
- 1/4 teaspoon salt
- 1/2 cup mini chocolate chips
How To Do It
Step 1
Start by grinding the rolled oats in a food processor or blender until they reach a fine, flour-like consistency. This step is important because it ensures the brownie bites have a smooth texture without large oat pieces that can feel gritty. If you skip this, the bites might be too coarse and not hold together as well. Watch the oats carefully so they don’t turn into oat butter; pulse in short bursts for best results.
⏱ Time: 3 minutes
✓ Doneness: Oats should look like a fine flour with no large flakes visible.
Step 2
In a large bowl, combine the ground oats, almond flour, cocoa powder, and salt. Stir these dry ingredients together thoroughly to distribute the cocoa evenly. Mixing the dry ingredients well at this stage helps avoid clumps and ensures every bite is evenly chocolatey. Rushing this step can cause uneven flavor pockets or dry spots in the final bites.
⏱ Time: 2 minutes
✓ Doneness: Mixture should be uniform in color and texture with no visible lumps.
Step 3
Add the peanut butter, honey (or maple syrup), and vanilla extract to the dry mixture. Use a sturdy spoon or your hands to mix everything together until a sticky dough forms. This binding step is crucial because the peanut butter and honey act as natural adhesives holding the bites together. If the mixture feels too dry, add a little more honey or peanut butter a teaspoon at a time. Avoid overmixing to keep the texture tender.
⏱ Time: 3-4 minutes
✓ Doneness: Dough should be sticky, hold together when pressed, and not crumbly.
Step 4
Fold in the mini chocolate chips gently but thoroughly. This step adds pockets of melty chocolate in every bite, enhancing the rich flavor. Be careful not to overmix here, or the chips might break down or melt prematurely. If you prefer, you can reserve some chips for sprinkling on top after shaping for a pretty finish.
⏱ Time: 1 minute
✓ Doneness: Chocolate chips evenly distributed throughout the dough.
Step 5
Line a baking sheet or tray with parchment paper. Using a tablespoon or small cookie scoop, portion out the dough and roll into balls or shape into small squares. Place them evenly spaced on the tray. This shaping step helps the bites set uniformly in the fridge. If they’re too loose, they won’t hold their shape well. If too tight, they can become dense.
⏱ Time: 5 minutes
✓ Doneness: All bites are uniform in size and shape, firm enough to hold form.
Step 6
Refrigerate the brownie bites for at least 30 minutes to firm up. Chilling is essential because it allows the fats in peanut butter to solidify and the honey to bind everything together, resulting in chewy, satisfying bites. Don’t skip this step or try to eat them right away—they’ll be too soft and fall apart.
⏱ Time: 30 minutes
✓ Doneness: Bites feel firm to the touch and hold shape without sticking.
Step 7
Once chilled, transfer the brownie bites to an airtight container. They can be stored in the fridge for up to a week or frozen for longer storage. Keeping them cold maintains their chewy texture and prevents melting. If you want a softer bite, let them sit at room temperature for a few minutes before eating.
⏱ Time: 2 minutes
✓ Doneness: Bites remain intact and chewy after storage.
Step 8
For an extra touch, sprinkle a pinch of flaky sea salt on top before chilling. This balances the sweetness and enhances the chocolate flavor. It’s a simple trick that really elevates the taste without adding complexity.
⏱ Time: 1 minute
✓ Doneness: Light salt crystals visible on the surface of the bites.
Step 9
Serve chilled or at room temperature as a quick snack, after-school treat, or simple dessert. These bites pair wonderfully with a glass of milk or a cup of coffee. They’re easy to grab on the go and satisfy chocolate cravings without guilt or fuss.
⏱ Time: 0 minutes
✓ Doneness: Bites are chewy, chocolatey, and delicious with a tender texture.
Pro Tips
Pulse oats in short bursts when grinding to avoid turning them into oat butter.
Grinding oats too long releases their natural oils, creating a paste instead of flour. This can make the mixture greasy and prevent the bites from setting properly. Short pulses keep the oats dry and powdery, which helps with texture and binding.
Use room temperature peanut butter for easier mixing.
Cold peanut butter is stiff and hard to mix evenly, which can cause uneven texture in the bites. Room temperature peanut butter blends smoothly with honey and dry ingredients, ensuring a consistent dough and better final chew.
Don’t skip chilling the bites before serving.
Chilling solidifies the fats and allows the ingredients to meld, creating the chewy texture that makes these bites so good. Eating them immediately will result in soft, crumbly bites that don’t hold together well.
Add a pinch of flaky sea salt on top before chilling for flavor balance.
Salt enhances chocolate flavor and balances sweetness, making each bite more complex and satisfying. Flaky salt adds a nice texture contrast and a subtle crunch, elevating the overall eating experience.
Store bites in an airtight container in the fridge to keep them fresh.
Exposure to air causes the bites to dry out and lose their chewy texture. Airtight storage preserves moisture and flavor, keeping them delicious for up to a week.
Use mini chocolate chips for even distribution and easy biting.
Mini chips spread evenly throughout the dough, ensuring every bite has chocolate pockets. Larger chips can cause uneven texture and may make bites fall apart more easily.
If dough feels dry, add a teaspoon of honey or peanut butter at a time.
The right moisture balance is key for chewy bites. Too dry and they crumble; too wet and they won’t hold shape. Adding small amounts of wet ingredients gradually helps you get the perfect consistency.
Common Mistakes to Avoid
Using unground oats or coarse oats.
Why it happens Many assume oats can be added whole for texture, but unground oats don’t bind well and create a gritty texture.
Fix Always grind oats into a fine flour before mixing. This ensures a smooth dough that holds together and creates a chewy texture.
Skipping the chilling step.
Why it happens Impatience or lack of planning leads to eating bites before they set, resulting in crumbly, soft treats.
Fix Plan ahead and chill bites for at least 30 minutes. This solidifies fats and binds ingredients for perfect chewiness.
Using cold peanut butter straight from the fridge.
Why it happens Cold peanut butter is hard to mix and causes uneven dough texture.
Fix Let peanut butter come to room temperature or warm slightly to make mixing smooth and consistent.
Adding too much liquid sweetener at once.
Why it happens Adding too much honey or syrup can make the dough sticky and hard to shape.
Fix Add liquid sweetener gradually, mixing well after each addition to reach the right consistency.
Overmixing the dough after adding chocolate chips.
Why it happens Overmixing breaks the chips and can melt them, affecting texture and appearance.
Fix Fold chips in gently just until distributed to keep their shape and texture intact.
Variations
Nut-Free Version
Replace almond flour with oat flour and peanut butter with sunflower seed butter to make this recipe nut-free. The texture will remain chewy, but expect a slightly different flavor profile. This version is great for allergy-friendly snacks.
Note: Oat flour absorbs moisture differently, so you may need to adjust sweetener slightly to maintain chewiness.
Vegan Brownie Bites
Use maple syrup instead of honey and swap peanut butter for almond or cashew butter to make these bites vegan. The texture stays soft and chewy, with a subtle change in sweetness and flavor.
Note: Maple syrup is thinner than honey, so add it gradually to avoid overly sticky dough.
Add Espresso Powder
Stir in a teaspoon of instant espresso powder with the cocoa for a mocha twist. This enhances the chocolate flavor and adds a subtle depth without making the bites taste like coffee.
Note: Espresso powder dissolves easily; mix it with dry ingredients for even distribution.
Coconut Chocolate Brownie Bites
Add 1/4 cup shredded unsweetened coconut to the dry ingredients for a tropical flair. The coconut adds texture and a slight sweetness that pairs beautifully with chocolate.
Note: Use finely shredded coconut to avoid overpowering texture and maintain chewiness.
Spiced Brownie Bites
Add 1/2 teaspoon cinnamon and a pinch of cayenne pepper to the dry mix for a warm, spicy kick. This variation is perfect for cozy fall snacks with a little heat.
Note: Start with small amounts of spice and adjust to taste to avoid overpowering the chocolate.
Nutrition
Per Serving:
Nutritional values are estimates and may vary based on specific ingredients used.
Storage & Tips
Room Temperature
These brownie bites can safely sit at room temperature for up to 2 hours if covered, but they’re best kept chilled to maintain texture and freshness. Avoid leaving them out longer to prevent spoilage.
Refrigerator
Store in an airtight container in the refrigerator for up to 7 days. The bites may firm up more when cold; let them sit at room temperature for 10 minutes before serving to soften slightly.
Freezer
Freeze brownie bites in a single layer on a parchment-lined tray, then transfer to a freezer-safe bag or container for up to 3 months. Thaw overnight in the fridge and bring to room temperature before eating for best texture.
Reheating
No reheating necessary. If preferred, warm bites gently in the microwave for 10-15 seconds to soften. Avoid overheating, which can melt chocolate chips and affect texture.
Make Ahead
You can mix and shape the dough 1-2 days ahead, then store the unchilled dough in the fridge wrapped tightly. Shape and chill the bites just before serving to keep them fresh and chewy.
FAQ
Can I substitute peanut butter with another nut butter?
Yes, almond or cashew butter works well in this recipe. Keep in mind that different nut butters vary in oil content and flavor, which might slightly change the texture and taste. Use natural, smooth nut butters for best results and adjust sweetness if needed.
What if my dough is too dry and crumbly?
If the dough doesn’t stick together, add a teaspoon of honey or peanut butter at a time and mix well until it reaches a sticky, moldable consistency. Dry dough won’t hold shape or be chewy, so moisture balance is key.
Can I use quick oats instead of rolled oats?
Quick oats can be used but they tend to be finer and may make the bites a bit softer or more crumbly. Grinding rolled oats yourself gives better texture and chewiness that mimics baked brownies.
How long do these brownie bites last?
Stored in an airtight container in the fridge, they last up to a week. Freezing extends shelf life to about 3 months. Always keep them chilled for best texture and freshness.
Can I add nuts or dried fruit to these bites?
Absolutely! Chopped nuts or dried cherries can add texture and flavor. Fold them in with the chocolate chips in step 4. Just keep in mind this may affect the binding, so add small amounts to avoid crumbly bites.
Is it possible to make these bites gluten-free?
Yes, this recipe is naturally gluten-free if you use certified gluten-free oats and almond flour. Always check labels to avoid cross-contamination if you have gluten sensitivity.
Why do the bites fall apart sometimes?
Most often this happens when the dough is too dry or not chilled long enough. Make sure to grind oats finely, add enough sticky ingredients like honey, and chill the bites at least 30 minutes before serving.
Can I roll these bites in cocoa powder or powdered sugar?
You can, but it may change the texture slightly. Rolling in cocoa powder adds extra chocolate flavor but can dry the surface. Powdered sugar adds sweetness but can make bites sticky. Try a light dusting if you want a decorative touch.
Final Thoughts
I hope you enjoy making and eating these chewy no bake brownie bites as much as my family does! They’re an easy, comforting chocolate treat that’s perfect anytime. Let me know how yours turn out!