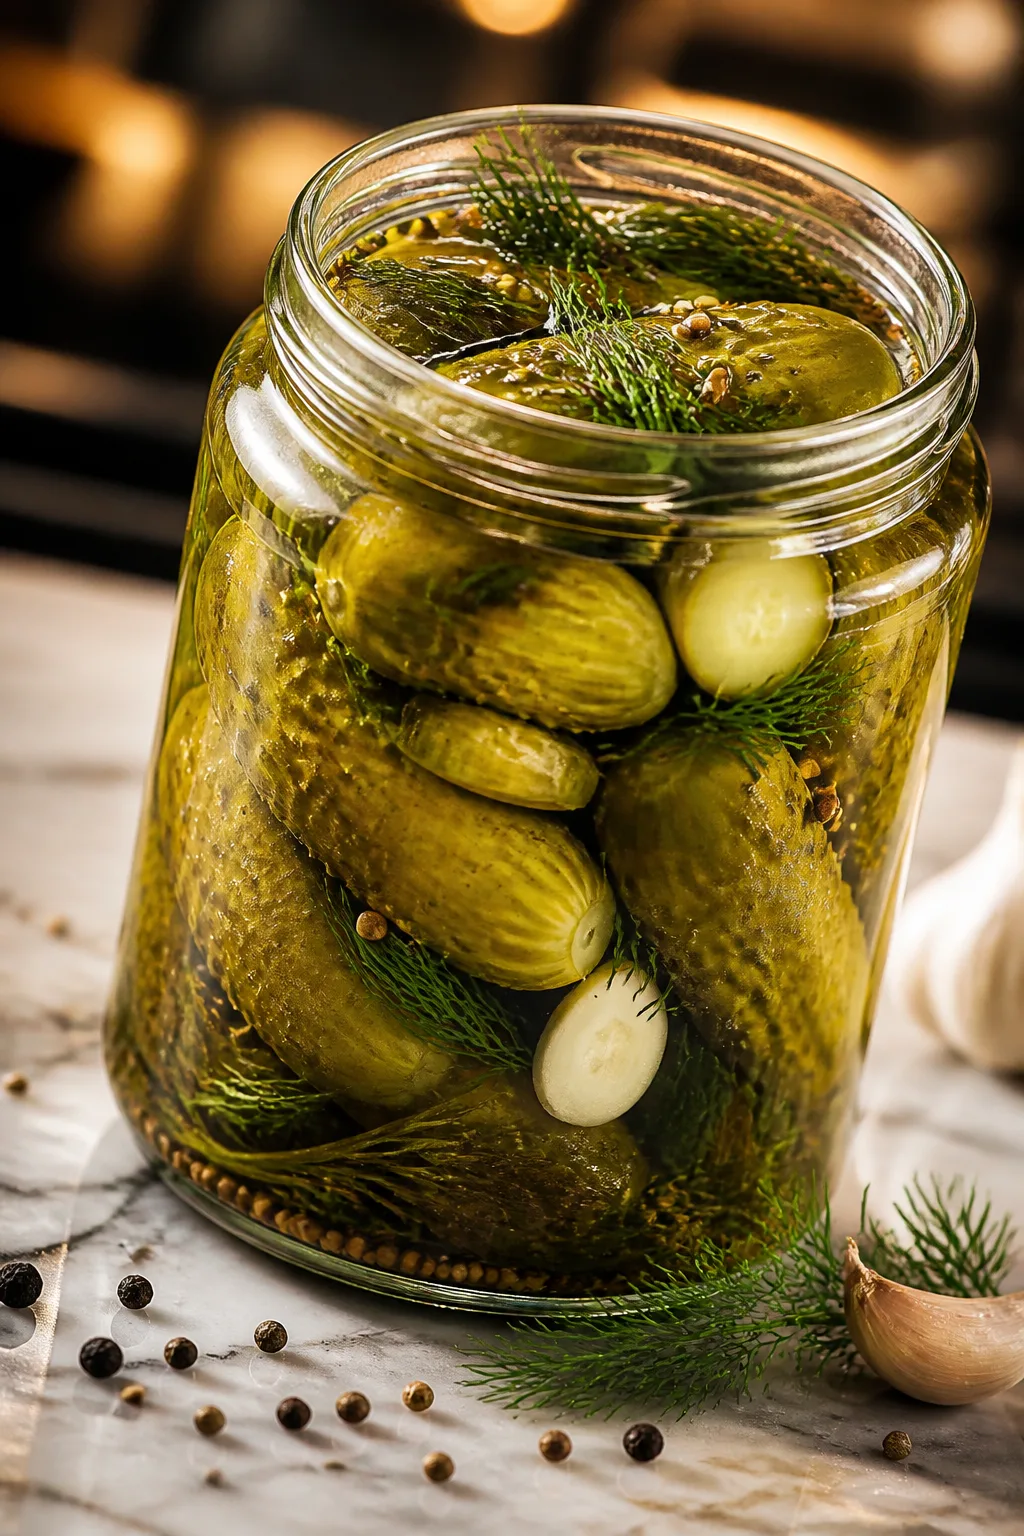
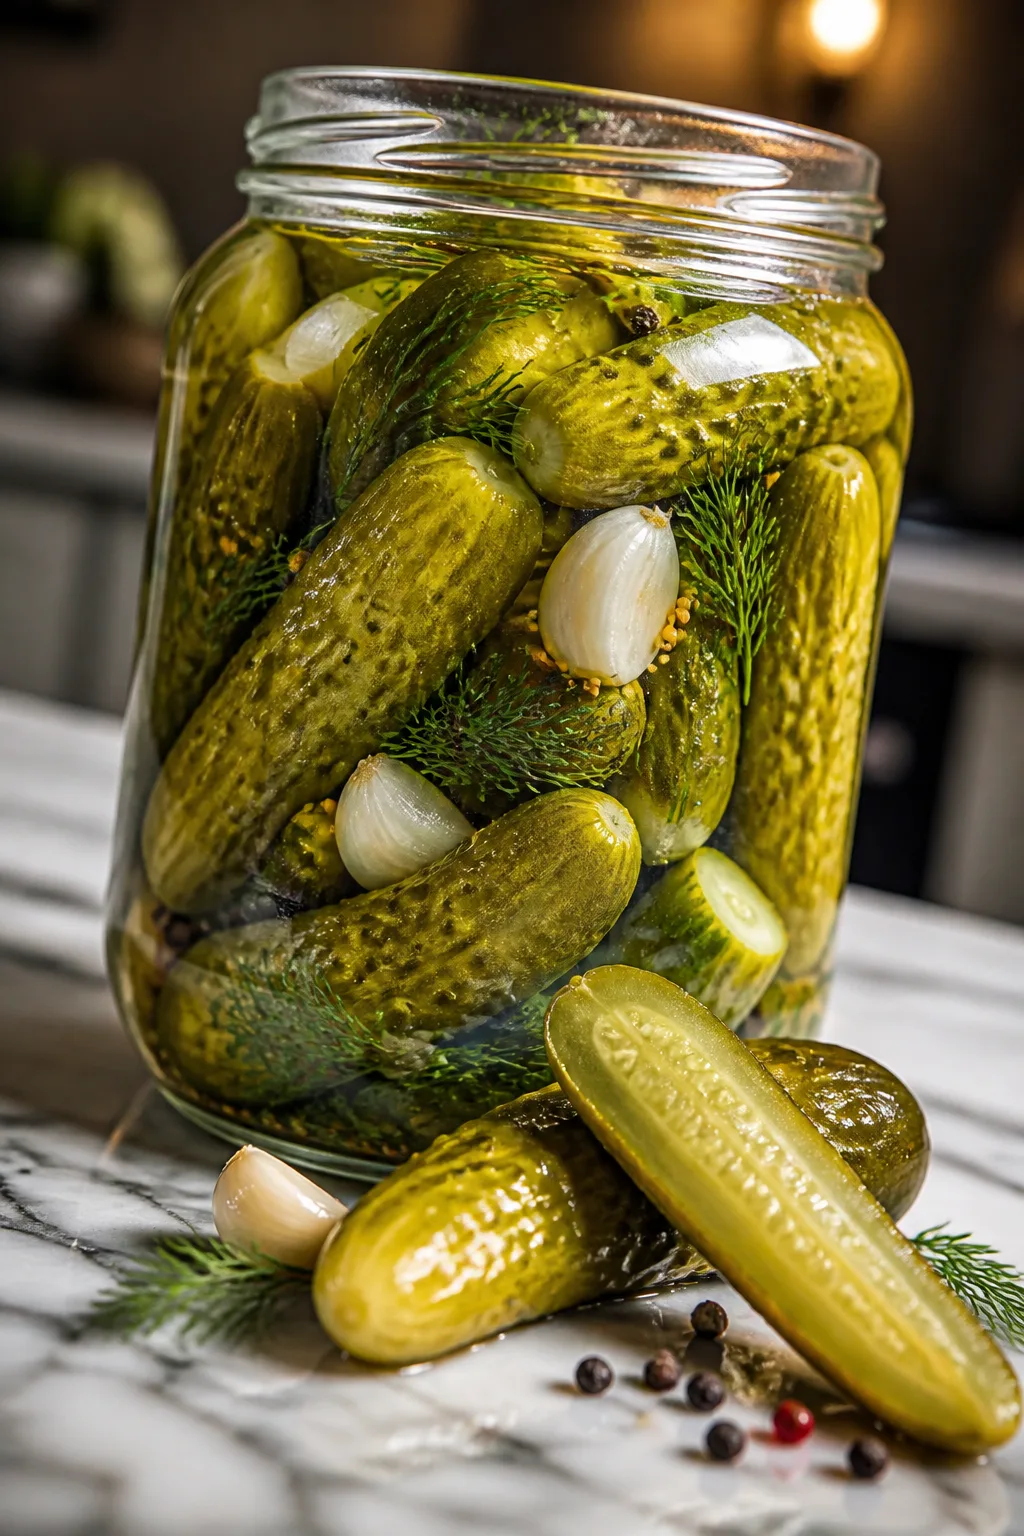
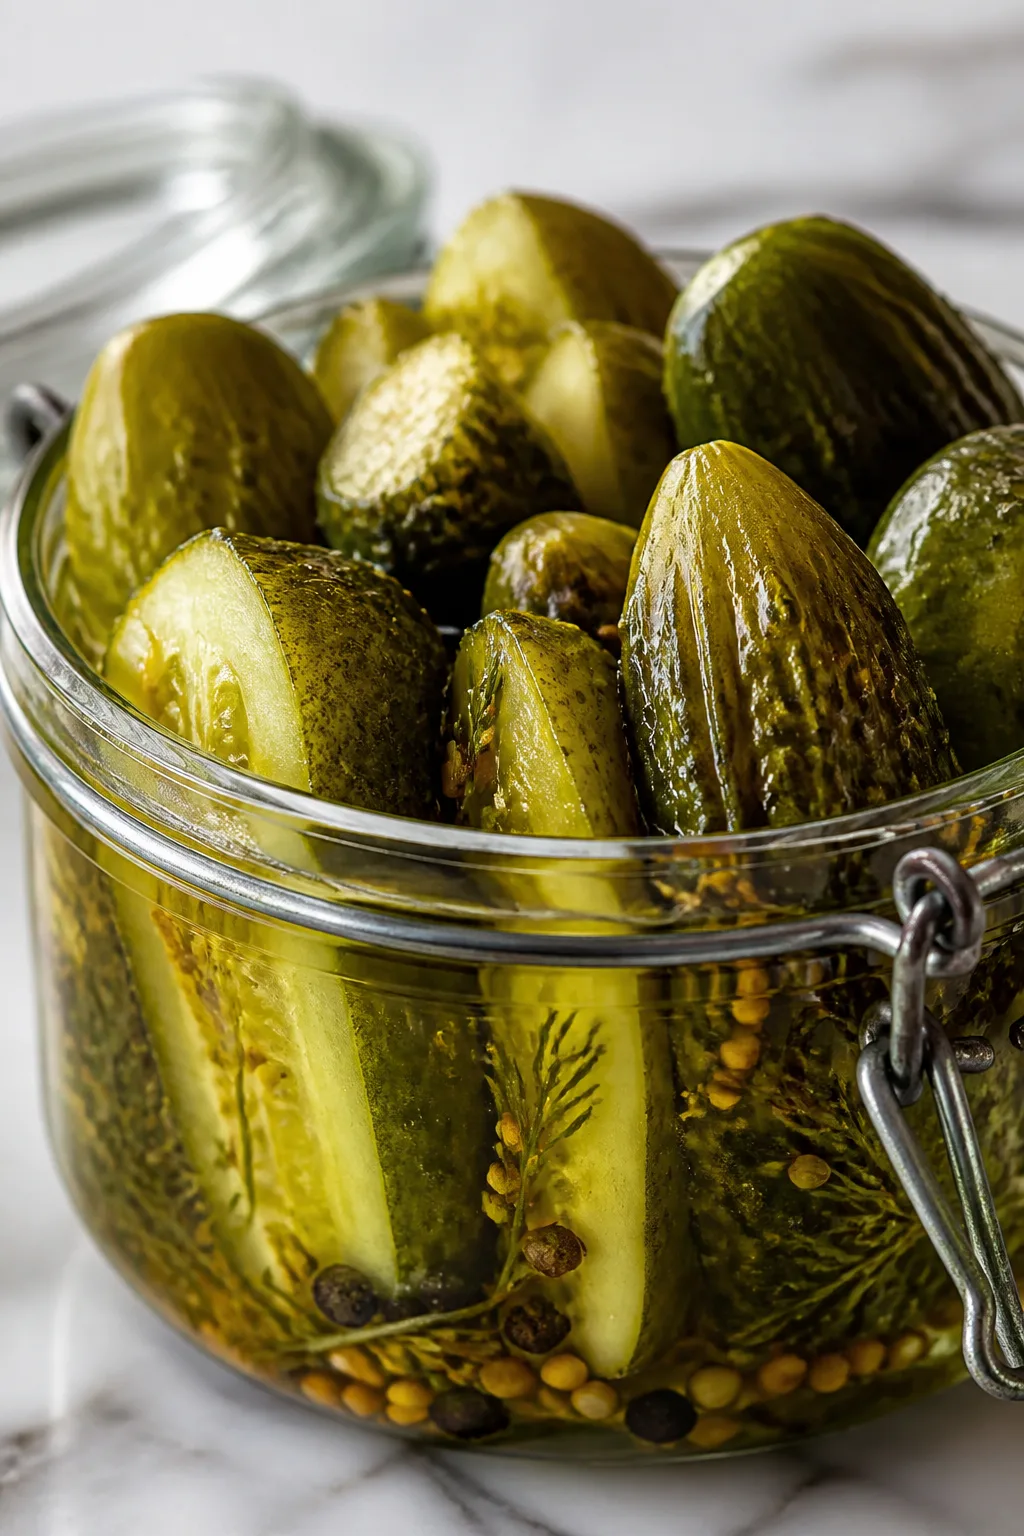
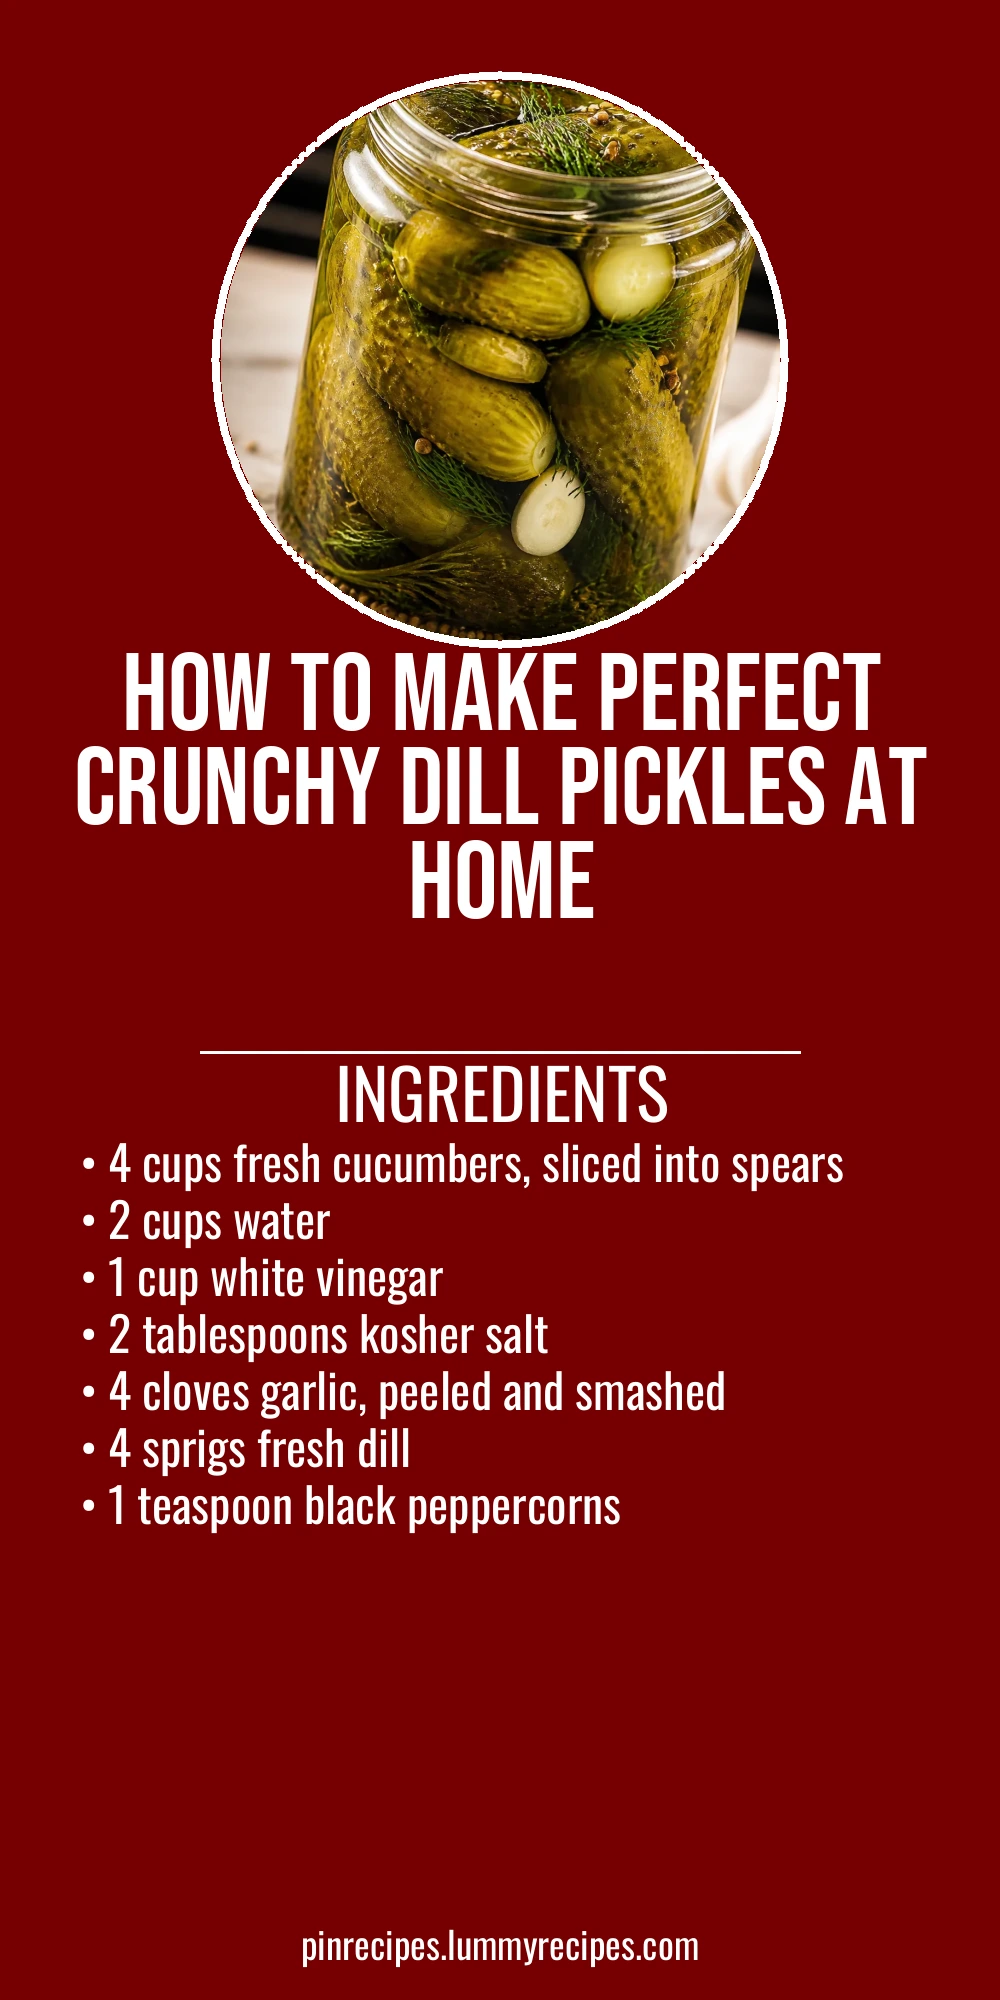
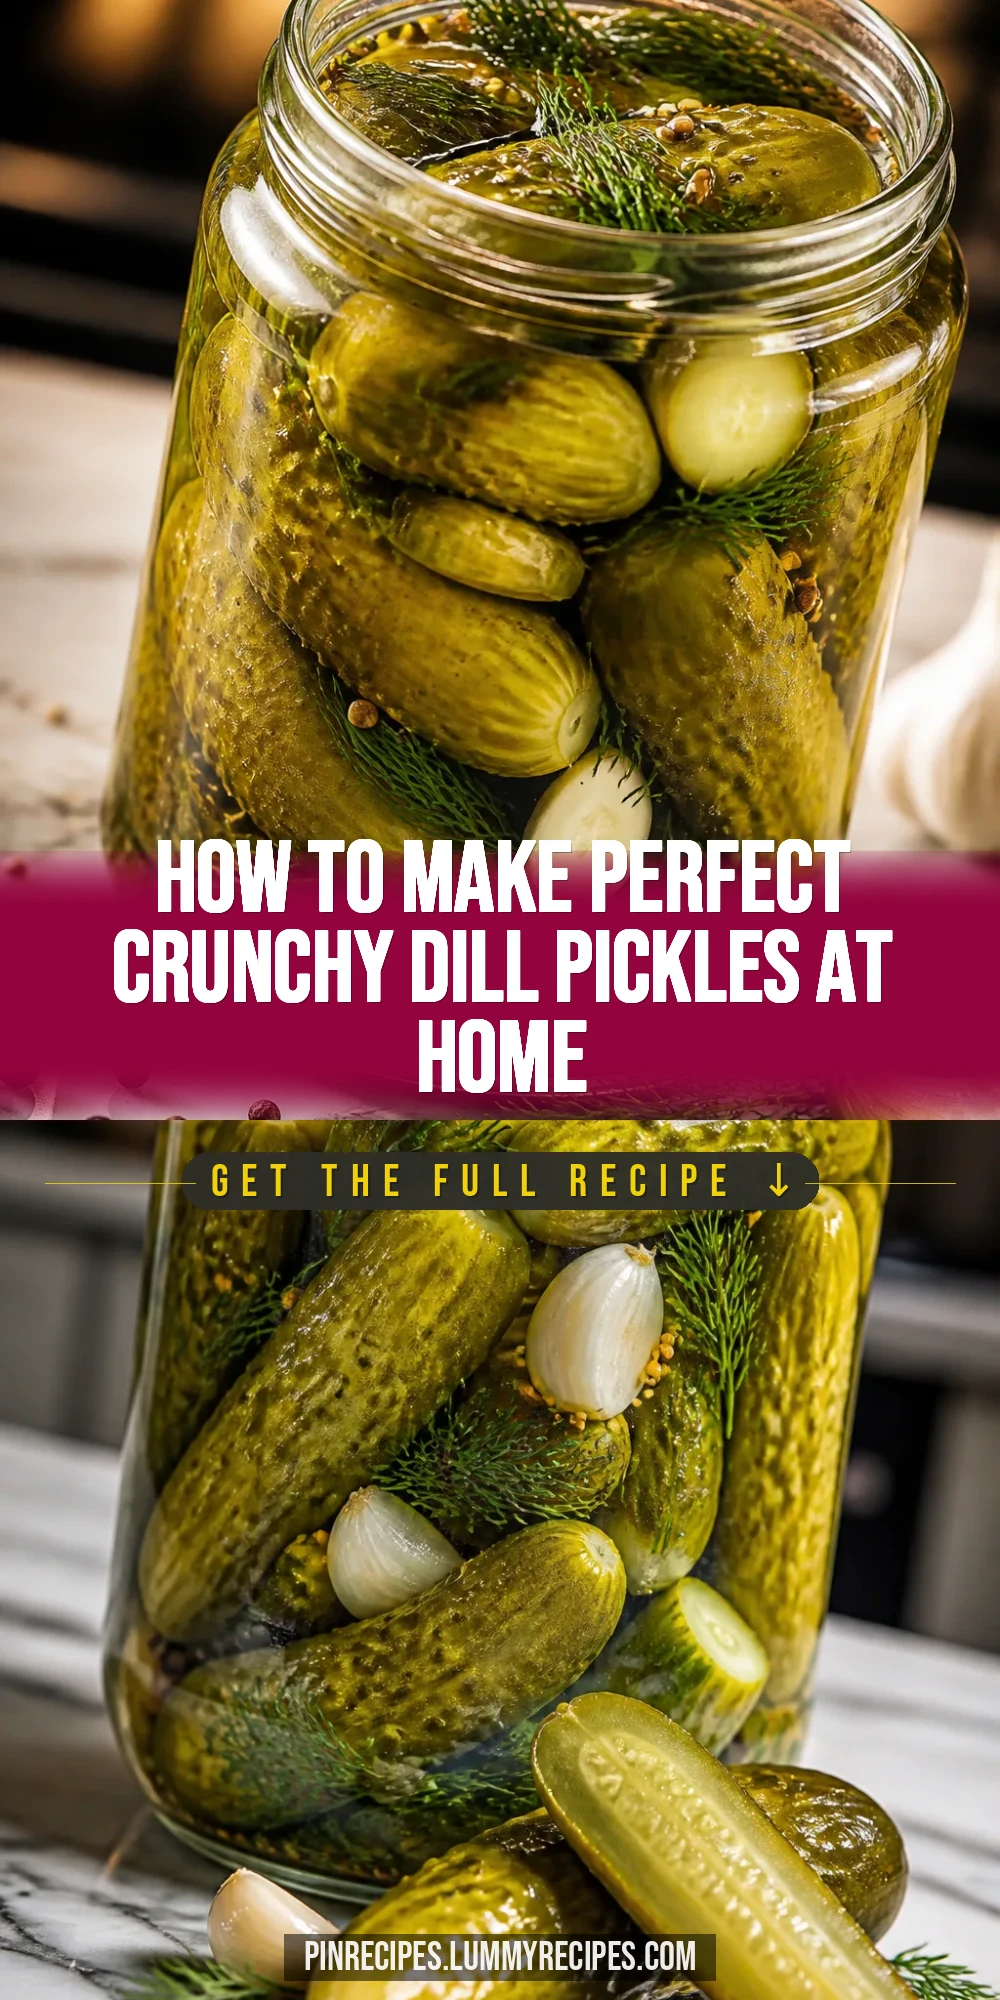
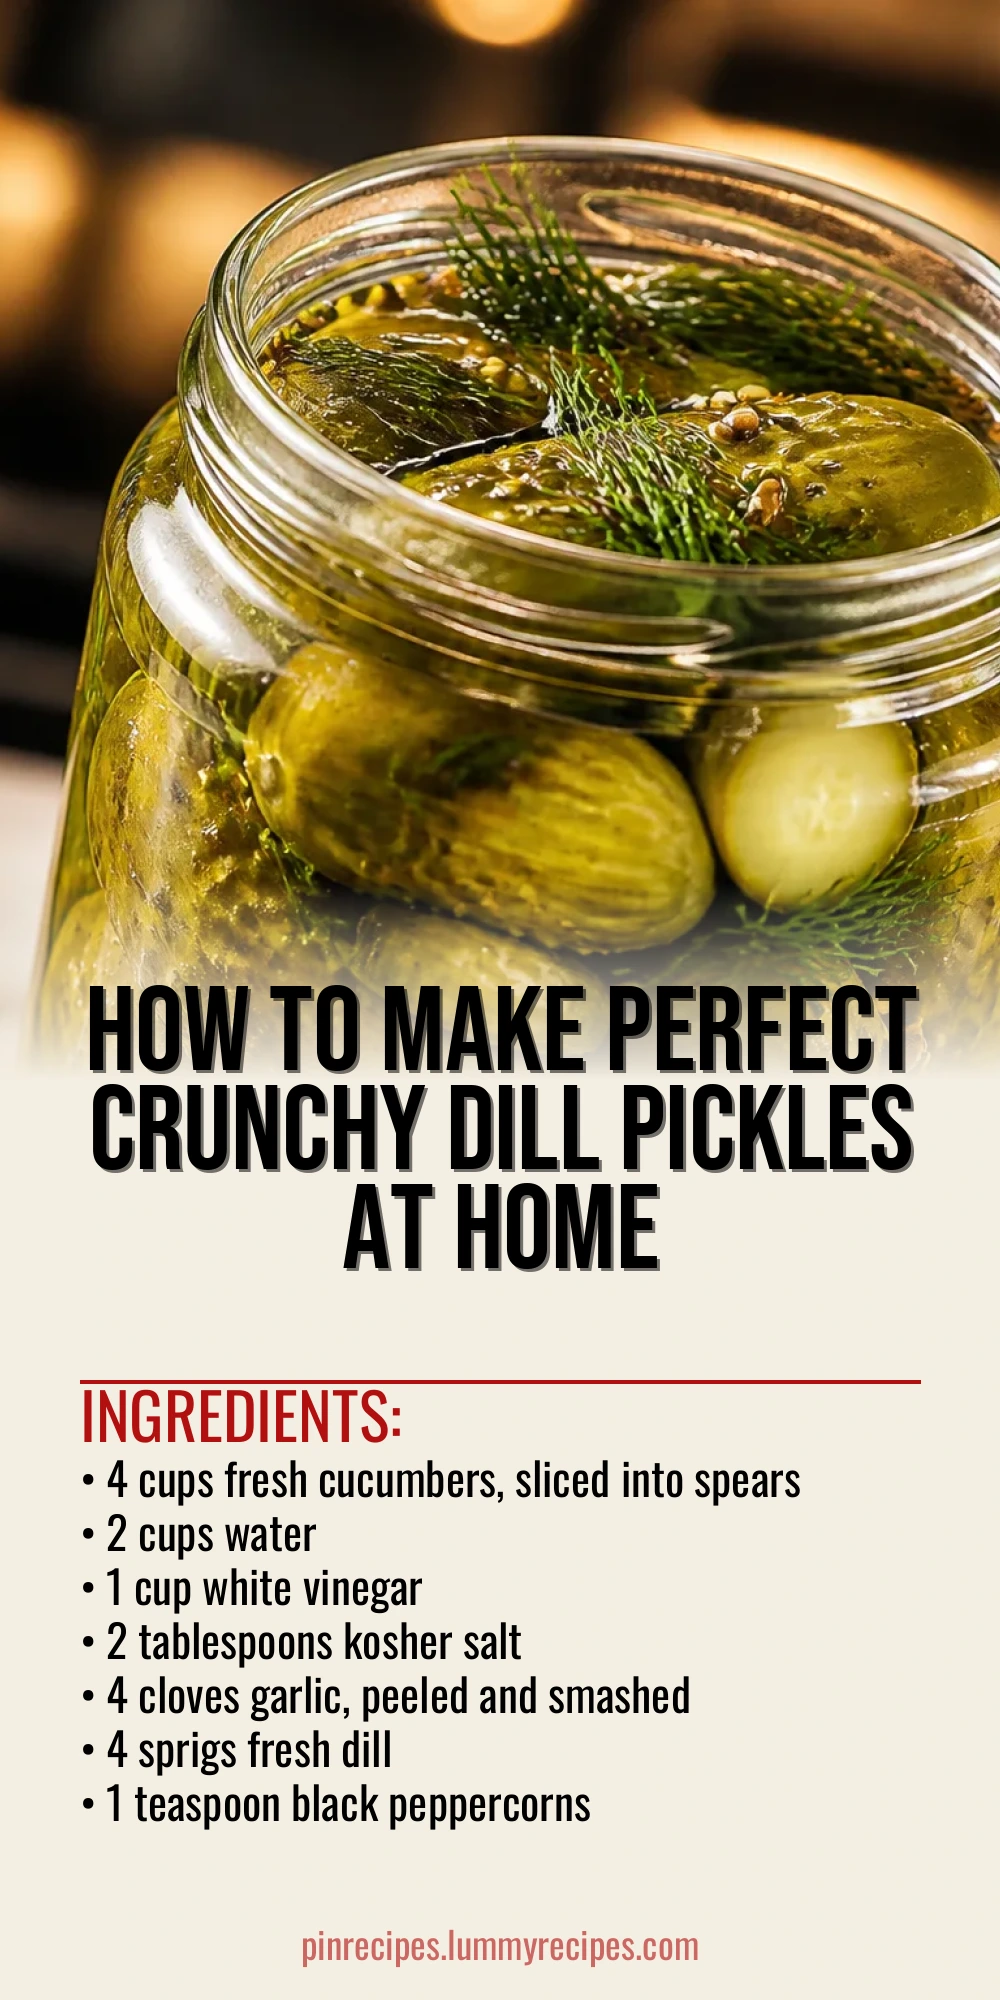
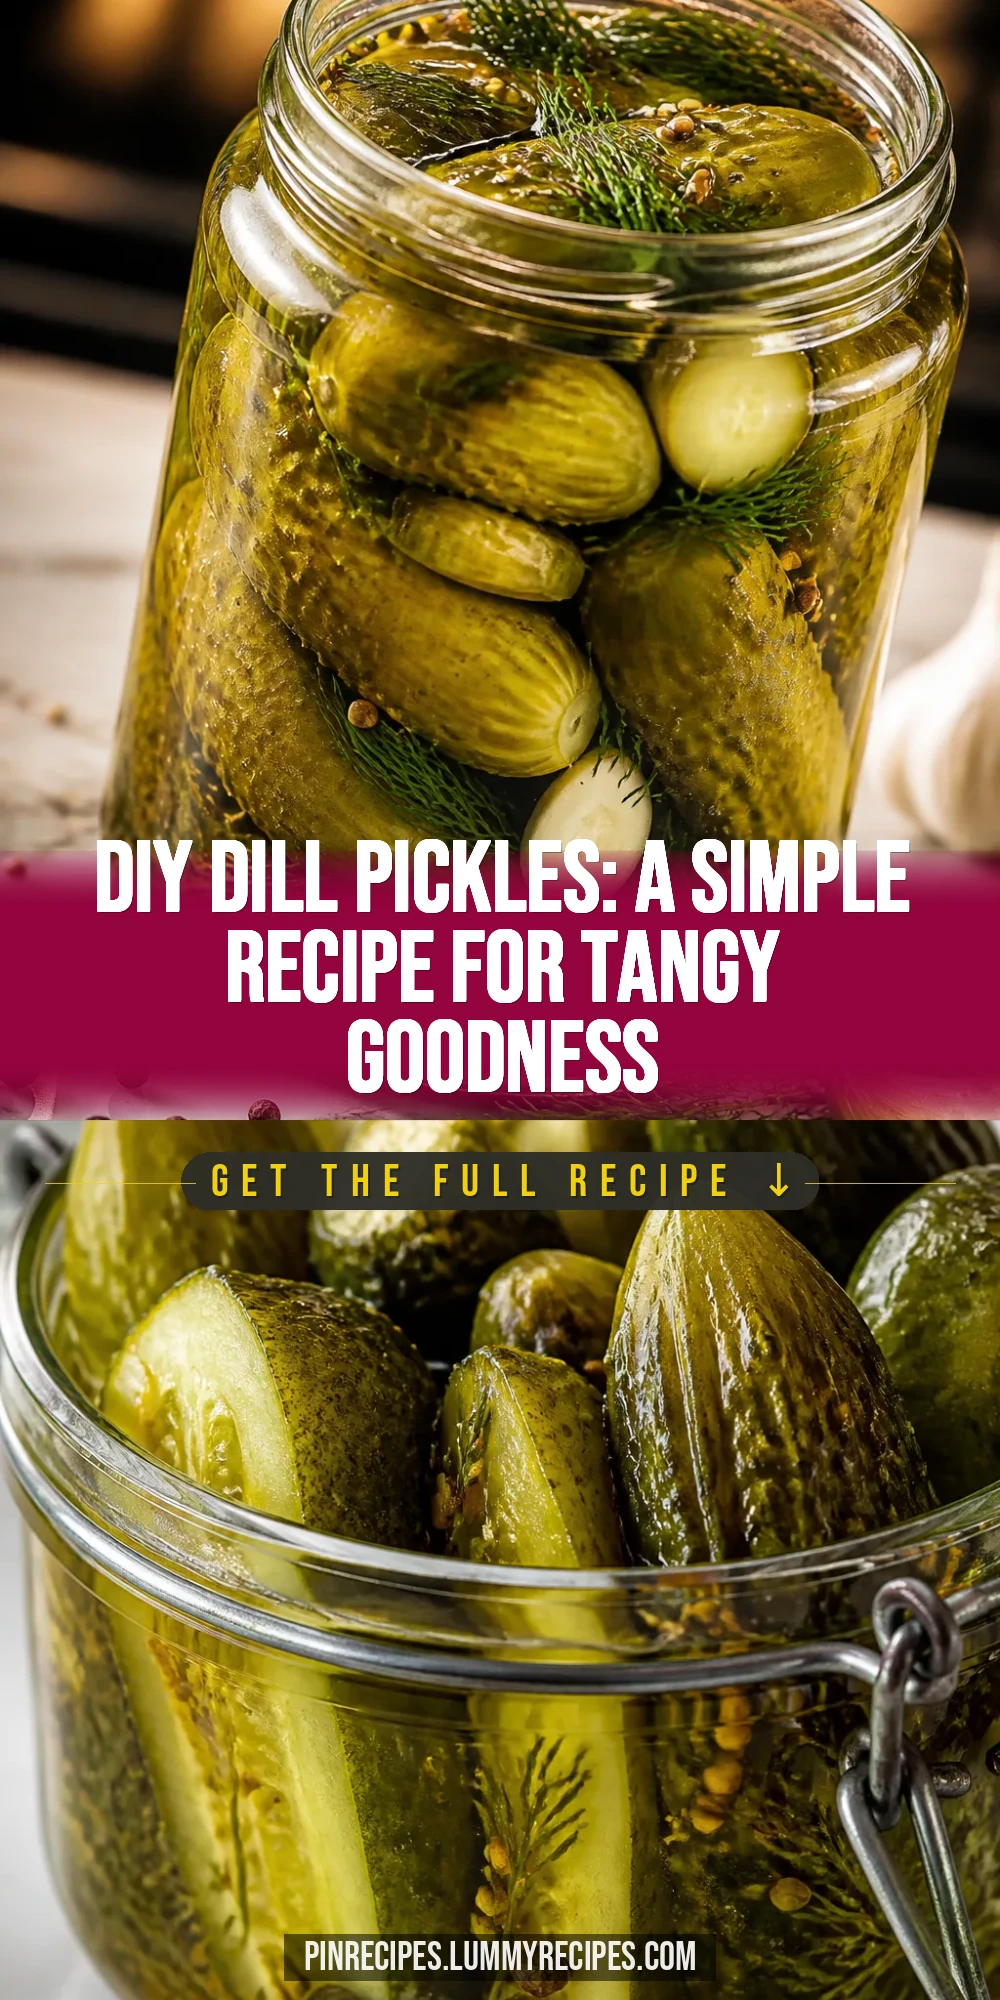
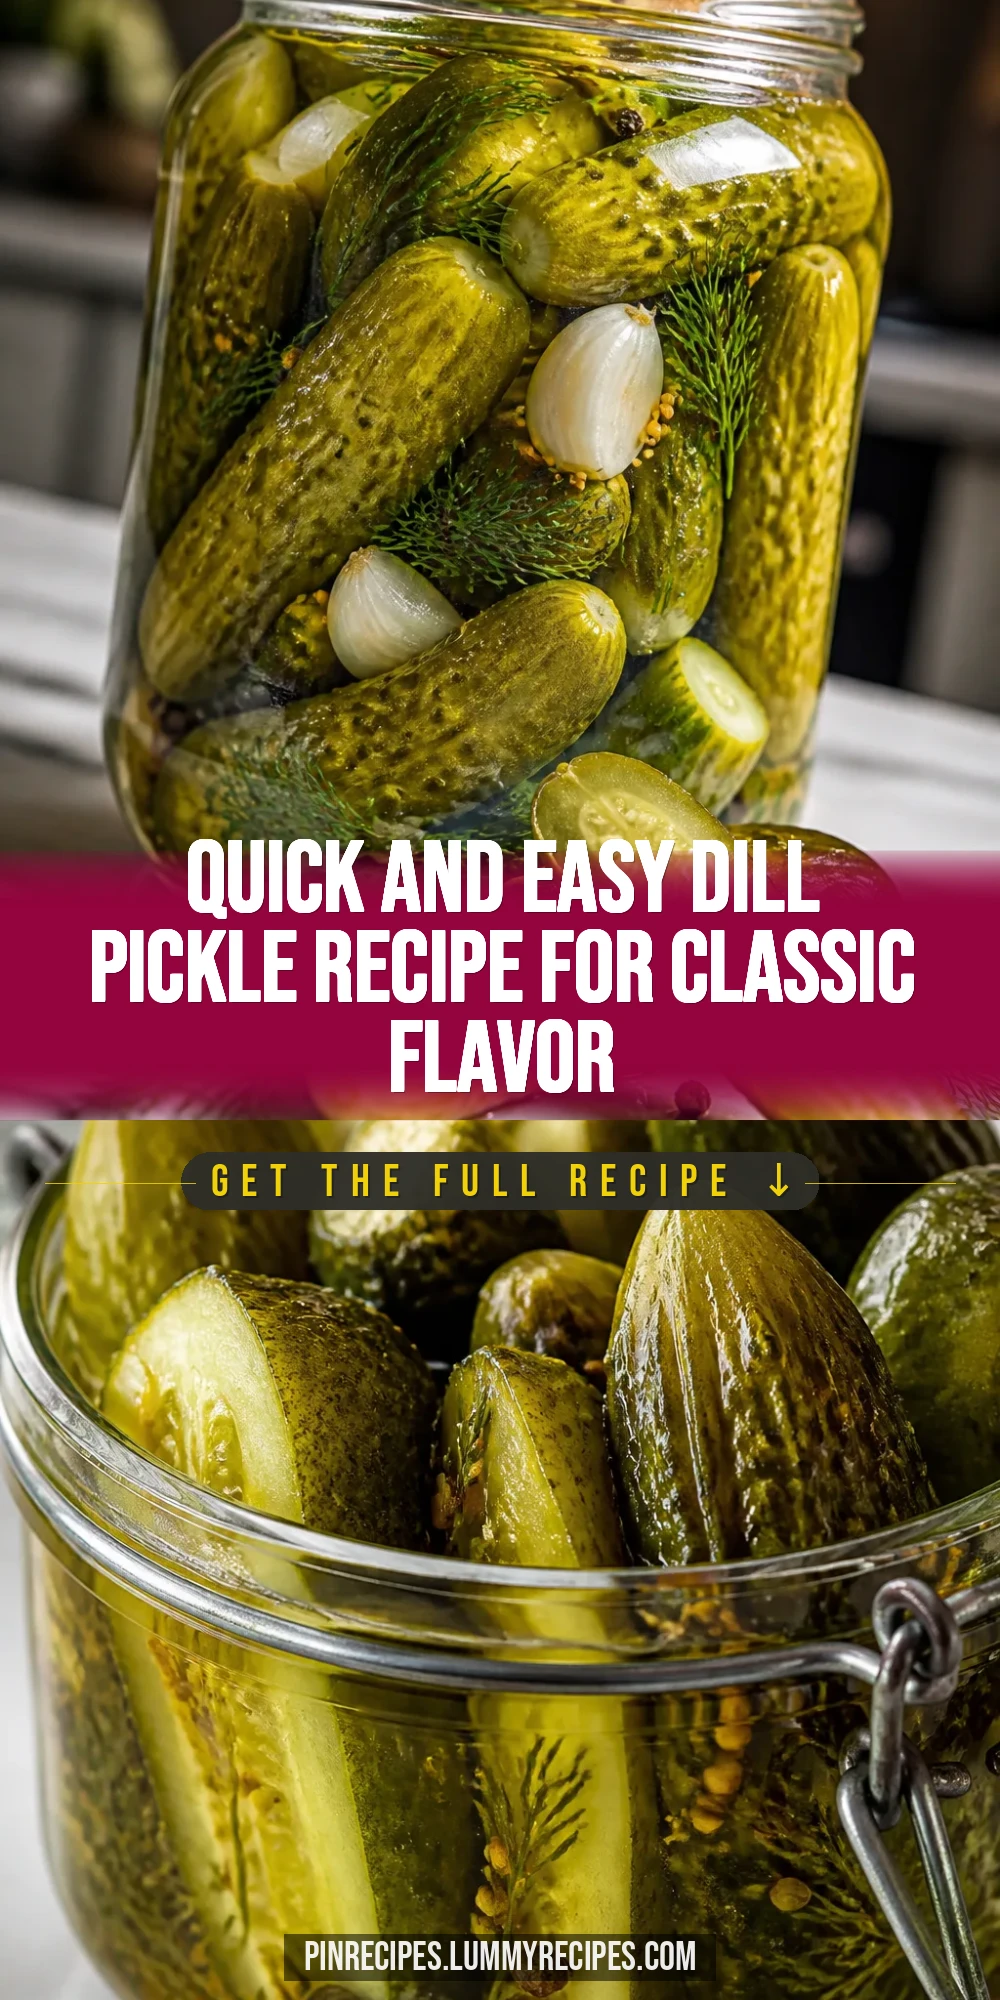
Crunchy, tangy dill pickles made right at home with fresh cucumbers and a simple brine. The secret? Fresh dill and garlic for that perfect punch. Great for snacking or jazzing up sandwiches!
Introduction
I first tried making dill pickles years ago after my grandmother shared her recipe, and honestly, it was a game-changer. Unlike the store-bought kind, these pickles have a fresh, crisp bite that feels homemade in every crunch. What makes this version special is using fresh dill and garlic, which gives a bright, aromatic flavor that really stands out. I’ve tweaked the salt and vinegar balance over time to get that perfect tang without overwhelming the natural cucumber taste. One trick I learned is to slice the cucumbers into spears rather than rounds; it helps them stay crunchy and soak up the brine better. When you open the jar after a few days, the aroma alone will make you smile. These pickles are perfect for summer barbecues or just a quick snack to jazz up your sandwiches. I love how simple and satisfying they are to make, and they always bring back warm memories of family gatherings. Give it a try—you might just find your new favorite pickle recipe!
What You'll Need
Approximately 4 cups of pickles, 4 servings
- 4 cups fresh cucumbers, sliced into spears
- 2 cups water
- 1 cup white vinegar
- 2 tablespoons kosher salt
- 4 cloves garlic, peeled and smashed
- 4 sprigs fresh dill
- 1 teaspoon black peppercorns
How To Do It
Step 1
Start by washing the cucumbers thoroughly to remove any dirt or debris. Slice them into spears about 3-4 inches long for the best texture and flavor absorption. Using spears instead of rounds helps the pickles stay crisp and makes them easier to snack on. Avoid cutting them too thin, or they might turn mushy during pickling.
⏱ Time: 10 minutes
✓ Doneness: Cucumbers are evenly sliced and ready to pack tightly into jars.
Step 2
In a saucepan, combine water, white vinegar, and kosher salt. Heat the mixture just until the salt dissolves completely—this creates your brine. It's important not to boil the brine, as that can dull the fresh flavors. The salt level is key; too little and the pickles won't develop that classic tang, too much and they can become overly salty.
⏱ Time: 5 minutes
✓ Doneness: Brine is clear and salt is fully dissolved, ready to pour.
Step 3
Place the fresh dill sprigs, smashed garlic cloves, and black peppercorns into the bottom of a clean jar. These aromatics infuse the cucumbers with their signature flavors. Don’t skip the garlic — it adds a subtle heat and complexity that makes these pickles special.
⏱ Time: 3 minutes
✓ Doneness: Aromatics are evenly distributed at jar bottom.
Step 4
Pack the cucumber spears tightly into the jar, standing them upright. This tight packing helps keep the cucumbers submerged in the brine and prevents them from becoming soggy. Leave about half an inch of headspace at the top to allow for expansion.
⏱ Time: 5 minutes
✓ Doneness: Jar is filled with cucumbers, no large air gaps.
Step 5
Pour the warm brine over the cucumbers until fully submerged. If needed, gently tap the jar to release any trapped air bubbles. Keeping the cucumbers fully covered is crucial to prevent spoilage and ensure even pickling.
⏱ Time: 2 minutes
✓ Doneness: All cucumbers are covered by brine with no floating pieces.
Step 6
Seal the jar tightly and let it cool to room temperature. Then, refrigerate the pickles for at least 24 hours before tasting. The longer they sit, the more flavorful and crisp they become. Patience is key here; fresh dill pickles really shine after a couple of days.
⏱ Time: 24 hours or more
✓ Doneness: Pickles have developed a tangy aroma and firm texture.
Step 7
Before serving, give the jar a gentle shake to mix the flavors. Taste a spear to check if the flavor suits you. If you prefer a stronger dill or garlic flavor, let them sit a bit longer. These pickles keep well in the fridge for up to two weeks.
⏱ Time: 2 minutes
✓ Doneness: Pickles have balanced tang and crunch, ready to eat.
Step 8
For a crunchier texture, you can add a few grape leaves or horseradish leaves to the jar. These contain tannins that help keep the cucumbers crisp. This is an old trick that really works if you want that extra snap in every bite.
⏱ Time: Optional, 1 minute
✓ Doneness: Leaves added without overcrowding the jar.
Step 9
Enjoy your homemade dill pickles on sandwiches, burgers, or straight from the jar! They also make a great gift when jarred nicely. Remember, homemade pickles are all about personal taste, so feel free to adjust garlic, dill, or salt to your liking next time.
⏱ Time: N/A
✓ Doneness: Pickles are flavorful, crunchy, and perfectly tangy.
Pro Tips
Use pickling cucumbers for the best crunch.
Pickling cucumbers have thinner skins and fewer seeds, which help them absorb the brine better and stay crisp. Regular slicing cucumbers can be watery and soft, leading to soggy pickles. Choosing the right cucumber is the foundation for a successful pickle.
Don’t boil the brine—just dissolve the salt.
Boiling can dull the fresh flavors of vinegar and aromatics. Heating just enough to dissolve the salt ensures the brine is well mixed without losing its bright acidity, which is crucial for flavor and preserving the cucumbers.
Smash the garlic cloves before adding.
Smashing garlic releases its essential oils, infusing the brine with more flavor. Whole cloves won’t impart as much aroma or taste. This step makes a noticeable difference in the depth and complexity of your pickles.
Pack cucumbers tightly in the jar.
Tightly packed cucumbers stay submerged in the brine and pickle evenly. Loose packing can trap air pockets, leading to uneven pickling and potential spoilage. This also helps maintain their crisp texture throughout.
Add grape or horseradish leaves for extra crunch.
These leaves contain tannins, natural compounds that help keep cucumbers firm during pickling. This old-fashioned trick is a simple way to improve texture without additives or special equipment.
Let pickles rest at least 24 hours before eating.
Time allows the flavors to fully develop and the cucumbers to soak up the brine. Rushing this step results in bland pickles with underdeveloped texture. Patience is key for that perfect balance of tang and crunch.
Store pickles in the fridge, not on the counter.
Refrigeration slows fermentation and spoilage, keeping your pickles fresh and safe to eat longer. Room temperature can encourage unwanted bacterial growth, leading to off flavors or mushy texture.
Common Mistakes to Avoid
Using regular table salt instead of kosher salt.
Why it happens Many cooks assume any salt works the same, but table salt often contains additives that cloud the brine or add off flavors.
Fix Switch to kosher salt or pure sea salt with no additives. Measure carefully since salts vary in volume and weight. This ensures a clear brine and clean pickle flavor.
Boiling the brine vigorously.
Why it happens Some think boiling intensifies flavor or speeds up pickling, but it actually dulls the vinegar’s brightness.
Fix Heat the brine just enough to dissolve salt, then remove from heat. This maintains fresh acidity and better flavor.
Not fully submerging cucumbers in brine.
Why it happens Improper packing or insufficient brine causes cucumbers to be exposed to air, leading to spoilage.
Fix Pack cucumbers tightly and add enough brine to cover completely. Tap out air bubbles and add a weight if needed.
Using old or wilted dill.
Why it happens Using dried or old dill results in weak flavor and less aromatic pickles.
Fix Use fresh, vibrant dill sprigs with intact fronds. If unavailable, add dill seeds for flavor.
Eating pickles too soon after making.
Why it happens Impatience leads to bland, under-flavored pickles without proper tang or crunch.
Fix Wait at least 24 hours, ideally a couple of days, for full flavor development.
Variations
Spicy Dill Pickles
Add a few red pepper flakes or sliced jalapeños to the jar for a spicy kick. This variation keeps the classic dill flavor but adds heat, perfect for those who like a bit of spice. Expect a slightly bolder taste with the same satisfying crunch.
Note: Add peppers before pouring the brine to allow flavors to meld evenly. Adjust spice level by quantity.
Bread and Butter Dill Pickles
Sweeten the brine with a tablespoon of sugar for a milder, sweeter pickle that still features dill. This twist softens the tang and creates a perfect balance between sweet and savory, great for sandwiches or snacking.
Note: Dissolve sugar in the brine with salt before pouring. Expect a softer texture and sweeter flavor.
Garlic Lover’s Dill Pickles
Double the garlic cloves for a more pronounced garlic flavor. These pickles are aromatic and savory, ideal for garlic fans. The extra garlic also adds a slight pungency that pairs well with rich dishes.
Note: Smash all garlic cloves to release maximum flavor. Watch for overpowering if left too long.
Dill Pickle Chips
Slice cucumbers into thin rounds instead of spears for pickle chips. These are great for topping burgers or salads. The thinner slices pickle faster but can be less crunchy, so adjust soaking time accordingly.
Note: Reduce pickling time to 12-24 hours to prevent sogginess.
Fermented Dill Pickles
Skip the vinegar and ferment cucumbers in salted water with dill and garlic. This creates naturally tangy pickles with probiotics and a complex flavor. It takes longer but offers a unique, tangy depth.
Note: Requires 5-7 days fermentation at room temperature. Monitor for mold or off smells.
Nutrition
Per Serving:
Nutritional values are estimates and may vary based on specific ingredients used.
Storage & Tips
Room Temperature
Homemade dill pickles should not be stored at room temperature for more than a few hours as they are not shelf-stable without proper canning. Keep jars covered and refrigerate promptly to maintain safety and quality.
Refrigerator
Store pickles in an airtight jar in the refrigerator for up to 2 weeks. The flavor will deepen over time, but the cucumbers may soften slightly. Serve cold or at room temperature depending on preference.
Freezer
Freezing pickles is not recommended as it changes their texture, making them soft and watery. If you must freeze, use airtight containers and thaw slowly in the fridge, but expect a loss in crunch.
Reheating
Pickles are best served cold or at room temperature. Avoid reheating as heat breaks down their texture and flavor. If using in cooked dishes, add them at the end to preserve crunch.
Make Ahead
You can prepare the brine and pack the jars a day ahead, then refrigerate until ready to pour the brine and start pickling. This saves time on serving day and lets flavors start melding sooner.
FAQ
Can I use regular cucumbers instead of pickling cucumbers?
Yes, but regular slicing cucumbers tend to be larger and have thicker skins, which can result in softer, less crunchy pickles. If you do use them, slice them thicker and consider adding tannin-rich leaves like grape leaves to help maintain crispness.
How long do homemade dill pickles last in the fridge?
Stored properly in an airtight container, homemade dill pickles usually stay fresh and tasty for about 2 weeks. After that, they may start to soften or lose flavor. Always check for off smells or mold before eating.
Why are my pickles soggy instead of crunchy?
Also, avoid boiling the brine too much and pack the cucumbers tightly to prevent air exposure.
Can I omit garlic if I don’t like it?
You can skip garlic, but it does add a nice depth and slight heat to the pickles. Without it, the pickles will taste milder and less complex. Consider adding extra dill or peppercorns to compensate for flavor.
Is it necessary to refrigerate these pickles?
Room temperature storage can encourage unwanted bacteria.
How soon can I eat these pickles after making?
You can start tasting them after 24 hours, but they taste best after 2-3 days when the flavors have fully developed. The cucumbers will also be crisper and more flavorful after resting in the brine.
Can I add other spices to customize the flavor?
Absolutely! Mustard seeds, coriander seeds, or red pepper flakes are popular additions that complement dill pickles. Just add them to the jar with the garlic and dill before pouring the brine.
What if my brine turns cloudy?
Cloudy brine can happen naturally from salt or spices but can also indicate fermentation or spoilage. If it smells sour beyond the usual vinegar tang or has mold, discard the batch. Using pure ingredients and proper refrigeration helps avoid this.
Final Thoughts
Give this classic dill pickle recipe a try—you'll love the fresh, crunchy flavor that homemade pickles bring. I can't wait to hear how your batch turns out!