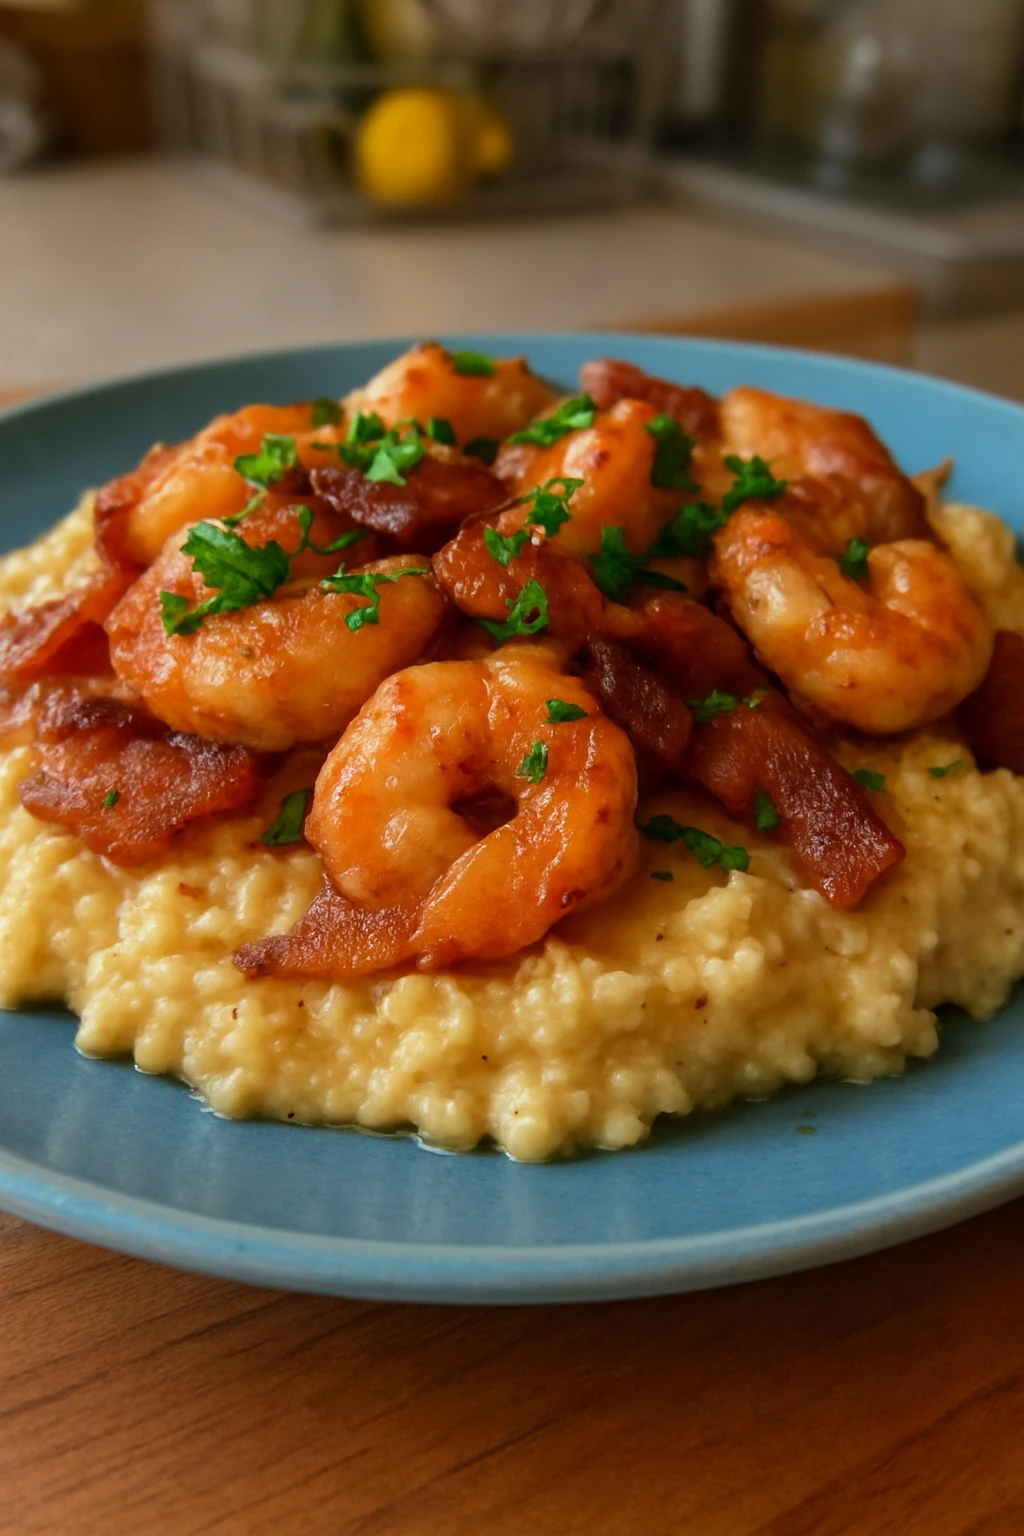
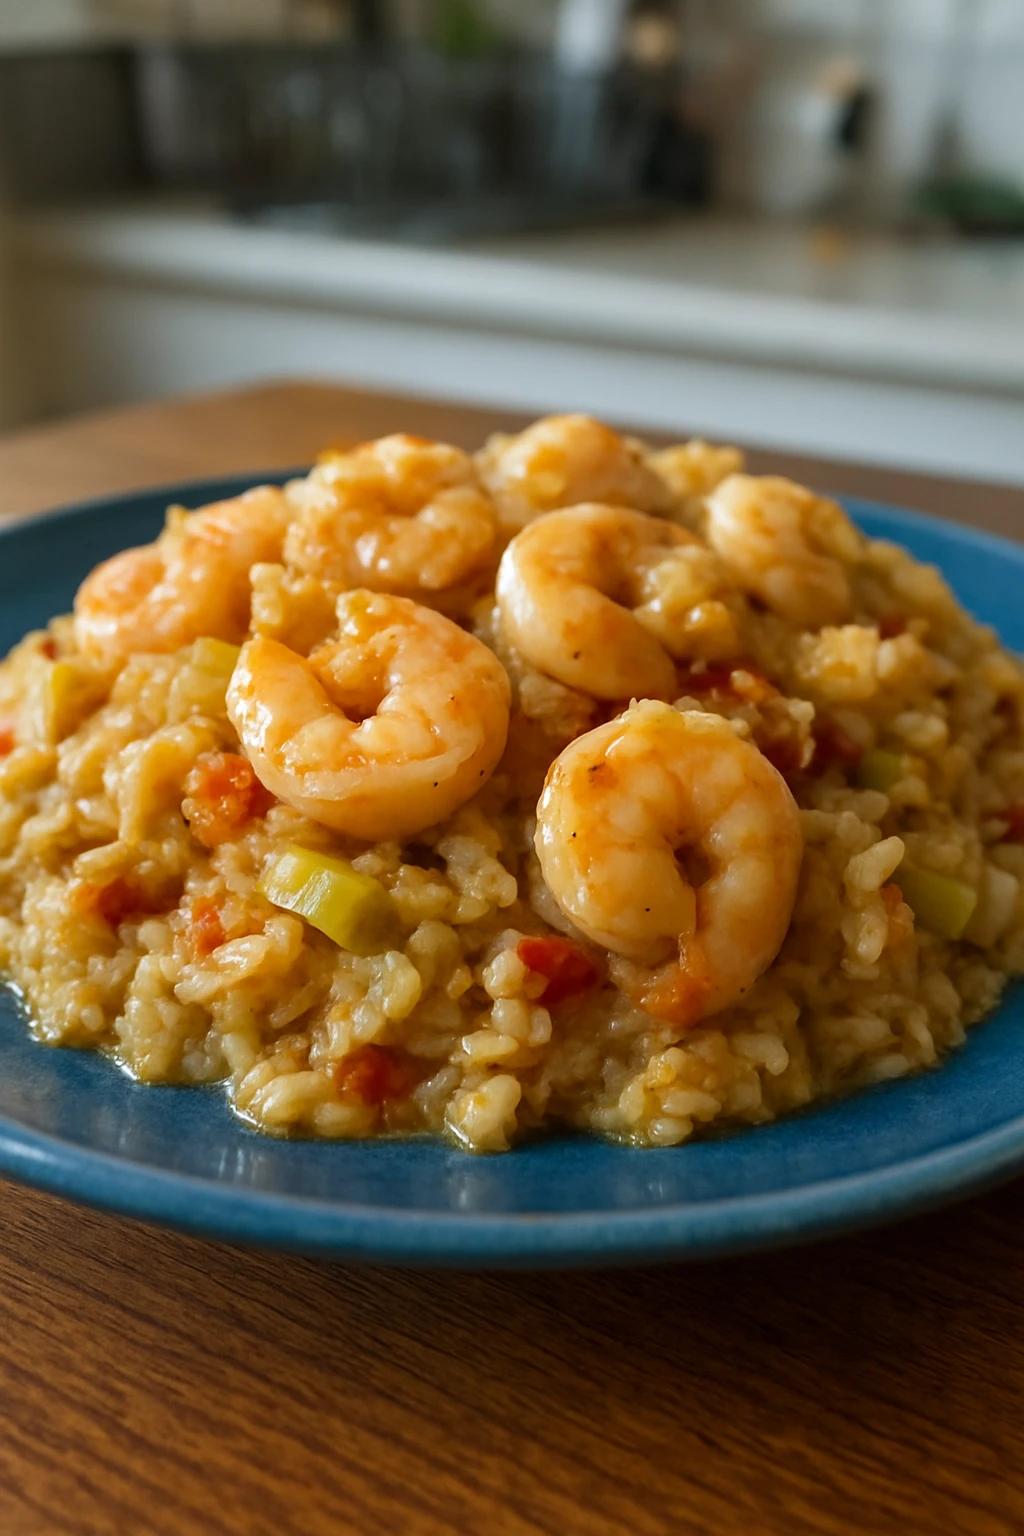
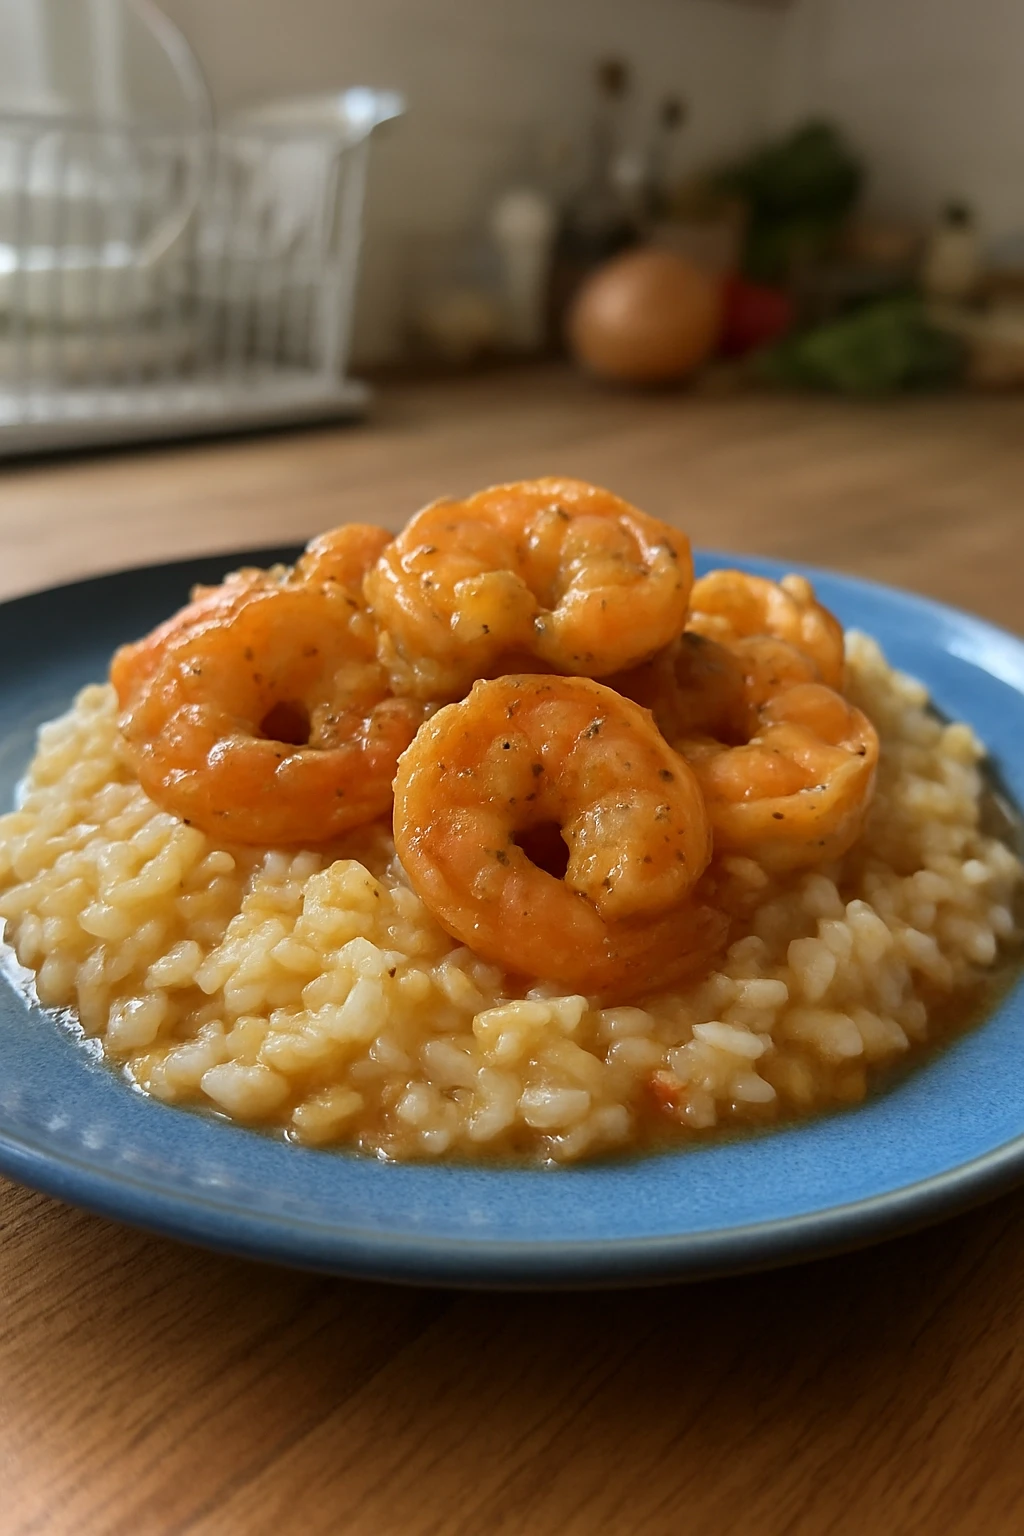
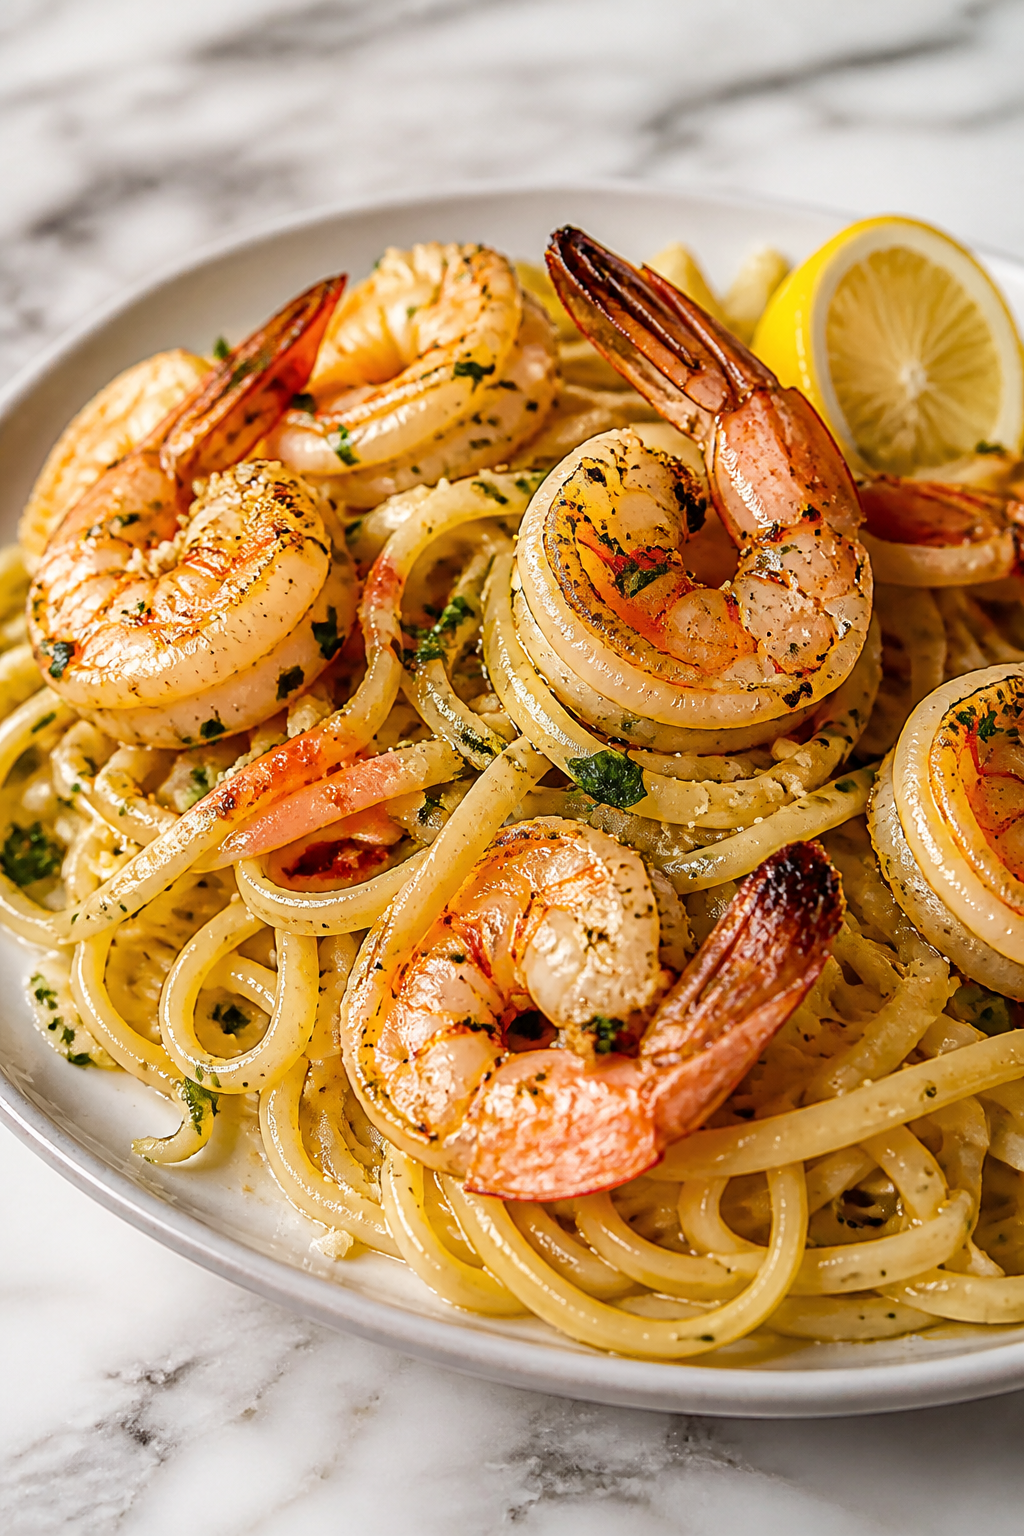
A straightforward guide to cooking shrimp perfectly every time. Learn why proper pan searing requires dry shrimp, high heat, and minimal crowding, plus the exact doneness cues that prevent overcooking this delicate protein.
What You'll Need
Approximately 1 pound cooked shrimp, 4 servings
- 1.5 lbs (680g) large shrimp (16-20 count per pound), peeled and deveined
- 3 tbsp (45ml) extra-virgin olive oil, divided
- 4 cloves (20g) garlic, thinly sliced
- 1/2 lemon (25g), cut into wedges
- 1/2 tsp (3g) fine sea salt
- 1/4 tsp (0.5g) black pepper
- 1/4 tsp (0.5g) red pepper flakes (optional)
- 2 tbsp (30g) unsalted butter (optional, for finishing)
- 2 tbsp (8g) fresh parsley, chopped (optional garnish)
How To Do It
Step 1
Remove the shrimp from the refrigerator 10-12 minutes before cooking. Cold shrimp coming straight from the refrigerator will dramatically cool down your pan when added, dropping the surface temperature by 50-100°F or more. This temperature drop is the enemy of good browning. As the shrimp sits at room temperature, the interior gradually warms while the exterior reaches thermal equilibrium with the air. You'll notice the shrimp become more flexible and pliable as they warm. If your kitchen is cold, give them the full 12 minutes. If it's warm, 10 minutes is sufficient. Check that your shrimp are indeed deveined by running your finger along the back curve—you should feel a clean line without any dark vein running along the back. If you see any remaining dark matter, use a small pointed knife to trace the vein and lift it out. A small amount of residual vein won't harm the final dish, but removing it creates cleaner appearance and slightly better texture.
⏱ Time: 10-12 minutes
✓ Doneness: Shrimp feel cool but not cold to touch, flesh is flexible and pliable, no condensation visible on surface
Step 2
Pat the shrimp completely dry using paper towels. This step determines whether your sear will succeed or fail, yet it's the step most people rush. Press gently but firmly on each shrimp's surface, rotating it to dry all sides, especially the underside which tends to hold moisture. This isn't a light dab—this is actual pressure, using multiple paper towels if needed. You'll feel moisture transfer to the towel. Once you think they're dry, do another pass. I typically use three passes of paper towels for a pound and a half of shrimp. Hold a shrimp up to the light and look at its surface—it should appear completely matte, not shiny. Any glistening indicates residual moisture. If moisture remains when the shrimp hits the hot oil, it will create steam that prevents the shrimp from reaching the pan's surface temperature. This forces you to cook longer to compensate, inevitably overcooking the interior.
⏱ Time: 5-7 minutes
✓ Doneness: Shrimp surface appears completely matte with no shine, no moisture transfers to towel when pressed, shrimp doesn't feel slippery when handled
Step 3
Place a large skillet (10-12 inches / 25-30 cm) over medium-high heat and add 2 tablespoons (30ml) of extra-virgin olive oil. The pan should be completely dry—any water remaining from washing will cause the oil to splatter when it heats. Wait about 2 minutes before adding shrimp. You'll see the oil's surface become fluid and start to shimmer. When you tilt the pan, the oil should ripple across the entire surface. The oil should not smoke—if it does, your heat is too high and the oil's chemical structure is breaking down, which degrades flavor and creates off-tastes. Medium-high heat is the correct setting. If your stovetop runs hot, you might need to set it between medium and medium-high. The goal is an audible sizzle that's steady and purposeful, not violent or aggressive.
⏱ Time: 2 minutes
✓ Doneness: Oil shimmers across entire pan surface, small heat waves visible above oil, no smoke present, oil flows freely when pan is tilted
Step 4
Working in two batches if necessary, arrange shrimp in the hot oil in a single uncrowded layer. Space them so there's approximately a quarter-inch (6mm) of visible pan surface between each shrimp. They should not touch. This spacing is non-negotiable. The space between shrimp allows air circulation and ensures heat reaches all surfaces evenly. More importantly, each shrimp maintains contact with the hot pan surface, not with other shrimp. In crowded pans, shrimp touch each other and essentially steam where they contact. If your pan typically holds eight shrimp comfortably spaced, cook eight at a time. Resist the urge to fit more—it's far better to cook three batches of eight shrimp than to crowd the pan and end up with steamed, pale shrimp. Do not move or flip the shrimp for the first 2 minutes. Resist the urge to check on them. The browning (Maillard reaction) develops on the bottom surface only through sustained direct contact with the hot pan. Moving the shrimp breaks this contact and restarts the process. You should hear a steady, purposeful sizzle. If it's a soft hiss, the pan isn't hot enough. If it's a violent pop, the heat is slightly too high and the oil may be starting to smoke.
⏱ Time: 2 minutes (first side)
✓ Doneness: Steady audible sizzle, shrimp bottoms develop golden-brown tint visible along edges, shrimp edges begin to curl slightly at the very ends, immediate aroma of searing shrimp and garlic becomes apparent
Step 5
Flip each shrimp and cook for exactly 1.5 to 2 minutes on the second side. This is the moment where precision matters most. Look at the shrimp's color—it should be opaque and white across approximately 90% of its surface. The very center of the thickest part may still show a barely-visible thin line of slight translucence when you look at the shrimp straight-on. This translucence indicates the interior is still at 140-145°F (60-63°C)—exactly where you want it. If you see the shrimp forming a tight C-shape with the edges curled severely, you've exceeded the target temperature. The proteins have contracted so much that the shrimp is now tough. The bottom side will brown less than the first side because the pan has lost some heat and the exterior is already setting, but this is normal and actually desirable. A shrimp with one golden side and one slightly lighter side indicates perfect timing. Uniform browning on both sides typically indicates slight overcooking.
⏱ Time: 1.5 to 2 minutes (second side)
✓ Doneness: Shrimp mostly opaque white with opaque center, barely-visible translucence only at the absolute middle when viewed straight-on, sides beginning to curl but not extreme, internal temperature reaches 140-145°F (60-63°C) if measured with an instant-read thermometer
Step 6
Add the sliced garlic and red pepper flakes (if using) to the pan and stir constantly for 20-30 seconds. This is the only moment when raw garlic goes into the pan, and the timing is critical. If you add garlic at the beginning of cooking alongside the shrimp, the sustained high heat will burn it, creating bitter, acrid flavors. By adding garlic only now, after the shrimp finishes cooking, you're relying on the pan's residual heat—still very hot, but dropping gradually. The garlic's sulfur compounds break down and become mellow and sweet rather than sharp and pungent. The garlic won't color or brown visibly; it will remain pale gold or white and release a gentle, fragrant aroma. 20-30 seconds is the perfect window. At 15 seconds, the garlic won't be flavorful enough. At 60 seconds, it starts to brown. I often remove the pan from heat immediately after the shrimp finishes and add the garlic, then count to 25 slowly. This gives me a consistent result every time.
⏱ Time: 20-30 seconds
✓ Doneness: Garlic becomes fragrant and slightly softened, no browning visible, aroma shifts from harsh to mellow and sweet
Step 7
Remove the pan from heat immediately. This is perhaps the most important sentence in these instructions. Remove the pan. From the heat. Now. The residual heat in that pan is still high enough to continue cooking the shrimp through carryover heat—the temperature won't immediately drop just because you've removed it from the flame. The pan remains hot for several minutes. If the shrimp sit in this hot pan for even 30 seconds longer, the proteins continue tightening and squeeze out moisture. Your perfect shrimp becomes noticeably tougher. Squeeze the lemon wedges over the shrimp and garlic. The fresh lemon juice brightens the shrimp's natural brininess and sweetness, preventing the dish from tasting flat or one-dimensional. If using the optional butter, add it now. The residual heat will melt the butter into the oil and lemon juice, creating a light sauce that's silky and luxurious without overwhelming the delicate shrimp flavor. Toss everything together very gently for 10-15 seconds to combine. Gentle is the operative word—rough handling can break apart the just-cooked shrimp.
⏱ Time: 1 minute
✓ Doneness: Lemon juice distributed throughout pan, butter (if using) melted and incorporated, aroma becomes bright and citrus-forward, shrimp glisten from oil and lemon
Step 8
Transfer the shrimp immediately to a serving plate or bowl. Speed matters here. Warm plates are better than room-temperature plates because they slow the cooling process, keeping the shrimp at optimal serving temperature longer. If serving to guests, warm the plates by running hot water over them while cooking, then dry them thoroughly. Arrange the shrimp on the plate immediately. Serving shrimp family-style in a shared bowl works beautifully and feels generous. Garnish with fresh chopped parsley if desired. The green color adds visual interest and the parsley's fresh flavor complements the shrimp and lemon. Taste a piece and assess the seasoning. The combination of lemon and the natural brininess of shrimp usually requires minimal additional salt—I rarely add more than a pinch. If the shrimp tastes flat or one-dimensional despite the lemon, add a light sprinkle of fleur de sel or Maldon salt (which has a different crystal structure and dissolves on the tongue rather than making the shrimp taste salted). The dish tastes best served immediately while the shrimp is still warm and the pan sauce is still fluid. Once it cools, the oil solidifies slightly and the texture becomes less appealing.
⏱ Time: 1 minute
✓ Doneness: Shrimp transferred to warm serving plate, still steaming slightly, pan sauce coating the pieces, parsley visible as garnish, shrimp glistens from oil and lemon
Pro Tips
Buy shrimp specifically labeled 16-20 count, meaning 16-20 individual shrimp per pound. This is the sweet spot for home cooking. Avoid very small shrimp (25-count or smaller) and very large shrimp (under 10-count).
Shrimp size directly determines cooking time and forgiving ness. Very small shrimp cook so quickly—literally 45 seconds per side—that home stovetop temperatures almost always overheat them. Very large shrimp require longer cooking (3-4 minutes per side), and by the time the interior reaches proper temperature, the exterior has often overcooked. I've tested this extensively, cooking shrimp of various sizes side-by-side. The 16-20 count is the only size that cooks evenly in a home pan without constant attention. At 2 minutes per side, you have a reasonable window where the exterior develops proper color before the interior overcooks.
Choose wild-caught shrimp over farmed whenever possible and financially feasible. Look for shrimp labeled 'Gulf white shrimp' or 'Gulf pink shrimp' (wild-caught from the Atlantic or Gulf). If farmed shrimp is your only option, look specifically for South American farms, which tend to follow stricter environmental standards and produce shrimp with better texture.
Wild shrimp develop their muscle structure through constant swimming and varied diet, resulting in firmer texture and more complex flavor. Farmed shrimp come from crowded ponds, which affects their muscle development. I can taste the difference consistently. Wild shrimp has a subtly sweet, oceanic flavor that farmed shrimp lacks. Wild shrimp also tends to be firmer even after cooking, while farmed shrimp has a slightly mushier texture. Yes, wild shrimp costs 30-50% more, but for a dish that takes 10 minutes to cook and is 90% shrimp, the ingredient quality truly matters.
Never cook shrimp from a thawed state if it was previously frozen. Always thaw frozen shrimp overnight in the refrigerator on a plate. If you're in a time crunch and must thaw quickly, use cold water (never warm), changing the water every 5 minutes, and cook immediately after thawing.
Rapid thawing—especially with warm water—breaks down the shrimp's cell structure. Ice crystals form in the cells during freezing, and when they melt too quickly, they rupture the cell walls. This causes the shrimp to weep liquid and lose both moisture and texture. Warm water accelerates bacterial growth that contributes to off-flavors. I've compared side-by-side: overnight refrigerator-thawed shrimp versus quickly-thawed shrimp. The difference is noticeable. The quickly-thawed shrimp releases visible liquid during cooking and tastes slightly mushier.
Taste a piece of raw shrimp before cooking. Quality shrimp has a sweet, briny ocean smell and firm, slightly springy flesh. Any ammonia smell means the shrimp is old and should be discarded, no matter the price or appearance.
Ammonia smell indicates bacterial degradation from age. Cooking won't eliminate the smell—it'll actually intensify it. Tasting raw shrimp confirms you're starting with quality. The flesh should be firm when pressed gently, not mushy or soft. If you buy shrimp that smells old, return it to the fishmonger. They should replace it without question. Cooking bad shrimp wastes your time and other ingredients.
When cooking multiple batches, let the pan cool for 60-90 seconds between batches. Spread any finished shrimp on a plate rather than keeping it in the hot pan. Don't add the second batch to a pan that's still at full temperature—allow it to cool slightly so it recovers properly.
Each time cold shrimp enters the hot pan, the pan's temperature drops. If the pan is still at maximum temperature when the second batch goes in, the temperature drop is so dramatic that the pan needs 30-40 seconds just to recover. During this recovery period, the shrimp is cooking slowly at lower-than-ideal temperature, steaming rather than searing. A brief cool-down between batches lets the pan recover to searing temperature almost instantly when the next batch enters. The second batch then cooks exactly like the first batch. This consistency is more valuable than saving a few minutes of total cooking time.
Buy pre-deveined shrimp when available, even if it costs slightly more. If you must devein yourself, use a specialized deveining tool (a small, curved hook) rather than a knife. A knife often bruises the delicate flesh and can cause the shrimp to fall apart during cooking.
The vein is the shrimp's digestive tract and is safe to eat, but many people find the texture objectionable. Deveining with a knife usually bruises the surrounding tissue, creating weak points. During cooking, these weak points rupture and the shrimp breaks apart. A deveining tool is designed to hook and lift the vein cleanly without damaging surrounding tissue. The small extra cost is worth having intact shrimp rather than broken pieces.
Common Mistakes to Avoid
Cooking shrimp with any residual surface moisture, or drying the shrimp and then letting it sit for 5+ minutes before cooking
Why it happens People assume moisture doesn't matter or they rinse the shrimp and immediately put it in the pan without proper drying. Or they dry the shrimp, then answer a text message or adjust another dish, and by the time they cook, the shrimp has absorbed moisture from the cold air and regained a wet surface.
Fix Pat shrimp dry, then cook it within 1-2 minutes of drying. If more time passes, pat it dry again immediately before adding to the pan. I've made this mistake many times and watched perfectly dry shrimp turn damp while sitting on my counter. The last step before cooking should always be a final drying pass with paper towels.
Crowding the pan with too many shrimp, thinking more shrimp per batch = faster cooking
Why it happens Cooking in batches seems inefficient, so people try to fit as many shrimp as possible into one pass. The shrimp appear to have room but the total surface area overwhelming the pan's ability to maintain temperature. The cook doesn't realize the pan temperature has dropped 40-60°F.
Fix Cook shrimp in single layers with visible space between each piece. If your pan properly spaced holds eight shrimp, cook eight at a time. Three batches of eight shrimp (about 16-18 minutes total) produces far superior results to two crowded batches (about 15 minutes) that result in steamed, tough shrimp. The 1-2 extra minutes is irrelevant compared to the quality difference.
Leaving shrimp in the hot pan after cooking to finish plating, garnishing, or answering a question
Why it happens Cooks are multitasking and lose focus, or they assume 30 seconds won't matter. They don't realize carryover heat continues cooking the protein even after the pan is off the flame.
Fix Make moving the shrimp to the serving plate your absolute top priority. Everything else—plating, garnishing, seasoning adjustment—happens after the shrimp is off the heat. If guests ask a question mid-cooking, answer them while cooking, not after. The 20-30 seconds that shrimp can safely sit in the hot pan sounds like plenty of time but evaporates instantly.
Adding garlic at the beginning of cooking alongside the shrimp, expecting it to cook gently for 2 minutes
Why it happens This seems logical as a one-step process. The cook doesn't realize the high heat required for searing shrimp is far too high for delicate garlic.
Fix Always add garlic only after the shrimp is done cooking. The residual pan heat is sufficient to bloom the garlic's flavors without burning it. If you want stronger garlic flavor, gently infuse the olive oil in a separate small pot over very low heat before cooking shrimp, then drain the solids and use the oil for searing.
Cooking shrimp on too-high heat (above medium-high), assuming faster heat = faster, better cooking
Why it happens High heat seems like it should cook shrimp faster and develop more color. The cook doesn't realize shrimp are so delicate that excessive heat causes the exterior to overheat while the interior catches up, or causes the shrimp to overcook throughout before the pan even touches the interior.
Fix Set your stovetop to medium-high and maintain that setting throughout. If the oil starts smoking, you're too high—reduce heat immediately. Medium-high provides enough temperature for the Maillard reaction while giving you some margin for error. Very high heat narrows the window between perfectly cooked and overcooked to just a few seconds.
Variations
Garlic-Butter Pan Sauce with White Wine
After removing the cooked shrimp from the pan, add 4 tablespoons (57g) of unsalted butter and 6 sliced garlic cloves back to the hot pan. Cook for 30-40 seconds until the garlic is fragrant, then deglaze the pan with 1/4 cup (60ml) of dry white wine (such as Sauvignon Blanc or Pinot Grigio). Scrape the bottom of the pan with a wooden spoon to release the browned bits (fond). Simmer for 45-60 seconds until the wine reduces by about half and the sauce becomes slightly viscous. Return the shrimp to the pan, toss gently for 10 seconds, then serve immediately with crusty bread for dipping. This variation transforms simple shrimp into an elegant dinner-party dish.
Note: Adding wine requires slightly longer cooking than the basic recipe. The alcohol in the wine must reduce enough that you can no longer taste the raw wine flavor—this takes 45-60 seconds at a gentle simmer. If you taste the sauce and it tastes strongly of wine, continue reducing for another 15-20 seconds. The butter and fond combine to create a light, luxurious sauce that coats the shrimp beautifully.
Fresh Herb Variation with Dill and Tarragon
After cooking the shrimp and immediately removing the pan from heat, add 2 tablespoons (30ml) of fresh lemon juice, 1 tablespoon (3g) of fresh dill, 1 tablespoon (3g) of fresh tarragon, and 1/2 tablespoon (7.5g) of unsalted butter. Skip the garlic for this version or reduce it to 2 cloves added briefly. The fresh herbs create a lighter, more delicate flavor profile with subtle floral and anise notes from the tarragon. This version works beautifully over white fish or with a simple green salad.
Note: Fresh delicate herbs like dill and tarragon develop bitter notes if exposed to sustained heat. They should go into the pan only after it's removed from the flame. If you add them while the pan is still very hot, they'll darken and become unpleasant. The residual heat is enough to gently warm them and release their aromatic oils without damaging their flavor.
Spicy Chili and Lime with Cilantro
Use lime juice instead of lemon. When adding garlic, also add 1/4 teaspoon (0.5g) of cayenne pepper and 1/2 teaspoon (1g) of smoked paprika. Finish with a pinch of fresh cilantro and a small pinch of sea salt. This Latin-inspired version has bright, hot, slightly smoky flavors. It pairs beautifully with lime rice, black beans, or served in small corn tortillas as tacos.
Note: Smoked paprika can taste slightly bitter if burned, so add it in the last 10 seconds when the pan is removed from heat. The residual heat releases its smoky flavor without charring it. Start with 1/2 teaspoon and taste, then add more if desired. Cayenne's heat carries over from raw, so use it sparingly and taste before serving, as the heat will intensify slightly as it sits.
Creamy Tomato Reduction
After searing the shrimp, remove it to a plate. In the same hot pan, add 2 tablespoons (30g) of minced garlic and cook for 15 seconds until fragrant. Add 1 cup (240ml) of crushed San Marzano tomatoes (with juices), 1/4 cup (60ml) of heavy cream or half-and-half, 1/2 teaspoon (3g) of sea salt, and a pinch of black pepper. Reduce the heat to low and stir gently for 30-40 seconds until slightly thickened. Return the shrimp to the pan and toss gently to coat. This version works wonderfully over pasta, with crusty bread, or spooned over a bed of arugula.
Note: Adding cream to acidic tomato sauce can cause curdling if the temperature is too high. Always reduce heat to low before adding cream, and stir constantly for the first 10-15 seconds to distribute the cream evenly and prevent curdling. If the sauce does curdle slightly, an immersion blender run for 5 seconds usually smooths it out.
Asian-Inspired Ginger-Soy Glaze
After searing the shrimp, remove it to a plate. In the same pan, add 1 tablespoon (10g) of minced fresh ginger (from approximately 1-inch / 2.5cm piece) and 2 chopped scallions. Cook for 20 seconds until fragrant. Deglaze the pan with a mixture of 2 tablespoons (30ml) of low-sodium soy sauce, 1 tablespoon (15ml) of rice vinegar, 1 teaspoon (5g) of honey, and 1 tablespoon (15ml) of water. Simmer for 30-45 seconds until the liquid reduces slightly and becomes glossy. Return the shrimp to the pan and toss to coat. Serve over white or brown rice, or with steamed broccoli.
Note: Deglazing means adding liquid to the hot pan to loosen the browned bits (fond) stuck to the bottom. The fond contains concentrated flavor compounds from the seared shrimp. Use a wooden spoon to scrape as you add the liquid—you should see the liquid bubble and the browned bits dissolve into it. This technique extracts every bit of flavor from the pan.
Nutrition
Per Serving:
approximately 195
Calories
These values are estimates and may vary based on exact shrimp size and weight. Values assume extra-virgin olive oil and do not include optional butter. If butter is included, calories increase by approximately 30 per serving and fat increases by approximately 3g. The cholesterol content comes from shrimp itself and is not associated with the same cardiovascular risks as dietary saturated fat due to shrimp's unique fatty acid profile and high omega-3 content.
Storage & Tips
Refrigerator
Cooked shrimp lasts 3-4 days in an airtight container on the coldest shelf of your refrigerator (typically the back of the bottom shelf). Store shrimp and any sauce separately if possible. When sauce sits with shrimp, the shrimp continues to release moisture into the sauce, gradually softening the shrimp's texture. Even with optimal storage, cooked shrimp develops a slightly firmer, more rubbery texture the next day—this is a natural change in protein structure once the shrimp has been cooked and cannot be avoided. The flavor remains good, but the ideal texture window is 2-3 hours post-cooking.
Freezer
Cooked shrimp freezes acceptably for up to 2 months when stored in an airtight freezer container or heavy-duty freezer bag. When frozen, ice crystals form inside the shrimp's muscle tissue. Upon thawing, these crystals rupture cell walls and the shrimp releases liquid, resulting in noticeably softer, slightly mushy texture. The flavor remains acceptable but the eating experience is compromised. If you have the option, freeze raw shrimp rather than cooked shrimp. Raw shrimp maintains better quality for 3-4 months in the freezer than cooked shrimp maintains for 2 months.
Reheating
Reheat cooked shrimp gently in a 275°F (135°C) oven, covered with foil, for approximately 5 minutes just until warmed through. Do not use a microwave, which will toughen the already-compromised protein further. Alternatively, place shrimp in a pan with 1 tablespoon (15ml) of water or oil over low heat for 2-3 minutes, stirring gently. The goal is warming only, not additional cooking. If the shrimp smells off or appears discolored during reheating, discard it. Once reheated, shrimp should be eaten immediately—don't allow it to cool and then reheat again, as this compounds the texture deterioration.
Make Ahead
For best results when making shrimp ahead of time, intentionally cook the shrimp 10-15 seconds less than the recipe calls for, removing it when the center still has a barely-visible thin line of translucence. Cool it to room temperature, then refrigerate. When you're ready to serve, place the slightly-undercooked shrimp in a hot pan with 1 tablespoon (15ml) of fresh olive oil for 30-45 seconds per side to finish cooking. This final sear develops fresh browning and brings the interior to perfect doneness while accounting for the inevitable softening that occurred during storage. The result is shrimp that tastes nearly identical to freshly cooked shrimp.
FAQ
How do I tell if my shrimp is fresh or has gone bad?
Fresh raw shrimp should smell briny and oceanic—never ammonia-like. Press your finger against the flesh; it should be firm and slightly springy, not mushy or soft. The meat should be translucent to slightly opaque, never gray or discolored. Cooked shrimp should smell fresh and briny with no off-odor. If there's any ammonia smell in raw or cooked shrimp, discard it without cooking—ammonia indicates bacterial degradation from age and cooking won't make it safe.
Why did my shrimp turn out rubbery and tough even though I followed the timing?
Rubbery texture indicates the shrimp exceeded 145°F (63°C) internally. Common causes: the shrimp was crowded in the pan (requiring longer cooking to reach the pan's surface and creating a steamy environment that extends cooking time), the shrimp was very cold when added (extending cooking time while the pan recovered temperature), or the shrimp sat in the hot pan after cooking was complete (carryover heat continued cooking it). Use an instant-read thermometer in the thickest part of future batches to verify the exact temperature at doneness.
Can I cook frozen shrimp without thawing them first?
You can, but results will suffer. Frozen shrimp adds significant time for the pan to recover temperature. The exterior often overheats before the frozen interior thaws and cooks. The texture is noticeably softer than properly thawed shrimp. It's always better to thaw shrimp overnight in the refrigerator (or using the cold-water method if time is critical) and cook from that state.
What's the difference between white shrimp, pink shrimp, and brown shrimp?
These are different species, not quality grades. White shrimp (Gulf whites) are milder, almost delicate in flavor, and have slightly softer texture. Pink shrimp (Gulf pinks) are sweeter with more pronounced shrimp flavor and firmer texture. Brown shrimp are firmer and have stronger briny flavor. For beginners or those preferring delicate flavor, white or pink shrimp are easier to work with. Pink shrimp is often considered the best balance of flavor and texture.
Why does my shrimp sometimes have a gritty texture?
Gritty texture usually indicates sand or sediment trapped in the shrimp during harvesting or processing. This is more common with wild shrimp than farmed. If you notice grittiness in raw shrimp, rinse thoroughly under cold water, rubbing gently to remove sediment, then pat dry before cooking. Some farmed shrimp from murky farming waters naturally has a slightly gritty texture. Ask your fishmonger about sourcing—better farms have cleaner product.
Is the black vein in shrimp safe to eat?
Yes, completely safe. The black vein is the shrimp's digestive tract and contains the shrimp's consumed material. It's not harmful or toxic. People remove it purely for aesthetic reasons—some find the appearance off-putting or the texture unpleasant. Many restaurants serve undeveined shrimp without issue. It's entirely a matter of personal preference.
Final Thoughts
Searing shrimp properly comes down to understanding that this protein is delicate and cooks very quickly—the entire cooking window from raw to perfect is perhaps 4-5 minutes including resting time. The key principles I've learned through dozens of batches—ensuring completely dry shrimp, using a single uncrowded layer, maintaining medium-high heat, and removing shrimp immediately when it reaches 140-145°F internal temperature—work consistently regardless of flavor direction. Whether you're making simple lemon-garlic shrimp or building toward one of the variations with wine, cream, or Asian flavors, the technique foundation remains identical. Once you've mastered these fundamentals, you can confidently apply them to any seasoning or sauce you prefer. The technique is the skill; only the seasonings change.