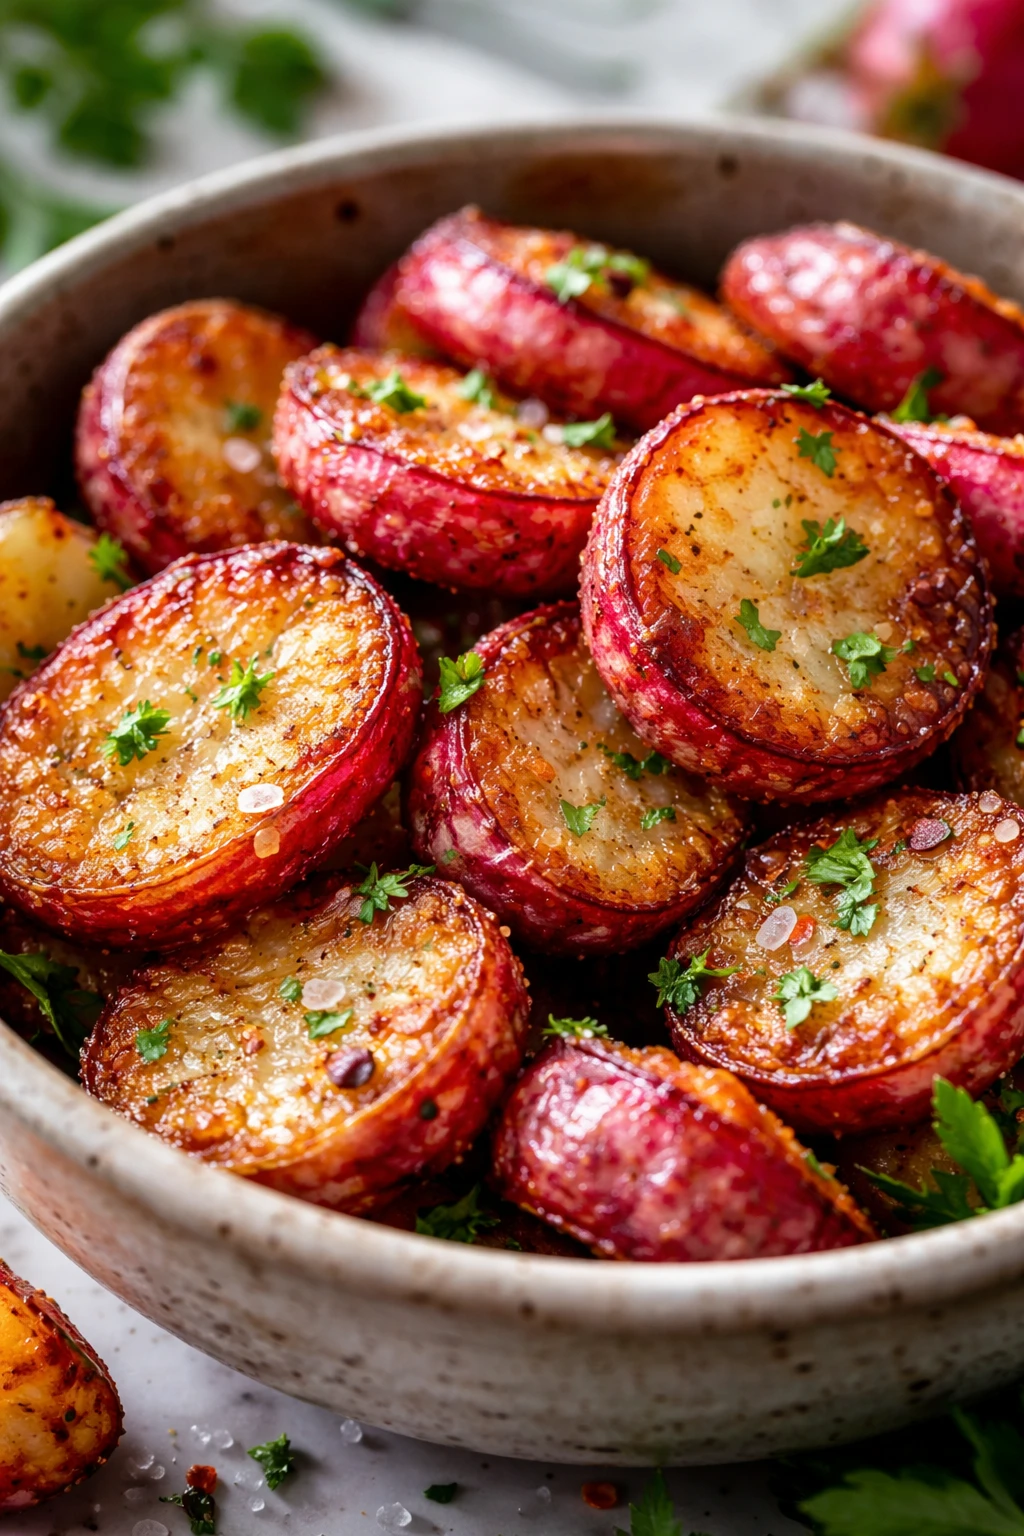
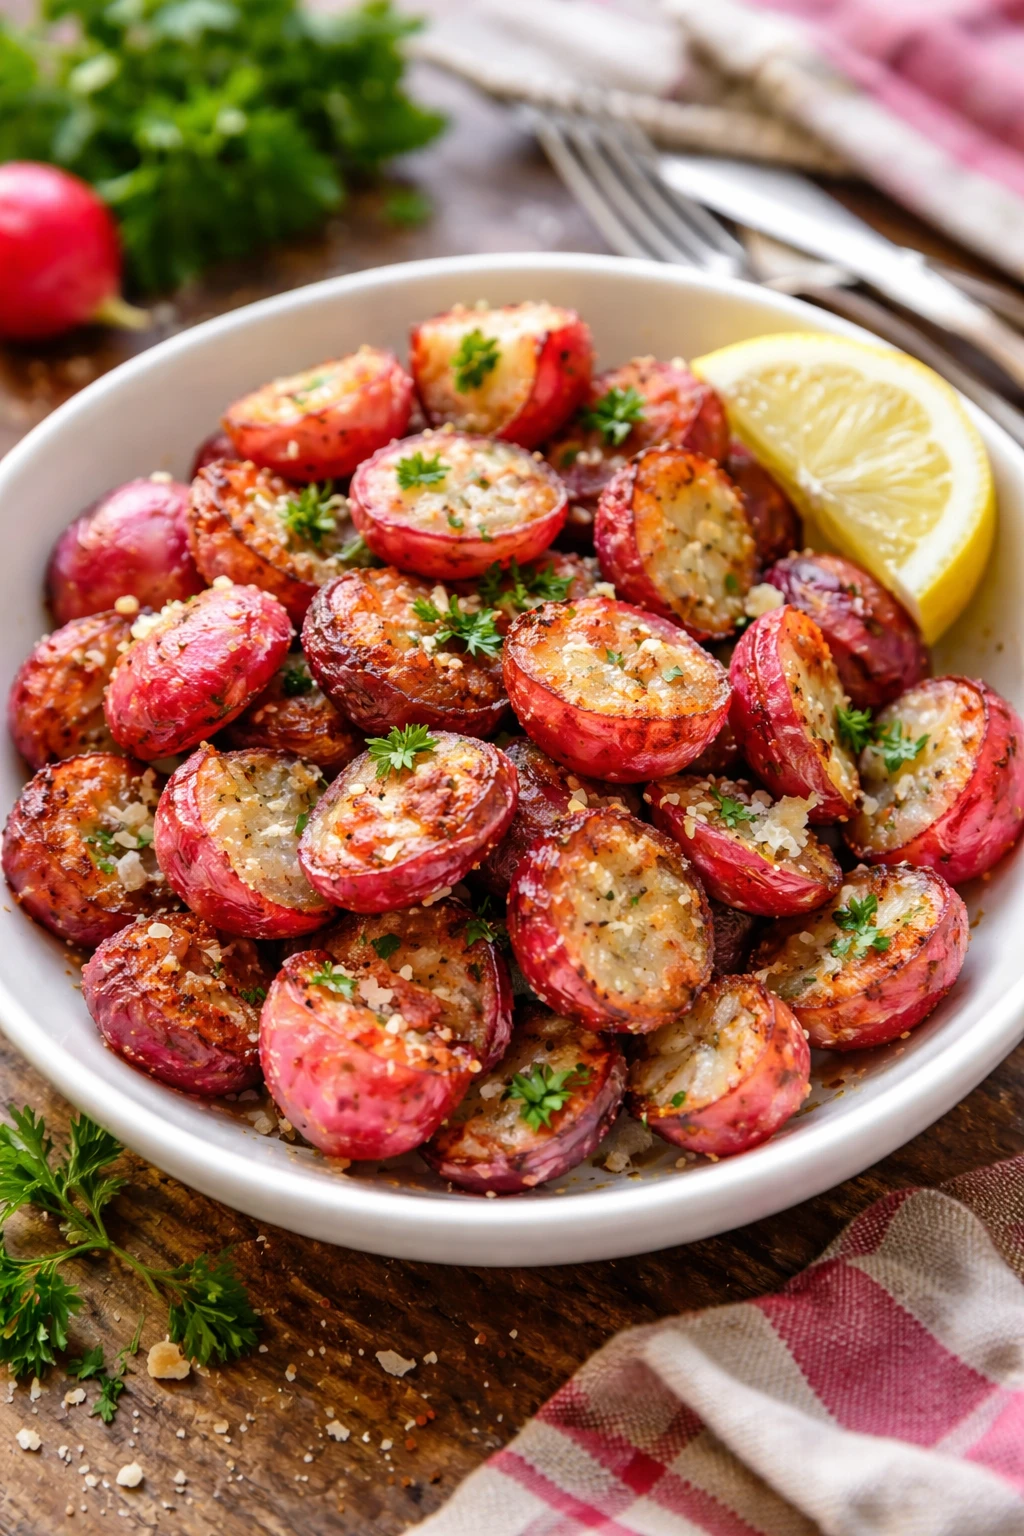
These crispy fried radishes are a game changer—think crunchy, golden bites with a mild peppery kick. Using a light batter and quick frying keeps them tender inside and crispy out. Perfect as a snack or alongside your favorite meal!
Introduction
I first stumbled upon fried radishes on a whim when I had an abundance of fresh radishes from my garden and was bored of eating them raw or pickled. I decided to try frying them like you would zucchini or green beans, and wow, it was a revelation! The radishes become tender on the inside with a crispy, golden crust that mellows their peppery bite into something truly addictive. What makes this version better than others is the use of sparkling water in the batter—it keeps the coating light and airy rather than dense and greasy. Also, frying them quickly at the right temperature is key to getting that perfect crunch without sogginess. The finished dish looks inviting with its golden exterior and tastes like a fresh, crispy veggie chip with just a hint of spice. It’s perfect as a snack, appetizer, or a unique side to any meal. I love serving these at casual gatherings because they’re unexpected and always a hit. Honestly, I never thought radishes could be this versatile, and now I keep making them whenever I want a quick, tasty treat.
How To Do It
Step 1
Start by washing your radishes thoroughly and trimming off the tops and tails. Cut them in halves or quarters depending on size to ensure even cooking. Dry them well using a clean towel or paper towels to remove excess moisture. This step is crucial because wet radishes will cause the batter to slip off and the oil to splatter during frying. Also, drying helps the batter stick better and results in a crispier coating.
⏱ Time: 10
✓ Doneness: Radishes are dry to the touch with no visible moisture before battering
Step 2
In a mixing bowl, combine the flour, baking powder, salt, and black pepper. Gradually whisk in the cold sparkling water until you get a smooth batter that’s thick enough to coat the back of a spoon but still runny enough to drip easily. The sparkling water creates bubbles that make the batter light and crispy when fried. Avoid overmixing to keep those bubbles intact.
⏱ Time: 5
✓ Doneness: Batter is smooth, slightly thick, and bubbly
Step 3
Heat about 2 inches of vegetable oil in a deep skillet or pot to 350°F (175°C). Use a thermometer for accuracy—too hot and the radishes will burn outside while staying raw inside; too cool and they’ll absorb oil and become greasy. The right temperature ensures a golden, crispy crust and perfectly tender radishes inside.
⏱ Time: 10
✓ Doneness: Oil shimmers and a small drop of batter sizzles immediately upon contact
Step 4
Dip each radish piece into the batter, letting excess drip off, then carefully place them into the hot oil in small batches. Don’t overcrowd the pan, or the temperature will drop, leading to soggy results. Fry until golden brown and crispy, about 3-4 minutes, turning occasionally for even color.
⏱ Time: 15
✓ Doneness: Radishes are evenly golden and float to the surface
Step 5
Use a slotted spoon to transfer the fried radishes to a paper towel-lined plate to drain excess oil. This step is important to keep them crisp and not oily. Let them rest for a minute or two before serving so the coating sets up nicely.
⏱ Time: 5
✓ Doneness: Excess oil absorbed and radishes feel crisp to the touch
Step 6
Season immediately with a pinch of flaky sea salt or your favorite seasoning blend while still warm. This enhances the flavor and adds a nice finishing touch. You can also add a squeeze of fresh lemon juice for brightness if you like.
⏱ Time: 2
✓ Doneness: Seasoning sticks well and flavors are balanced
Step 7
Serve the crispy fried radishes hot as a snack, appetizer, or alongside your main dish. They pair beautifully with dips like aioli or a simple yogurt-based sauce. Enjoy them fresh for the best texture and flavor.
⏱ Time: 0
✓ Doneness: Radishes are warm, crispy, and flavorful when served
Step 8
If you want to keep leftovers, cool them completely before storing in an airtight container. Reheat briefly in a hot skillet or oven to regain crispiness rather than microwaving, which can make them soggy.
⏱ Time: 0
✓ Doneness: Crispiness restored after reheating
Step 9
Experiment with adding spices to the batter like smoked paprika or garlic powder for extra flavor. You can also try dipping the radishes in a thin layer of cornstarch before battering to boost crunch. Don’t forget to adjust salt accordingly.
⏱ Time: 0
✓ Doneness: Flavor variations enhance but don’t overpower the radishes
Pro Tips
Dry radishes thoroughly before battering.
Removing surface moisture helps the batter stick better and prevents oil splatter during frying. It also ensures a crisp coating rather than soggy patches, which can happen if water dilutes the batter.
Use cold sparkling water in the batter.
Cold temperature slows gluten formation, keeping the batter tender, while carbonation creates tiny bubbles that fry into a light, crispy crust. This technique is key to avoiding a heavy, greasy coating.
Maintain consistent oil temperature at 350°F.
Proper frying temperature ensures the radishes cook through while the batter crisps perfectly. Too hot oil burns the coating, too cool oil results in greasy fried food. A thermometer helps keep it steady.
Fry radishes in small batches.
Overcrowding the pan lowers oil temperature quickly, causing soggy, oily results. Small batches keep the oil hot and the coating crisp, producing evenly golden fried radishes.
Season immediately after frying.
Salt sticks best to hot food, enhancing flavor without making the coating soggy. Waiting too long allows oil to cool and salt to slide off, reducing taste impact.
Use a slotted spoon to drain excess oil.
Draining on paper towels removes residual oil that can weigh down the crispness. This step keeps the fried radishes light and crunchy.
Experiment with spices in the batter.
Adding spices like smoked paprika or garlic powder can elevate flavor, making the dish more complex. Just be careful not to overpower the radish’s natural peppery notes.
Common Mistakes to Avoid
Not drying radishes before frying.
Why it happens Many assume washing is enough, but leftover water causes batter to slip off and oil to splatter.
Fix Pat radishes completely dry with paper towels before dipping in batter. This helps the batter adhere and keeps frying safe and clean.
Using oil that’s too cool.
Why it happens Rushing the frying process or frying too many pieces at once lowers oil temperature.
Fix Use a thermometer to maintain 350°F and fry in small batches. This prevents greasy, soggy radishes.
Overmixing the batter.
Why it happens Eager cooks often mix batter too long, which develops gluten and deflates bubbles.
Fix Mix just until combined to keep batter light and bubbly for a crispy crust.
Skipping seasoning after frying.
Why it happens People often forget to salt immediately, thinking seasoning can wait.
Fix Season while radishes are hot so salt sticks and enhances flavor.
Overcrowding the frying pan.
Why it happens Trying to cook everything at once to save time.
Fix Fry in small batches to keep oil temperature stable and coating crisp.
Variations
Spicy Crispy Radishes
Add cayenne pepper or chili powder to the batter for a spicy kick. This variation adds warmth and depth, perfect for those who like a little heat. Serve with a cooling yogurt dip to balance the spice.
Note: Adjust seasoning carefully—too much spice can overwhelm the radish’s natural flavor.
Parmesan Crusted Radishes
Mix grated Parmesan cheese into the batter for a nutty, savory twist. The cheese crisps up beautifully, adding extra flavor and a golden color. Great as a sophisticated appetizer.
Note: Parmesan adds saltiness, so reduce added salt in the batter accordingly.
Gluten-Free Crispy Radishes
Use a gluten-free flour blend instead of all-purpose flour. This makes the recipe accessible for gluten-sensitive eaters while keeping the crispy texture intact.
Note: Gluten-free batter may be slightly less elastic; handle gently to avoid breaking the coating.
Herbed Batter Radishes
Add finely chopped fresh herbs like parsley, dill, or thyme to the batter for a fresh, aromatic flavor. This variation brightens the dish and pairs well with lemon wedges.
Note: Fresh herbs add moisture, so keep batter consistency balanced to maintain crispiness.
Beer-Battered Radishes
Substitute sparkling water with a light beer for a maltier, richer flavor and extra crispness. This version is great for casual gatherings or game day snacks.
Note: Beer adds yeast and sugars that brown faster; watch frying time to avoid burning.
Nutrition
Per Serving:
Nutritional values are estimates and may vary based on specific ingredients used.
Storage & Tips
Room Temperature
Crispy fried radishes can be kept at room temperature for up to 2 hours if covered loosely with foil or a clean kitchen towel to prevent moisture buildup.
Refrigerator
Store cooled fried radishes in an airtight container for up to 2 days. They may lose some crispness but can be reheated briefly in a hot oven or skillet to restore crunch.
Freezer
You can freeze fried radishes for up to 1 month. Arrange them in a single layer on a baking sheet to freeze before transferring to a freezer bag. Thaw in the fridge and reheat in the oven to crisp them up again.
Reheating
Reheat in a preheated oven at 375°F for 5-7 minutes or in a hot skillet with minimal oil. Avoid microwaving as it makes them soggy. Adding a splash of oil helps revive crispiness.
Make Ahead
Prepare the batter and trim radishes up to 1 day ahead and store separately. Fry radishes fresh on the day of serving for best texture and flavor.
FAQ
Can I use red radishes instead of white?
Absolutely! Red radishes work great and add a lovely color contrast when fried. Just trim and prepare them the same way. Their flavor is similar and they crisp up nicely.
What if I don’t have sparkling water?
You can substitute with cold still water or beer for a different flavor. The batter might be slightly less crispy without carbonation, but it will still taste delicious.
How do I know when the oil is the right temperature?
Use a cooking thermometer to reach 350°F. Alternatively, drop a small bit of batter in the oil—it should sizzle and float up quickly without browning immediately.
Can I bake the radishes instead of frying?
Baking is possible but won’t yield the same crispiness. Coat radishes in batter or breadcrumbs and bake at a high temperature, turning halfway, but expect a softer texture.
Why did my batter fall off the radishes?
This usually happens if the radishes are wet or if the batter is too thin. Make sure radishes are dry and batter has enough flour to coat properly. Don’t overload with batter.
Can I add other vegetables to this batter?
Yes! Vegetables like green beans, zucchini, or mushrooms work well. Adjust frying time based on the vegetable’s size and moisture content.
Is there a way to make this recipe vegan?
This recipe is naturally vegan as it uses plant-based ingredients. Just ensure your sparkling water and oil are vegan-friendly, which they typically are.
How do I keep the fried radishes crispy after frying?
Drain them on paper towels immediately and avoid stacking them while hot. Serve promptly or reheat in a hot oven or skillet to refresh crispness.
Final Thoughts
Give these crispy fried radishes a try—you might just find your new favorite snack! I’d love to hear how yours turn out, so don’t forget to share your results.