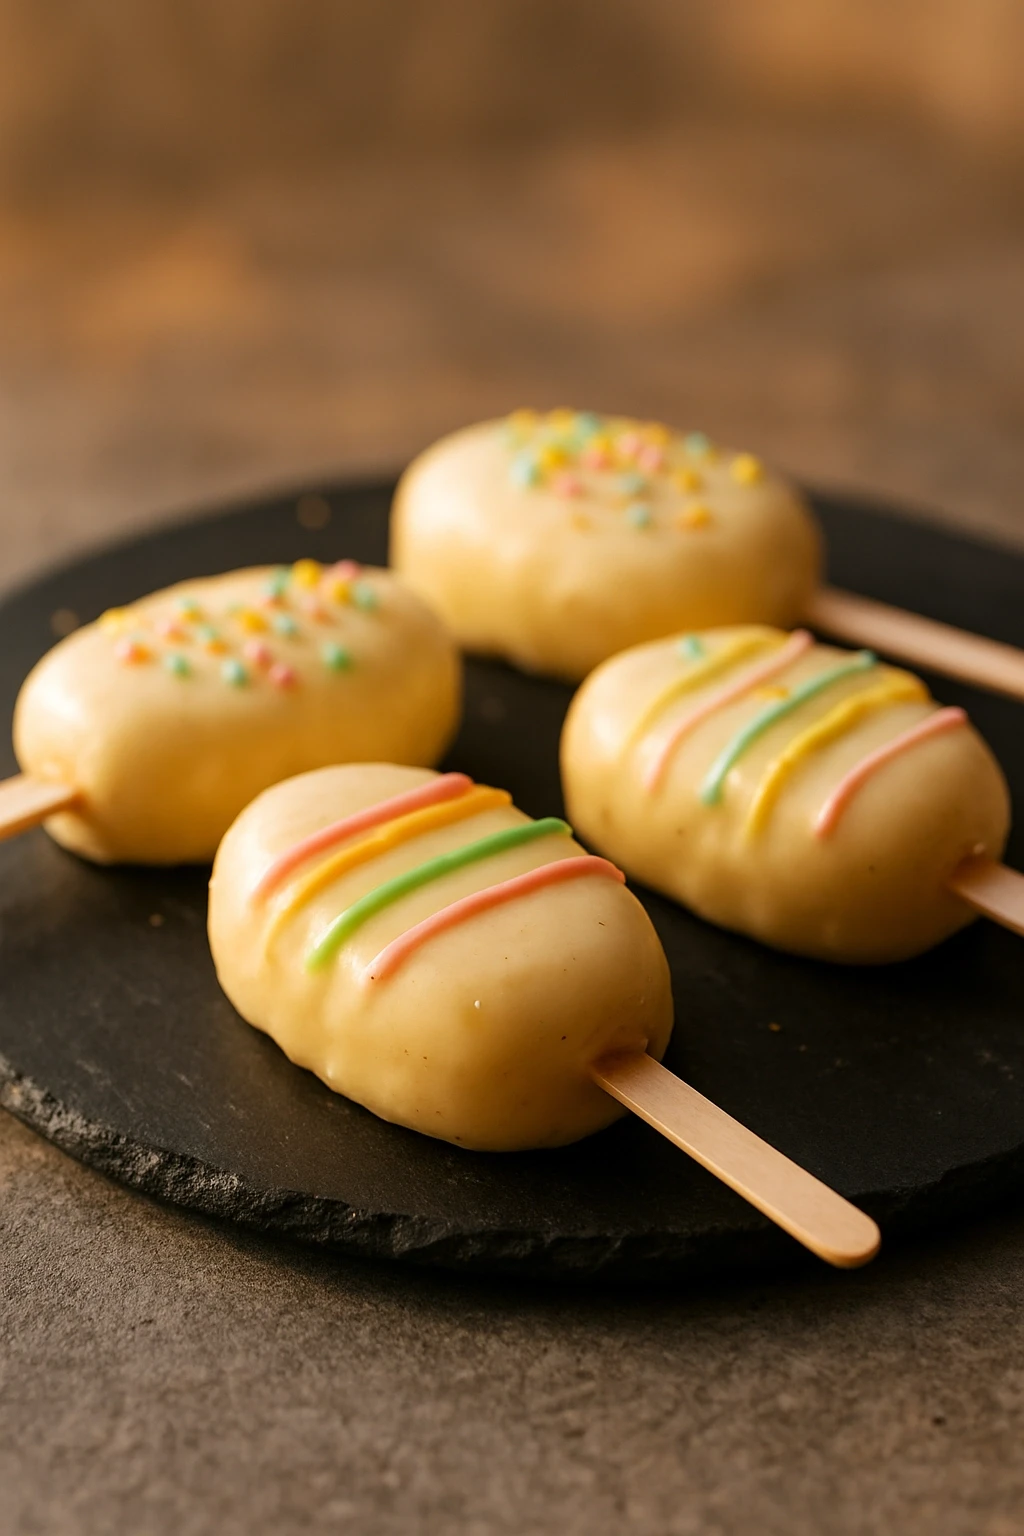
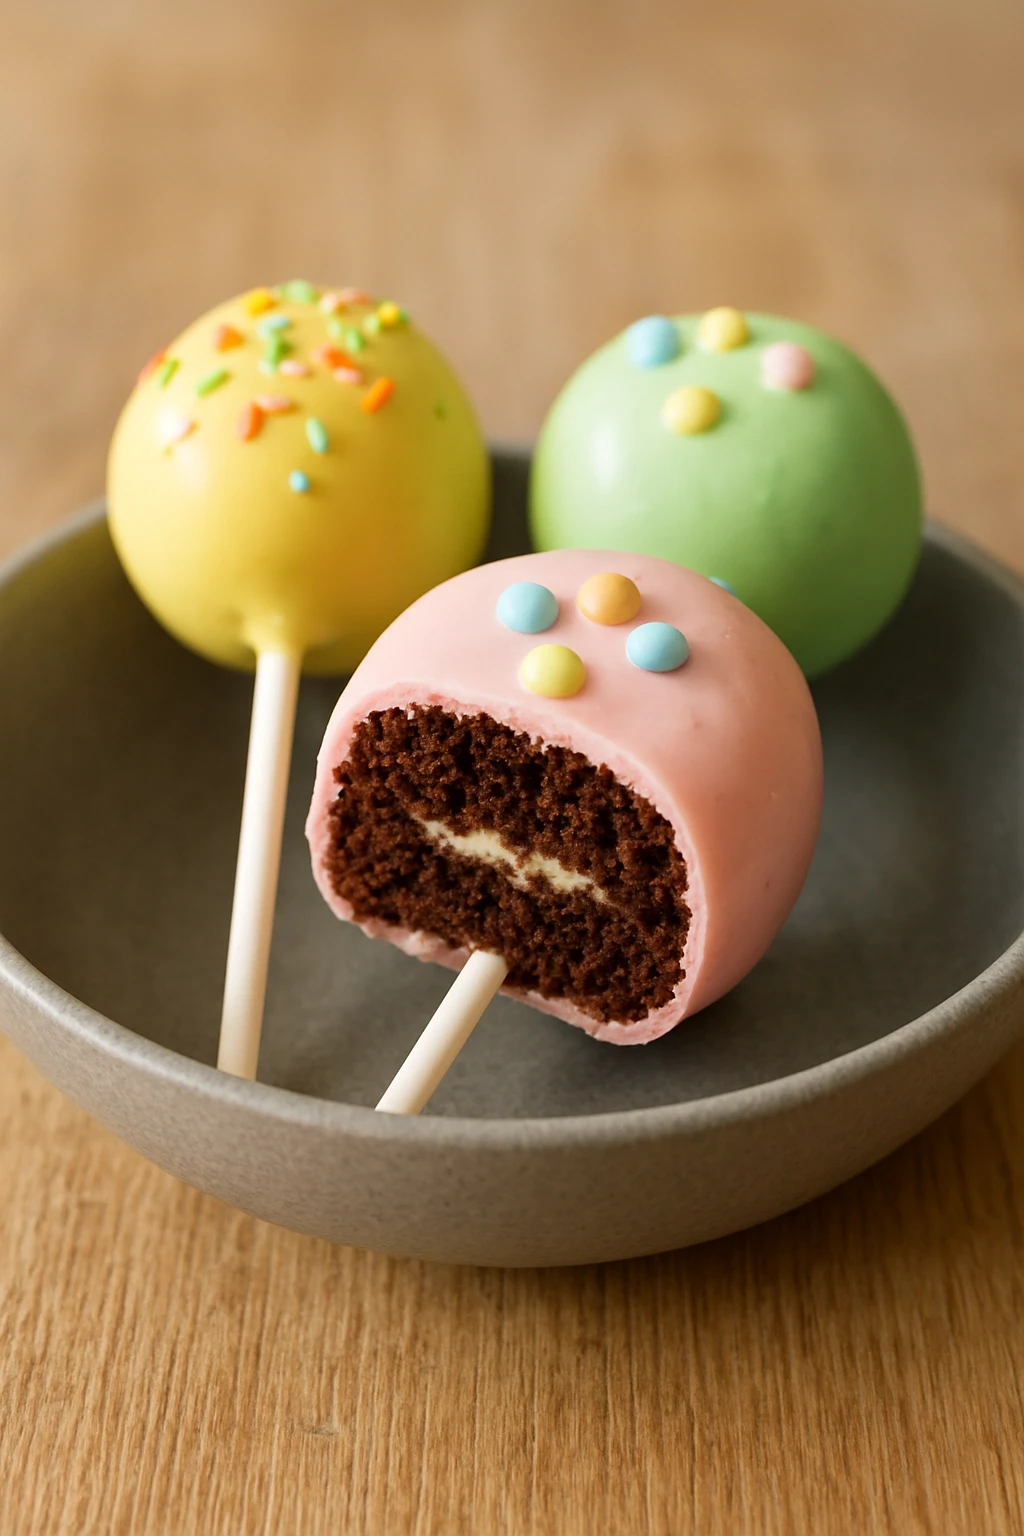
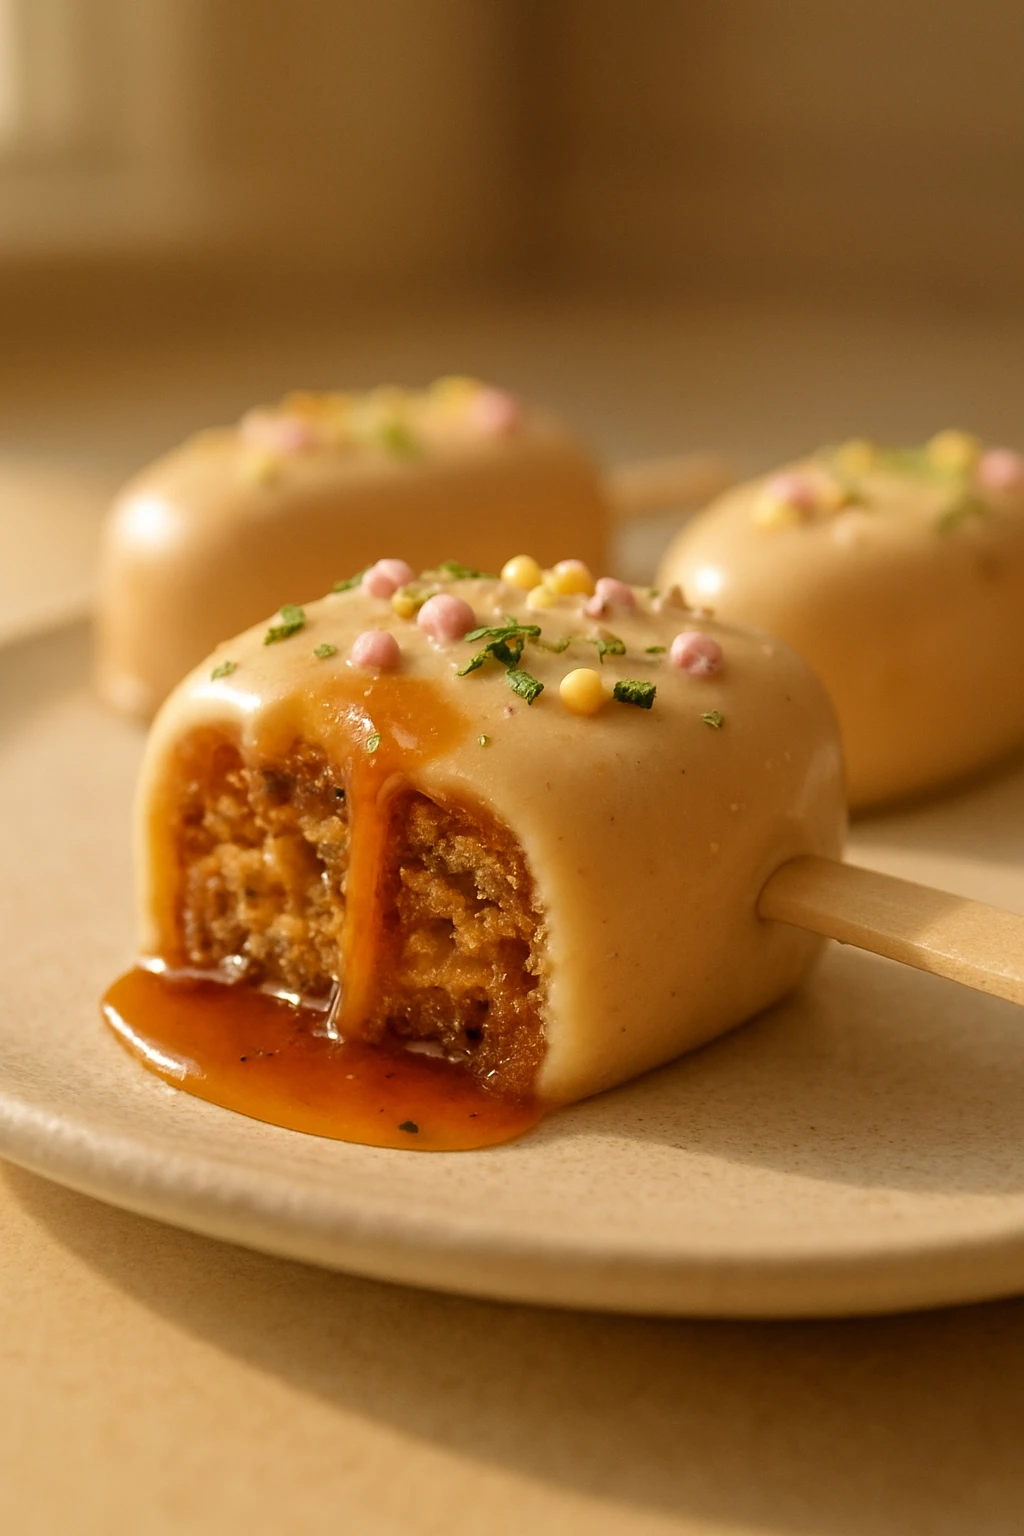
These delightful DIY Easter cakesicles are a fun twist on traditional treats. With a creamy filling and colorful coating, they're perfect for spring celebrations or as gifts!
Introduction
I stumbled upon the idea of cakesicles while scrolling through social media one evening, and I was immediately captivated. The concept of combining cake and popsicles into a fun, portable treat seemed too good to resist! I decided to give it a go for Easter, and let me tell you, these little delights have quickly become a family favorite. What sets my version apart is the creamy buttercream filling that just melts in your mouth, paired with a colorful chocolate coating that’s perfect for the holiday. Plus, they're surprisingly easy to make! The trick is to ensure that your cake is fully cooled before mixing in the frosting; otherwise, you'll end up with a gooey mess instead of a delightful filling. Trust me, once you take a bite, you'll be hooked!
What You'll Need
Approximately 12 cakesicles
- 1 box of vanilla cake mix
- 3 large eggs
- 1/2 cup vegetable oil
- 1 cup water
- 1 cup buttercream frosting
- 1 cup white chocolate chips
- 1 tablespoon coconut oil
- Food coloring (various colors)
- Sprinkles (optional)
How To Do It
Step 1
Start by preheating your oven to 350°F (175°C). Greasing your cake pans is essential to prevent sticking. I like to use parchment paper at the bottom of the pan for extra insurance. Once the oven is hot, mix the cake batter according to the box instructions, combining the cake mix, eggs, oil, and water. This step is crucial because a well-mixed batter ensures an even rise and texture. Watch for any lumps, as they can lead to uneven baking. Pour the batter into the prepared pans, filling them about two-thirds full.
⏱ Time: 10 minutes
✓ Doneness: The cake should be golden brown and a toothpick inserted into the center comes out clean.
Step 2
Bake the cakes for about 20 minutes or until they are fully set. Keep an eye on them to ensure they don’t overbake, as dry cakes won’t hold up well when mixing with frosting. When they’re done, let them cool in the pans for about 10 minutes before transferring them to a wire rack to cool completely. This cooling process is vital because it prevents the frosting from melting when mixed in. If you skip this step, you’ll end up with a mushy filling instead of a delightful, creamy texture.
⏱ Time: 20 minutes
✓ Doneness: The cakes should feel firm to the touch and spring back slightly when pressed.
Step 3
Once the cakes are completely cool, crumble them into a large bowl. This is where the fun begins! Add in the buttercream frosting and mix until fully combined. You want a consistency that holds together when pressed, but isn’t overly sticky. If it feels too dry, add a little more frosting, but be careful not to overdo it. The right balance will make your cakesicles rich and moist. I usually use my hands for this step; it’s the best way to ensure everything is mixed evenly.
⏱ Time: 5 minutes
✓ Doneness: The mixture should hold together when squeezed and have a uniform color.
Step 4
Next, take a molds for cakesicles and pack the mixture tightly into each cavity. This step is key for getting that perfect shape. I like to use a small spatula to press the mixture down firmly, ensuring there are no air pockets. If you have a little extra, you can always make mini ones or just enjoy the leftover mixture! Once filled, insert the sticks and freeze for at least 2 hours. Freezing is essential for setting the cakesicles, so don’t rush this step.
⏱ Time: 2 hours
✓ Doneness: The cakesicles should be solid and hold their shape when removed from the mold.
Step 5
While the cakesicles are freezing, melt the white chocolate chips with the coconut oil in a microwave-safe bowl. Heat in short bursts, stirring in between, until smooth. The coconut oil helps to thin out the chocolate for easier dipping. Be cautious not to overheat, as burnt chocolate can’t be saved. Once melted, divide the chocolate into separate bowls and add food coloring to create vibrant hues. This is where you can get creative! I like to use pastel colors for Easter.
⏱ Time: 5 minutes
✓ Doneness: The chocolate should be smooth and pourable without any lumps.
Step 6
Once the cakesicles are fully frozen, carefully remove them from the molds. Dip each cakesicle into the melted chocolate, ensuring it’s fully coated. Allow any excess chocolate to drip off before placing them on a parchment-lined tray. If you want to add sprinkles, do it while the chocolate is still wet so they stick nicely. This step adds a fun crunch and a pop of color to your treats. If the chocolate hardens too quickly, you can reheat it gently to make it easier to work with.
⏱ Time: 15 minutes
✓ Doneness: The chocolate should be glossy and adhere well to the cakesicle.
Step 7
Finally, let the decorated cakesicles set at room temperature for about 30 minutes, or until the chocolate is firm. If you’re in a hurry, you can pop them back in the fridge for a quicker set. Once they’re ready, serve them up at your Easter gathering or package them as gifts! These cakesicles are not only visually stunning but also deliciously moist and sweet, making them a hit with everyone. Plus, they’re a fun project to do with kids or friends!
⏱ Time: 30 minutes
✓ Doneness: The chocolate should be fully hardened, and the cakesicles should feel firm.
Pro Tips
Use room temperature ingredients for better mixing.
Room temperature ingredients blend more easily, resulting in a smoother batter. Cold ingredients can lead to lumps and uneven textures, which can affect the final product.
Don’t skip the cooling step for the cake.
If the cake is still warm when mixed with frosting, it can cause the frosting to melt and create a gooey mess. Allowing the cake to cool completely ensures a perfect filling consistency.
Press the cake mixture firmly into the molds.
Packing the mixture tightly helps the cakesicles hold their shape when frozen. If they’re too loose, they may fall apart during the dipping process.
Add a splash of vanilla extract to the chocolate.
This enhances the flavor of the chocolate coating, making it more delicious. A little vanilla goes a long way in elevating the overall taste of the cakesicle.
Experiment with different food coloring.
Using a variety of colors not only makes your cakesicles more festive but also allows for creativity in presentation. Just remember to use gel colors for the best results.
Let the cakesicles set completely before serving.
This ensures the chocolate coating is firm and prevents any unwanted mess when biting into them. Patience is key for the perfect treat!
Common Mistakes to Avoid
Not cooling the cake completely before mixing.
Why it happens Many cooks are eager to get to the fun part and skip the cooling step, thinking it won't matter.
Fix Always allow the cake to cool completely on a wire rack before crumbling. This prevents the frosting from melting and ensures a nice filling consistency.
Overmixing the cake and frosting mixture.
Why it happens It's easy to think more mixing equals better results, but that's not the case here.
Fix Mix just until combined. Overmixing can lead to a dense texture that won't hold together well in the molds.
Using chocolate that isn't meant for melting.
Why it happens Some cooks may grab regular chocolate bars, thinking they will work just as well.
Fix Always use chocolate chips or melting chocolate specifically designed for coating. This ensures a smooth, even coating that hardens properly.
Not packing the mixture tightly into molds.
Why it happens Cooks may underestimate the importance of this step, thinking a loose pack will be fine.
Fix Press the mixture firmly into the molds to avoid air pockets, which can cause the cakesicles to crumble.
Variations
Chocolate Cakesicles
Swap out the vanilla cake mix for chocolate cake mix for a rich twist. You can also use chocolate frosting to enhance the flavor. This variation is perfect for chocolate lovers and adds a different layer of flavor.
Note: Ensure the chocolate coating is dark or milk chocolate to complement the cake's richness.
Fruit-Filled Cakesicles
Add a layer of fruit preserves or fresh fruit pieces to the filling for a refreshing twist. Strawberry or raspberry preserves work wonderfully and add a burst of flavor with each bite.
Note: If using fresh fruit, chop it finely and mix it in with the cake and frosting for even distribution.
Nutty Cakesicles
Incorporate crushed nuts like almonds or walnuts into the filling for added texture and flavor. This gives the cakesicles a delightful crunch and a nutty richness that pairs well with the sweetness.
Note: Be mindful of allergies when serving these, and chop the nuts finely to avoid large chunks.
Lemon Zest Cakesicles
Add lemon zest to the cake mixture for a bright, citrusy flavor. This variation is perfect for springtime and adds a refreshing note that balances the sweetness beautifully.
Note: Adjust the frosting to include lemon juice for a cohesive flavor profile.
Nutrition
Per Serving:
Nutritional values are estimates and may vary based on specific ingredients used.
Storage & Tips
Room Temperature
Cakesicles can be left at room temperature for about 2 hours before they start to soften. Keep them covered to prevent drying out.
Refrigerator
Store in an airtight container in the fridge for up to 5 days. The texture may change slightly, becoming a bit firmer but still delicious.
Freezer
Freeze for up to 3 months. Wrap each cakesicle individually in plastic wrap and then place them in a freezer-safe bag to prevent freezer burn.
Reheating
There's no need to reheat cakesicles, as they are best enjoyed frozen or chilled. If they become too soft, simply pop them back in the freezer for a bit.
Make Ahead
You can prepare the cake and filling a day in advance. Just store the cake in the fridge and assemble the cakesicles the next day for a quicker process.
FAQ
Can I use a different type of cake mix?
Absolutely! You can use any flavor of cake mix you like, such as chocolate, red velvet, or even funfetti. Just keep in mind that the flavor of the cake will influence the overall taste of the cakesicles.
How do I prevent the chocolate from cracking?
To prevent cracking, ensure the cakesicles are fully frozen before dipping. Also, let the chocolate cool slightly before dipping to avoid thermal shock, which can cause cracks.
Can I make these gluten-free?
Yes! Just substitute the vanilla cake mix with a gluten-free version. Many brands offer gluten-free cake mixes that work just as well, and you won't lose any of the delicious flavor.
What should I do if my cakesicles are too soft?
If your cakesicles are too soft to dip, simply place them back in the freezer for a bit longer. They need to be very firm to hold their shape during the coating process.
How can I make these dairy-free?
To make these cakesicles dairy-free, use a dairy-free cake mix and frosting. There are many great alternatives available that taste fantastic and will still yield delicious results.
Final Thoughts
I hope you give these Easter cakesicles a try! They’re a fun and festive treat that will definitely impress your friends and family. Don’t forget to share your creations with me!