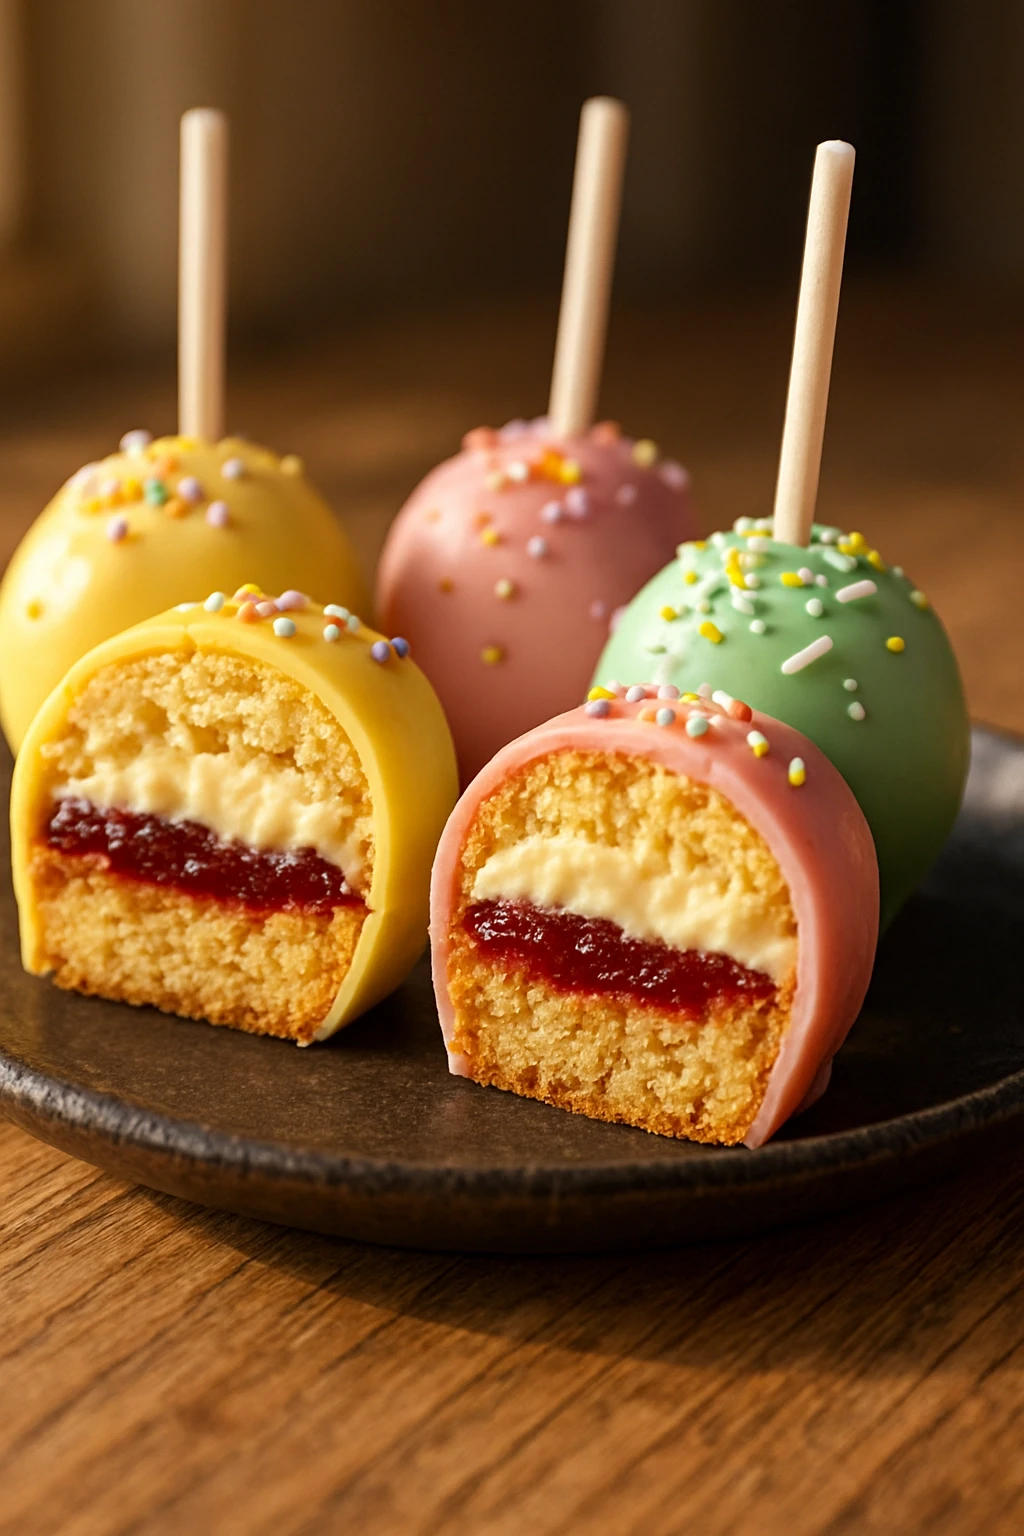
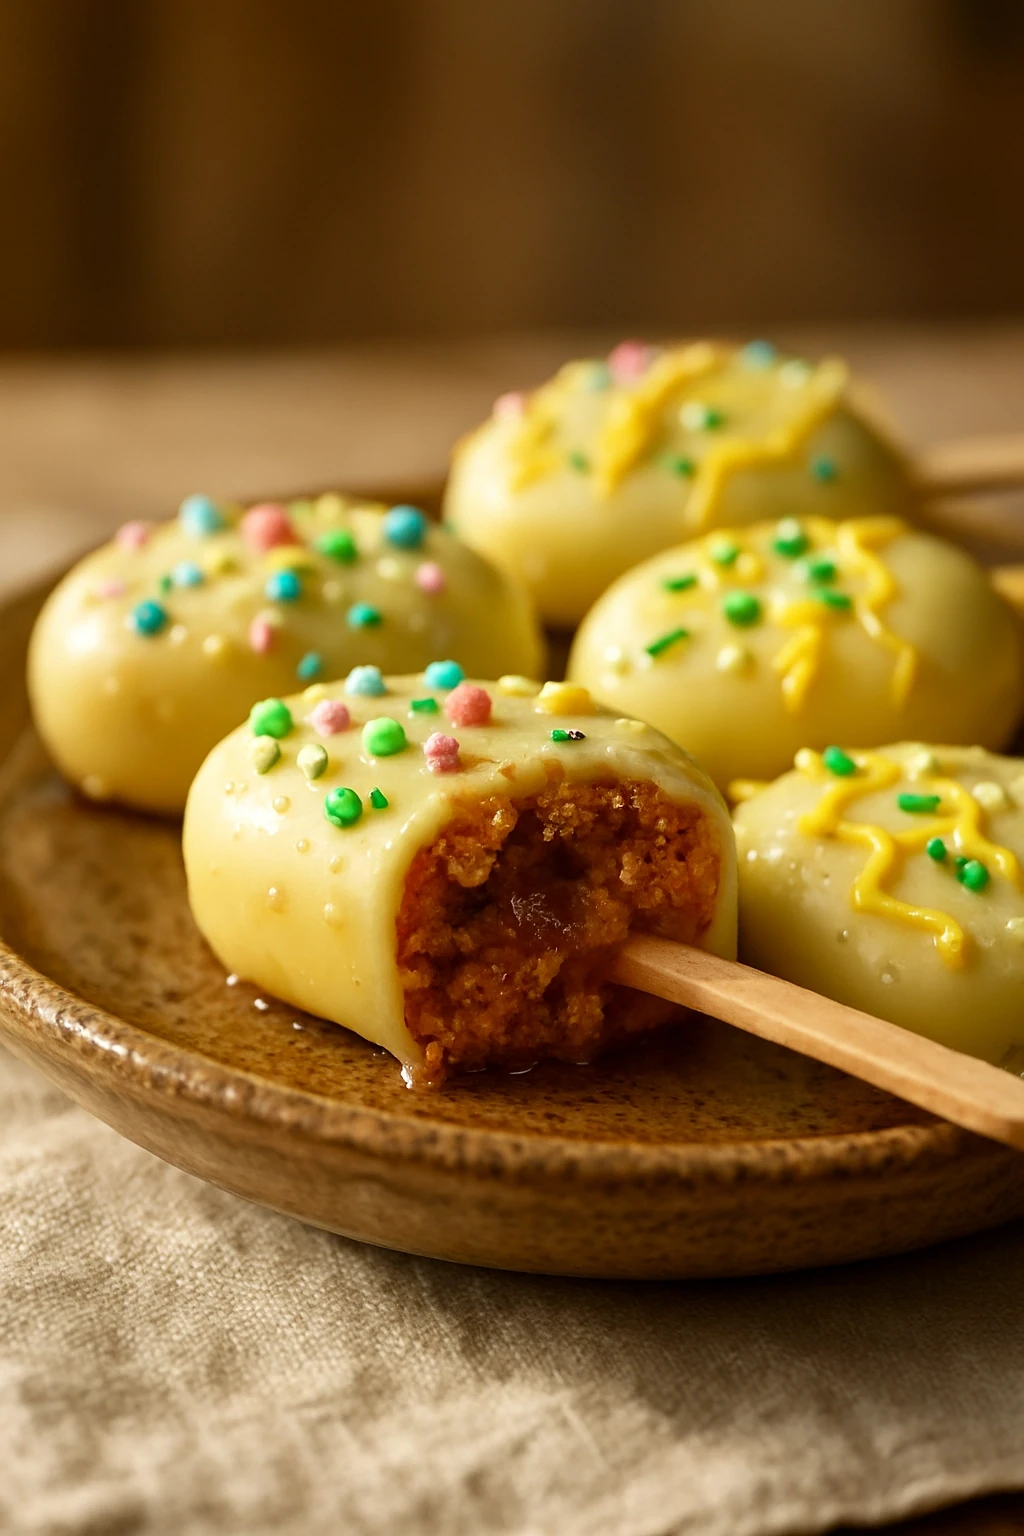
These fun Easter cakesicles are a delightful treat for kids and adults alike. Made with moist cake and creamy frosting, they're perfect for spring celebrations!
Introduction
I first discovered cakesicles when I was looking for a fun way to use up leftover cake from a birthday party. These little treats are not just cute; they're incredibly easy to make, and kids absolutely love them! What sets my version apart is the use of a moist vanilla cake paired with creamy buttercream frosting, all coated in a luscious layer of white chocolate. The best part? You can customize them with any sprinkles or decorations you like, making them perfect for Easter or any festive occasion. Trust me, once you take a bite, you'll be hooked on this delightful combination of cake and frosting on a stick!
What You'll Need
Approximately 12 cakesicles
- 1 box vanilla cake mix
- 3 large eggs
- 1/2 cup vegetable oil
- 1 cup water
- 1 cup buttercream frosting
- 1 cup white chocolate chips
- Sprinkles for decoration
- Lollipop sticks
How To Do It
Step 1
Preheat your oven to 350°F (175°C) and prepare a 9x13 inch baking pan by greasing it. This step is crucial because a well-greased pan prevents the cake from sticking and ensures that it comes out perfectly. Also, make sure your oven is fully preheated; otherwise, the cake might not rise properly. A common mistake is to skip this step, leading to uneven baking.
⏱ Time: 5 minutes
✓ Doneness: The pan should be lightly greased and ready for batter.
Step 2
In a large mixing bowl, combine the cake mix, eggs, vegetable oil, and water. Mix on medium speed for about 2 minutes until the batter is smooth. This step is important because it incorporates air into the batter, helping the cake rise nicely. If you overmix, the cake can become tough, so be gentle once everything is combined.
⏱ Time: 2 minutes
✓ Doneness: The batter should be smooth with no lumps.
Step 3
Pour the batter into the prepared baking pan and spread it evenly. Bake in the preheated oven for 25-30 minutes, or until a toothpick inserted in the center comes out clean. Baking time can vary based on your oven, so keep an eye on it. A common mistake is to open the oven door too early, which can cause the cake to collapse.
⏱ Time: 30 minutes
✓ Doneness: A toothpick should come out clean when inserted in the center.
Step 4
Once baked, let the cake cool in the pan for about 10 minutes before transferring it to a wire rack to cool completely. Cooling is vital because it allows the cake to firm up, making it easier to handle when you’re ready to make the cakesicles. If you skip this step, the cake might crumble when you cut it.
⏱ Time: 10 minutes
✓ Doneness: The cake should be cool to the touch.
Step 5
Once the cake is completely cool, crumble it into a large bowl. Add the buttercream frosting and mix until fully combined. The mixture should be moist but not too sticky. This step is where the magic happens; the frosting binds the cake together, making it easy to mold into shapes. If the mixture feels too dry, add a bit more frosting until you achieve the right consistency.
⏱ Time: 5 minutes
✓ Doneness: The mixture should hold together when pressed.
Step 6
Scoop out portions of the cake mixture and shape them into small rectangles, about the size of a popsicle. Insert a lollipop stick into each cakesicle and place them on a parchment-lined baking sheet. This step is essential for a clean presentation; ensure the sticks are inserted firmly so they don’t fall out during dipping. If they’re too soft, chill them in the fridge for about 15 minutes to firm up.
⏱ Time: 10 minutes
✓ Doneness: Cakesicles should hold their shape on the baking sheet.
Step 7
Melt the white chocolate chips in a microwave-safe bowl in 30-second intervals, stirring in between until smooth. Dip each cakesicle into the melted chocolate, allowing any excess to drip off, then decorate with sprinkles. This final touch adds color and fun! The chocolate coating not only makes them look beautiful but also adds a delicious crunch. Be careful not to let the chocolate harden before dipping; you want it to be fluid for a smooth coating.
⏱ Time: 10 minutes
✓ Doneness: The chocolate should be smooth and shiny.
Pro Tips
Chill the cakesicles before dipping.
Chilling helps the cakesicles firm up, making them easier to dip in chocolate without falling apart. If they're too soft, they can break off the sticks. A quick chill can make a world of difference!
Use a double boiler for melting chocolate.
A double boiler provides gentle heat, preventing the chocolate from burning. If you melt chocolate too quickly in the microwave, it can seize up and become unusable. This method ensures a smooth melt every time.
Add flavoring to the chocolate.
Consider adding a splash of vanilla or almond extract to your melted chocolate for an extra layer of flavor. This can elevate the overall taste of your cakesicles. Just be careful not to add too much liquid, as it can cause the chocolate to seize.
Experiment with different coatings.
Try using colored candy melts or dark chocolate for a different flavor and look. Each type of chocolate will give your cakesicles a unique taste and visual appeal. Plus, it keeps things fun and exciting in the kitchen!
Use a piping bag for decorating.
If you want to create intricate designs with your chocolate or frosting, using a piping bag allows for more precision. This can make your cakesicles look even more professional and appealing. It’s a simple technique that can really impress!
Common Mistakes to Avoid
Not letting the cake cool completely.
Why it happens Many cooks are eager to get to the fun part and rush the cooling process, thinking it won’t matter. However, a warm cake can crumble easily when you try to shape it.
Fix Make sure to let the cake cool at room temperature until it’s completely cool to the touch. This will help ensure your cakesicles hold their shape and don’t fall apart.
Dipping cakesicles in chocolate that’s too hot.
Why it happens It’s tempting to use the microwave to melt chocolate quickly, but overheating can cause it to lose its smooth texture. This can ruin the coating and make it difficult to work with.
Fix Always melt chocolate slowly, either in a double boiler or in short bursts in the microwave. Aim for a temperature just warm enough to melt but not so hot that it changes the texture.
Using too much frosting in the mixture.
Why it happens It’s easy to think more frosting means more flavor, but too much can make the mixture too wet, leading to cakesicles that won’t hold their shape.
Fix Start with a smaller amount of frosting and gradually add more until you achieve the right consistency. The mixture should be moist but firm enough to hold together when shaped.
Skipping the sprinkles.
Why it happens Some might think sprinkles are just for decoration, but they add a fun crunch and visual appeal that makes these treats special.
Fix Don’t skip the sprinkles! They’re not just for looks; they enhance the overall texture and taste. Plus, they make your cakesicles festive and fun!
Variations
Chocolate Cake Cakesicles
Swap the vanilla cake mix for chocolate cake mix for a rich and decadent twist. This variation is perfect for chocolate lovers and pairs beautifully with chocolate frosting.
Note: Ensure the chocolate frosting is thick enough to hold the cake mixture together; you may need to adjust the amount slightly.
Red Velvet Cakesicles
Use red velvet cake mix and cream cheese frosting for a festive and flavorful cakesicle. This variation is not only delicious but also visually striking, perfect for special occasions.
Note: Keep an eye on the baking time, as red velvet can sometimes bake faster than traditional vanilla cake.
Fruit-Flavored Cakesicles
Incorporate pureed fruit like strawberries or raspberries into the cake batter for a fruity flavor. This adds a refreshing twist and a pop of color to your cakesicles.
Note: Adjust the baking time as needed, since adding fruit can change the moisture level in the batter.
Nutty Cakesicles
Add chopped nuts, like walnuts or pecans, into the cake mixture for added texture and flavor. This variation is great for those who enjoy a little crunch in their treats.
Note: Be cautious not to add too many nuts, as they can make the mixture difficult to shape.
Nutrition
Per Serving:
Nutritional values are estimates and may vary based on specific ingredients used.
Storage & Tips
Room Temperature
Cakesicles can be kept at room temperature for up to 2 hours. Make sure to cover them with plastic wrap to prevent drying out.
Refrigerator
Store in an airtight container in the refrigerator for up to 5 days. They taste great cold, but the chocolate may lose some of its shine.
Freezer
These cakesicles can be frozen for up to 2 months. Wrap each one in plastic wrap and then place them in a freezer-safe bag to prevent freezer burn.
Reheating
There's no need to reheat these treats; they’re best enjoyed cold or at room temperature. If frozen, let them thaw in the fridge for a few hours before serving.
Make Ahead
You can prepare the cakesicles up to 2 days in advance. Shape them and dip in chocolate, then store in the fridge until you're ready to serve.
FAQ
Can I use gluten-free cake mix?
Absolutely! Just make sure to follow the instructions on the gluten-free cake mix box, as they may require different liquid ratios or baking times. The texture may vary slightly, but they’ll still be delicious!
What can I use instead of frosting?
If you want a lighter option, you can use whipped cream or a yogurt-based frosting. Just keep in mind that this may change the overall sweetness and texture, so adjust the cake mixture accordingly.
How do I prevent the chocolate from cracking?
To avoid cracking, ensure the cakesicles are well-chilled before dipping and that the chocolate is at the right temperature. If the chocolate is too hot, it can cause the cakesicles to melt slightly, leading to cracks as they cool.
Can I make these without lollipop sticks?
Yes! You can simply serve them as cakesicle bites on a plate instead of on sticks. They’re just as delicious and perfect for sharing at parties.
How do I store leftover cakesicles?
Store any leftover cakesicles in an airtight container in the fridge for up to 5 days. They can also be frozen for longer storage; just make sure to wrap them well to prevent freezer burn.
Final Thoughts
I hope you give these Easter cakesicles a try! They’re not only fun to make but also a hit with kids and adults alike. Don’t forget to share your creations with me!