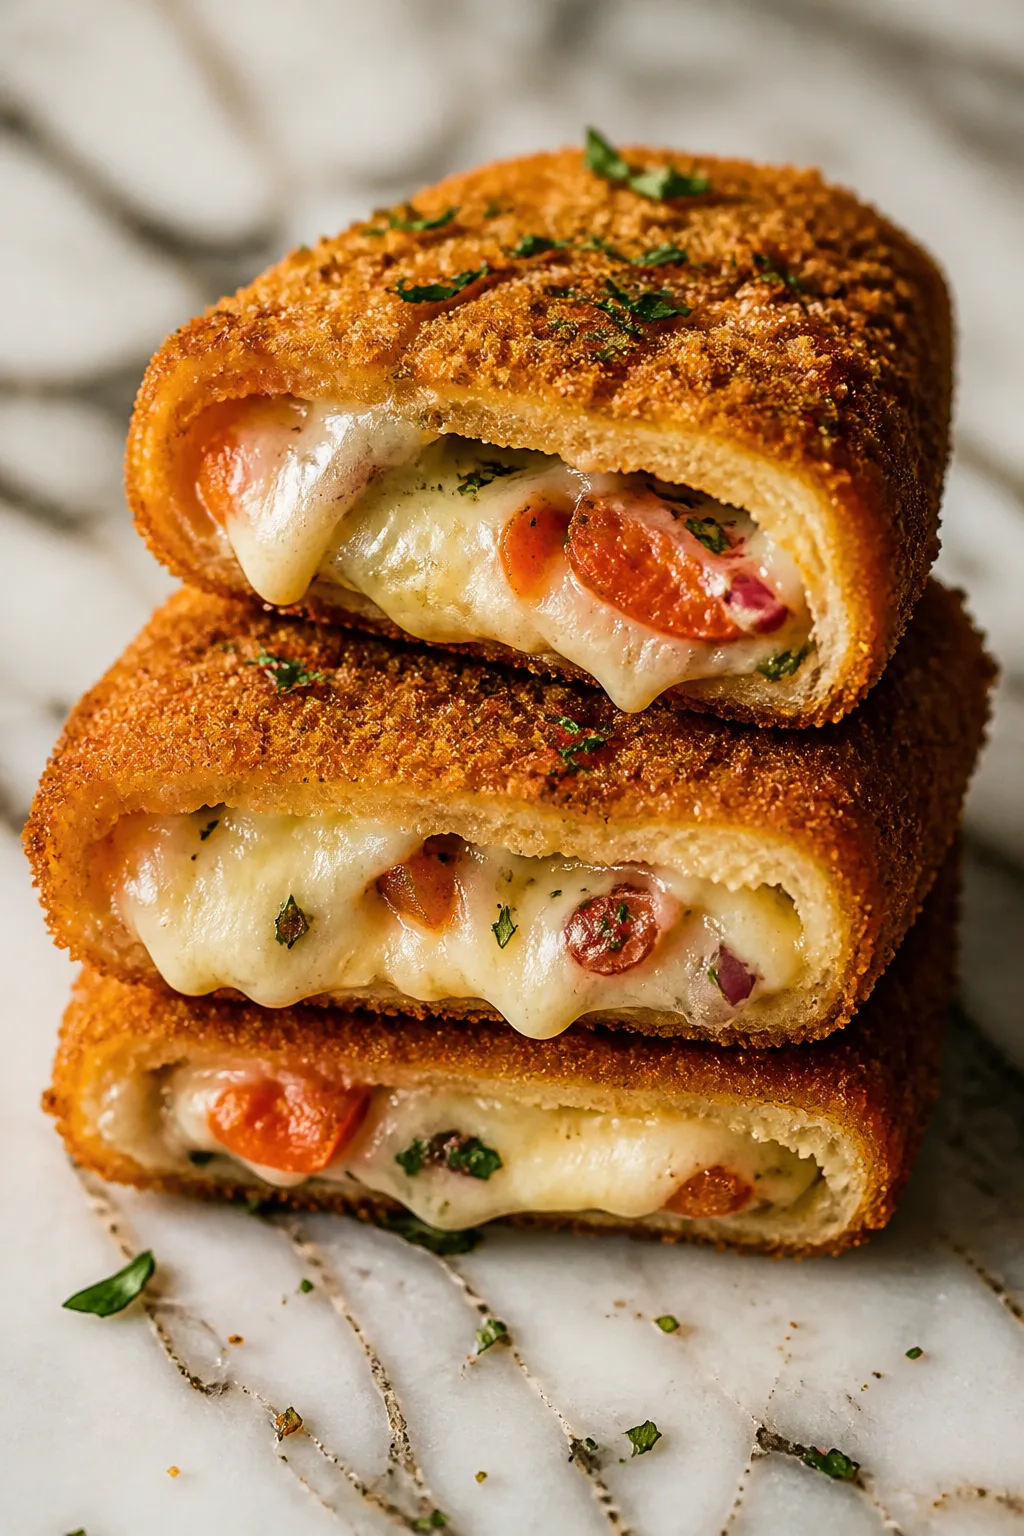
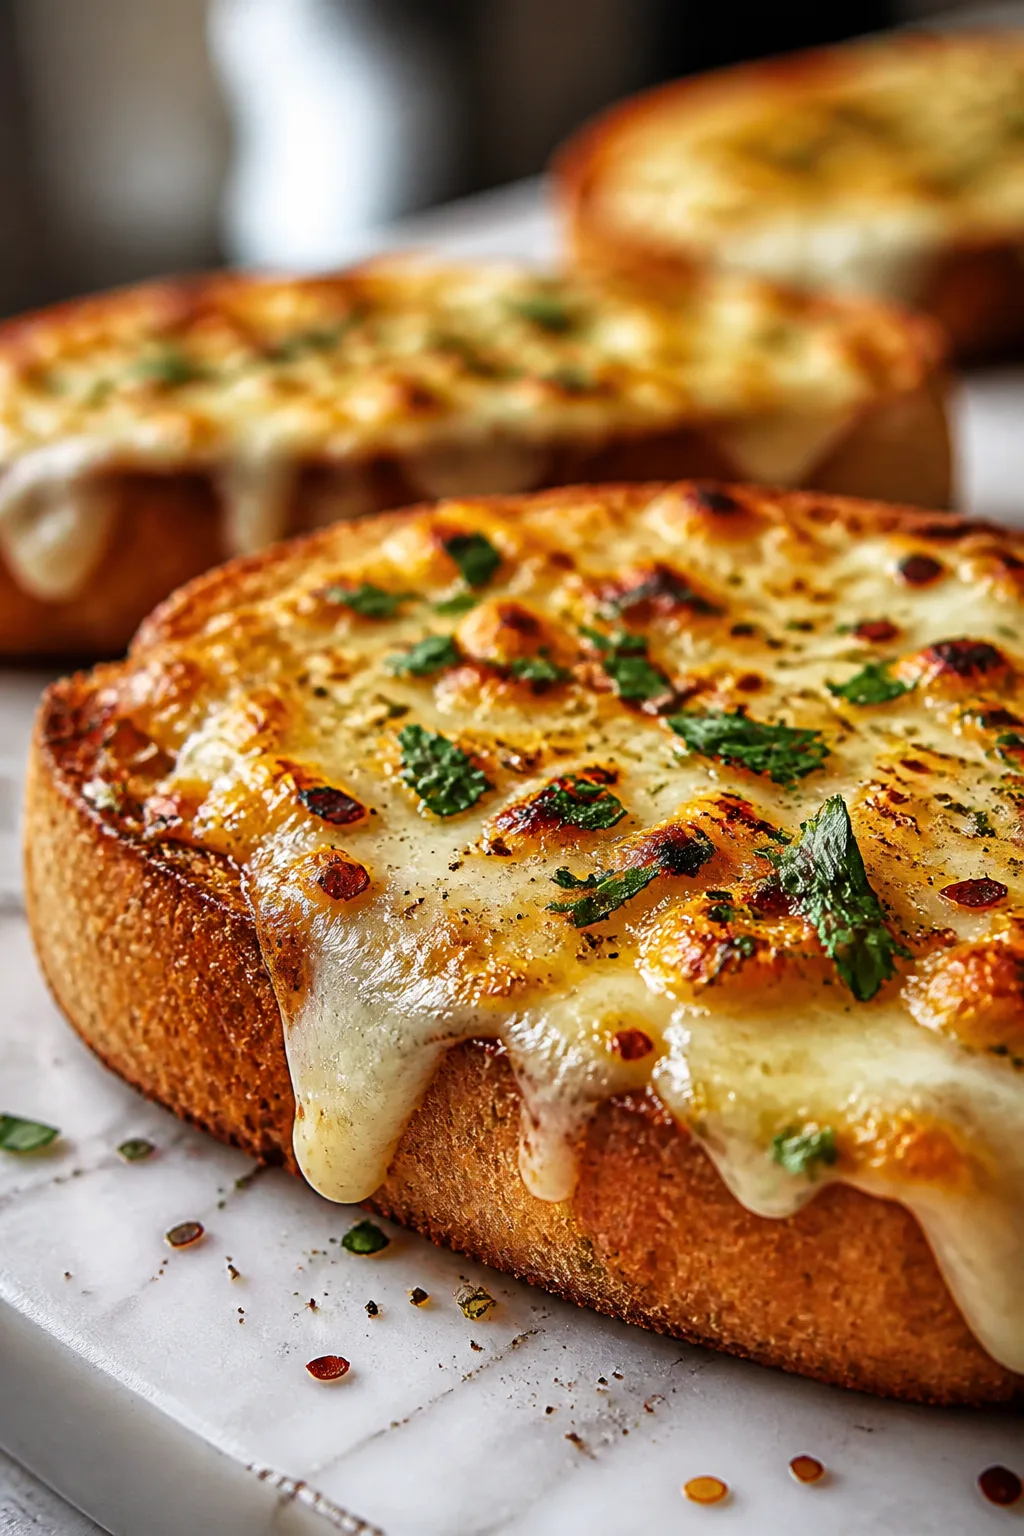
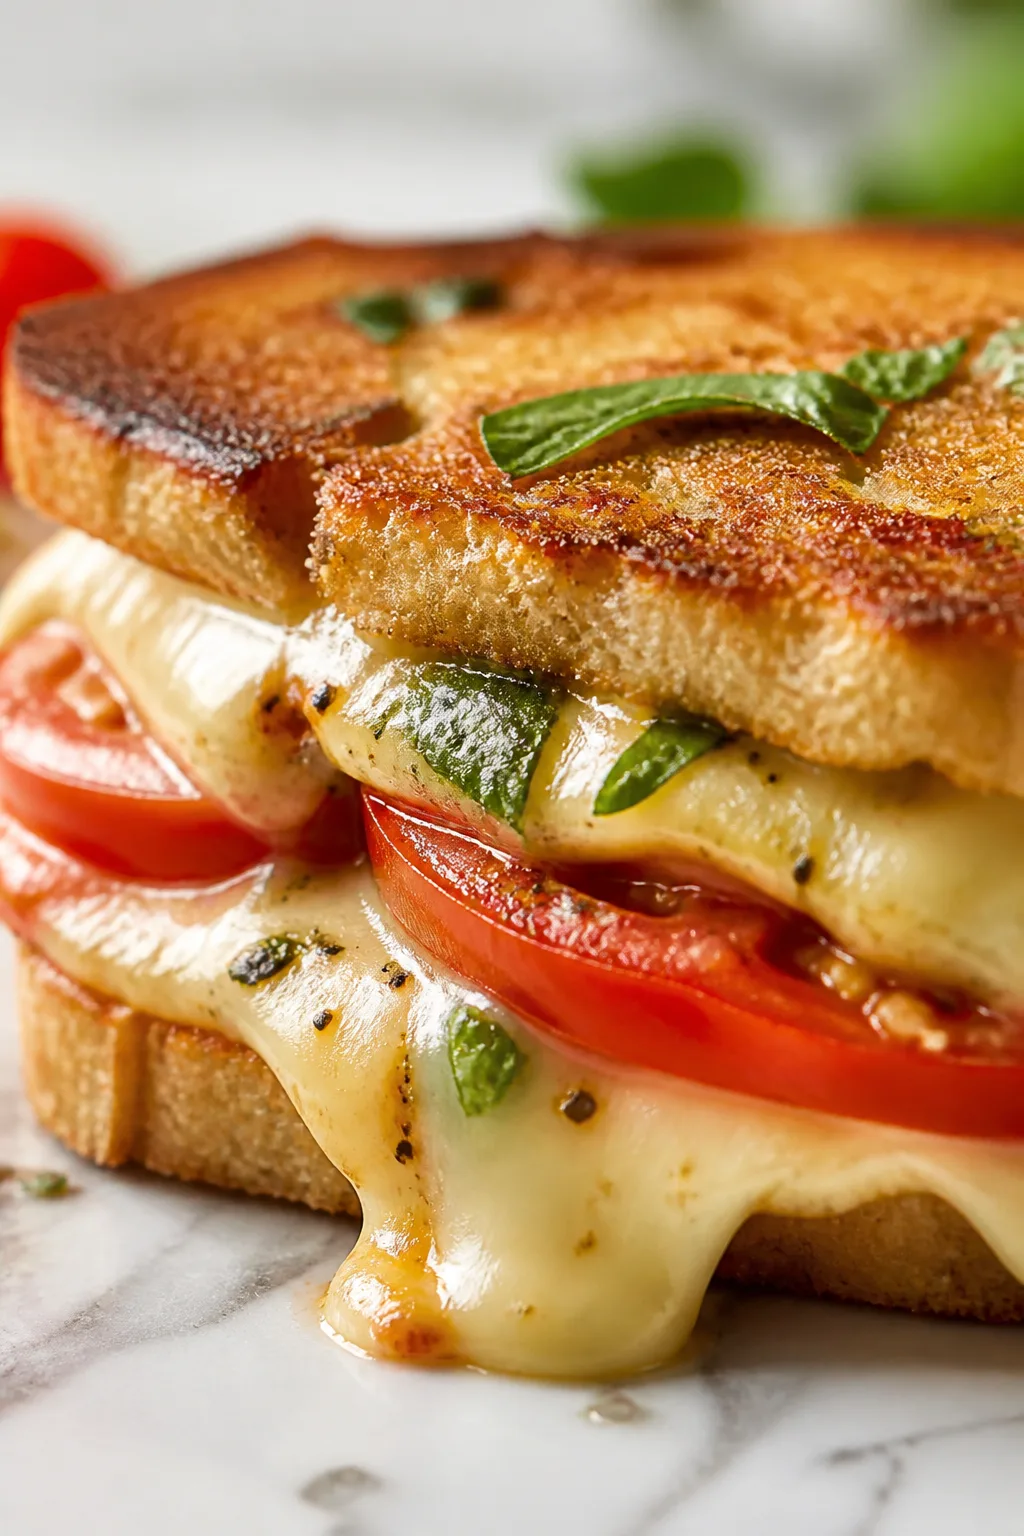
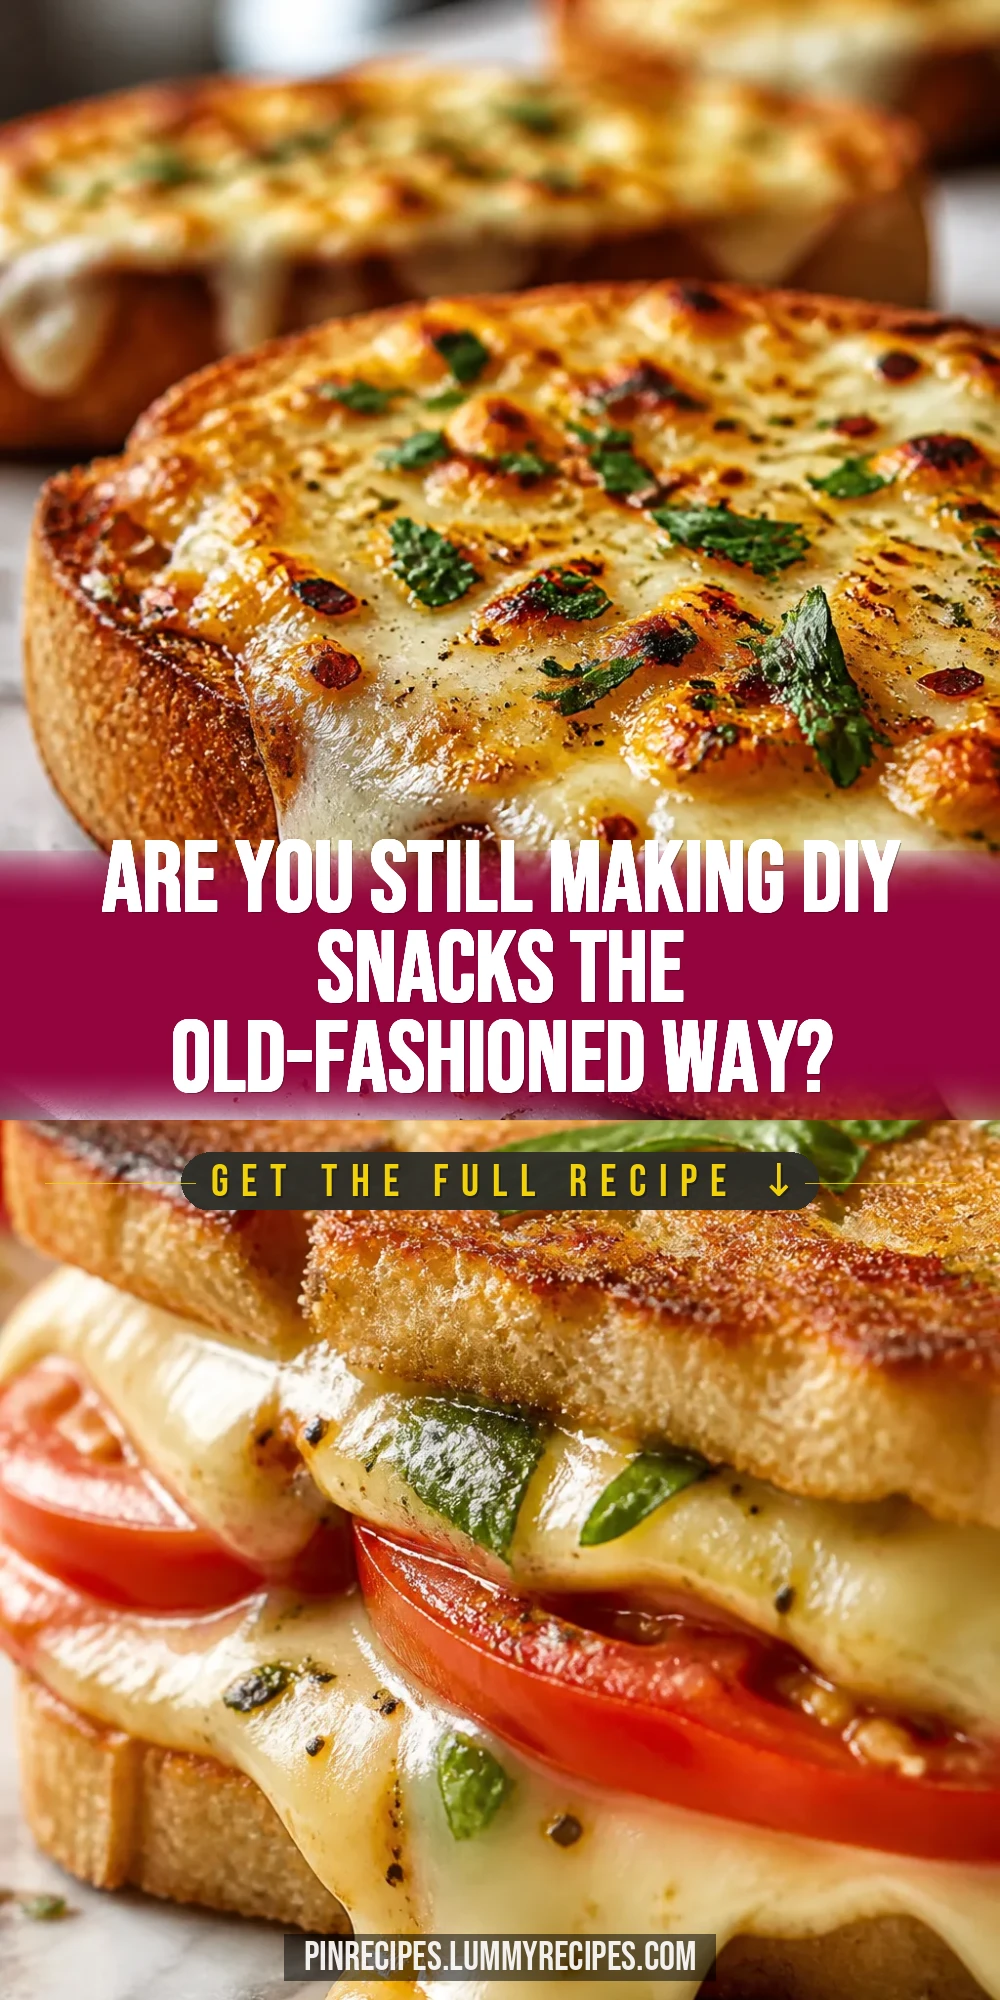
These DIY snack recipes are perfect for when you want something tasty and homemade without fuss. I love adding a little spice or sweet twist to keep things interesting. Great for afternoon munchies or a quick bite!
Introduction
I first started making these DIY snack recipes when I wanted a quick, wholesome bite that wasn’t loaded with preservatives. What I love most is how easy they come together with pantry staples, and you can tweak the flavors however you like. Unlike store-bought bars, these have a fresh, homemade taste with just the right balance of sweet and nutty. A little trick I learned is to warm the peanut butter and honey slightly before mixing; it helps everything bind perfectly without drying out. The result is a chewy, satisfying snack that’s great for busy afternoons or packing in lunchboxes. Plus, you can add whatever extras you want—nuts, dried fruit, or even a sprinkle of cinnamon for a cozy twist. I think these snacks feel like a little treat you made just for yourself, which makes them all the more enjoyable.
What You'll Need
Approximately 12 snack bars, 4 servings
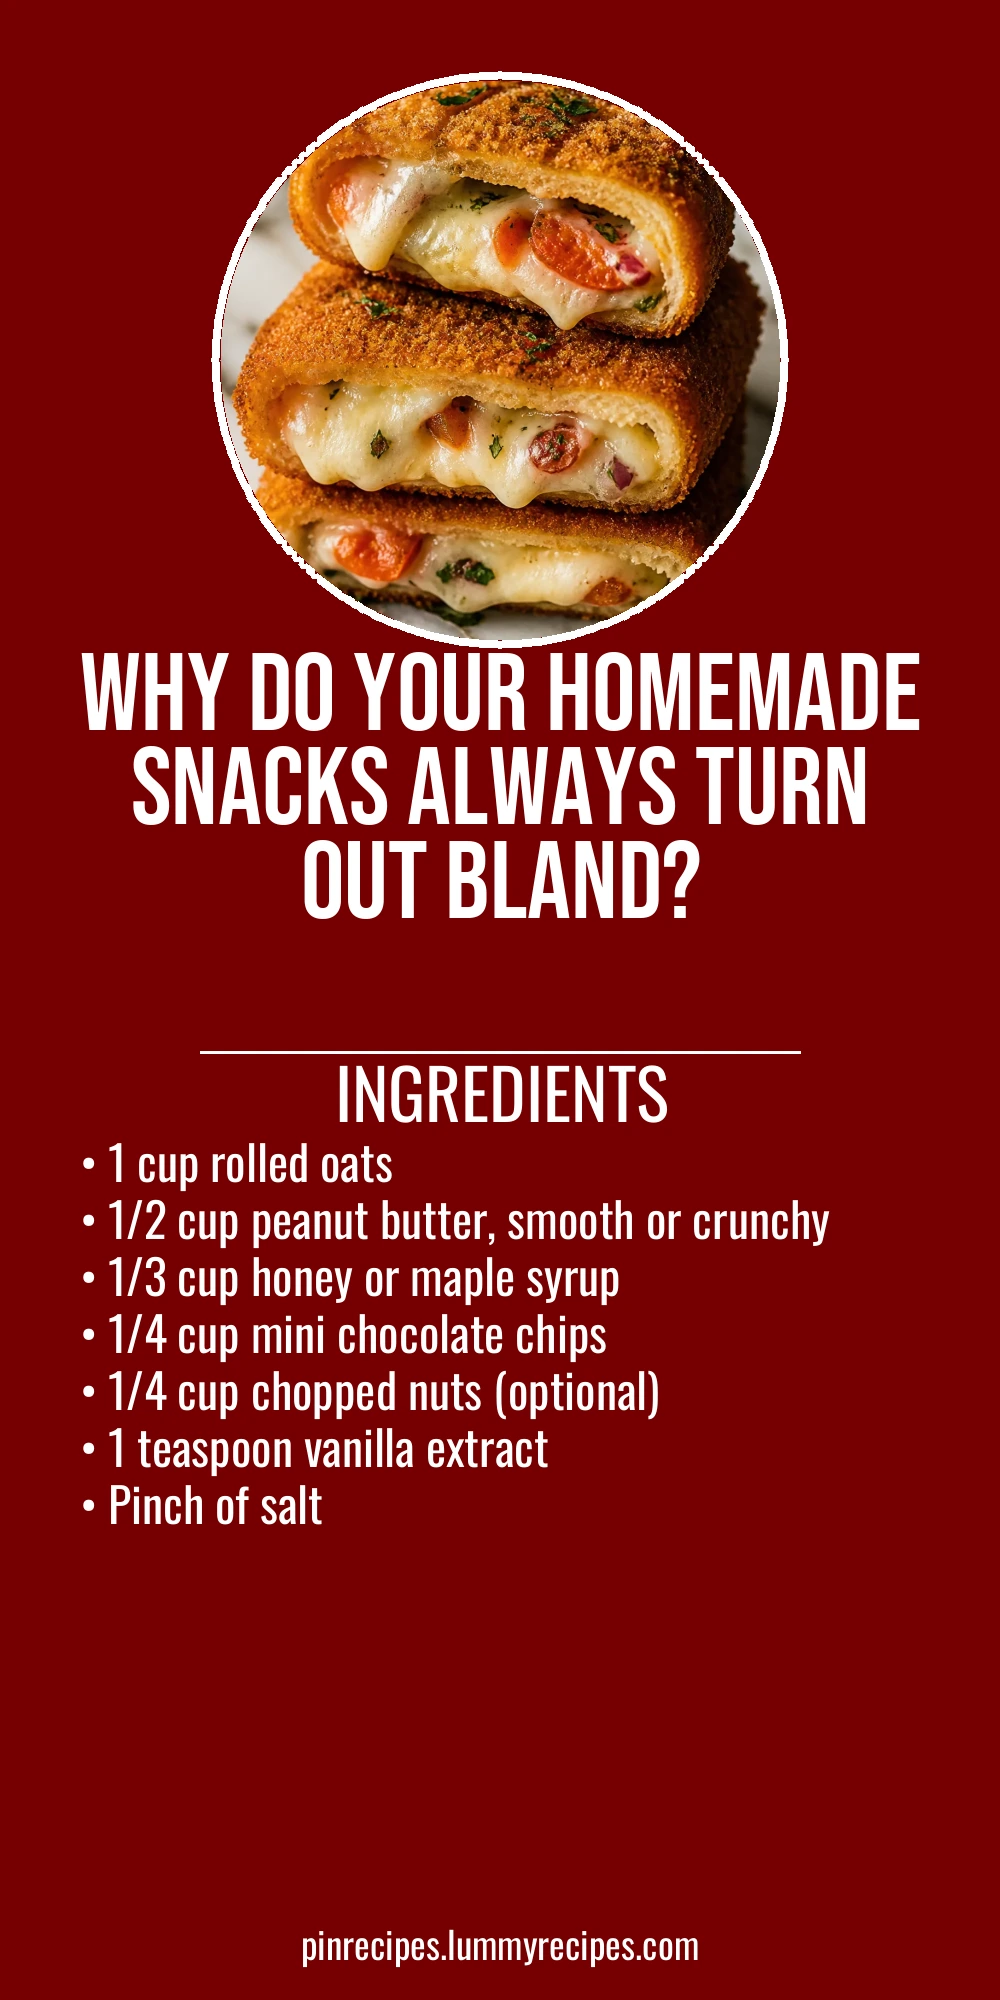
- 1 cup rolled oats
- 1/2 cup peanut butter, smooth or crunchy
- 1/3 cup honey or maple syrup
- 1/4 cup mini chocolate chips
- 1/4 cup chopped nuts (optional)
- 1 teaspoon vanilla extract
- Pinch of salt
How To Do It
Step 1
Start by warming the peanut butter and honey in a small saucepan over low heat. Stir gently until they combine into a smooth, runny mixture. This step is crucial because it helps the ingredients blend evenly, making the bars stick together without crumbling. Avoid overheating to prevent burning or changing the flavor. Once smooth, remove from heat and stir in vanilla extract and a pinch of salt to enhance the flavors.
⏱ Time: 5 minutes
✓ Doneness: Mixture is smooth, glossy, and slightly runny without lumps
Step 2
In a large bowl, combine the rolled oats, mini chocolate chips, and chopped nuts if using. Pour the warm peanut butter mixture over the dry ingredients. Use a sturdy spoon or spatula to mix everything thoroughly, ensuring all the oats are coated. This step is important for even distribution of flavors and to help the bars hold their shape when set. If you rush or mix too little, the bars might fall apart later.
⏱ Time: 5 minutes
✓ Doneness: Dry ingredients are evenly coated and the mixture sticks together when pressed
Step 3
Line a small square baking dish with parchment paper. Transfer the mixture into the dish and press it firmly with the back of a spatula or your hands to create an even layer. Pressing firmly helps compact the bars so they don’t crumble after chilling. Don’t skip this step or the texture will be too loose.
⏱ Time: 5 minutes
✓ Doneness: Mixture is tightly packed and smooth on top
Step 4
Place the dish in the refrigerator and chill for at least 2 hours or until firm. Chilling allows the bars to set properly, so they hold together when cut. If you’re in a hurry, freezing for 30-40 minutes works but might make the bars a bit harder to cut neatly.
⏱ Time: 2 hours
✓ Doneness: Bars are firm to the touch and hold shape when sliced
Step 5
Once set, lift the parchment paper to remove the block from the dish. Place on a cutting board and cut into bars or squares of your preferred size. Use a sharp knife and wipe it clean between cuts for neat edges. This keeps the bars looking tidy and prevents crumbling.
⏱ Time: 10 minutes
✓ Doneness: Cleanly cut bars with no crumbling edges
Step 6
Store the bars in an airtight container in the fridge for up to one week. They’re perfect for a quick snack or packed lunch. If you want them softer, let them sit at room temperature for a few minutes before eating.
⏱ Time: N/A
✓ Doneness: Bars stay fresh and chewy when stored properly
Step 7
For a flavor twist, try adding a teaspoon of cinnamon or a handful of dried cranberries to the mix before pressing. These small adjustments make the snack feel new and exciting without complicating the recipe.
⏱ Time: N/A
✓ Doneness: Flavor variations taste balanced and complement the base
Step 8
If you prefer a no-bake version, you can skip the warming step and mix everything cold, but the bars might be less cohesive. Press extra firmly and chill longer to compensate.
⏱ Time: N/A
✓ Doneness: Bars hold together but may be slightly more crumbly
Step 9
Enjoy these snacks straight from the fridge or pack them for on-the-go energy. They’re a great way to satisfy cravings without reaching for processed treats.
⏱ Time: N/A
✓ Doneness: Snack is chewy, flavorful, and satisfying
Pro Tips
Warm the peanut butter and honey gently over low heat.
Heating these ingredients reduces their thickness, making it easier to coat the oats and mix-ins evenly. This results in bars that hold together better and have a smoother texture. Overheating can cause burning or separation, so keep the temperature low and stir constantly.
Press the mixture firmly into the pan before chilling.
Compact pressing removes air pockets and ensures the bars set firmly. Without this step, the bars can be crumbly and fall apart when sliced. Use the back of a spatula or your hands for even pressure.
Chill the bars for at least two hours before cutting.
Chilling solidifies the binding ingredients, giving the bars structure. Cutting too soon risks crumbling or sticky mess. If you’re short on time, freeze briefly but expect a firmer texture.
Use parchment paper to line your pan.
Parchment allows easy removal of the bars without sticking or breaking. It also helps with clean cutting and presentation. Avoid greasing the pan, which can make the bars greasy.
Customize mix-ins for variety.
Adding nuts, dried fruit, or spices can keep this snack recipe fresh and exciting. Just be mindful of moisture content and binding ability to maintain the right texture.
Store bars in an airtight container in the fridge.
This keeps them fresh, chewy, and safe to eat for up to a week. Room temperature storage can make them sticky or dry out. Reheating slightly before eating softens the texture.
Use a sharp knife and clean between cuts.
A sharp knife cuts cleanly through chilled bars, preventing crumbling. Wiping the blade between cuts keeps edges neat and helps maintain the bar’s shape.
Common Mistakes to Avoid
Not warming the peanut butter and honey enough.
Why it happens Many assume mixing cold ingredients is fine, but peanut butter can be too thick to coat oats properly when cold.
Fix Gently warm the peanut butter and honey until smooth and pourable. This ensures even mixing and better binding.
Pressing the mixture too lightly into the pan.
Why it happens It’s easy to rush this step or be hesitant about compacting the mixture.
Fix Firmly press down with a spatula or hands to remove air pockets and create a dense bar that won’t crumble.
Cutting bars before they’ve fully chilled.
Why it happens Impatience or underestimating chilling time leads to soft, sticky bars.
Fix Chill for at least two hours or freeze briefly before cutting to allow bars to set.
Using instant oats instead of rolled oats.
Why it happens Instant oats are convenient but don’t provide the right texture or structure.
Fix Use old-fashioned rolled oats for chewy texture and firm bars.
Skipping salt or vanilla extract.
Why it happens Sometimes overlooked, these small additions balance and enhance flavor.
Fix Always add a pinch of salt and vanilla for a more complex, satisfying taste.
Variations
Chocolate Peanut Butter Energy Bites
Skip the pan and roll the mixture into bite-sized balls. These no-bake bites are perfect for quick snacking and portable energy. You can add chia seeds or flax for extra nutrition.
Note: Chill the mixture well before rolling to prevent stickiness. Store in fridge for best texture.
Cranberry Almond Snack Bars
Add dried cranberries and sliced almonds for a tart and crunchy twist. The cranberries add a nice chew and a pop of color, making these bars festive and flavorful.
Note: Adjust honey slightly if cranberries are very dry to maintain binding.
Cinnamon Spice Snack Bars
Mix in a teaspoon of ground cinnamon and a pinch of nutmeg for a warm, cozy flavor. These bars feel like a treat during cooler months and pair well with a cup of tea.
Note: No other changes needed; spices blend well with the base.
Vegan Maple Almond Bars
Use maple syrup instead of honey and almond butter instead of peanut butter for a vegan-friendly option. The flavor is slightly different but equally delicious and creamy.
Note: Maple syrup is thinner than honey, so chill longer to set bars firmly.
Chocolate Chip and Coconut Bars
Add shredded unsweetened coconut along with chocolate chips for a tropical flair. The coconut adds texture and a subtle sweetness that pairs nicely with chocolate.
Note: Use shredded coconut sparingly to avoid drying the bars.
Nutrition
Per Serving:
Nutritional values are estimates and may vary based on specific ingredients used.
Storage & Tips
Room Temperature
These snack bars can be kept at room temperature for up to 24 hours if stored in an airtight container. However, they may become softer or stickier, especially in warm climates. For best texture, refrigerate after this period.
Refrigerator
Store bars in an airtight container in the fridge for up to one week. They stay chewy and fresh but may harden slightly; let them sit at room temperature for 10 minutes before eating to soften.
Freezer
Freeze bars wrapped tightly in parchment and foil or in a sealed container for up to three months. Thaw overnight in the fridge and bring to room temperature before serving to restore texture.
Reheating
If you prefer softer bars, microwave a bar for 10-15 seconds or warm briefly in a low oven. Avoid overheating, which melts chocolate chips and can make bars greasy.
Make Ahead
You can prepare the mixture and press it into the pan a day ahead, then chill overnight. This helps flavors meld and saves time on the day you want to serve.
FAQ
Can I substitute peanut butter with another nut butter?
Yes, almond butter or cashew butter can be used instead of peanut butter. Keep in mind that different nut butters vary in oil content and flavor, which might slightly change the texture and taste. Almond butter tends to be a bit thinner, so you may need to chill the bars longer to set properly.
What if I don’t have honey? Can I use maple syrup?
Maple syrup is a great vegan alternative to honey and works well as a binder and sweetener. Since it’s thinner than honey, the bars might need extra chilling time to firm up. The flavor will be a bit different but still delicious.
How long do these snack bars last?
Stored in an airtight container in the refrigerator, these bars keep well for up to one week. For longer storage, freezing is recommended and bars can be kept for up to three months. Always check for any changes in smell or texture before eating.
Can I add dried fruit to the bars?
Absolutely! Dried cranberries, raisins, or chopped dried apricots add chew and sweetness. Just be cautious with very moist dried fruits as they can affect binding; you might need to adjust the amount of honey or peanut butter slightly.
Why are my bars crumbly and falling apart?
This usually happens when the binding ingredients aren’t warm enough or the mixture wasn’t pressed firmly before chilling. Make sure to gently warm the peanut butter and honey to coat the oats well, and press the mixture tightly into the pan before refrigerating.
Can I make these bars gluten-free?
Yes, just use certified gluten-free rolled oats to keep the recipe gluten-free. Most rolled oats are naturally gluten-free but can be cross-contaminated during processing, so check the label if gluten is a concern.
Is there a way to make these bars less sweet?
You can reduce the amount of honey or maple syrup slightly, but keep in mind that these ingredients also act as binders. If you cut back too much, the bars might not hold together well. Adding a pinch of salt helps balance sweetness without needing as much sugar.
Can I bake these snack bars instead of chilling?
This recipe is designed as no-bake bars, so baking isn’t necessary. Baking could dry them out or change the texture significantly. If you want baked bars, look for recipes specifically developed for that method.
Final Thoughts
I hope you enjoy making these DIY snack recipes as much as I do. They’re simple, delicious, and perfect for keeping on hand whenever hunger strikes. Let me know how yours turn out!