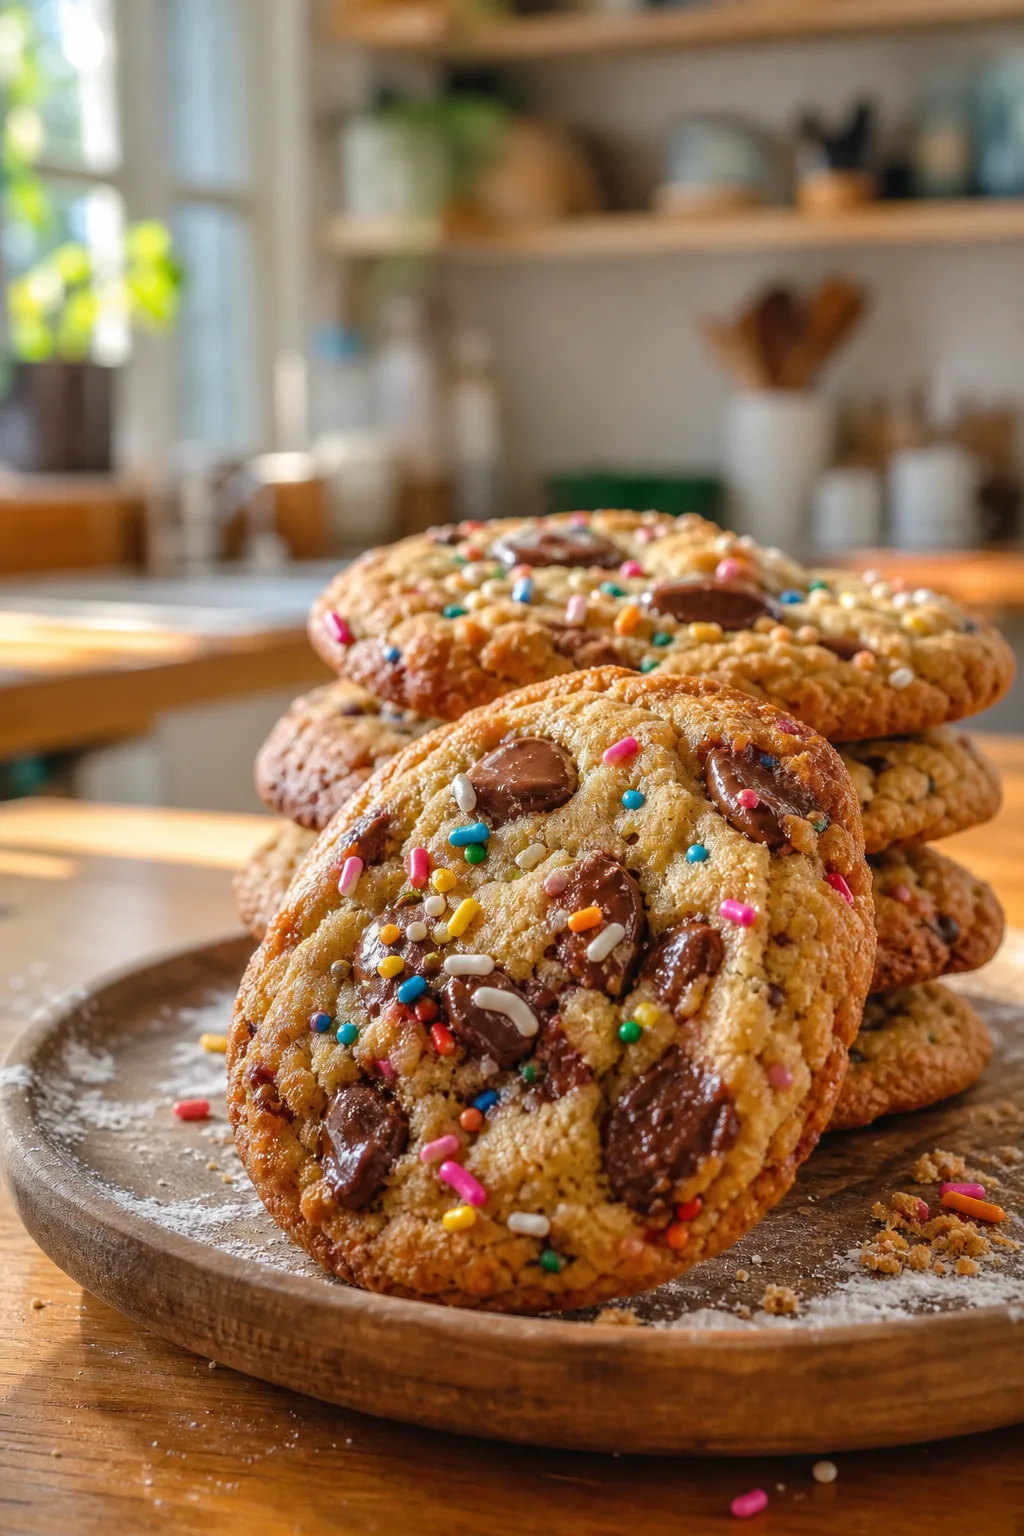
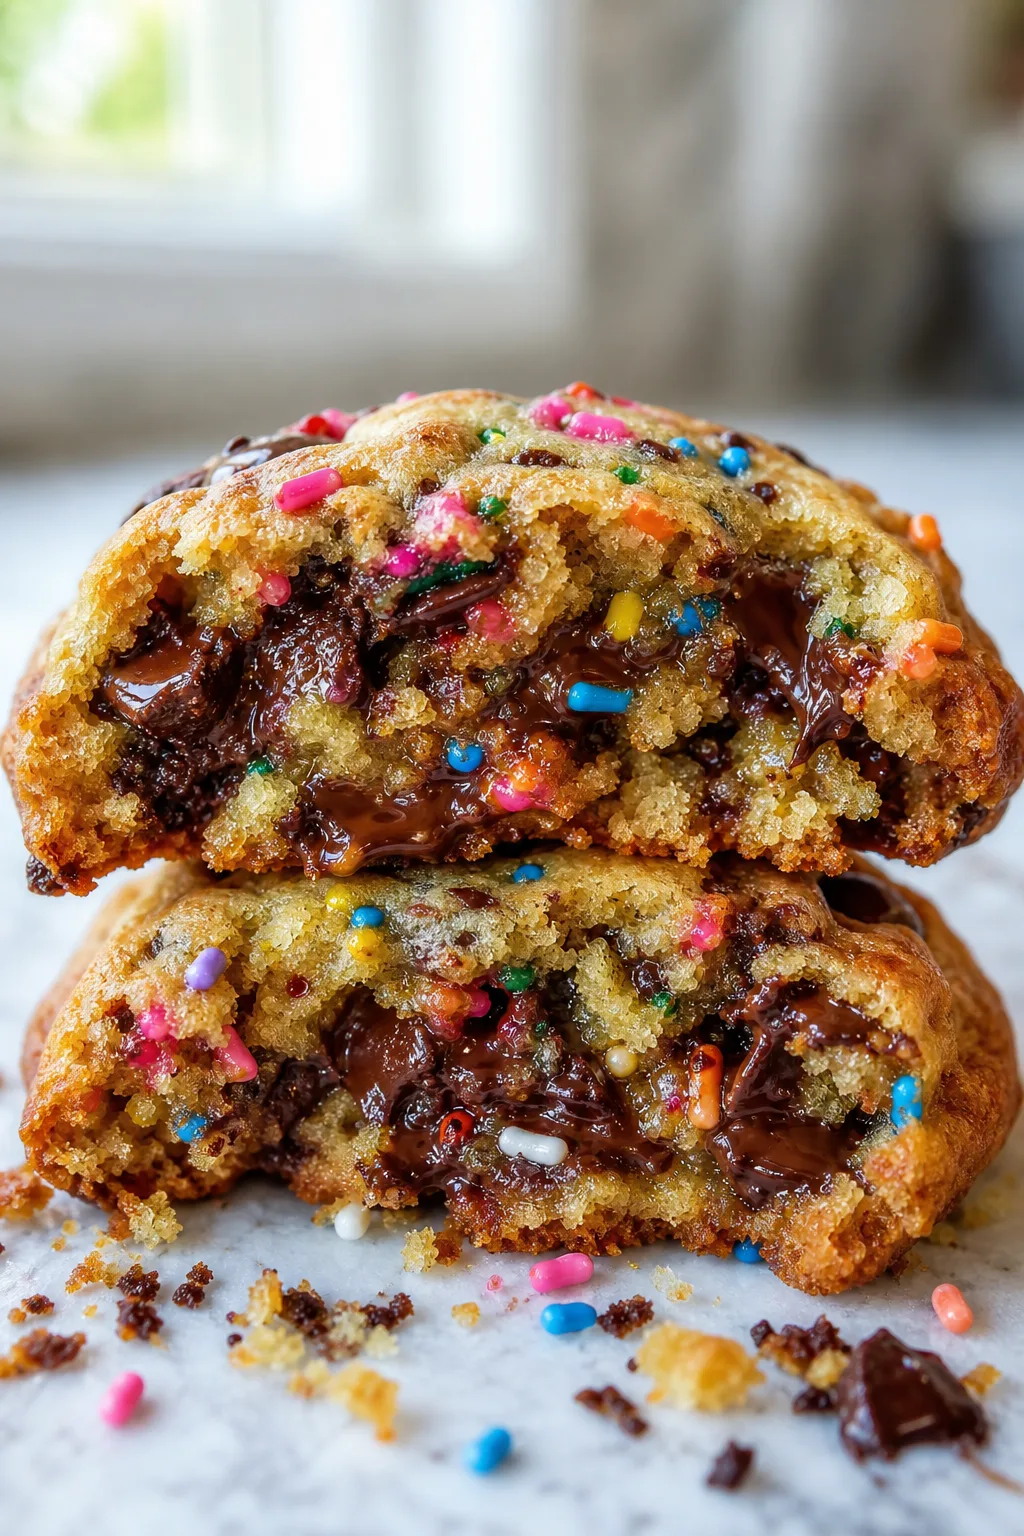
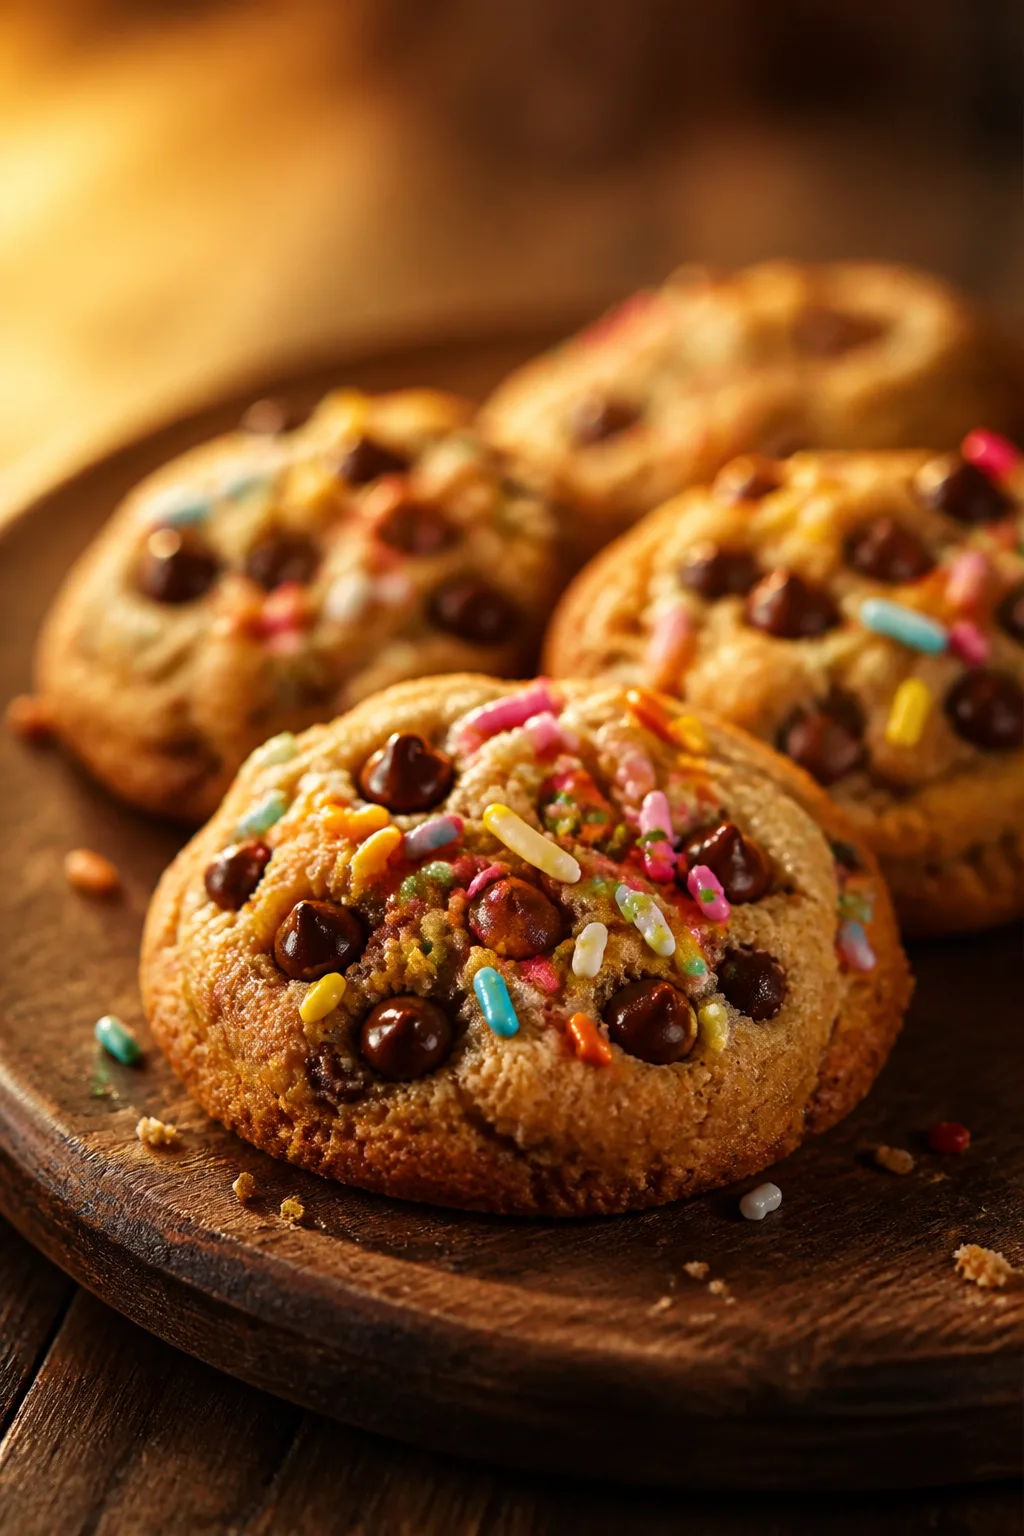
These homemade back to school cookies are just the perfect treat to pack in lunchboxes or enjoy after school. Soft, chewy, and loaded with melty chocolate chips plus a fun sprinkle surprise. Great for busy mornings or an easy afternoon snack!
Introduction
I first made these back to school cookies a few years ago when my kids needed a little extra sweetness in their lunchboxes. I wanted something homemade but quick and reliable — something that would stay soft and fresh even after a few hours in a bag. What sets this recipe apart is the balance of sugars and the simple addition of sprinkles that makes them feel special and fun for kids without any fuss. I’ve found that using both brown and granulated sugar helps keep the cookies chewy yet just crisp enough on the edges. Plus, I always chill the dough briefly before baking to prevent spreading and keep the cookies thick and tender. The result? Soft, gooey, and irresistible cookies that my family loves to grab on busy school mornings or after a long day. They’re easy enough for beginners but tasty enough to impress anyone who tries them. I hope you’ll enjoy baking and sharing these as much as we do!
How To Do It
Step 1
Preheat your oven to 375°F (190°C) and line two baking sheets with parchment paper. In a medium bowl, whisk together the all-purpose flour, baking soda, and salt. This dry mix ensures the cookies rise evenly and have a tender crumb. Mixing these ingredients first helps distribute the leavening agent and salt uniformly, avoiding pockets of uneven flavor or texture.
⏱ Time: 10
✓ Doneness: Dry ingredients are fully combined with no lumps or streaks.
Step 2
In a large bowl, beat the softened butter with granulated and brown sugars until the mixture is light and fluffy, about 3-4 minutes. This creaming process incorporates air, which helps the cookies rise and creates a tender texture. Add the vanilla extract and eggs one at a time, beating well after each addition to ensure they’re fully incorporated and the batter is smooth.
⏱ Time: 8
✓ Doneness: Mixture is pale, creamy, and smooth with no visible sugar granules.
Step 3
Gradually add the dry flour mixture to the wet ingredients, mixing on low speed just until combined. Overmixing here will develop gluten and make the cookies tough, so be gentle and stop as soon as the flour disappears. The dough should be soft but hold together well.
⏱ Time: 5
✓ Doneness: Dough looks uniform with no visible flour patches but is not overworked.
Step 4
Fold in the chocolate chips and colorful sprinkles evenly through the dough. The chocolate chips add rich melty pockets, while the sprinkles offer a fun pop of color and slight crunch. Make sure they’re well distributed for every cookie to have a bit of both.
⏱ Time: 3
✓ Doneness: Chocolate chips and sprinkles are evenly scattered throughout the dough.
Step 5
Chill the dough in the refrigerator for at least 30 minutes. This step is crucial for preventing the cookies from spreading too thin during baking and helps develop richer flavor as the ingredients meld. It also makes the dough easier to scoop and shape.
⏱ Time: 30
✓ Doneness: Dough is firm and cold to the touch, easier to handle.
Step 6
Scoop rounded tablespoons of dough onto the prepared baking sheets, spacing them about 2 inches apart. This spacing allows the cookies to spread without merging. For uniform cookies, use a cookie scoop or spoon to portion the dough evenly.
⏱ Time: 5
✓ Doneness: Dough balls are evenly sized and spaced on the baking sheet.
Step 7
Bake the cookies in the preheated oven for 10 to 12 minutes, or until the edges are golden brown but the centers still look slightly soft. This ensures a chewy center with a crisp edge. Avoid overbaking, as cookies continue to firm up after removal from the oven.
⏱ Time: 12
✓ Doneness: Edges are golden and firm; centers look set but slightly soft.
Step 8
Remove the baking sheets from the oven and let the cookies cool on the sheets for 5 minutes. This resting time allows the cookies to set and finish cooking gently. Then transfer them to a wire rack to cool completely to prevent sogginess.
⏱ Time: 10
✓ Doneness: Cookies are firm enough to transfer without breaking but still soft.
Step 9
Once fully cooled, store the cookies in an airtight container at room temperature for up to 5 days. This keeps them fresh and chewy. For longer storage, freeze the cookies individually wrapped and thaw before serving.
⏱ Time: 0
✓ Doneness: Cookies remain soft and fresh when stored properly.
Pro Tips
Chill your dough for at least 30 minutes before baking.
Chilling solidifies the butter, slowing the melting process during baking. This prevents cookies from spreading too thin and helps maintain a thick, chewy center. It also enhances flavor as ingredients meld together.
Use room temperature butter for creaming with sugars.
Softened butter traps air bubbles when beaten with sugar, which helps cookies rise and develop a tender crumb. Too cold butter won’t blend well; too melted butter causes spreading.
Don’t overmix once flour is added.
Overmixing develops gluten, which can make cookies tough and dense. Mix just until dry ingredients disappear for a tender, soft texture.
Space cookies 2 inches apart on baking sheets.
Proper spacing prevents cookies from merging as they spread during baking, ensuring individual cookies with crisp edges.
Remove cookies from oven when edges are golden but centers still look soft.
Cookies continue to cook slightly off the heat, so this timing ensures chewy centers and crisp edges without overbaking.
Use parchment paper or silicone mats on baking sheets.
These liners prevent sticking and promote even baking, making cleanup easier and helping cookies maintain their shape.
Store cookies in an airtight container at room temperature.
This keeps cookies soft and fresh for several days by preventing moisture loss and exposure to air.
Common Mistakes to Avoid
Using melted butter instead of softened butter
Why it happens Some recipes call for melted butter, but it’s easy to confuse this step. Melted butter causes cookies to spread too much and become thin and crisp instead of thick and chewy.
Fix Always use butter softened to room temperature, not melted. Soft butter creams with sugar to incorporate air, which helps the dough rise and maintain shape.
Skipping the dough chilling step
Why it happens In a rush, it’s tempting to bake dough immediately, but this leads to spreading and flat cookies.
Fix Plan ahead and chill dough for at least 30 minutes. This firms the fat and controls spreading for thicker, chewier cookies.
Overmixing after adding flour
Why it happens It’s natural to want a smooth dough, but mixing too long develops gluten, making cookies tough.
Fix Mix just until flour disappears. Stop as soon as the dough looks uniform to keep cookies tender.
Baking cookies at too high a temperature
Why it happens Some ovens run hot or cooks set temperature too high, causing cookies to brown too fast and dry out.
Fix Use an oven thermometer to check accuracy and bake at 375°F (190°C). Adjust baking time if cookies brown too quickly.
Not measuring flour correctly
Why it happens Scooping flour directly with a measuring cup packs it, adding too much flour and resulting in dry cookies.
Fix Spoon flour into the measuring cup and level it off with a knife for accurate measurement and softer cookies.
Variations
Oatmeal Sprinkle Cookies
Add 1 cup old-fashioned rolled oats to the dough for a heartier texture and nutty flavor. This variation adds chew and a bit more fiber, perfect for a wholesome snack.
Note: Reduce flour by 1/2 cup to balance the oats and maintain dough consistency.
Peanut Butter Chocolate Chip Cookies
Replace half the butter with creamy peanut butter for a rich, nutty twist. The peanut butter adds moisture and flavor, making these cookies extra soft and delicious.
Note: Chill dough longer, about 1 hour, as peanut butter softens the dough.
Gluten-Free Back To School Cookies
Swap all-purpose flour for a gluten-free blend with xanthan gum. These cookies keep the same chewy texture and great flavor for those avoiding gluten.
Note: Ensure the gluten-free blend is suitable for baking and measure carefully for best results.
Vegan Back To School Cookies
Use vegan butter and replace eggs with flax eggs (1 tbsp ground flaxseed + 3 tbsp water per egg). The cookies remain soft and flavorful, perfect for dairy-free and vegan diets.
Note: Allow flax eggs to thicken fully before mixing and chill dough longer for best texture.
Double Chocolate Sprinkle Cookies
Add 1/4 cup cocoa powder to the dry ingredients and use white chocolate chips instead of semisweet. This variation is rich and colorful with a fun sprinkle contrast.
Note: Reduce flour slightly to compensate for cocoa powder addition.
Nutrition
Per Serving:
Nutritional values are estimates and may vary based on specific ingredients used.
Storage & Tips
Room Temperature
Cookies keep well at room temperature in an airtight container for up to 5 days. Keep them away from direct sunlight or heat sources to prevent melting of chocolate chips and sprinkles.
Refrigerator
Store cookies in an airtight container in the refrigerator for up to 10 days. Refrigeration can slightly firm the texture, so let them come to room temperature before serving for best softness.
Freezer
Freeze cookies individually wrapped in plastic wrap and then in a freezer-safe container or bag for up to 3 months. Thaw at room temperature or warm briefly in a low oven to restore freshness.
Reheating
Reheat cookies in a 300°F oven for 5-7 minutes to refresh softness and melt chocolate chips. Avoid microwaving for long as it can dry out the cookies.
Make Ahead
Prepare the dough up to 2 days ahead and keep refrigerated. Scoop and bake fresh as needed for best texture. Alternatively, bake cookies and freeze fully baked to thaw later.
FAQ
Can I use margarine instead of butter?
Butter provides flavor and affects texture due to its fat and water content. Margarine can be used, but results may vary with a less rich flavor and different spread. Choose a high-quality margarine with similar fat content for best results.
How do I keep cookies soft for longer?
Store cookies in airtight containers with a slice of bread or apple to maintain moisture. Avoid refrigeration unless necessary, as it can dry cookies out. Also, avoid overbaking to keep centers chewy.
Can I freeze the cookie dough?
Yes! Cookie dough freezes well. Scoop dough balls onto a tray, freeze until firm, then transfer to a freezer bag. Bake from frozen, adding a couple extra minutes to baking time.
What can I substitute for sprinkles?
If you don’t have sprinkles, mini chocolate chips, chopped nuts, or dried fruit work well as mix-ins to add texture and flavor.
Why did my cookies spread too much?
This usually happens if the dough was too warm, butter was melted, or you skipped chilling. Make sure to chill dough and use softened, not melted, butter.
Can I make these cookies gluten-free?
Absolutely! Use a gluten-free all-purpose flour blend with xanthan gum. Measure carefully and expect a slightly different texture but still delicious results.
How do I make these cookies vegan?
Replace butter with vegan butter and eggs with flax eggs (1 tbsp ground flaxseed mixed with 3 tbsp water per egg). Let flax eggs thicken before mixing.
What is the best way to measure flour?
Spoon flour lightly into a measuring cup and level with a knife rather than scooping directly. This prevents packing and ensures the right amount for tender cookies.
Final Thoughts
I hope you enjoy these back to school cookies as much as my family does! They’re simple, reliable, and a guaranteed hit with kids. Happy baking and don’t forget to share your results!