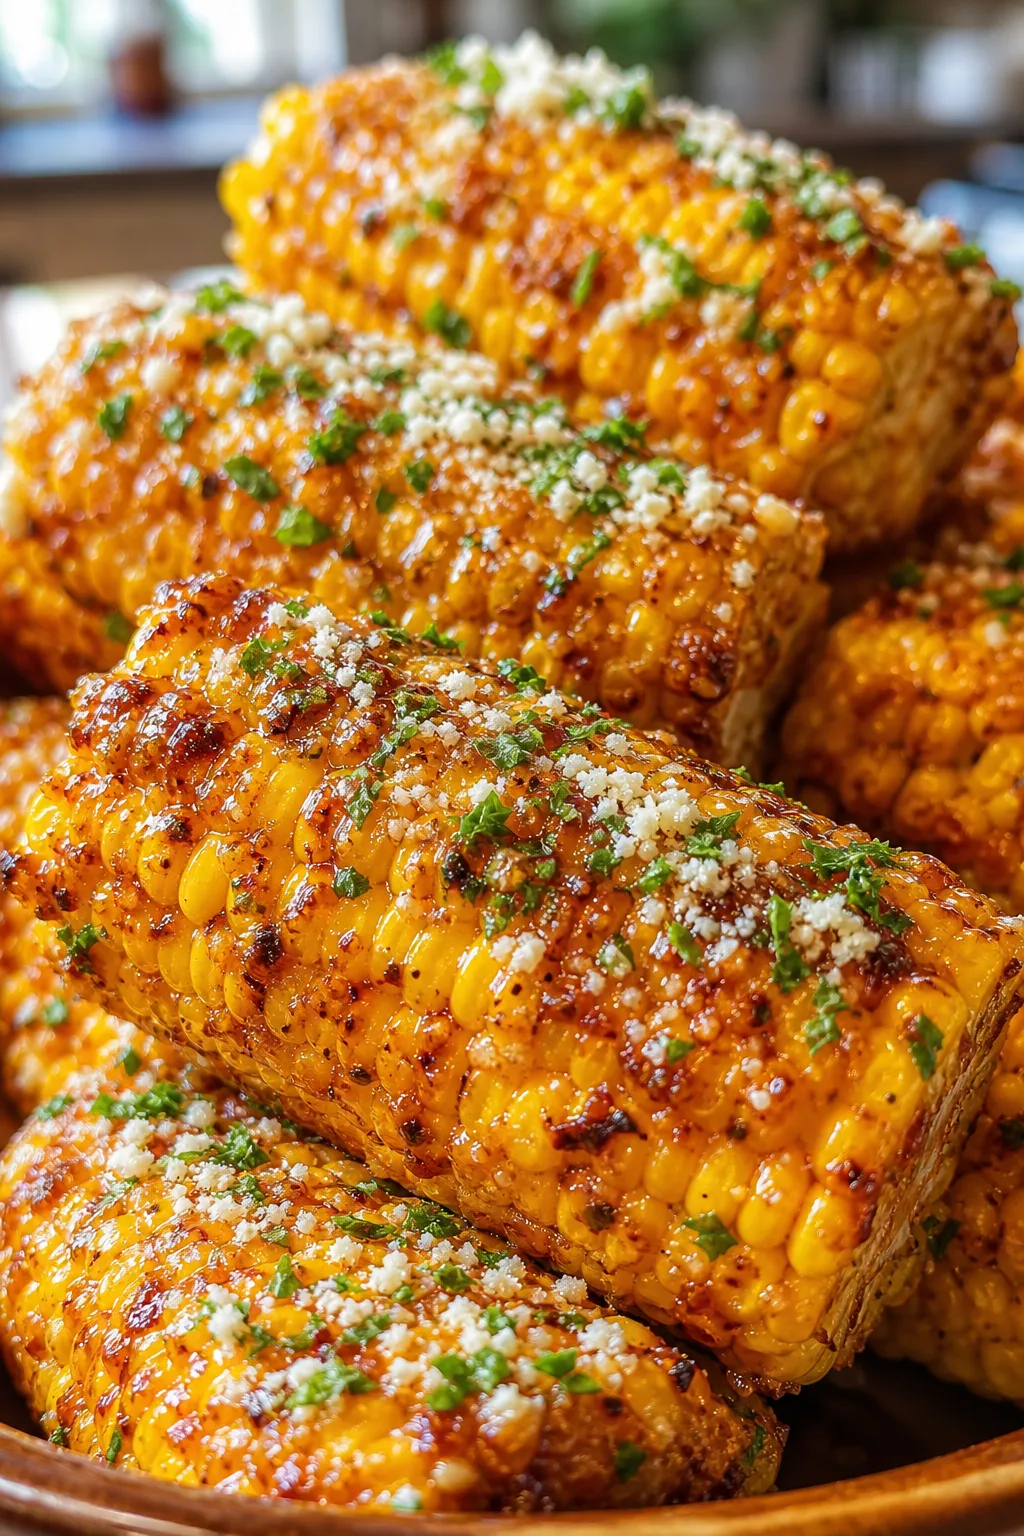
Baked corn on the cob with a savory garlic butter glaze is such a simple but satisfying side. I love how the baking brings out a caramelized sweetness in the kernels. Perfect for summer dinners or cozy family meals.
Introduction
I first tried baked corn on the cob a few summers ago when I wanted a change from the usual boiled version. I was surprised how baking the corn with garlic butter brought out a deeper sweetness and gave the kernels a lovely caramelized texture. Since then, it’s become a favorite side dish at family dinners and weekend barbecues. What I love about this recipe is its simplicity—just a few ingredients and a little baking time, but the flavor payoff is huge. The trick I learned is to brush the corn generously with garlic butter before baking to keep it juicy and infuse it with rich flavor. The finished corn has a golden, slightly crispy exterior with tender, buttery kernels inside. It’s comfort food that feels a bit elevated and perfect for sharing with loved ones. I think you’ll love how easy it is to make and how much everyone will ask for seconds.
How To Do It
Step 1
Preheat your oven to 400°F (200°C). While it heats, husk the corn and remove all silk strands. This step is crucial because leftover silk can burn and create a bitter taste during baking. Make sure the corn is clean and dry so the butter sticks well. Preparing the corn properly sets the stage for even cooking and caramelization.
⏱ Time: 10 minutes
✓ Doneness: Corn ears are clean with no silk strands and feel dry to the touch.
Step 2
In a small bowl, mix the melted butter with minced garlic, chopped parsley, salt, and pepper. This mixture will be the flavorful glaze that seeps into the corn as it bakes. The garlic butter not only adds richness but also helps the corn kernels caramelize beautifully in the oven.
⏱ Time: 5 minutes
✓ Doneness: Butter mixture is well blended with visible garlic and parsley pieces.
Step 3
Place the corn ears on a baking sheet lined with foil for easy cleanup. Using a pastry brush, generously coat each ear with the garlic butter mixture, making sure to cover all sides. Don’t skimp on the butter; it’s what keeps the corn moist and flavorful as it bakes.
⏱ Time: 5 minutes
✓ Doneness: Corn is evenly coated with a glossy layer of butter and herbs.
Step 4
Bake the corn in the preheated oven for 25-30 minutes. Halfway through, turn each ear to ensure even cooking and caramelization on all sides. Baking at this temperature allows the natural sugars in the corn to caramelize, creating a sweet, slightly crispy exterior while keeping the inside tender.
⏱ Time: 30 minutes
✓ Doneness: Corn kernels have golden caramel spots and emit a sweet, roasted aroma.
Step 5
Once baked, remove the corn from the oven and brush with any remaining garlic butter for an extra glossy finish and flavor boost. Let the corn rest for a few minutes before serving to allow the butter to soak in and the corn to cool slightly for easier handling.
⏱ Time: 5 minutes
✓ Doneness: Corn has a shiny coating and is warm but not piping hot.
Step 6
Serve the baked corn on the cob immediately with extra salt and pepper on the side. This simple finishing touch lets everyone adjust the seasoning to their taste. The corn is perfect alongside grilled meats, salads, or as a cozy snack on its own.
⏱ Time: 0 minutes
✓ Doneness: Corn is steaming lightly and ready to eat.
Step 7
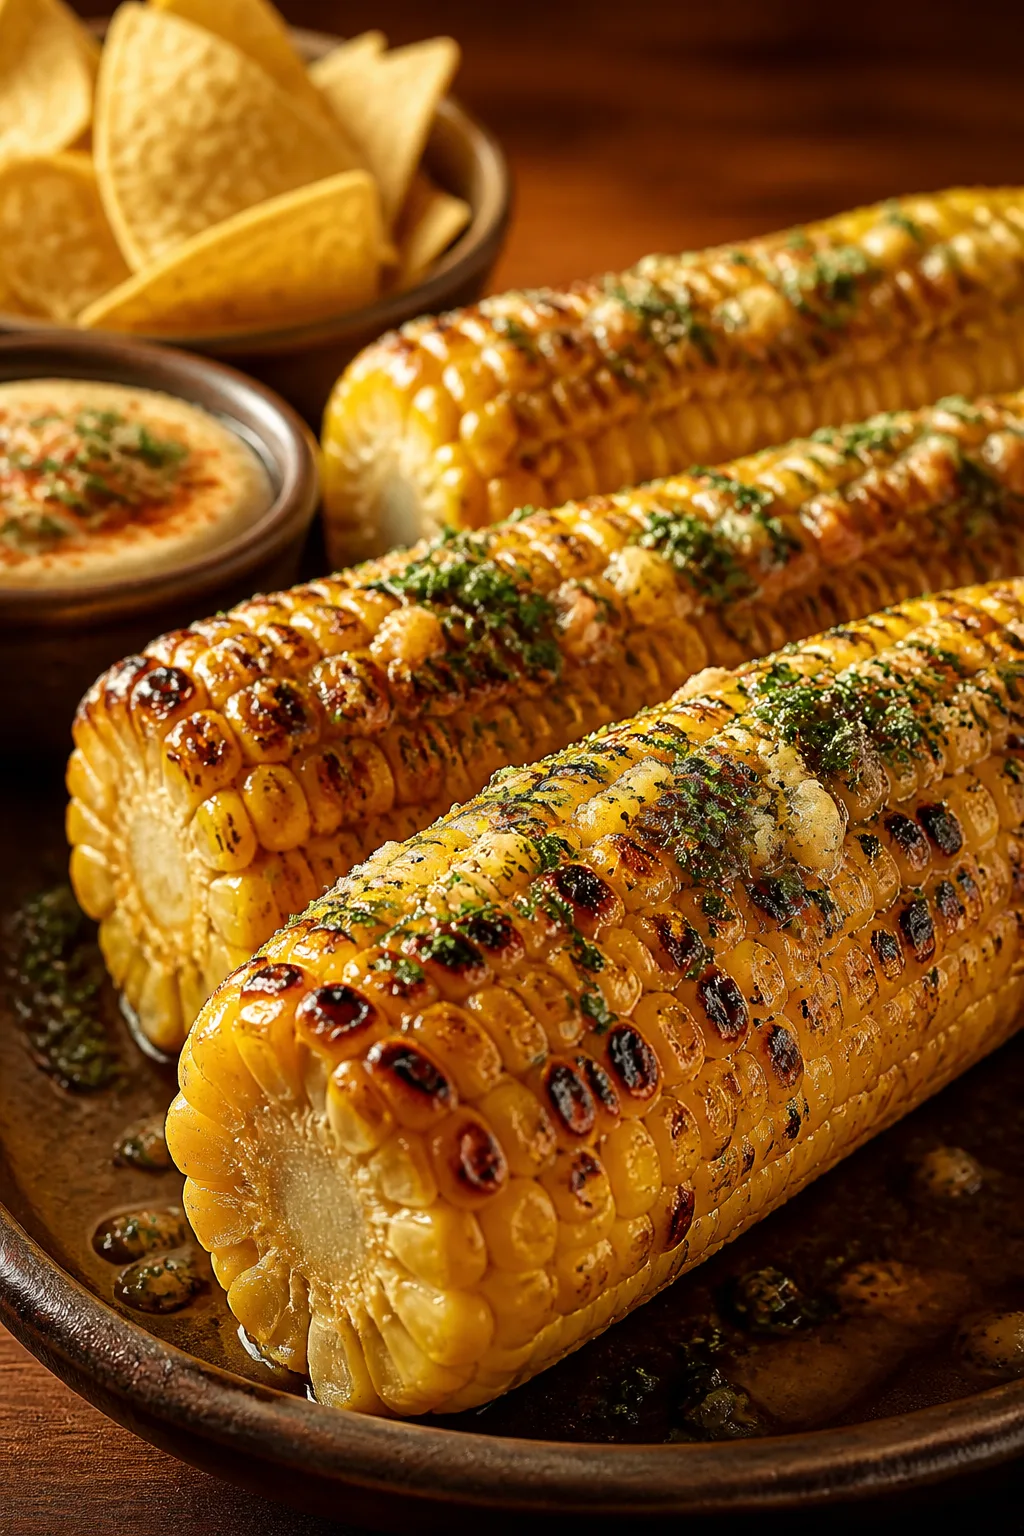
If you want to add a smoky flavor, try broiling the corn for 2-3 minutes at the end of baking. Watch closely to avoid burning. This step intensifies the caramelization and adds a subtle char that complements the buttery glaze.
⏱ Time: 2-3 minutes
✓ Doneness: Edges of kernels have a slight char without blackening.
Step 8
For a fun variation, sprinkle freshly grated Parmesan cheese over the hot corn right after baking. The heat will melt the cheese slightly, creating a savory crust that pairs beautifully with the garlic butter.
⏱ Time: 1 minute
✓ Doneness: Cheese is slightly melted and clings to the corn.
Step 9
To keep leftovers fresh, cool the corn completely before wrapping tightly in foil or placing in an airtight container. This prevents moisture buildup and keeps the kernels plump. Reheat gently to preserve texture and flavor.
⏱ Time: 0 minutes
✓ Doneness: Corn is cool and wrapped securely for storage.
Pro Tips
Brush the corn generously with garlic butter before and halfway through baking.
Reapplying the butter mid-bake replenishes moisture lost to the oven heat and deepens the garlic flavor. This prevents the kernels from drying out and ensures a glossy, rich coating that caramelizes nicely.
Turn the corn ears halfway through baking for even caramelization.
Rotating the corn exposes all sides to the oven’s heat evenly, preventing one side from burning while the other remains undercooked. This technique creates a consistent texture and flavor throughout.
Use fresh garlic and parsley for the butter glaze instead of dried or pre-minced versions.
Fresh ingredients provide brighter, more vibrant flavors. Dried garlic can be harsh or bitter, and dried herbs lack the freshness that complements the corn’s sweetness. Fresh herbs also add appealing color and aroma.
Don’t skip drying the corn after husking to help the butter stick better.
Moisture on the corn surface can cause the butter to slide off, reducing flavor absorption and caramelization. Dry corn ensures the glaze adheres evenly, producing a tastier, more visually appealing result.
Broil briefly at the end for a smoky char if desired.
A quick broil adds a subtle smoky flavor and intensifies the caramelized spots, mimicking grilled corn. However, watch carefully to avoid burning, which can introduce bitterness.
Serve immediately after baking for the best texture and flavor.
Corn is juiciest and most tender when fresh from the oven. As it cools, the butter firms up and the kernels lose some moisture, diminishing the luscious mouthfeel.
Use foil-lined baking sheets for easy cleanup.
Butter and caramelized sugars can stick to pans, making cleaning difficult. Lining with foil protects your bakeware and saves time while preserving the cooking surface.
Common Mistakes to Avoid
Skipping the husk and silk removal
Why it happens Some cooks assume baking with husks on is easier or better, but the husks trap moisture and prevent caramelization.
Fix Always husk and remove all silk strands before baking. This exposes the kernels directly to heat for even cooking and that desirable roasted texture.
Not drying the corn before buttering
Why it happens Rushing prep can lead to wet corn, causing the butter to slide off and uneven seasoning.
Fix Pat corn dry with paper towels after husking to ensure the butter sticks well and the glaze penetrates the kernels.
Using too high oven temperature
Why it happens Some try to speed up baking by increasing heat, risking burnt outsides and raw insides.
Fix Stick to 400°F for balanced cooking that caramelizes without burning. Turning the corn halfway helps even cooking.
Applying too little butter
Why it happens Trying to keep it light can leave the corn dry and bland.
Fix Generously brush the corn with melted garlic butter before and during baking to keep it moist and flavorful.
Overbaking leading to tough kernels
Why it happens Leaving corn too long in the oven dries it out and makes it chewy.
Fix Bake for 25-30 minutes and check for golden caramel spots and tender kernels to avoid overcooking.
Variations
Spicy Cajun Baked Corn
Add a teaspoon of Cajun seasoning to the garlic butter mix for a smoky, spicy kick. This variation brings warmth and bold flavors, perfect for summer cookouts or game day snacks. Expect a lively, slightly spicy corn with the same tender texture.
Note: Adjust seasoning to taste and be cautious not to overpower the natural sweetness of the corn.
Lemon Herb Baked Corn
Mix fresh lemon zest and juice into the garlic butter with chopped thyme and rosemary. The citrus brightens the rich butter, creating a refreshing twist ideal for spring and summer meals. The corn remains juicy with a zesty herb aroma.
Note: Add lemon juice just before baking to prevent the butter from separating.
Parmesan Garlic Baked Corn
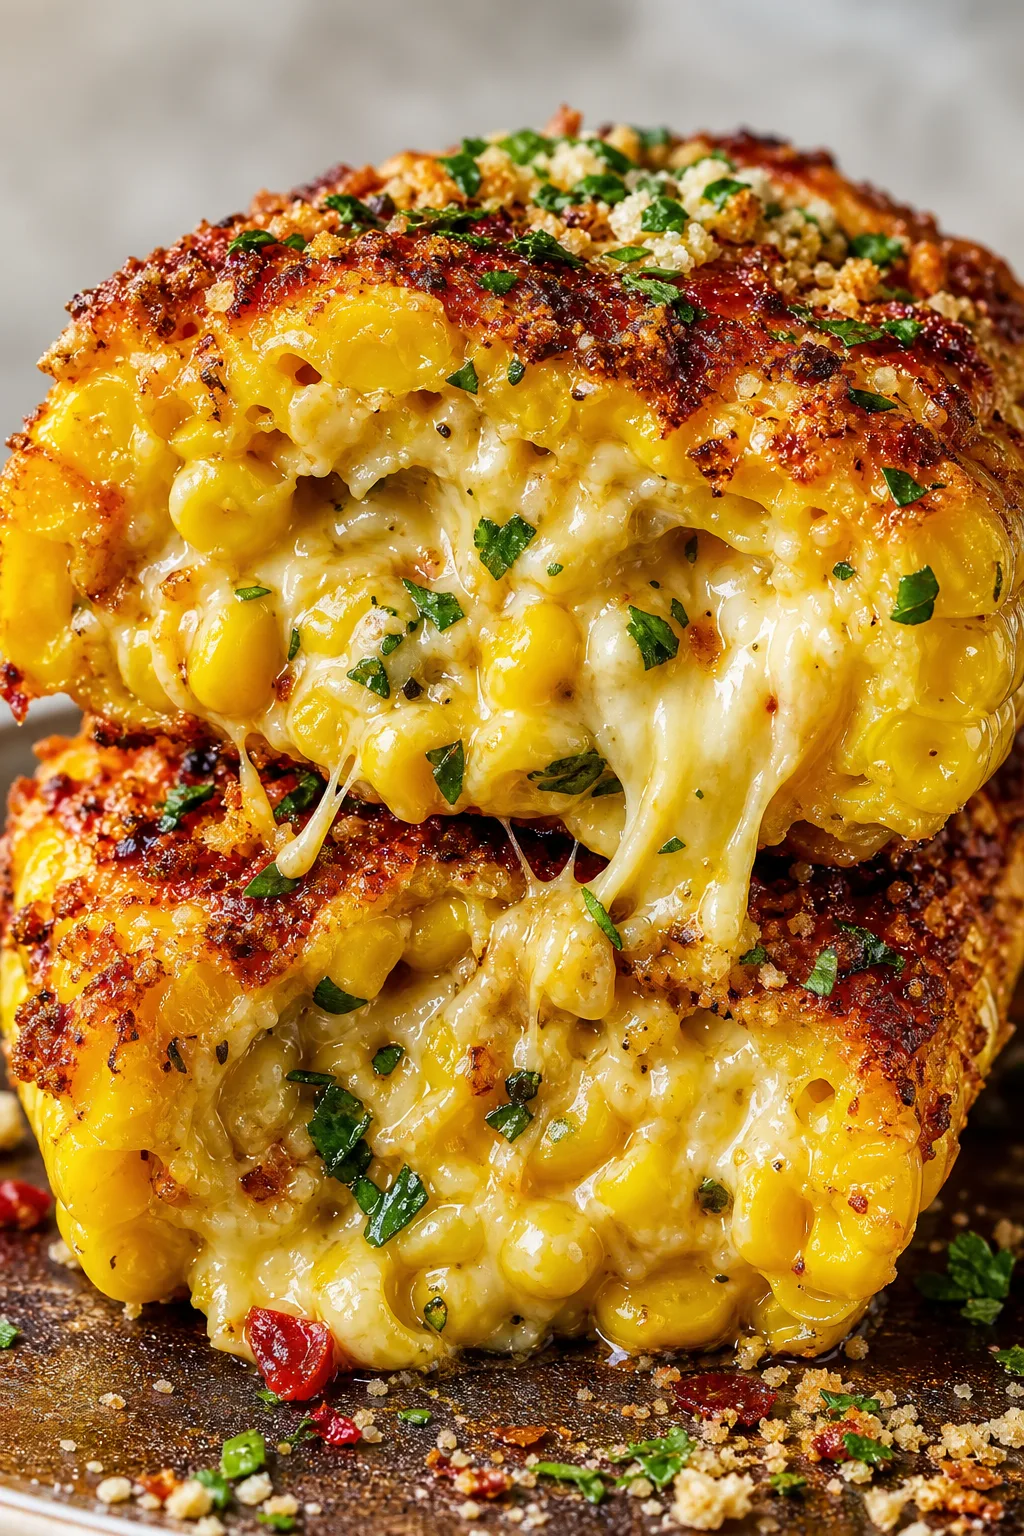
Sprinkle grated Parmesan cheese over the corn after baking for a savory crust. The cheese melts slightly from the heat, adding an umami depth that pairs beautifully with garlic butter. This variation is a crowd-pleaser for cheese lovers.
Note: Add cheese immediately after baking while corn is hot for best melting.
Smoky Chipotle Baked Corn
Incorporate chipotle powder and a dash of smoked paprika into the butter glaze for a smoky, spicy flavor profile. This version adds complexity and heat, perfect if you enjoy a little boldness with your sides.
Note: Start with small amounts of chipotle to control heat level.
Vegan Baked Corn
Use melted coconut oil or vegan butter with garlic and herbs instead of dairy butter. The coconut oil adds a subtle sweetness and keeps the corn moist and flavorful, making it suitable for plant-based diets without sacrificing richness.
Note: Ensure the vegan butter or oil is well melted and mixed with garlic for even coating.
Nutrition
Per Serving:
Nutritional values are estimates and may vary based on specific ingredients used.
Storage & Tips
Room Temperature
Baked corn on the cob can safely sit at room temperature for up to 2 hours when covered loosely to prevent drying. Beyond this, bacteria growth increases, so refrigerate leftovers promptly.
Refrigerator
Store leftover corn in an airtight container or wrapped tightly in foil for up to 3 days. The texture may firm up and the butter can solidify, so reheat gently to restore juiciness. Cold corn can be less flavorful but still tasty in salads.
Freezer
Freeze baked corn wrapped tightly in foil or in freezer bags for up to 2 months. To prevent freezer burn, remove as much air as possible. Thaw in the refrigerator overnight before reheating to maintain texture.
Reheating
Reheat corn on the stovetop in a covered pan over low heat with a splash of water or butter to restore moisture. Alternatively, microwave covered with a damp paper towel for 1-2 minutes. Avoid overheating to prevent tough kernels.
Make Ahead
Prepare the garlic butter mixture and husk the corn 1 day ahead, storing separately. Brush and bake the corn on the day of serving for best flavor and texture. This saves prep time without compromising quality.
FAQ
Can I bake corn on the cob without husking it?
While some people bake corn with the husks on to trap moisture, it usually results in steamed rather than caramelized corn. For this recipe’s signature roasted flavor and texture, it’s best to remove husks and silk before baking.
What if I don’t have fresh garlic?
Fresh garlic is recommended for its bright flavor, but you can substitute with garlic powder. Use about 1/2 teaspoon per 2 cloves of fresh garlic. Add it to the melted butter and mix well to distribute the flavor.
Can I prepare this recipe on the grill instead of the oven?
Absolutely! Brush the corn with garlic butter and grill over medium heat, turning frequently until kernels are tender and charred in spots. Grilling adds a smoky flavor that complements the garlic butter beautifully.
How do I know when the corn is done baking?
Look for golden caramel spots on the kernels and a sweet roasted aroma. The corn should be tender when pierced with a fork but still juicy. Baking for 25-30 minutes at 400°F usually achieves this perfectly.
Can I make this recipe dairy-free?
Yes, substitute the butter with vegan butter or melted coconut oil. Both provide moisture and richness needed for caramelization and flavor. Adjust seasoning as needed to balance the flavors.
Is it better to use fresh or frozen corn for baking?
Fresh corn is best for baking on the cob because it retains more moisture and sweetness. Frozen corn kernels can be used for other recipes but won’t yield the same texture or caramelization when baked on the cob.
How do I prevent the garlic from burning during baking?
Mince the garlic finely and mix it into the melted butter so it’s evenly coated on the corn. The butter protects the garlic from direct heat. Also, baking at moderate temperature (400°F) helps prevent burning.
Can I add other herbs or spices to the garlic butter?
Definitely! Fresh herbs like thyme, rosemary, or cilantro work well. Spices like smoked paprika or chili powder add a nice kick. Just adjust quantities to your taste and keep the butter as the base for moisture.
Final Thoughts
I hope you enjoy this easy baked corn on the cob as much as my family does! It’s a simple way to elevate a classic side and bring everyone together around the table. Let me know how it turns out!