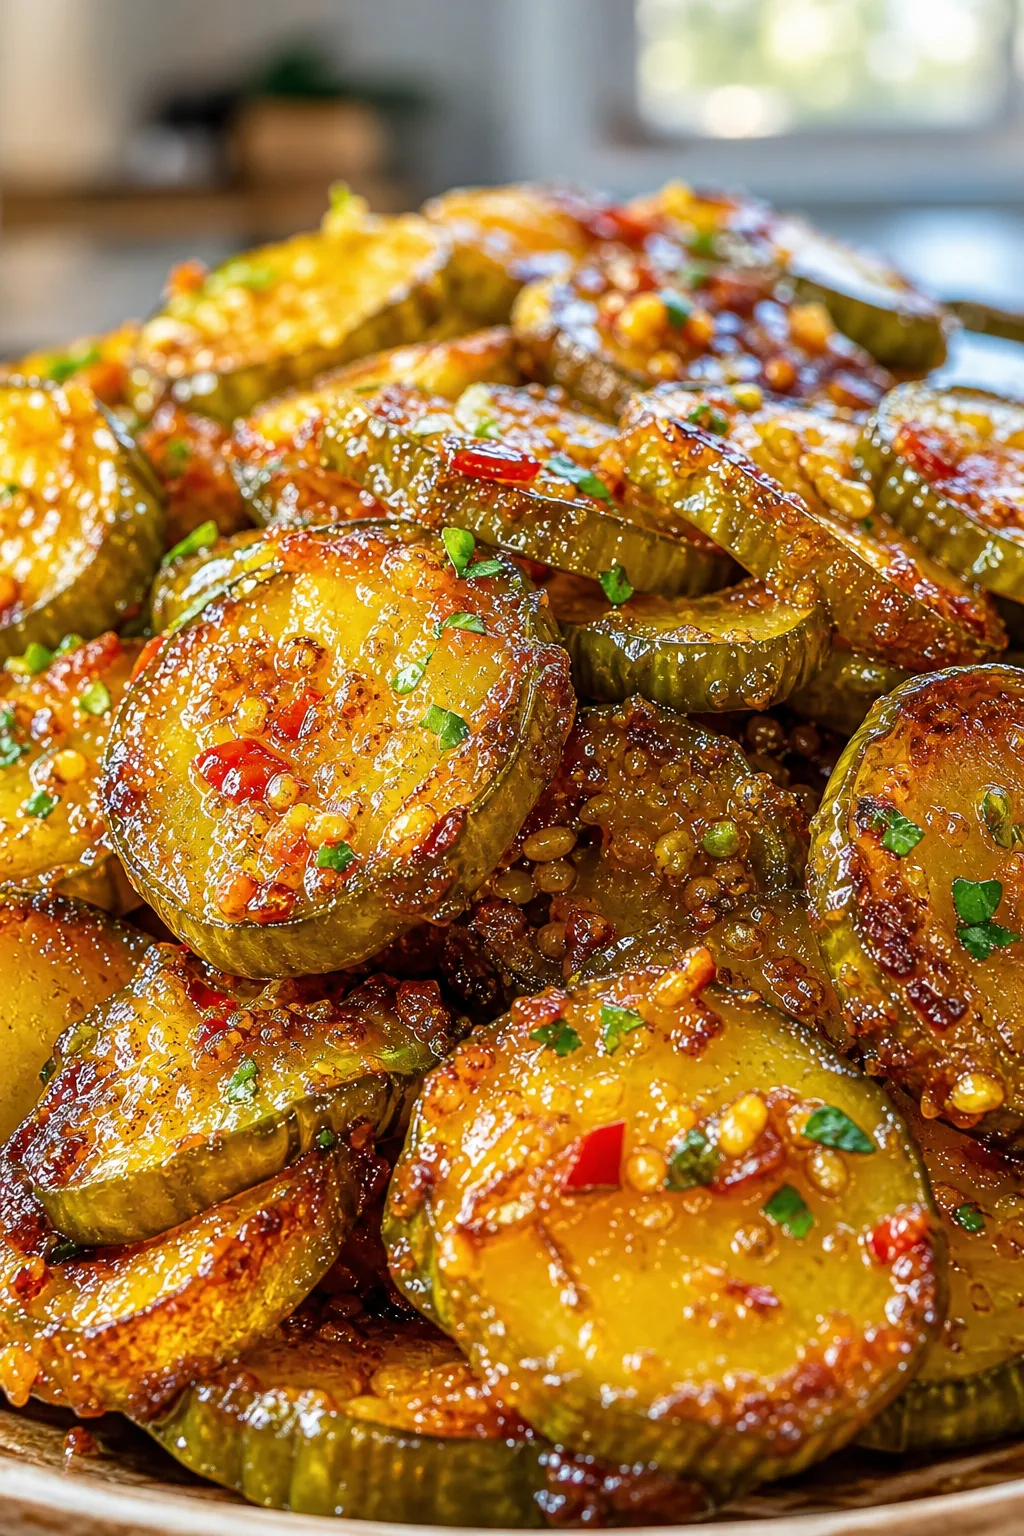
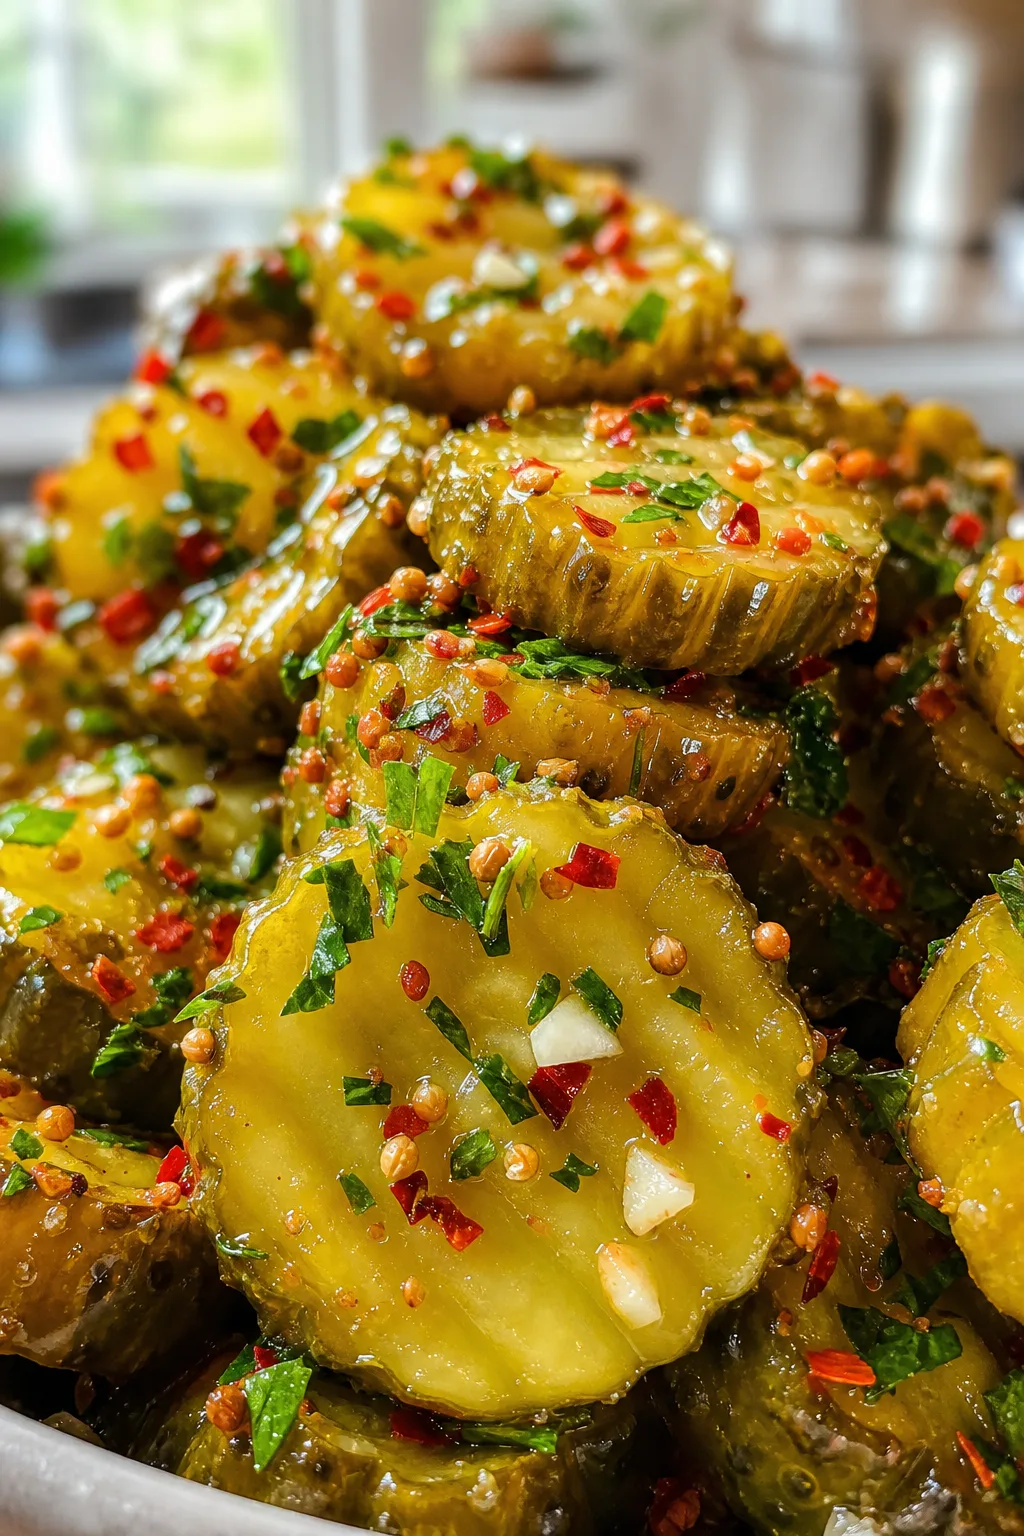
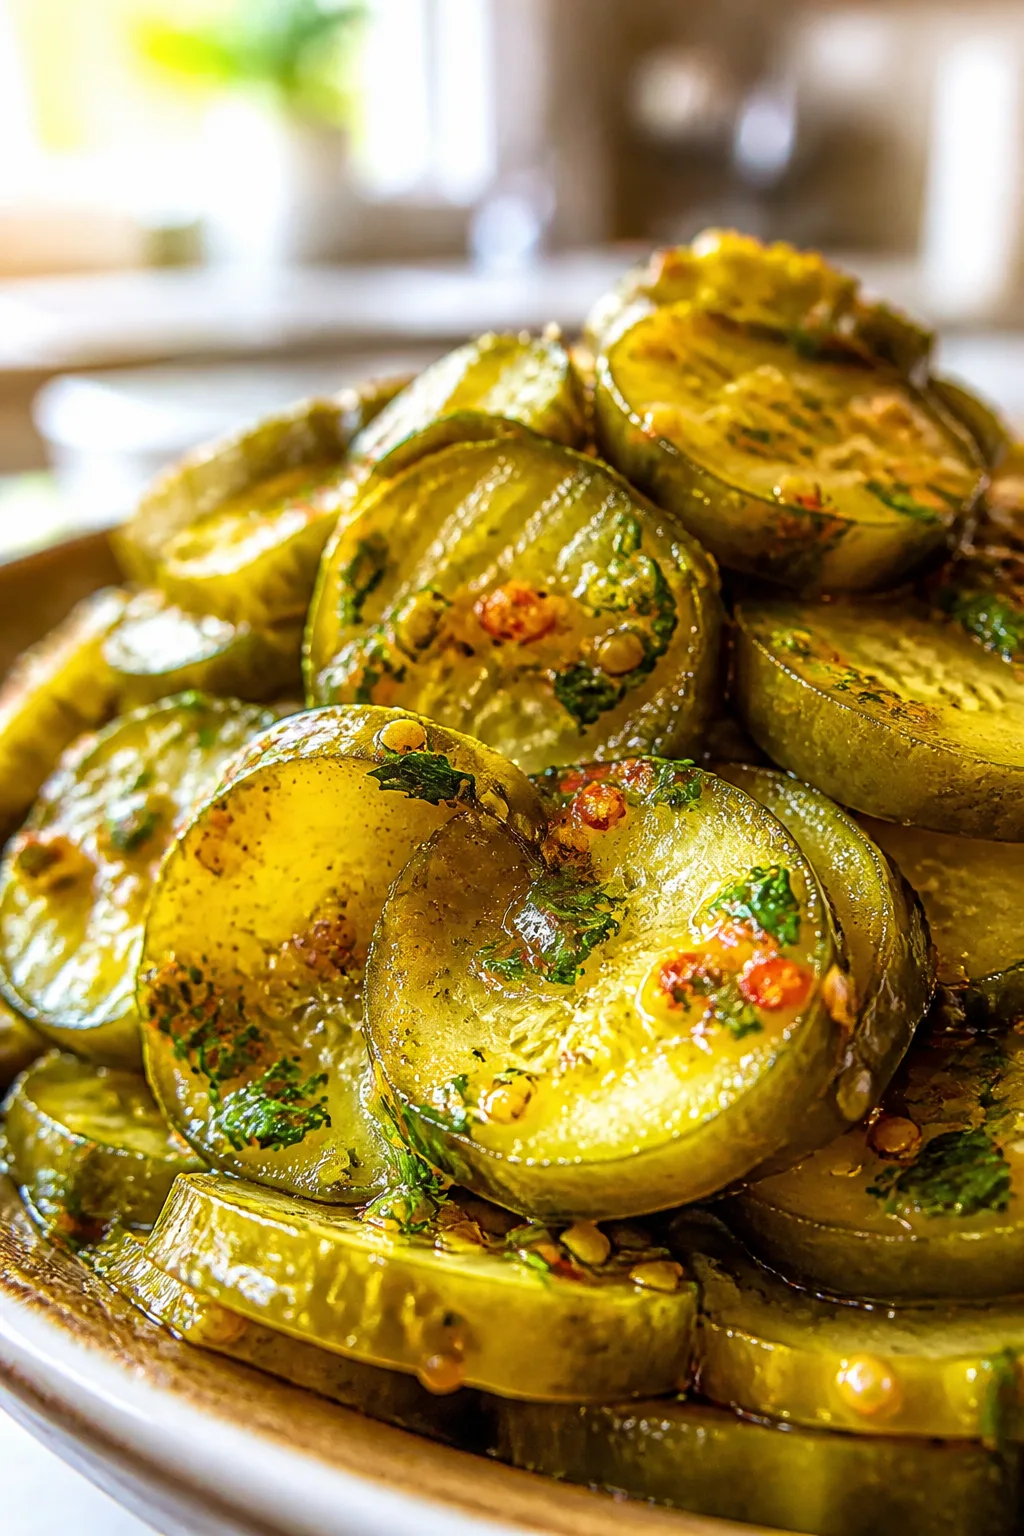
This easy homemade canned pickles recipe delivers crisp, tangy pickles that keep well all year round. I love how the simple brine and fresh dill make these pickles irresistibly crunchy and flavorful. Perfect for sandwiches, snacking, or gift-giving!
Introduction
I first tried making canned pickles a few years ago when I wanted a simple way to preserve the summer cucumber harvest. Most store-bought pickles felt too sweet or lacked that fresh snap I love. This recipe is my go-to because it’s straightforward and yields crunchy, tangy pickles every time. The trick I learned is using a balanced vinegar-to-water ratio combined with kosher salt and fresh dill, which really brings out the classic pickle flavor without overpowering it. I also soak the cucumbers briefly in ice water before canning to ensure crispness. The finished pickles are bright green with a perfect tang and just the right amount of spice from the mustard and dill seeds. They’re great for sandwiches, snacking, or even gifting to friends. I like how easy this recipe is to customize — you can add more garlic or spices depending on your mood. It’s a satisfying way to bring a little homemade charm to your pantry and enjoy fresh pickles all year long.
What You'll Need
Approximately 4 quart jars, 4 servings
- 6 cups fresh cucumbers, sliced into spears
- 4 cups white vinegar
- 4 cups water
- 1/4 cup kosher salt
- 4 cloves garlic, smashed
- 2 tablespoons mustard seeds
- 2 teaspoons dill seeds
- 4 fresh dill sprigs
- 1 teaspoon black peppercorns
How To Do It
Step 1
Start by washing your cucumbers thoroughly to remove any dirt or residue. Slice them into spears about 3 to 4 inches long, making sure they are fairly uniform for even pickling. Place the sliced cucumbers in a large bowl of ice water and let them soak for at least 30 minutes. This soaking step helps to firm up the cucumbers by drawing out excess moisture, which is key to getting that satisfying crunch in the final canned pickles. Avoid skipping this step or using warm water, as it can result in softer pickles. After soaking, drain the cucumbers well and pat them dry with a clean kitchen towel to remove any excess water.
⏱ Time: 40
✓ Doneness: Cucumbers feel firm and cold to the touch after soaking, without any limp or soggy spots.
Step 2
While the cucumbers soak, prepare the pickling brine by combining white vinegar, water, and kosher salt in a large pot. Bring this mixture to a boil over medium-high heat, stirring occasionally to dissolve the salt completely. The vinegar provides the essential acidity to preserve the pickles and develop their tangy flavor, while the salt enhances taste and helps maintain crispness. Boiling the brine ensures the flavors meld and sterilizes the solution for safe canning. Once boiling, reduce the heat to low and keep the brine warm until ready to pour over the cucumbers. Do not rush this step by pouring cold brine over the cucumbers, as it can affect texture and preservation.
⏱ Time: 15
✓ Doneness: Brine is clear and steaming with salt fully dissolved, ready to pour.
Step 3
Prepare your canning jars by washing them in hot, soapy water and rinsing thoroughly. To sterilize, place the jars in a large pot of boiling water for 10 minutes or run them through a hot dishwasher cycle. Sterilized jars prevent contamination and ensure your pickles stay fresh longer. Keep the jars warm until filling to avoid cracking when hot brine is added. Also, prepare the lids and bands by simmering them in hot water (do not boil) to soften the sealing compound.
⏱ Time: 15
✓ Doneness: Jars are hot to the touch and free of any residue or water spots.
Step 4
Add a couple of garlic cloves, a tablespoon of mustard seeds, a teaspoon of dill seeds, and a few black peppercorns to the bottom of each sterilized jar. These spices infuse the pickles with classic tangy and aromatic flavors. Avoid overfilling the jars with spices, which can overpower the cucumbers. Place a fresh dill sprig on top of the spices in each jar for a bright herbal note. This layering ensures the flavors distribute evenly during the pickling process.
⏱ Time: 5
✓ Doneness: Spices are evenly distributed at the bottom with dill sprigs visible on top.
Step 5
Pack the drained cucumber spears tightly into each jar, standing them upright if possible. Leave about 1/2 inch of headspace at the top to allow for expansion during processing and to ensure a proper seal. Overpacking can cause jars to crack or lids to fail, while underpacking wastes space and brine. Firm but gentle packing keeps the cucumbers intact and ready for pickling. Wipe the rims of the jars clean with a damp cloth to remove any residue that might interfere with sealing.
⏱ Time: 10
✓ Doneness: Jars are filled with cucumbers, headspace visible and rims spotless.
Step 6
Pour the hot brine carefully over the cucumbers in each jar, covering them completely while maintaining the 1/2 inch headspace. The hot brine helps to slightly soften the cucumbers and infuse them with flavor. Tap the jars gently to release any trapped air bubbles, which can cause spoilage if left inside. Use a non-metallic utensil to slide around the inside edges to dislodge bubbles. Wipe the rims again if needed before placing the lids on.
⏱ Time: 10
✓ Doneness: Cucumbers are fully submerged in brine with no air bubbles visible.
Step 7
Seal the jars with the sterilized lids and screw on the bands fingertip-tight. Do not over-tighten, as air must escape during processing. Place the jars in a boiling water bath canner, ensuring they are fully submerged by at least 1 inch of water. Process the jars for 10 minutes to create a vacuum seal and preserve the pickles safely. This step kills any bacteria and extends shelf life. After processing, carefully remove the jars and place them on a towel to cool undisturbed for 12 to 24 hours.
⏱ Time: 15
✓ Doneness: Lids pop down and seal securely with no movement when pressed.
Step 8
Once cooled, check the seals by pressing the center of each lid; it should not flex up or down. Label the jars with the date and store them in a cool, dark place for at least two weeks before opening to allow flavors to develop fully. This resting period is essential for the pickles to absorb the brine and become perfectly tangy and crisp. Refrigerate any jars that do not seal properly and consume within a few weeks.
⏱ Time: 5
✓ Doneness: Lids are concave and sealed, jars labeled and stored properly.
Step 9
When ready to enjoy, open a jar and serve your homemade canned pickles chilled or at room temperature. They’re fantastic on sandwiches, burgers, or as a crunchy snack. Leftover opened jars should be refrigerated and eaten within a month for best quality. The pickles will maintain their crispness and tangy flavor for several months when stored unopened in a pantry. Enjoy the satisfaction of your homemade canned pickles any time of year!
⏱ Time: 5
✓ Doneness: Pickles taste crisp, tangy, and fresh with balanced spice.
Pro Tips
Soak cucumbers in ice water before canning for maximum crunch.
This step helps firm up the cucumbers by drawing out excess water, which prevents sogginess during pickling. Skipping it often results in soft, limp pickles.
Use kosher salt instead of table salt for a cleaner flavor and better texture.
Kosher salt lacks additives that can discolor or affect the flavor of pickles. It also dissolves evenly, ensuring consistent salting and crispness.
Don’t over-tighten jar lids before processing to allow air to escape.
Over-tightening prevents air from escaping during boiling, which can cause jars to crack or fail to seal properly, risking spoilage.
Common Mistakes to Avoid
Skipping the ice water soak for cucumbers.
Why it happens Many cooks rush the process or don’t realize soaking improves texture.
Fix Always soak cucumbers in ice water for at least 30 minutes before canning to ensure they stay crisp and crunchy.
Variations
Spicy Dill Pickles
Add 1-2 dried chili peppers or a teaspoon of red pepper flakes to each jar for a spicy kick. This variation adds heat while keeping the traditional dill flavor intact.
Note: Adjust the spice level carefully; too much chili can overpower the brine and mask the cucumber’s natural flavor.
Nutrition
Per Serving:
Nutritional values are estimates and may vary based on specific ingredients used.
Storage & Tips
Room Temperature
Unopened jars of canned pickles can safely be stored at room temperature in a cool, dark pantry for up to 12 months. Keep them away from direct sunlight or heat sources to preserve flavor and texture.
Refrigerator
Once opened, store pickles in their brine in an airtight container in the refrigerator for up to 1 month. The flavor may intensify, and the pickles remain crisp when kept cold.
Freezer
Freezing is not recommended for canned pickles as it can damage texture and cause the brine to become cloudy. Best to consume fresh or properly canned jars.
Reheating
Pickles are best served cold or at room temperature. No reheating is needed. If used in cooked dishes, add towards the end to maintain crunch.
Make Ahead
You can prepare the brine and pack jars a day ahead, then process the jars the next day. Keep packed jars refrigerated overnight before canning to preserve freshness.
FAQ
Can I use regular table salt instead of kosher salt for pickling?
While you can use table salt, it often contains additives like iodine that can discolor pickles and affect flavor. Kosher salt is preferred because it's pure and dissolves evenly, resulting in better taste and texture.
How long do canned pickles last unopened?
Properly canned and sealed pickles can last up to 12 months stored in a cool, dark place. After opening, they should be refrigerated and consumed within a month for best quality.
Why are my pickles soft instead of crunchy?
Soft pickles often result from skipping the ice water soak, using overripe cucumbers, or not using enough salt. Ensuring firm cucumbers and soaking them before canning helps maintain crunch.
Can I add sugar to the brine for sweet pickles?
Yes, adding sugar will create sweet pickles, but it changes the flavor profile and preservation. Make sure to adjust vinegar and salt accordingly to maintain safety and balance.
Do I need to refrigerate pickles after canning?
Unopened canned pickles are shelf-stable and do not require refrigeration. After opening, refrigerate to maintain freshness and prevent spoilage.
Can I reuse jars and lids for canning pickles?
Jars can be reused if free of chips or cracks. Lids should be replaced each time to ensure a proper seal and food safety.
What is the best cucumber variety for pickling?
Pickling cucumbers or Kirby cucumbers are ideal due to their firm texture and thin skins, which produce crisp, flavorful pickles.
Can I add other spices to customize my pickles?
Absolutely! Garlic, peppercorns, coriander seeds, or chili flakes can be added to tailor flavor. Just be mindful of quantities to keep balance.
Final Thoughts
I hope you enjoy making and sharing these crunchy, tangy canned pickles as much as my family does. Don’t forget to share your results and any tweaks you try!