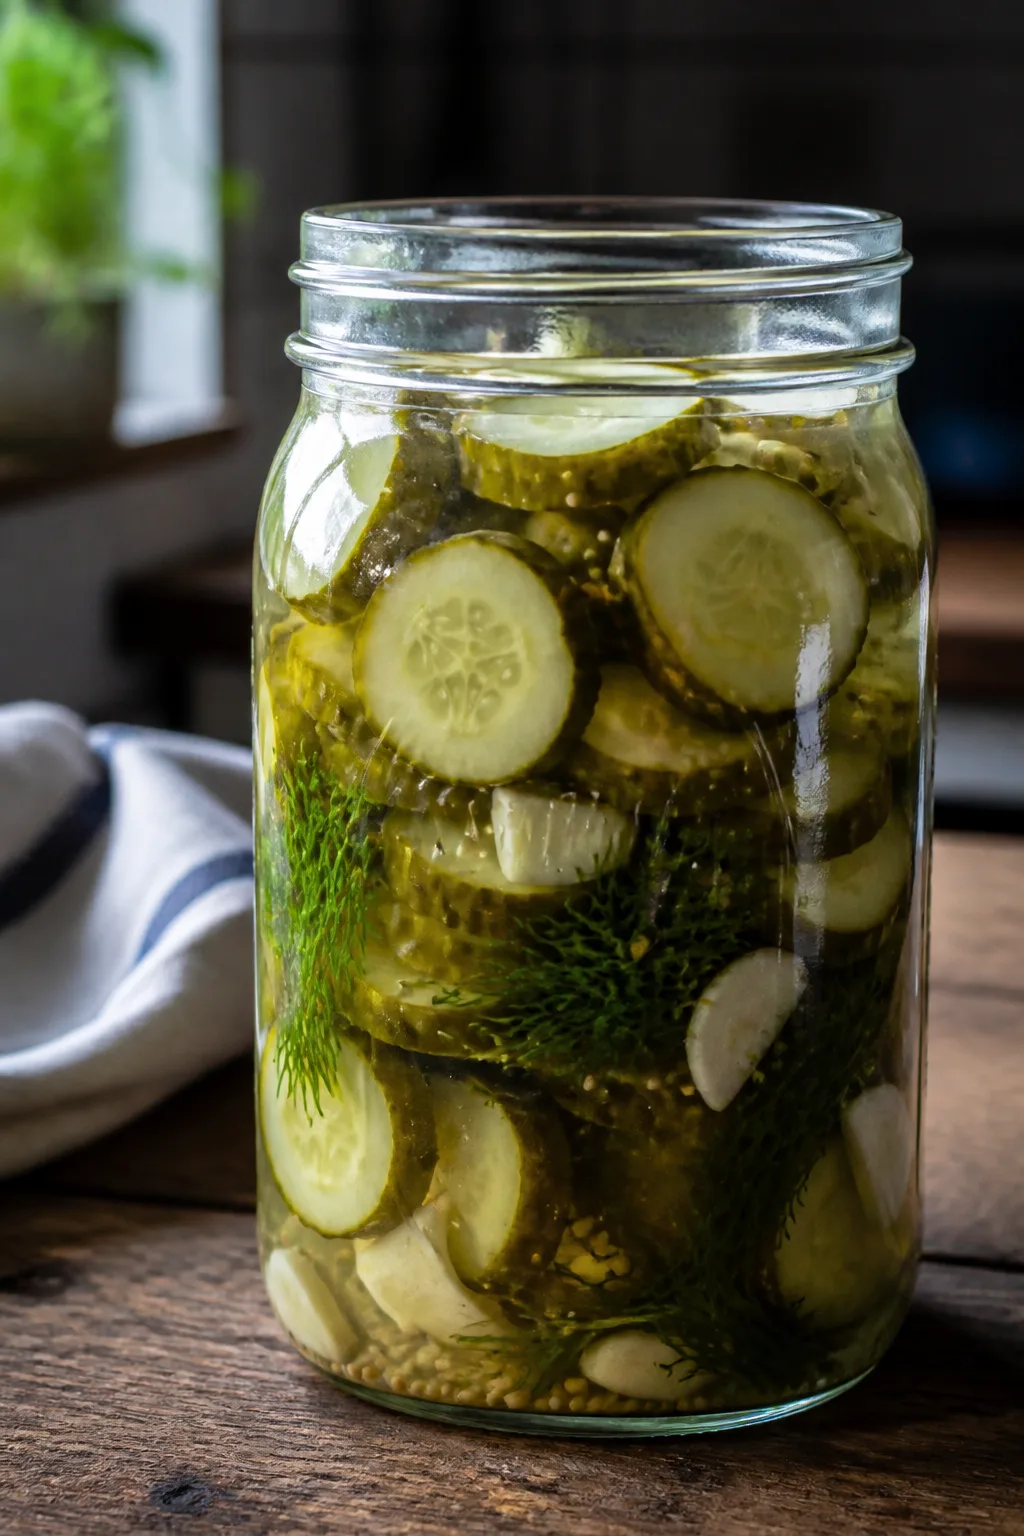
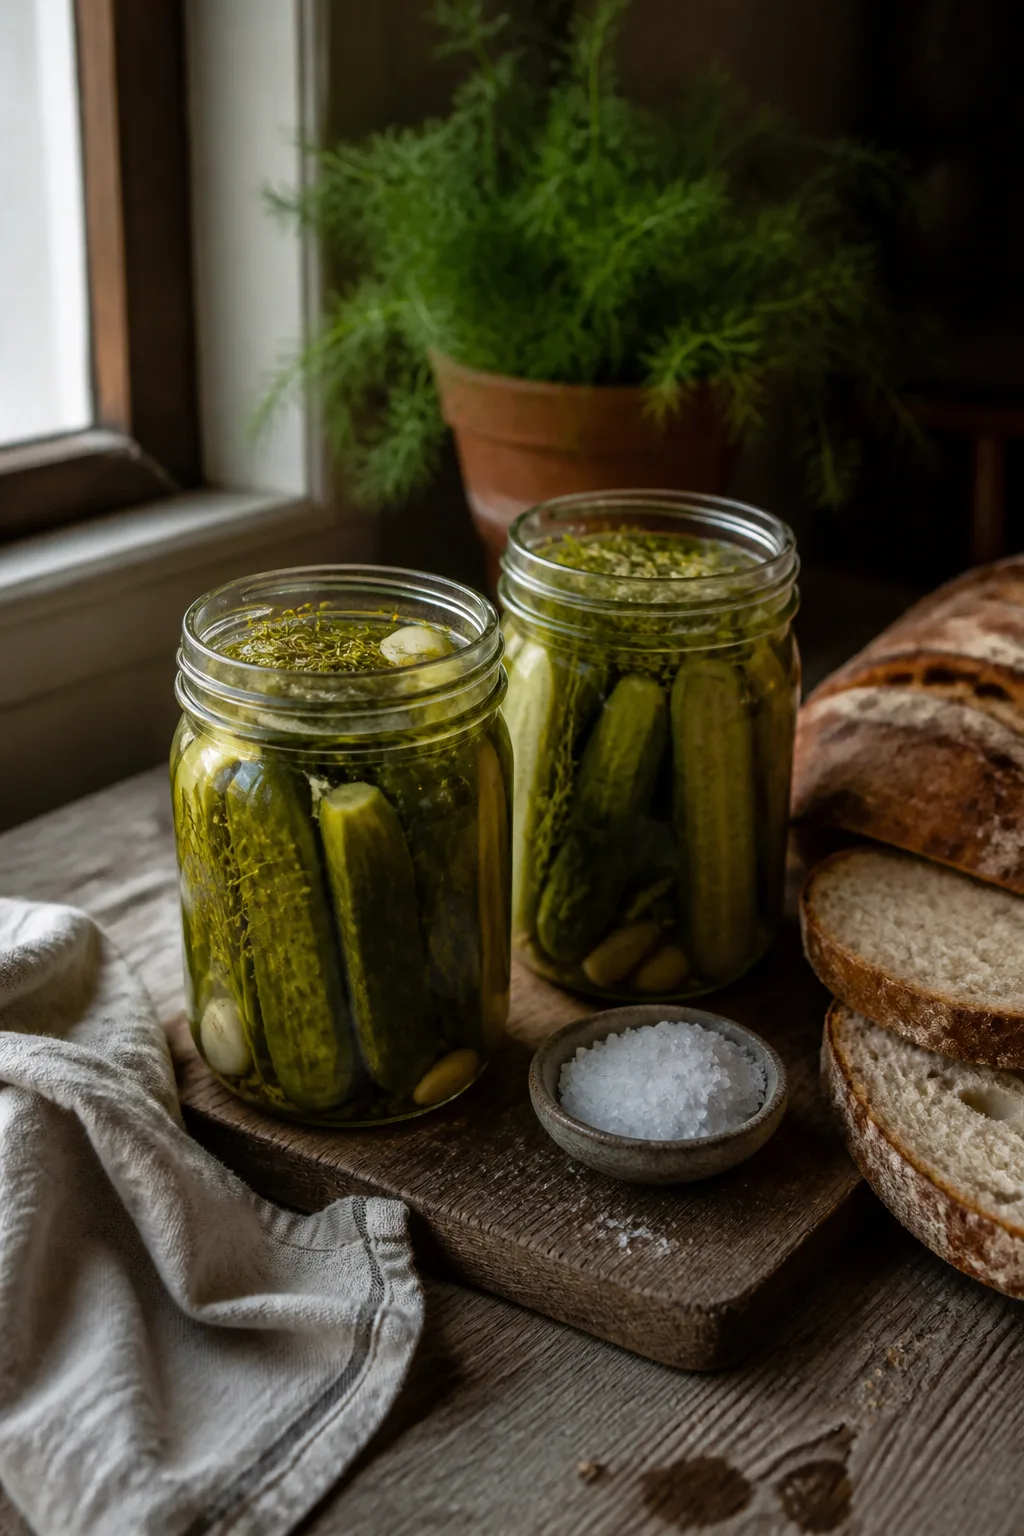
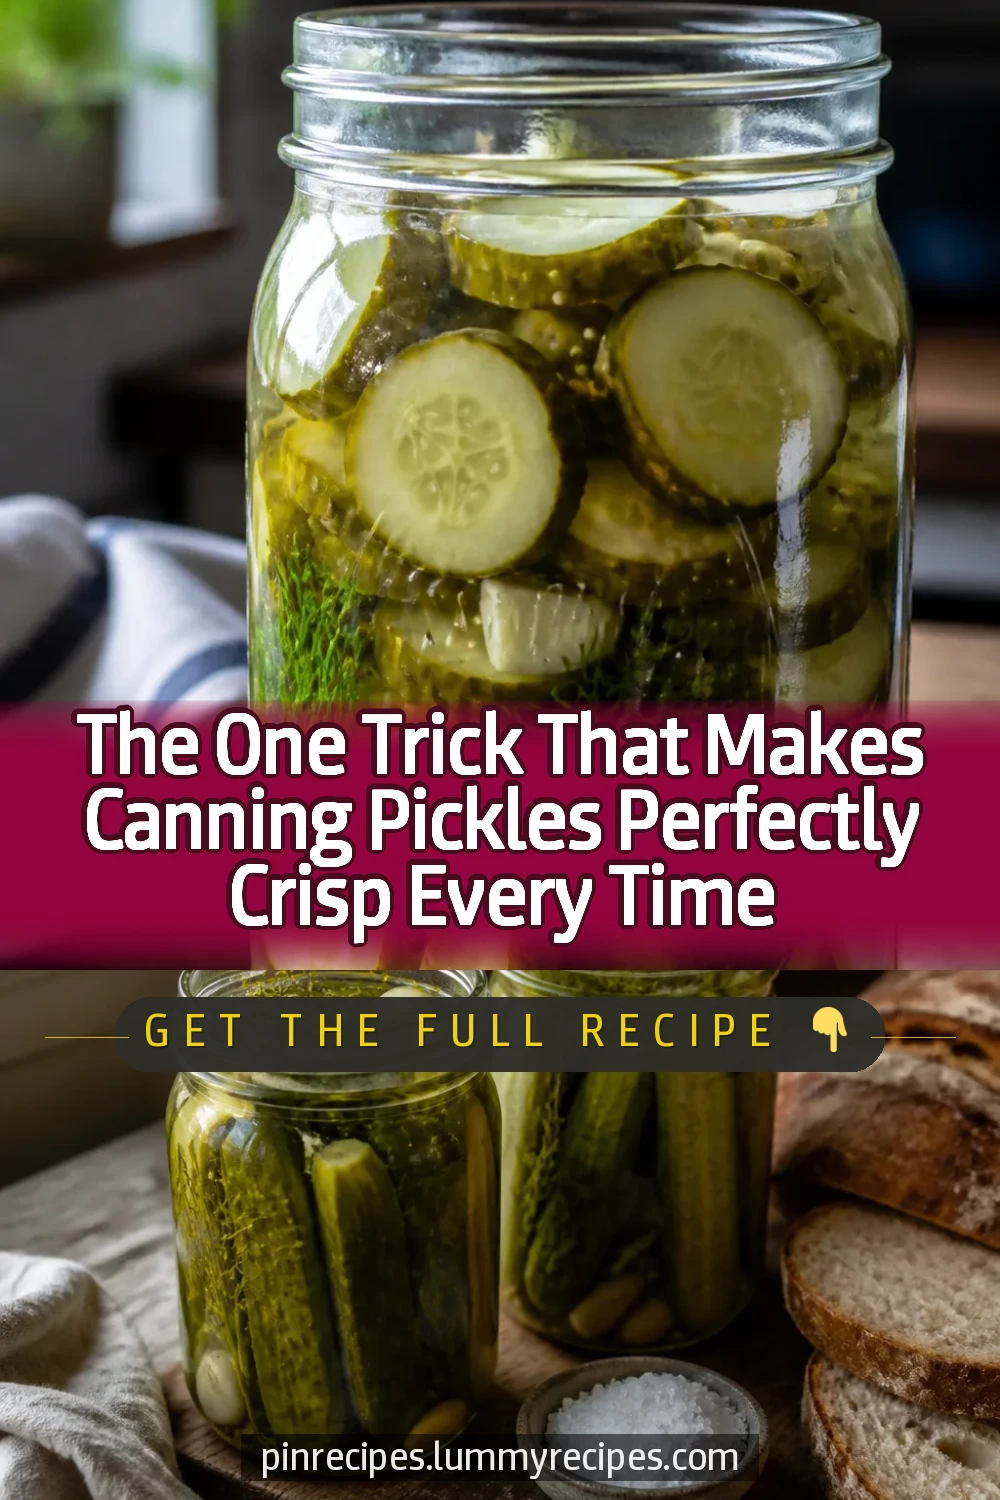
This easy homemade canning pickles recipe yields crisp, tangy jars perfect for snacking or gifting. Using a simple brine and fresh dill gives them that classic bright flavor. Great for summer harvest or anytime you want a crunchy treat!
Introduction
I first tried canning pickles when I had a bumper crop of cucumbers from my garden and wanted a way to preserve that fresh summer crunch all year long. Over the years, I’ve tweaked the brine to balance tangy vinegar with just enough salt and spices to bring out the best flavor without overpowering the cucumbers. What sets my recipe apart is a simple trick: soaking the cucumbers in ice water before packing them into jars. This step keeps them extra crisp even after canning. Plus, I always add fresh garlic cloves and dill sprigs for that authentic homemade taste. The finished pickles are bright green with a satisfying snap, perfect for sandwiches, snacking, or gifting to friends. It’s a cozy kitchen project that brings a little nostalgia and a lot of flavor to your pantry. I love that this recipe is straightforward enough for beginners but yields results that impress even seasoned canners. If you’ve never canned before, don’t worry — I’ll walk you through every step so you get those perfect crunchy pickles you’ll want to make again and again.
What You'll Need
Approximately 8 pints of canned pickles
- 6 cups fresh cucumbers, sliced into spears
- 4 cups water
- 2 cups white vinegar (5% acidity)
- 1/4 cup pickling salt
- 4 cloves garlic, peeled
- 4 sprigs fresh dill
- 2 tablespoons mustard seeds
- 1 tablespoon black peppercorns
How To Do It
Step 1
Start by washing your cucumbers thoroughly to remove any dirt or debris. Then slice them into spears about 3-4 inches long. Place the cut cucumbers in a large bowl filled with ice water and let them soak for at least 2 hours. This soaking step is crucial because it firms up the cucumbers, helping them stay crisp through the canning process. Avoid skipping this as it prevents soggy pickles later on. After soaking, drain the cucumbers well and pat them dry with a clean towel to remove excess moisture.
⏱ Time: 2 hours soaking
✓ Doneness: Cucumbers feel firm and cold to the touch, with no excess water dripping
Step 2
While the cucumbers soak, prepare your canning jars by washing them in hot soapy water and sterilizing them in boiling water for 10 minutes. Keep the jars hot until ready to fill to prevent cracking when adding hot brine. Also, prepare lids according to manufacturer instructions. This step ensures your jars are clean and safe for preserving, reducing the risk of spoilage. If jars cool too much before filling, they may crack during processing.
⏱ Time: 10 minutes sterilizing
✓ Doneness: Jars are visibly clean, steaming hot, and ready to fill
Step 3
In a large saucepan, combine the water, white vinegar, and pickling salt. Bring the mixture to a boil, stirring until the salt dissolves completely. This hot brine is what preserves the cucumbers and infuses them with flavor. Be sure not to rush dissolving the salt as undissolved salt can cause uneven flavor and texture. Once boiling, reduce heat to keep the brine hot but not boiling while you pack the jars.
⏱ Time: 5-7 minutes
✓ Doneness: Clear brine with no visible salt granules, gently steaming
Step 4
Pack the sterilized jars tightly with cucumber spears, leaving about 1/2 inch headspace at the top. Add one garlic clove, one dill sprig, 1/2 tablespoon mustard seeds, and a few black peppercorns into each jar. Packing the cucumbers tightly helps prevent floating during canning and ensures even brining. The aromatics add classic pickle flavor. Leave enough headspace so the brine can circulate properly and prevent jar breakage.
⏱ Time: 10 minutes
✓ Doneness: Jars filled firmly but not overly packed; aromatics visible among cucumbers
Step 5
Pour the hot brine over the packed cucumbers in each jar, covering the cucumbers completely and maintaining the 1/2 inch headspace. Use a non-metallic utensil to remove any air bubbles by gently sliding it along the jar sides. Air bubbles can cause spoilage or uneven pickling if not released. Wipe the rims of the jars clean with a damp cloth to ensure a good seal.
⏱ Time: 5 minutes
✓ Doneness: Brine covers cucumbers fully with no bubbles trapped, jar rims spotless
Step 6
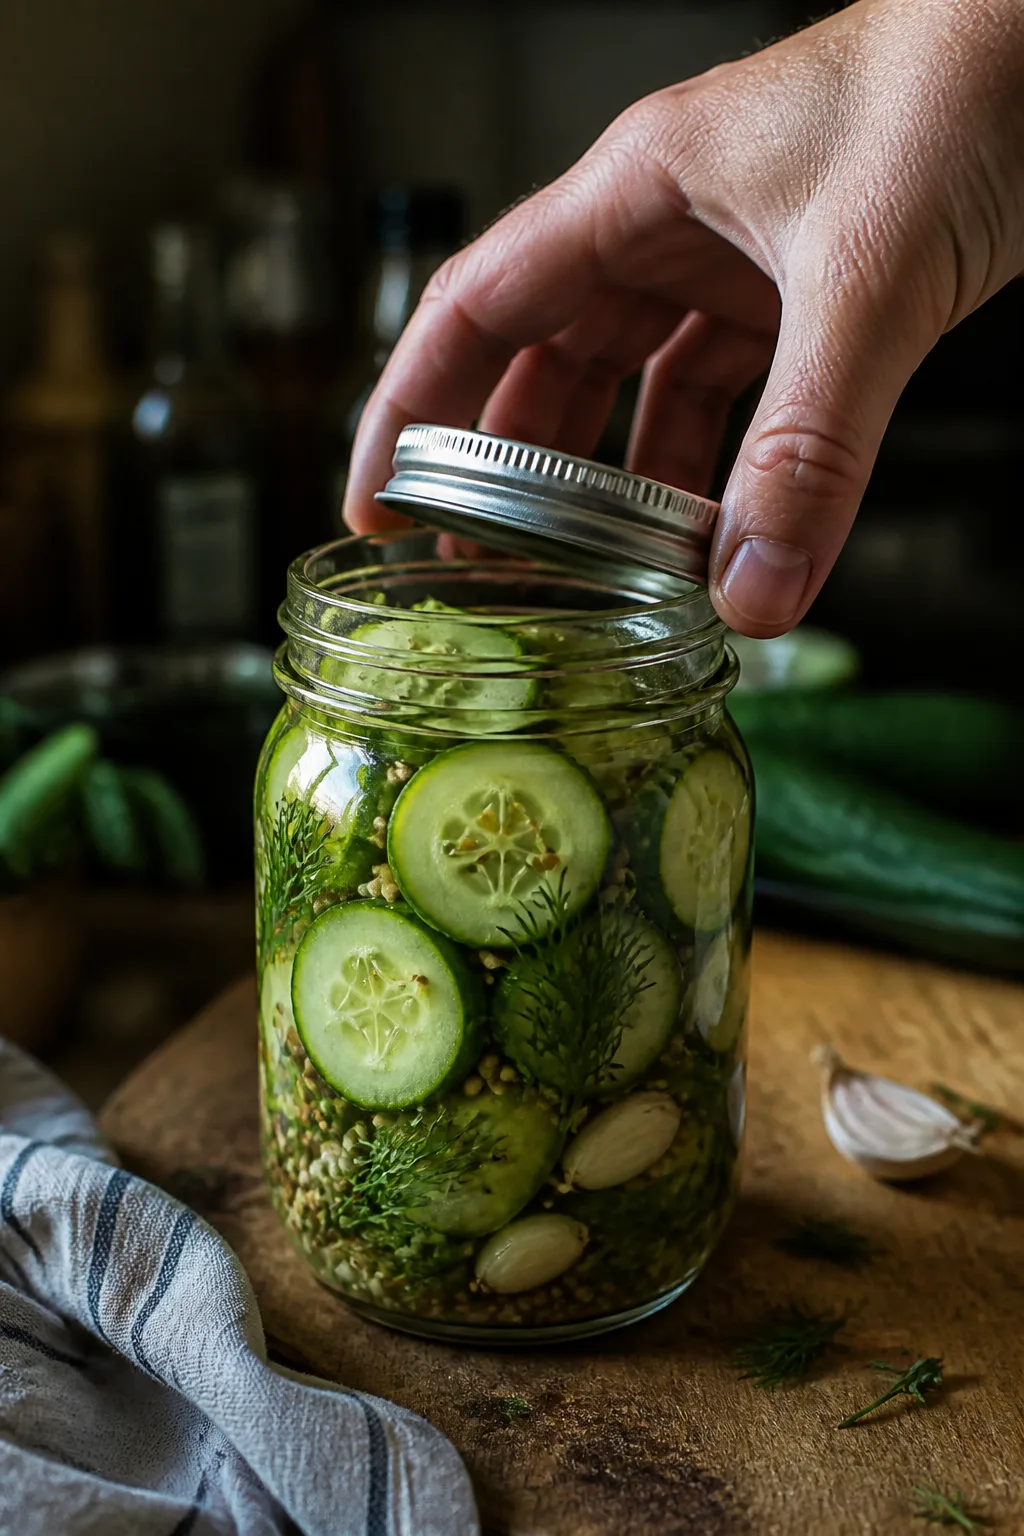
Place the sterilized lids on the jars and screw on the metal bands just until fingertip tight. Avoid over-tightening as air needs to escape during processing. This step is important to create a vacuum seal after canning. If too tight, jars may crack or lids won’t seal properly.
⏱ Time: 5 minutes
✓ Doneness: Lids are snug but can be twisted slightly without resistance
Step 7
Process the jars in a boiling water bath canner for 10 minutes, ensuring the water covers the jars by at least 1 inch. This heat processing kills any bacteria and creates a vacuum seal. Timing is essential—too short risks spoilage, too long softens the pickles. Keep water boiling steadily throughout the process.
⏱ Time: 10 minutes boiling
✓ Doneness: Jars remain submerged, water boiling steadily, no jar movement
Step 8
Carefully remove the jars from the water bath using jar lifters and place them on a towel or wooden surface to cool undisturbed for 12-24 hours. As they cool, you’ll hear the satisfying pop of lids sealing. Do not retighten lids or disturb jars during this time to ensure proper vacuum formation.
⏱ Time: 12-24 hours cooling
✓ Doneness: Lids are concave and do not flex when pressed
Step 9
Once cooled, check each jar for a proper seal by pressing the center of the lid. If it doesn’t pop back, the jar is sealed. Label your jars with the date and store them in a cool, dark place. Let pickles cure for at least 1 week before opening to develop full flavor. Refrigerate after opening and enjoy your crunchy homemade pickles!
⏱ Time: 1 week curing minimum
✓ Doneness: Firm sealed lids and jars stored away from light and heat
Pro Tips
Soak cucumbers in ice water for at least 2 hours before canning.
This step hydrates the cucumbers and maintains cell rigidity, which helps them stay crisp during the heat of canning. Without this, pickles often turn soft or mushy.
Use pickling salt instead of table salt.
Pickling salt dissolves cleanly without additives that can cloud the brine or impart off-flavors. It ensures a clear brine and pure pickle taste.
Remove air bubbles from jars before sealing.
Trapped air can cause uneven pickling and increase spoilage risk. Using a non-metallic spatula to gently release bubbles ensures even brine coverage and proper preservation.
Do not over-tighten lids before processing.
Lids need to vent air during boiling water bath canning. Over-tightening can cause jars to crack or prevent proper vacuum sealing.
Process jars in a boiling water bath for exactly 10 minutes.
This time kills harmful bacteria and ensures safe preservation. Less time risks spoilage; more time can soften pickles.
Let pickles cure for at least a week before eating.
Curing allows flavors to meld and the texture to set properly, resulting in that classic tangy crunch everyone loves.
Store sealed jars in a cool, dark place.
Heat and light can degrade pickle flavor and color. A pantry or cellar keeps them fresh longer.
Common Mistakes to Avoid
Skipping the ice water soak
Why it happens Many cooks want to save time and assume soaking isn’t necessary, but this step is often overlooked.
Fix Always soak cucumbers in ice water for at least 2 hours before canning. This hydrates the cells and prevents soft, soggy pickles.
Using regular table salt
Why it happens Table salt is common and readily available, so some use it without realizing it affects brine clarity and flavor.
Fix Use pickling salt or kosher salt instead. These dissolve cleanly and avoid cloudiness or off tastes.
Over-tightening jar lids before processing
Why it happens People often tighten lids fully to prevent leaks, but this traps air and can cause jars to crack or not seal.
Fix Screw lids on fingertip tight only before processing, allowing air to escape during boiling.
Not removing air bubbles
Why it happens Rushing the packing step can leave trapped air, causing uneven pickling or spoilage.
Fix Use a non-metallic utensil to gently release air bubbles after filling jars with brine.
Processing jars for too short or too long
Why it happens Impatience or misreading recipes leads to incorrect processing time, risking safety or texture.
Fix Follow the recommended 10 minutes boiling water bath exactly for safe preservation and crisp texture.
Variations
Spicy Dill Pickles
Add 1-2 sliced jalapeños or a pinch of red pepper flakes to each jar before packing for a spicy kick. The heat pairs beautifully with the tangy brine and fresh dill for those who love a little fire in their pickles.
Note: Spicy peppers can soften faster; pack jars tightly and process as usual to maintain texture.
Bread and Butter Pickles
Use thinly sliced cucumbers and add sliced onions plus a bit of sugar to the brine for a sweet-and-sour flavor classic. This variation yields sweeter pickles with a tender crunch.
Note: Sugar in the brine requires careful balancing to avoid fermentation; follow sugar quantities precisely.
Garlic Herb Pickles
Enhance the flavor by adding fresh thyme, rosemary, or bay leaves along with the dill and garlic. These herbs add complexity and a fragrant aroma to your pickles.
Note: Fresh herbs lose potency over time; add extra sprigs to jars for more flavor.
Quick Refrigerator Pickles
Skip the canning process and store the prepared pickles in jars in the refrigerator. They’re ready to eat in 24-48 hours and keep for up to 2 weeks refrigerated.
Note: Refrigerator pickles won’t last as long as canned ones but are faster to make and maintain crunch.
Sweet and Spicy Pickles
Combine sugar and chili flakes in the brine for a sweet heat balance. This variation is perfect for those who want a little more flavor complexity and works great as a snack or condiment.
Note: Adjust sugar and chili levels to taste; processing time remains the same.
Nutrition
Per Serving:
Nutritional values are estimates and may vary based on specific ingredients used.
Storage & Tips
Room Temperature
Once canned and sealed, pickles can be safely stored at room temperature in a cool, dark pantry for up to 1 year. Keep jars away from direct sunlight and heat sources to maintain quality.
Refrigerator
After opening, store pickles in the refrigerator in their brine. They will stay fresh for up to 1 month but may soften slightly over time. Refrigeration preserves flavor and texture best once opened.
Freezer
Freezing is not recommended for canned pickles as it damages texture and can cause jars to break. Instead, make refrigerator pickles for short-term storage.
Reheating
Pickles are best served cold or at room temperature. No reheating is necessary. If you want to warm them slightly, do so gently but avoid heat which will soften the crunch.
Make Ahead
Prepare and can pickles up to several months ahead. Store sealed jars in a cool pantry and open when ready to enjoy. The flavor improves with time, so making them weeks in advance is ideal.
FAQ
Can I use regular cucumbers instead of pickling cucumbers?
You can, but pickling cucumbers like Kirby varieties are firmer and have fewer seeds, resulting in crisper pickles. Regular slicing cucumbers have more water and seeds, which can make pickles softer and less crunchy.
How long do canned pickles last?
Properly canned pickles can last up to one year when stored in a cool, dark pantry. After opening, consume within 1 month refrigerated for best flavor and texture.
Why are my pickles soft after canning?
Soft pickles often result from skipping the ice water soak, overripe cucumbers, or over-processing. Always soak cucumbers in ice water before canning and use firm, fresh cucumbers. Follow processing times carefully.
Do I need to boil the brine before pouring it over cucumbers?
Yes, boiling the brine dissolves the salt and helps sterilize it, which is essential for safe preservation and proper flavor infusion.
Can I add other spices to the pickles?
Absolutely! Mustard seeds, peppercorns, dill, garlic, and even red pepper flakes are common additions. Just be sure not to overcrowd the jars to maintain proper brine circulation.
What if my jars don’t seal after processing?
If a jar doesn’t seal, refrigerate it and use those pickles first. You can also reprocess the jar with a new lid within 24 hours to try sealing again.
Can I use apple cider vinegar instead of white vinegar?
Apple cider vinegar has a different flavor and acidity level. It can be used but may alter the taste and color. Ensure it has at least 5% acidity for safe canning.
Is it necessary to remove air bubbles before sealing?
Yes, removing air bubbles prevents pockets that can cause spoilage and ensures the brine covers all cucumbers evenly.
Can I make these pickles without canning?
Yes, you can make refrigerator pickles by skipping the boiling water bath. They’re ready faster but must be kept refrigerated and consumed within a couple of weeks.
Why is pickling salt preferred over regular salt?
Pickling salt dissolves cleanly without additives that can cloud the brine or affect flavor. It’s best for clear, crisp pickles.
Final Thoughts
I hope you enjoy making and sharing these homemade canned pickles as much as my family does. They’re simple, satisfying, and a true taste of summer you can keep all year. Happy pickling!