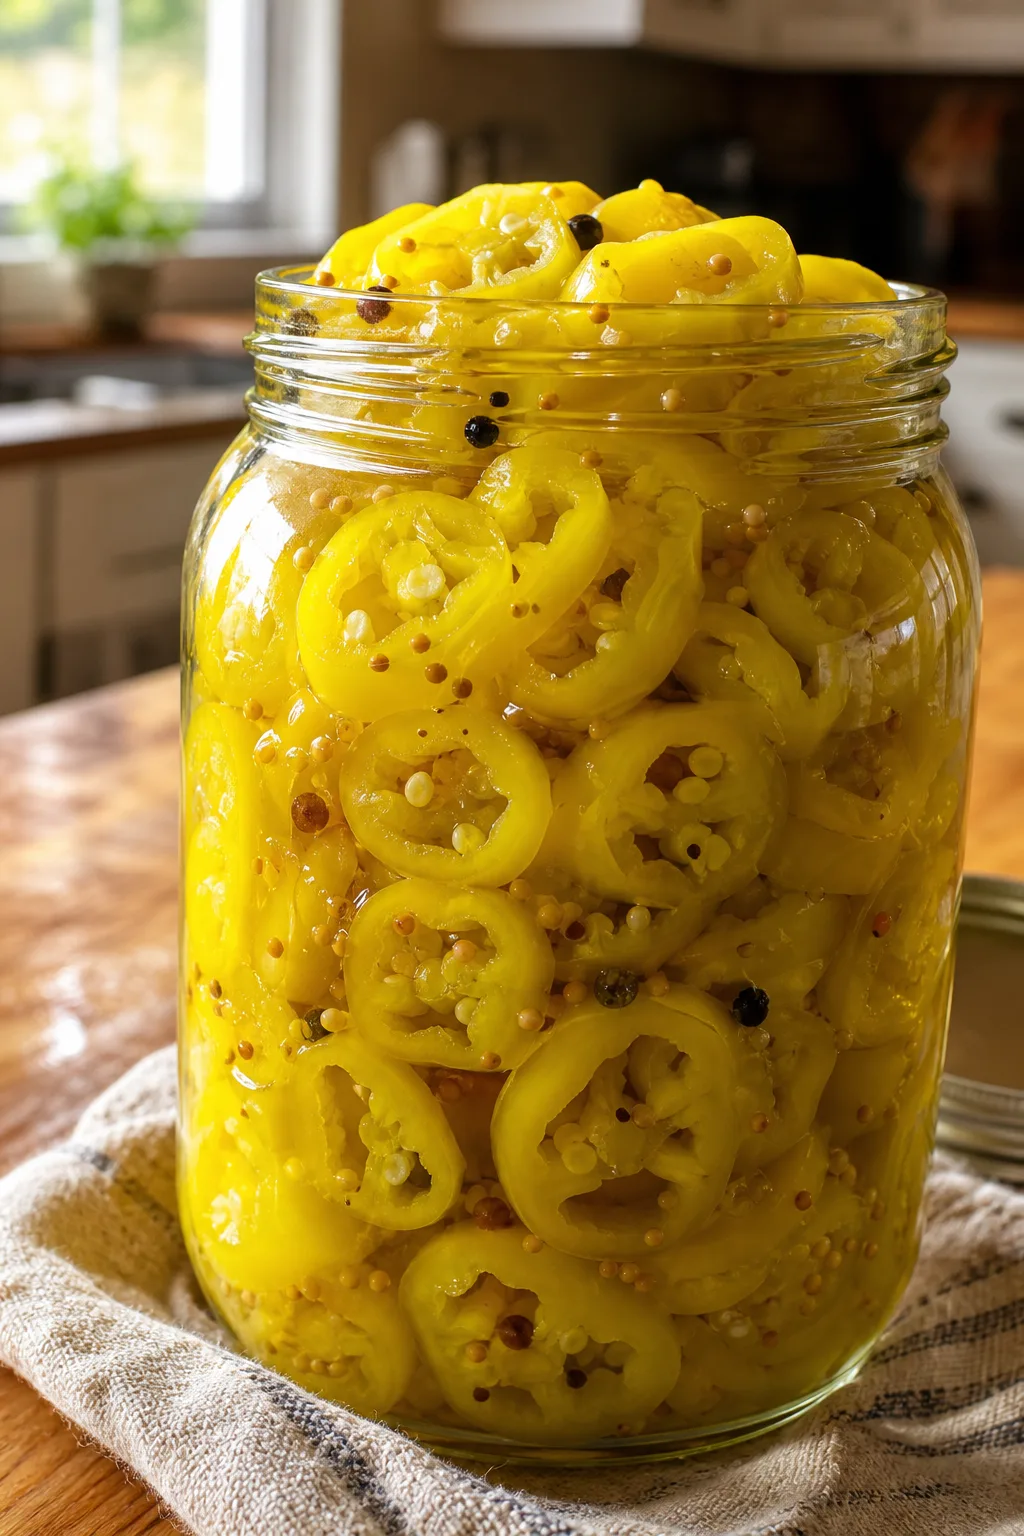
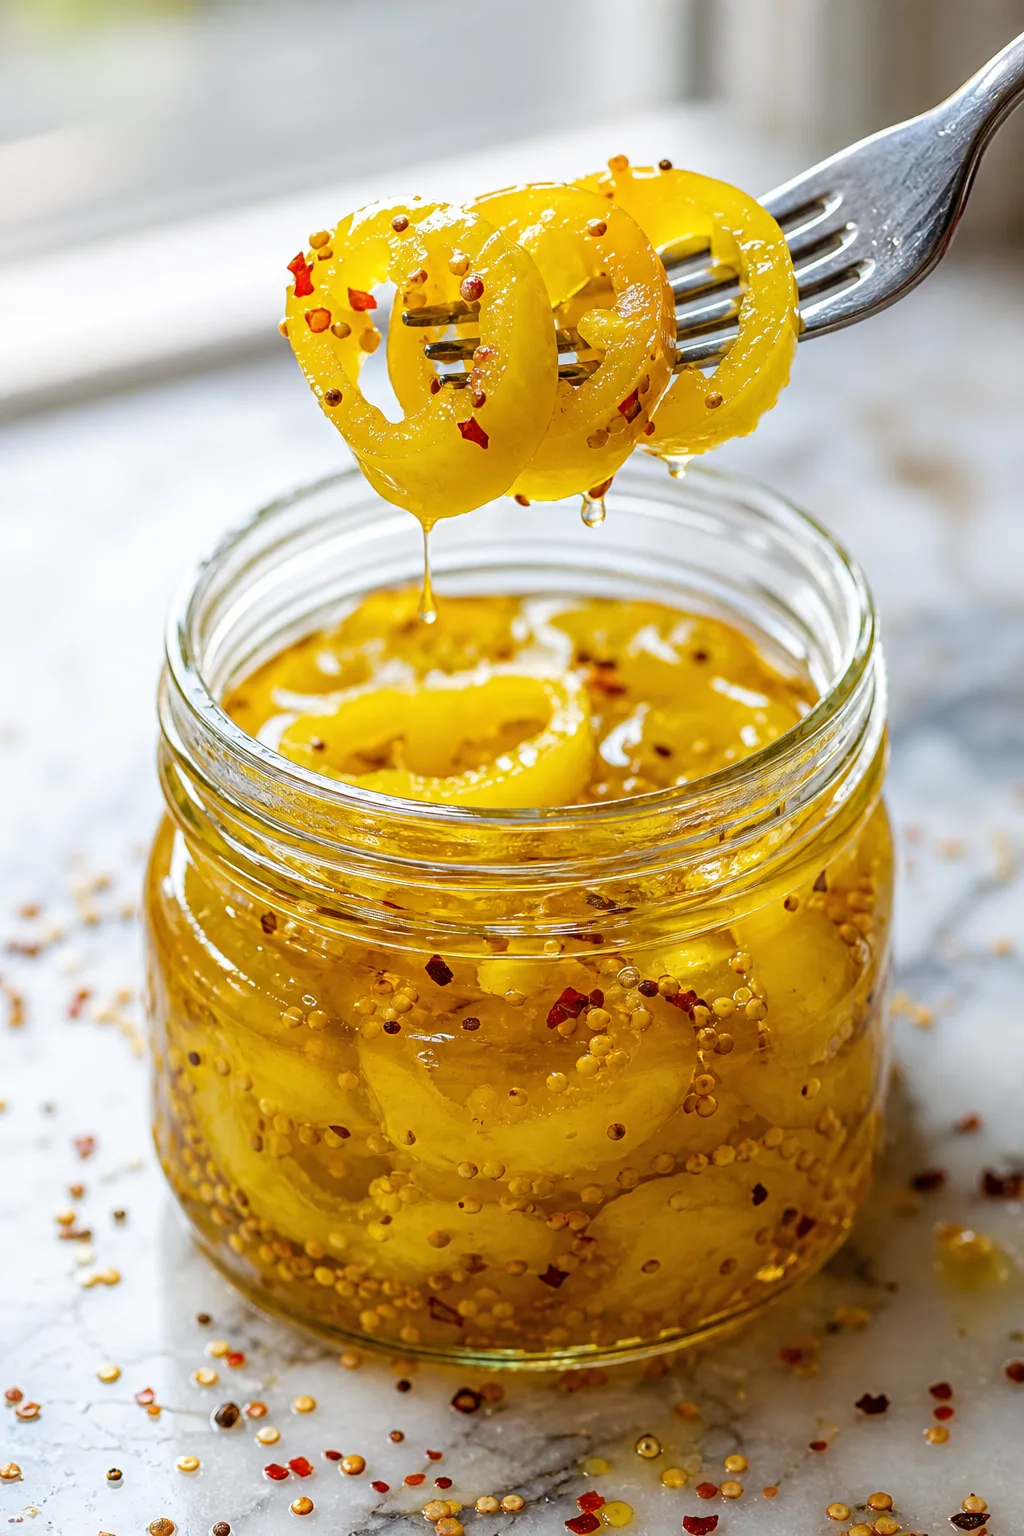
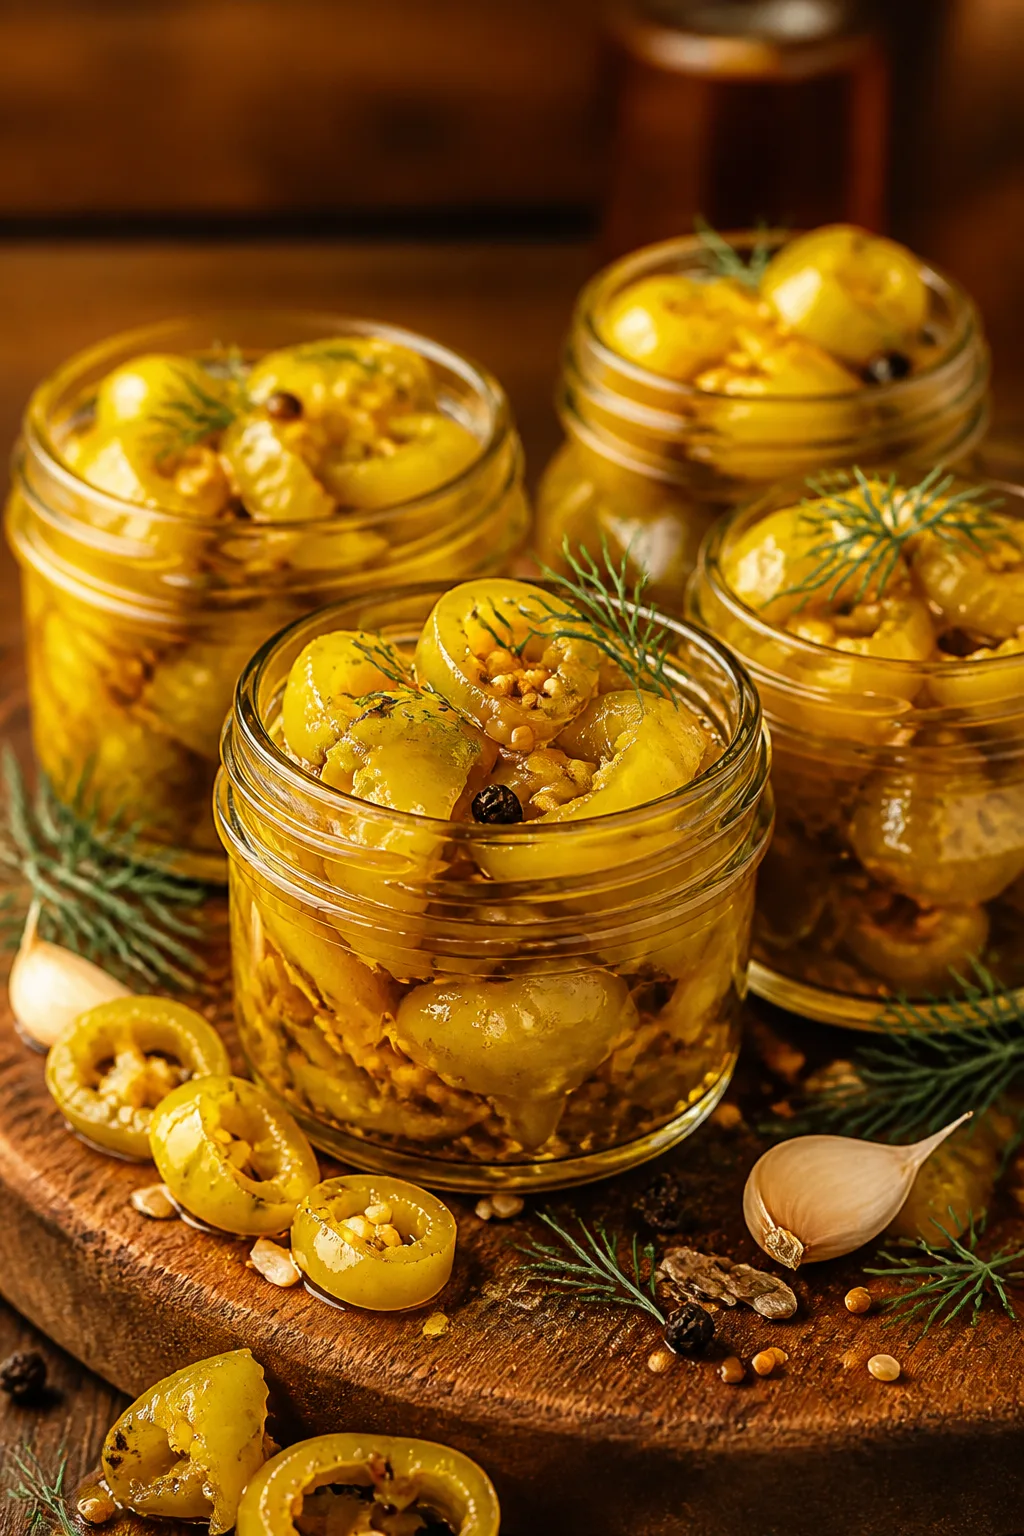
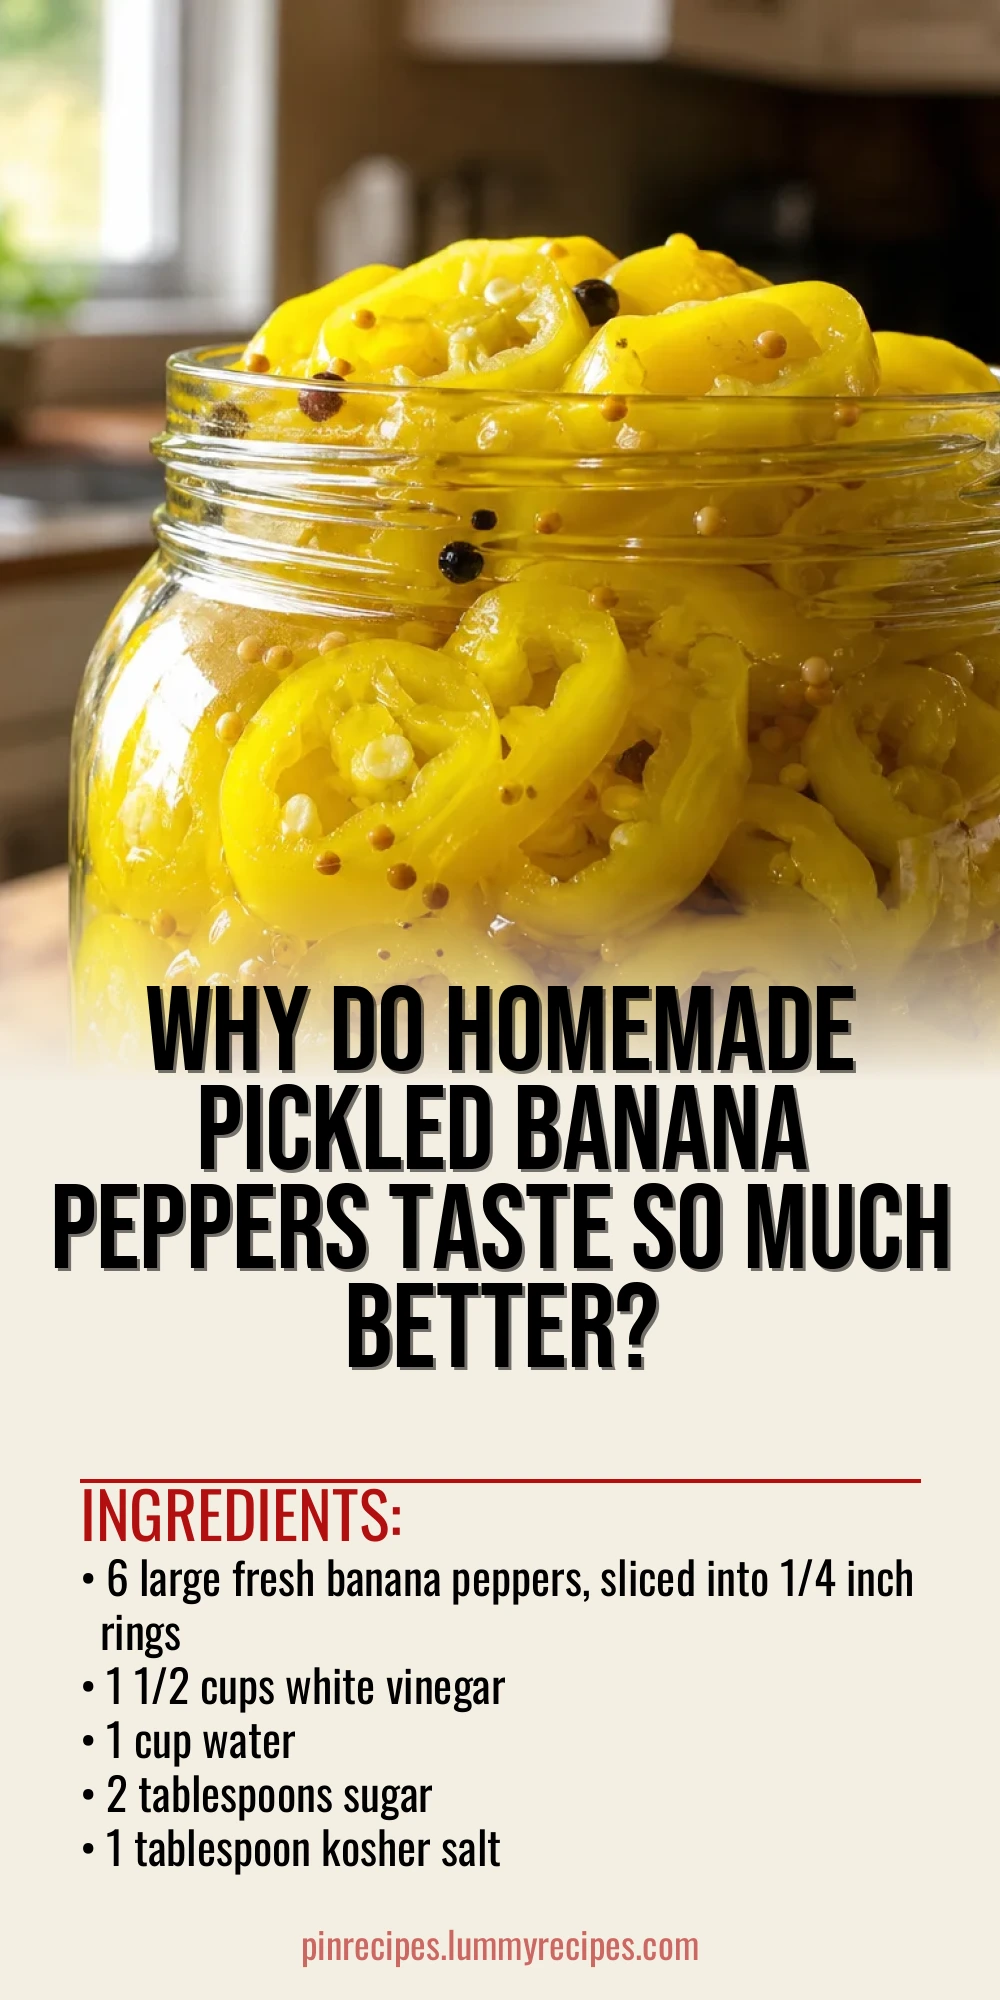
These homemade pickled banana peppers bring a perfect tangy crunch to any meal. I love how simple the brine is, with just the right balance of vinegar and spices. Great for sandwiches or salads anytime!
Introduction
I first tried pickling banana peppers years ago when I wanted a quick way to add a tangy crunch to my sandwiches without buying the usual store jars. This recipe has become my go-to because it’s simple, uses everyday pantry ingredients, and yields perfectly crisp peppers every time. What makes this version special is the balance of vinegar and just a touch of sugar, which brightens the flavor without overpowering the fresh pepper taste. Plus, the inclusion of mustard seeds and peppercorns gives it that classic deli-style zing I love. I usually let them sit for at least 24 hours, but if you’re impatient like me, even a few hours in the fridge will start to develop that delicious tang. The peppers come out vibrant yellow with a satisfying crunch that holds up well in sandwiches, salads, or even as a snack on their own. I’ve found that slicing them thinly helps the brine penetrate better, and smashing the garlic releases just enough aroma without being too strong. This recipe is a little labor of love that pays off with every bite, and I hope you enjoy it as much as my family does!
What You'll Need
Approximately 3 cups of pickled banana peppers, 4 servings
- 6 large fresh banana peppers, sliced into 1/4 inch rings
- 1 1/2 cups white vinegar
- 1 cup water
- 2 tablespoons sugar
- 1 tablespoon kosher salt
- 1 teaspoon mustard seeds
- 1 teaspoon black peppercorns
- 2 cloves garlic, smashed
- 1/2 teaspoon red pepper flakes (optional)
How To Do It
Step 1
Start by washing and slicing your banana peppers into even 1/4 inch rings. This ensures they pickle evenly and absorb the brine properly. Removing the seeds is optional, but leaving some in adds a nice mild heat. Place the sliced peppers in a clean glass jar or bowl. The even size helps the vinegar soak in uniformly, which is key for consistent flavor and texture.
⏱ Time: 10
✓ Doneness: Peppers are evenly sliced with some seeds visible; pieces fit snugly in the jar without overcrowding.
Step 2
In a saucepan, combine the white vinegar, water, sugar, kosher salt, mustard seeds, black peppercorns, smashed garlic, and red pepper flakes if using. Bring the mixture to a boil, stirring occasionally to dissolve the sugar and salt. Boiling extracts the flavors from the spices and creates a balanced brine that will preserve the peppers and infuse them with tangy, spicy notes.
⏱ Time: 10
✓ Doneness: Brine is clear with visible dissolved sugar and salt; mustard seeds and peppercorns are floating and fragrant.
Step 3
Carefully pour the hot brine over the sliced banana peppers in the jar, making sure they are fully submerged. Use a clean utensil to press down the peppers gently if needed. Leaving air pockets can cause uneven pickling or spoilage, so this step is important to ensure all peppers are covered.
⏱ Time: 5
✓ Doneness: Peppers are fully submerged under the brine with no floating pieces.
Step 4
Seal the jar tightly with a lid and let it cool to room temperature before placing it in the refrigerator. Cooling prevents condensation inside the jar which can dilute the brine or encourage bacterial growth. Refrigerate for at least 24 hours before tasting, but the peppers will improve in flavor over several days.
⏱ Time: 5
✓ Doneness: Jar is sealed and cool to the touch before refrigeration.
Step 5
After 24 hours, test a pepper ring for flavor and texture. If it’s not tangy enough, let it pickle longer. The longer they sit, the more the flavors meld and the peppers soften slightly while retaining crunch. Use within 2-3 weeks for best quality.
⏱ Time: 5
✓ Doneness: Peppers have a bright tangy flavor with a firm but tender crunch.
Step 6
When ready to serve, drain the peppers or add them directly to sandwiches, salads, or antipasto platters. The brine can be reused for another batch if strained and boiled again. This keeps the flavor consistent and reduces waste.
⏱ Time: 5
✓ Doneness: Peppers are glossy and vibrant, adding a fresh pop of color and flavor to dishes.
Step 7
If you want a spicier kick, increase the red pepper flakes or add a few sliced jalapeños to the jar before pouring the brine. This customization lets you tailor the heat level to your family’s taste.
⏱ Time: 2
✓ Doneness: Spicy peppers have a noticeable but balanced heat without overpowering the tang.
Step 8
For a milder version, omit the red pepper flakes and reduce the mustard seeds slightly. The subtle spice still adds complexity without heat, making it perfect for kids or those sensitive to spice.
⏱ Time: 2
✓ Doneness: Peppers are tangy and aromatic with gentle spice notes.
Step 9
Always use clean utensils when removing peppers from the jar to avoid contamination. This simple habit keeps your pickles fresh longer and prevents spoilage.
⏱ Time: 1
✓ Doneness: Pickles remain crisp and flavorful after multiple uses.
Pro Tips
Slice peppers evenly for consistent pickling.
Uniform slices allow the brine to penetrate all pieces equally, ensuring every bite has the perfect balance of tang and crunch. Uneven slices can lead to some pieces being too soft or under-flavored.
Use a clean jar and utensils to prevent spoilage.
Pickling relies on preventing unwanted bacteria growth. Using sterilized jars and avoiding double-dipping utensils minimizes contamination, keeping your pickles fresh and safe for longer.
Let the peppers sit in the brine for at least 24 hours before eating.
This resting time allows the vinegar and spices to fully infuse the peppers, developing deeper flavor and tenderizing them slightly while maintaining crunch.
Common Mistakes to Avoid
Not fully submerging the peppers in brine.
Why it happens Sometimes jars are packed too tightly or peppers float up, leaving some pieces exposed to air, which can cause uneven pickling or spoilage.
Fix Use a clean utensil to press the peppers down so they are completely covered by the brine. Adding a small weight or extra liquid can help keep them submerged.
Variations
Spicy Pickled Banana Peppers
Add sliced jalapeños or increase red pepper flakes for a hotter version. This variation adds a sharp kick that pairs well with grilled meats and spicy sandwiches.
Note: Be cautious with the quantity of hot peppers to maintain balance and avoid overpowering the original tangy flavor.
Sweet and Tangy Pickled Banana Peppers
Increase the sugar slightly and add a cinnamon stick or clove for a sweeter, aromatic pickle. This version works well in salads or as a contrast to rich dishes.
Note: Adjust sugar carefully to avoid making the pickles overly sweet, which can mask the vinegar’s tang.
Nutrition
Per Serving:
Nutritional values are estimates and may vary based on specific ingredients used.
Storage & Tips
Room Temperature
Pickled banana peppers should not be left at room temperature for more than 2 hours after preparation to avoid spoilage. Always store in a sealed jar.
Refrigerator
Store pickled banana peppers in an airtight jar in the refrigerator for up to 3 weeks. Flavor intensifies over time but texture remains crisp. Serve chilled or at room temperature.
Freezer
Freezing is not recommended as it can ruin the texture of pickled peppers, making them mushy when thawed.
Reheating
No reheating needed. Serve cold or at room temperature directly from the jar for best crunch and flavor.
Make Ahead
You can prepare the brine and slice peppers 1-2 days ahead. Store peppers and brine separately in the fridge and combine just before pickling to maintain maximum freshness.
FAQ
Can I use other types of vinegar for pickling banana peppers?
While white distilled vinegar is preferred for its clean flavor and 5% acidity, you can use apple cider vinegar for a fruitier note. Avoid malt or flavored vinegars as they may alter the color and taste unpredictably.
How long do pickled banana peppers last in the fridge?
Properly stored in an airtight jar, they last about 3 weeks in the refrigerator. The flavor deepens over time, but for best texture, consume within this period.
Can I reuse the pickling brine for another batch?
Yes, you can strain and boil the brine again before using it for a new batch. This helps maintain flavor consistency and reduces waste.
Why are my pickled banana peppers soft and mushy?
This usually happens if the peppers are overcooked or left too long in the brine at warm temperatures. Use fresh, firm peppers and refrigerate promptly after pickling to keep them crisp.
Do I need to sterilize the jars before pickling?
Sterilizing jars is recommended to prevent contamination and extend shelf life. Wash jars in hot soapy water and boil or bake them before use.
Can I omit the sugar in the pickling brine?
You can omit sugar if you prefer a more tart pickle, but it helps balance the acidity and enhances flavor complexity. Try reducing it rather than removing it completely.
How spicy are pickled banana peppers?
Banana peppers are mild with a gentle heat. Adding red pepper flakes or jalapeños can increase spiciness to suit your taste.
Can I pickle whole banana peppers instead of sliced?
Whole peppers take longer to pickle and may not absorb brine evenly. Slicing allows for quicker, more consistent pickling and better texture.
Final Thoughts
I hope you enjoy making and sharing these tangy pickled banana peppers as much as my family does. They’re a simple way to brighten up any dish—give them a try and let me know what you think!