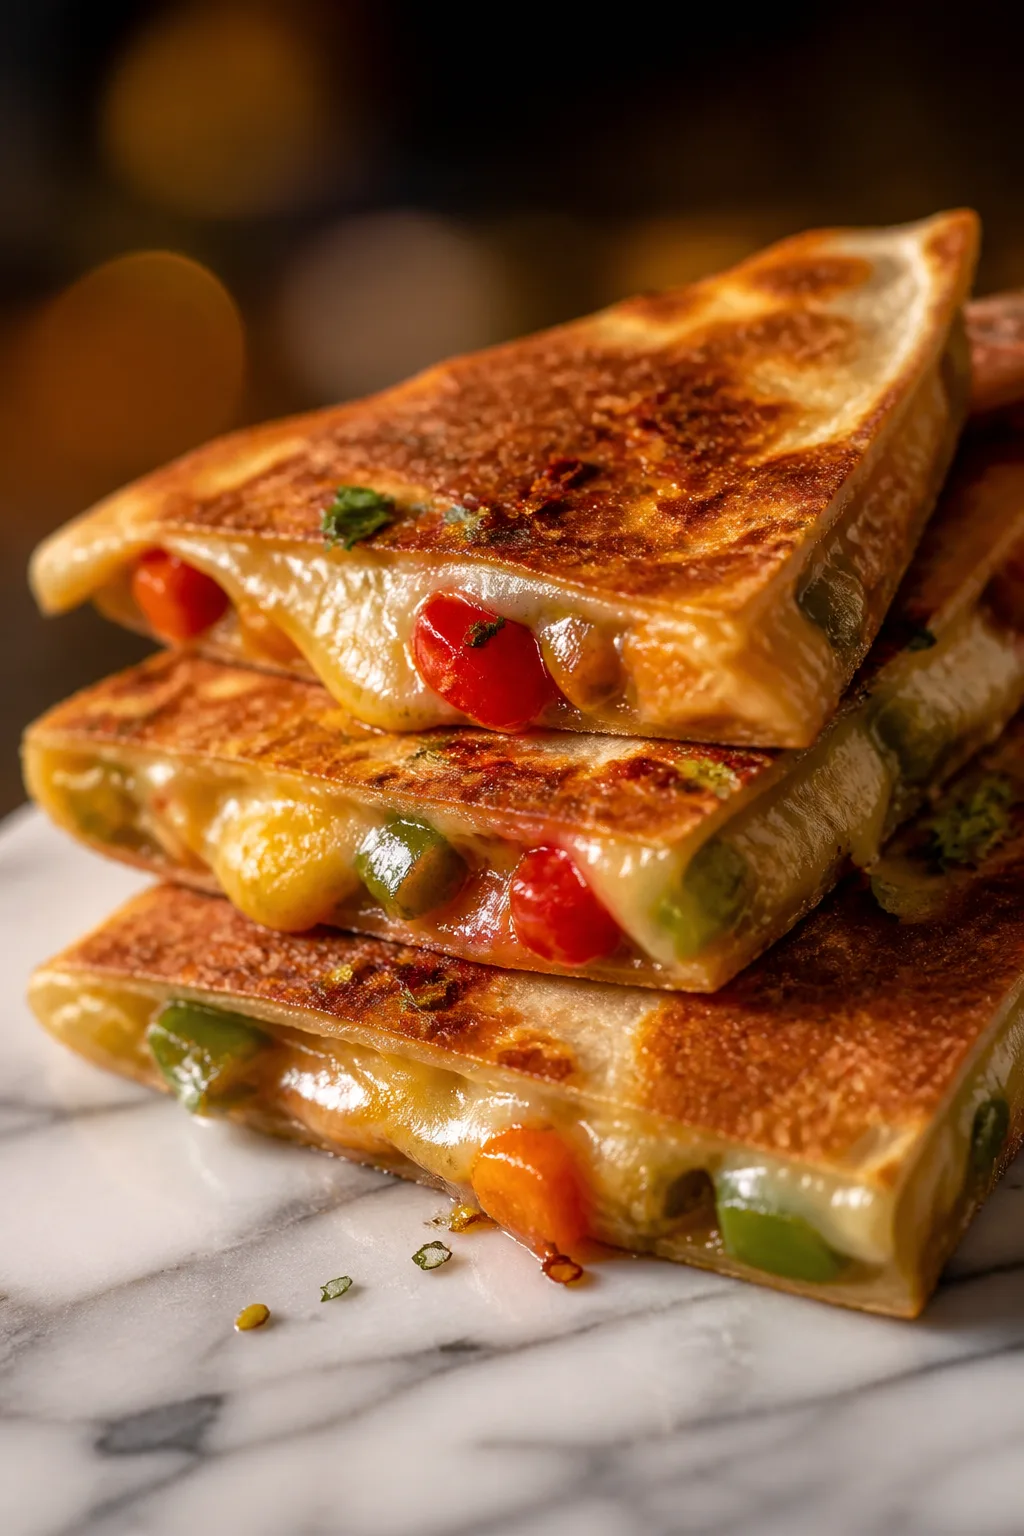
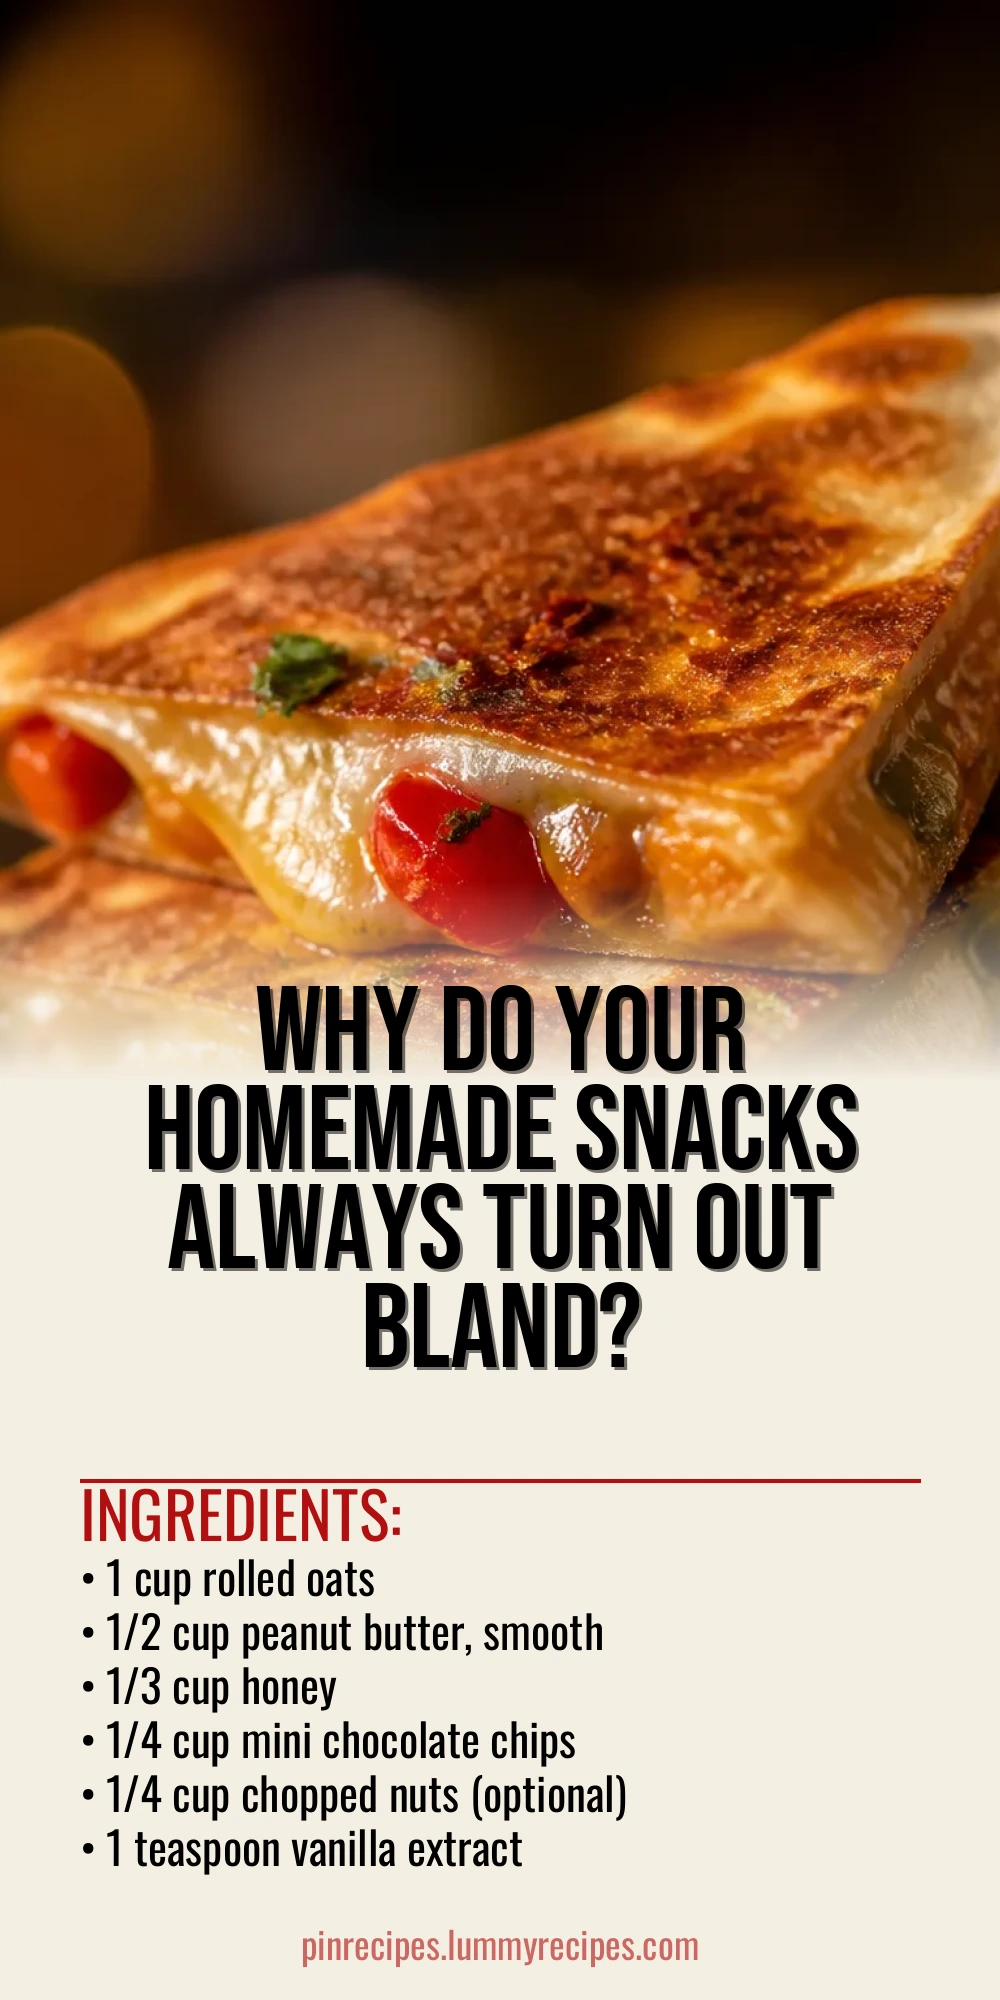
These easy homemade snack recipes are perfect for when you need a quick bite that’s both tasty and satisfying. I love how simple ingredients come together with a little twist to make snacks that feel special. Great for afternoon cravings or casual get-togethers!
Introduction
I’ve always loved having a quick snack on hand that feels homemade but doesn’t take forever to make. These snack recipes started as my go-to when I wanted something easy, wholesome, and just a little bit special. What makes this version stand out is the balance between natural sweetness from honey and the rich creaminess of peanut butter. Plus, the oats add a nice chewiness that keeps you full. I remember the first time I tried making these bars; I was nervous about them sticking together, but the secret was the right ratio of wet to dry ingredients and a touch of vanilla for extra flavor. They’re perfect for afternoon pick-me-ups or packing for a family outing. You’ll love how simple and satisfying these snacks are—no fancy ingredients, just good old-fashioned comfort in every bite.
What You'll Need
Approximately 12 snack bars, 4 servings
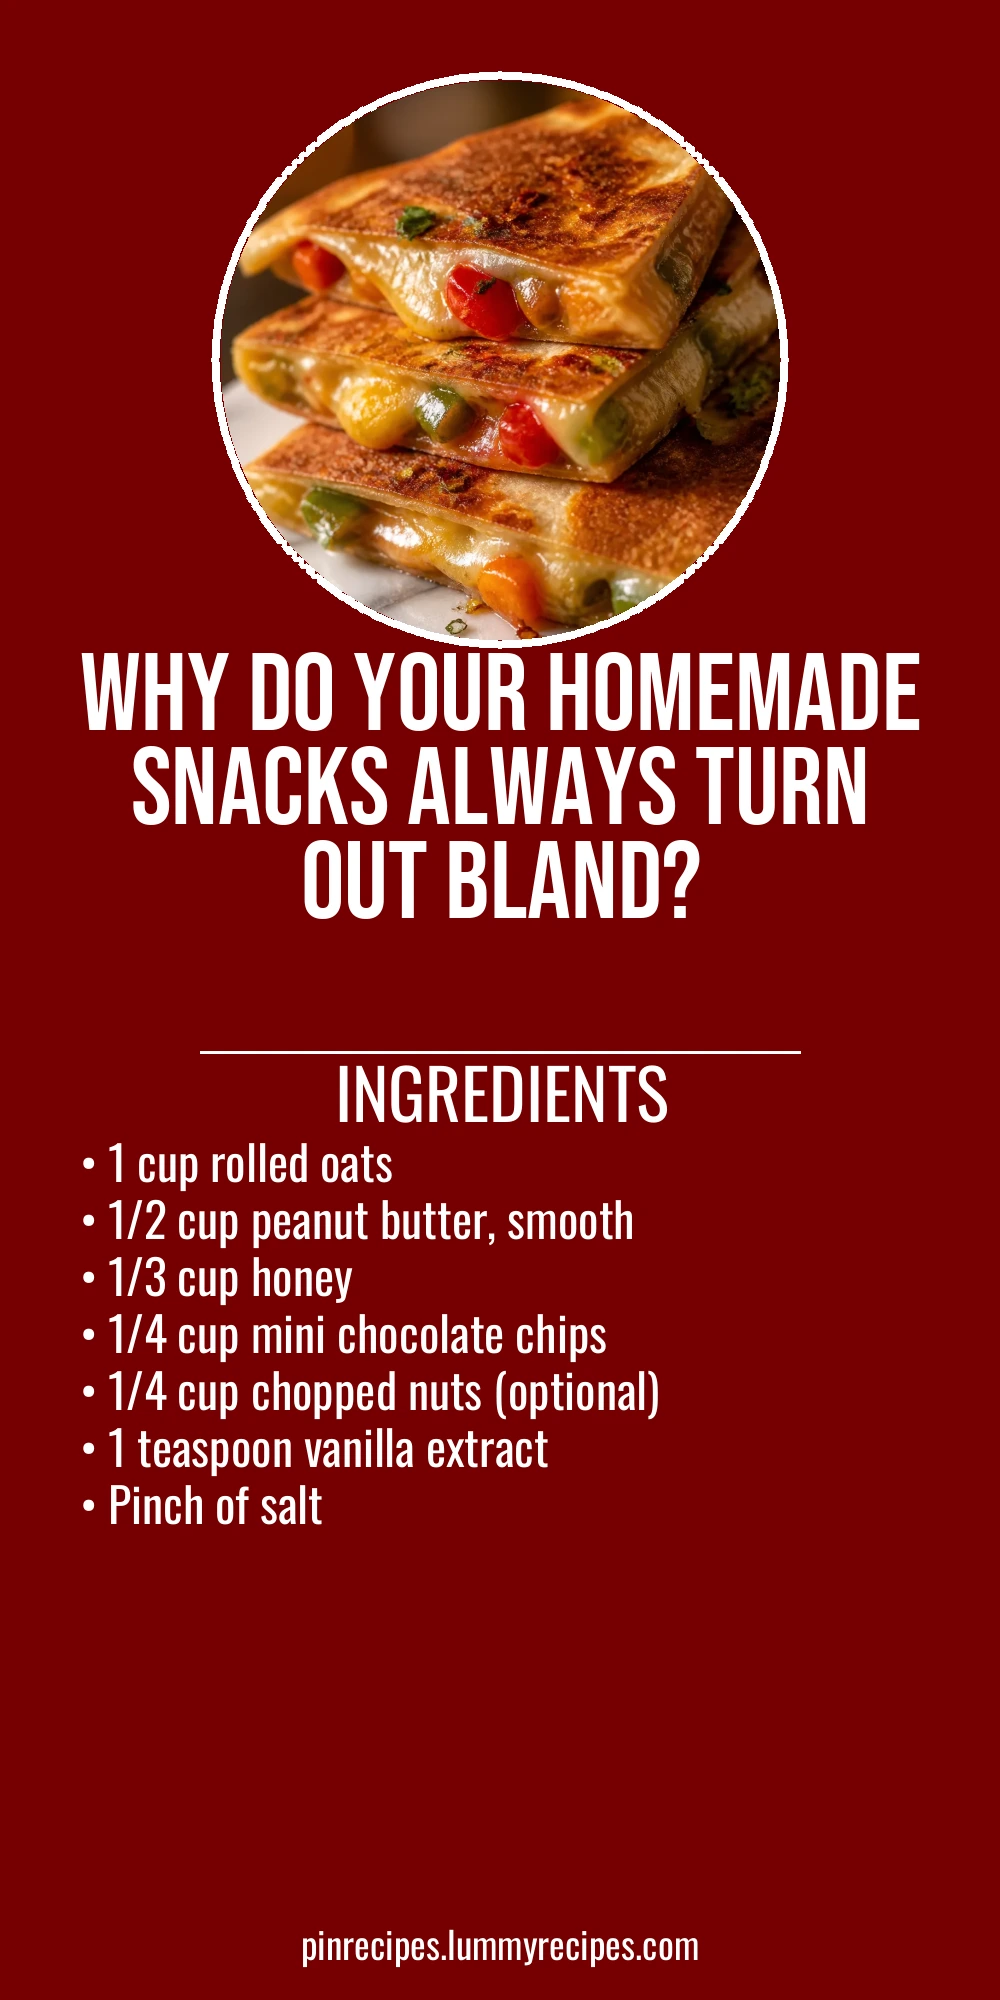
- 1 cup rolled oats
- 1/2 cup peanut butter, smooth
- 1/3 cup honey
- 1/4 cup mini chocolate chips
- 1/4 cup chopped nuts (optional)
- 1 teaspoon vanilla extract
- Pinch of salt
How To Do It
Step 1
Start by combining the peanut butter and honey in a medium saucepan over low heat. Stir gently until the mixture is smooth and fully blended. This step is crucial because warming helps the peanut butter and honey bind together, making it easier to mix with the dry ingredients. Be careful not to overheat or boil, as that can change the texture and make it too runny.
⏱ Time: 5
✓ Doneness: The mixture should be smooth, glossy, and pourable without lumps.
Step 2
In a large bowl, mix the rolled oats, mini chocolate chips, chopped nuts (if using), and a pinch of salt. Pour the warm peanut butter and honey mixture over the dry ingredients and add vanilla extract. Stir everything together quickly but thoroughly to ensure all the oats get coated. If you rush or don’t mix well, the bars won’t hold together properly.
⏱ Time: 5
✓ Doneness: The mixture should stick together easily when pressed and look evenly coated.
Step 3
Line a small square baking pan with parchment paper. Transfer the mixture into the pan and press it down firmly with the back of a spatula or your hands. Pressing firmly is key to compact the bars so they don’t crumble later. Don’t skimp on this step or the bars will be too loose.
⏱ Time: 5
✓ Doneness: The surface should be smooth and tightly packed with no gaps.
Step 4
Place the pan in the refrigerator for at least 30 minutes to allow the bars to set. Chilling solidifies the mixture and helps the bars hold their shape when cut. Skipping this step will make cutting messy and the bars crumbly.
⏱ Time: 30
✓ Doneness: The bars should feel firm to the touch and slice cleanly.
Step 5
Once chilled, lift the mixture out of the pan using the parchment paper. Cut into 12 equal bars with a sharp knife. Use a gentle sawing motion to avoid crumbling. If the bars start breaking apart, chill again for 10 more minutes.
⏱ Time: 5
✓ Doneness: Bars cut cleanly with minimal crumbling.
Step 6
Store the bars in an airtight container in the fridge for up to a week. Keeping them cold preserves their texture and flavor. If left out too long, they can become sticky or too soft.
⏱ Time: 0
✓ Doneness: Bars remain firm and fresh throughout storage.
Step 7
For a quick snack on the go, wrap individual bars in parchment or wax paper. This makes them easy to grab and keeps them from sticking together. It’s a great way to prep snacks for busy days.
⏱ Time: 0
✓ Doneness: Bars stay intact and easy to handle.
Step 8
Want to mix it up? Try swapping peanut butter for almond or cashew butter, or add dried fruit like cranberries or raisins for a different flavor profile. Just be mindful that adding wet ingredients like fresh fruit can affect the texture.
⏱ Time: 0
✓ Doneness: Bars maintain shape and flavor with substitutions.
Step 9
If you prefer a crunchier bar, toast the oats lightly before mixing. This adds a nutty flavor and firmer texture. Just watch carefully so they don’t burn, which would introduce bitterness.
⏱ Time: 5
✓ Doneness: Oats turn golden brown and smell toasted but not burnt.
Pro Tips
Warm the peanut butter and honey slowly over low heat.
Slow warming prevents burning or separating the peanut butter, ensuring a smooth, cohesive mixture that binds the oats well. High heat can cause the fats to separate and change the texture.
Press the mixture firmly into the pan before chilling.
Compact bars hold together better and slice cleanly. If you don’t press firmly, the bars may crumble or fall apart when cut or handled.
Use parchment paper to line the pan.
Parchment paper makes it easy to lift out the bars once chilled, preventing sticking and breaking. It also helps with clean edges when cutting.
Chill the bars at least 30 minutes before slicing.
Chilling solidifies the fats and sugars, turning the sticky mixture into a firm bar. Cutting too soon results in messy, crumbly pieces.
Toast the oats lightly for extra flavor.
Toasting brings out a nutty aroma and adds crunch, enhancing the overall taste and texture of the bars.
Store bars in an airtight container in the fridge.
The cool temperature keeps the bars firm and fresh longer. Room temperature storage can make them sticky or soft.
Experiment with mix-ins like nuts, dried fruit, or seeds.
Adding mix-ins introduces new textures and flavors, making the bars more interesting and customizable without compromising structure.
Common Mistakes to Avoid
Not warming the peanut butter and honey enough.
Why it happens Many assume mixing cold ingredients is fine, but this prevents proper binding and causes dry, crumbly bars.
Fix Gently warm the peanut butter and honey until smooth and pourable before mixing with oats. This ensures even coating and better texture.
Skipping the chilling step.
Why it happens Impatience or misunderstanding leads to cutting bars too soon, resulting in messy, falling-apart snacks.
Fix Chill the bars at least 30 minutes in the fridge to firm up before slicing and serving.
Not pressing the mixture firmly into the pan.
Why it happens Rushing or being gentle leads to loosely packed bars that crumble easily.
Fix Use firm pressure to compact the mixture evenly in the pan for bars that hold together well.
Using instant oats instead of rolled oats.
Why it happens Instant oats absorb moisture differently and don’t provide the right texture or structure.
Fix Always use rolled oats for chewy texture and proper binding.
Adding too many wet mix-ins like fresh fruit.
Why it happens Fresh fruit adds moisture that prevents bars from setting properly.
Fix Stick to dry mix-ins like nuts, seeds, or dried fruit to maintain the right texture.
Variations
Almond Butter and Cranberry Bars
Swap peanut butter for almond butter and add dried cranberries instead of chocolate chips. This variation offers a slightly tart and nutty flavor that’s still sweet and satisfying. The texture remains chewy with bursts of fruity flavor.
Note: Almond butter is slightly thinner than peanut butter, so you might need to chill a bit longer for firm bars.
Chocolate Peanut Butter Crunch
Add a handful of crushed pretzels or rice cereal for extra crunch, along with mini chocolate chips. This gives the bars a salty-sweet contrast and a delightful texture that’s irresistible.
Note: Press the mixture extra firmly to keep the crunchy bits embedded and prevent crumbling.
Vegan Date-Sweetened Snack Bars
Replace honey with blended dates for a vegan-friendly option. Dates add natural sweetness and a caramel-like flavor, making these bars rich and wholesome without refined sugars.
Note: Dates are thicker than honey, so warm them gently and adjust peanut butter quantity to maintain binding.
Spiced Pumpkin Oat Bars
Add pumpkin puree and warm spices like cinnamon and nutmeg for a seasonal twist. These bars are moist, flavorful, and perfect for fall snacking.
Note: Pumpkin adds moisture, so reduce peanut butter slightly and chill longer to set properly.
No-Bake Coconut and Chia Bars
Add shredded coconut and chia seeds for texture and nutrition. These bars have a tropical vibe and a slight crunch from chia seeds, plus extra fiber.
Note: Chia seeds absorb moisture, so let the mixture sit for a few minutes before pressing into the pan.
Nutrition
Per Serving:
Nutritional values are estimates and may vary based on specific ingredients used.
Storage & Tips
Room Temperature
These snack bars can be safely kept at room temperature for up to 4 hours if covered, but they may become sticky or soft. For best texture, store chilled.
Refrigerator
Keep bars in an airtight container in the fridge for up to 7 days. They stay firm and fresh but might harden slightly; let them sit at room temp for a few minutes before eating if too firm.
Freezer
Freeze bars wrapped individually in parchment and placed in a freezer bag for up to 2 months. Thaw overnight in the fridge to maintain texture and prevent sogginess.
Reheating
No reheating needed. If preferred warm, microwave for 10-15 seconds but avoid overheating as bars can melt and lose shape.
Make Ahead
You can prepare the bars fully and chill them 1-2 days ahead. Keep refrigerated until serving for best texture and flavor.
FAQ
Can I use crunchy peanut butter instead of smooth?
Yes, you can use crunchy peanut butter, but it will add texture to the bars. The small peanut pieces give a nice crunch, but make sure to warm and stir well so it blends evenly with the honey and oats.
What if I don’t have honey? Can I substitute another sweetener?
You can substitute maple syrup or agave nectar for honey in equal amounts. Keep in mind that the flavor will change slightly, and the texture might be a bit softer, so chill the bars longer to set.
How do I prevent the bars from sticking to the pan?
Lining the pan with parchment paper is the best way to prevent sticking. It also makes it easier to lift the bars out for cutting. Avoid greasing the pan, as it can make the bars greasy.
Can I make these snack bars gluten-free?
Absolutely! Just make sure to use certified gluten-free rolled oats, as regular oats may be cross-contaminated with gluten during processing.
Why are my bars crumbly and falling apart?
This usually happens if the wet ingredients aren’t warm enough or the mixture isn’t pressed firmly into the pan. Make sure to warm the peanut butter and honey until smooth and press the mixture tightly before chilling.
Can I add protein powder to these bars?
Yes, adding protein powder can boost nutrition. Add about 1/4 cup and reduce oats slightly to keep the right consistency. Mix well to avoid dry spots.
How long do these snack bars last?
Stored in the fridge, they last up to a week. For longer storage, freeze them up to 2 months. Always keep them in airtight containers to preserve freshness.
Can I bake these bars instead of chilling?
This recipe is designed as a no-bake bar, so baking isn’t recommended. Baking would dry them out and change the texture significantly.
Final Thoughts
I hope you enjoy making these simple, delicious snack bars as much as I do. They’re a lifesaver for busy days and perfect for sharing—let me know how yours turn out!