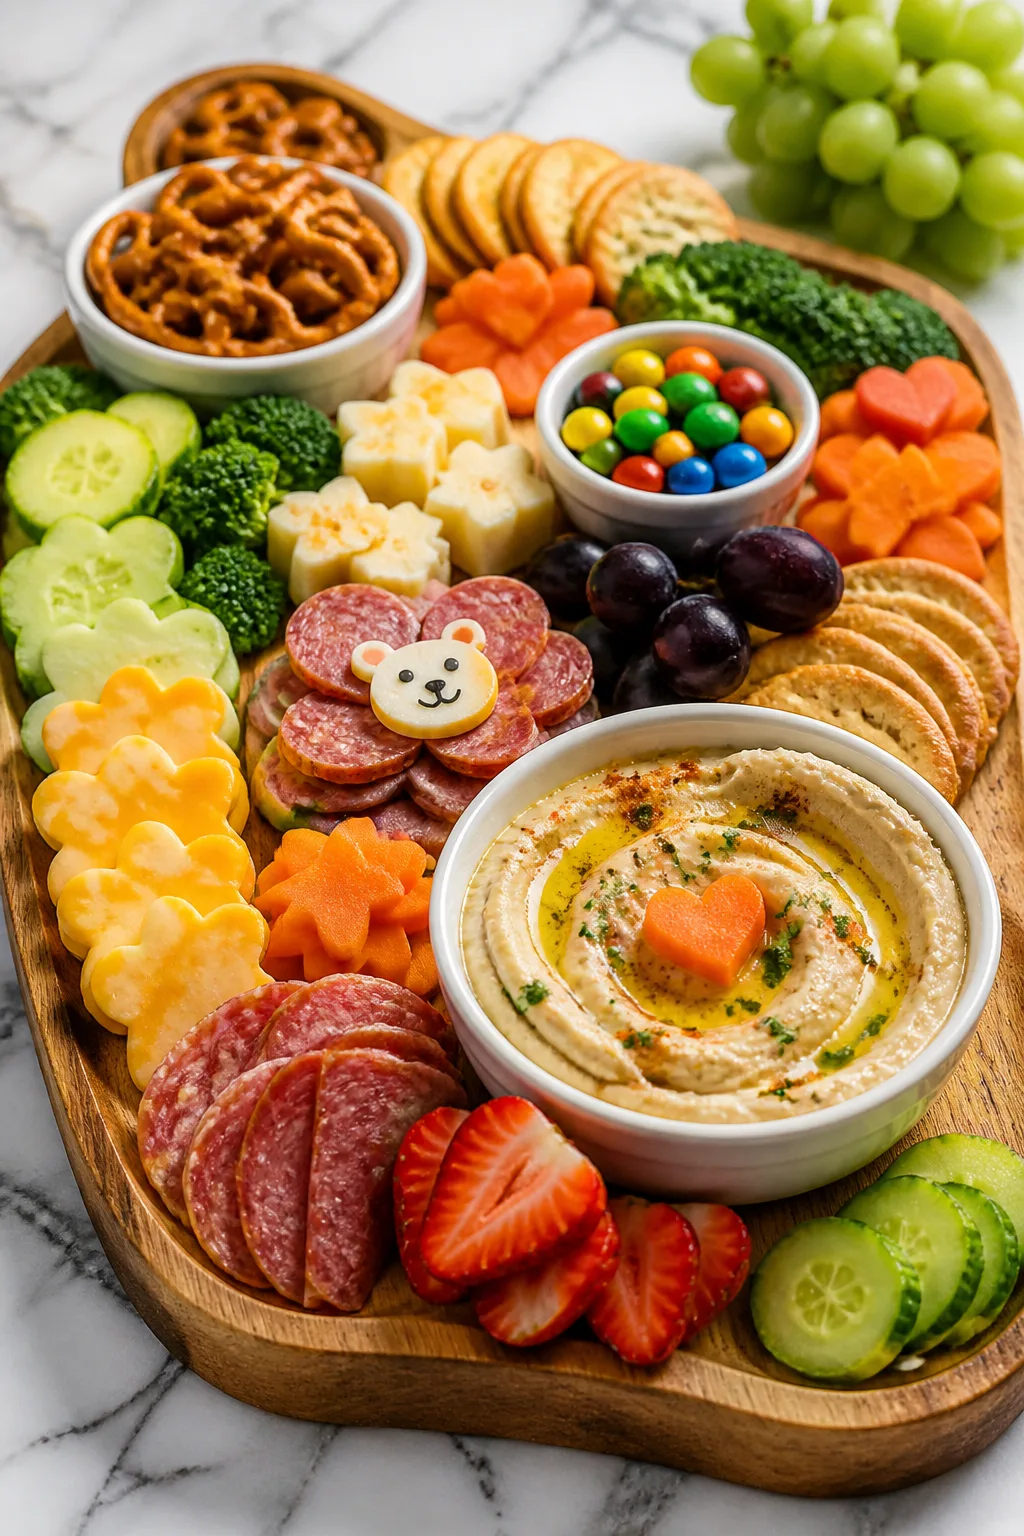
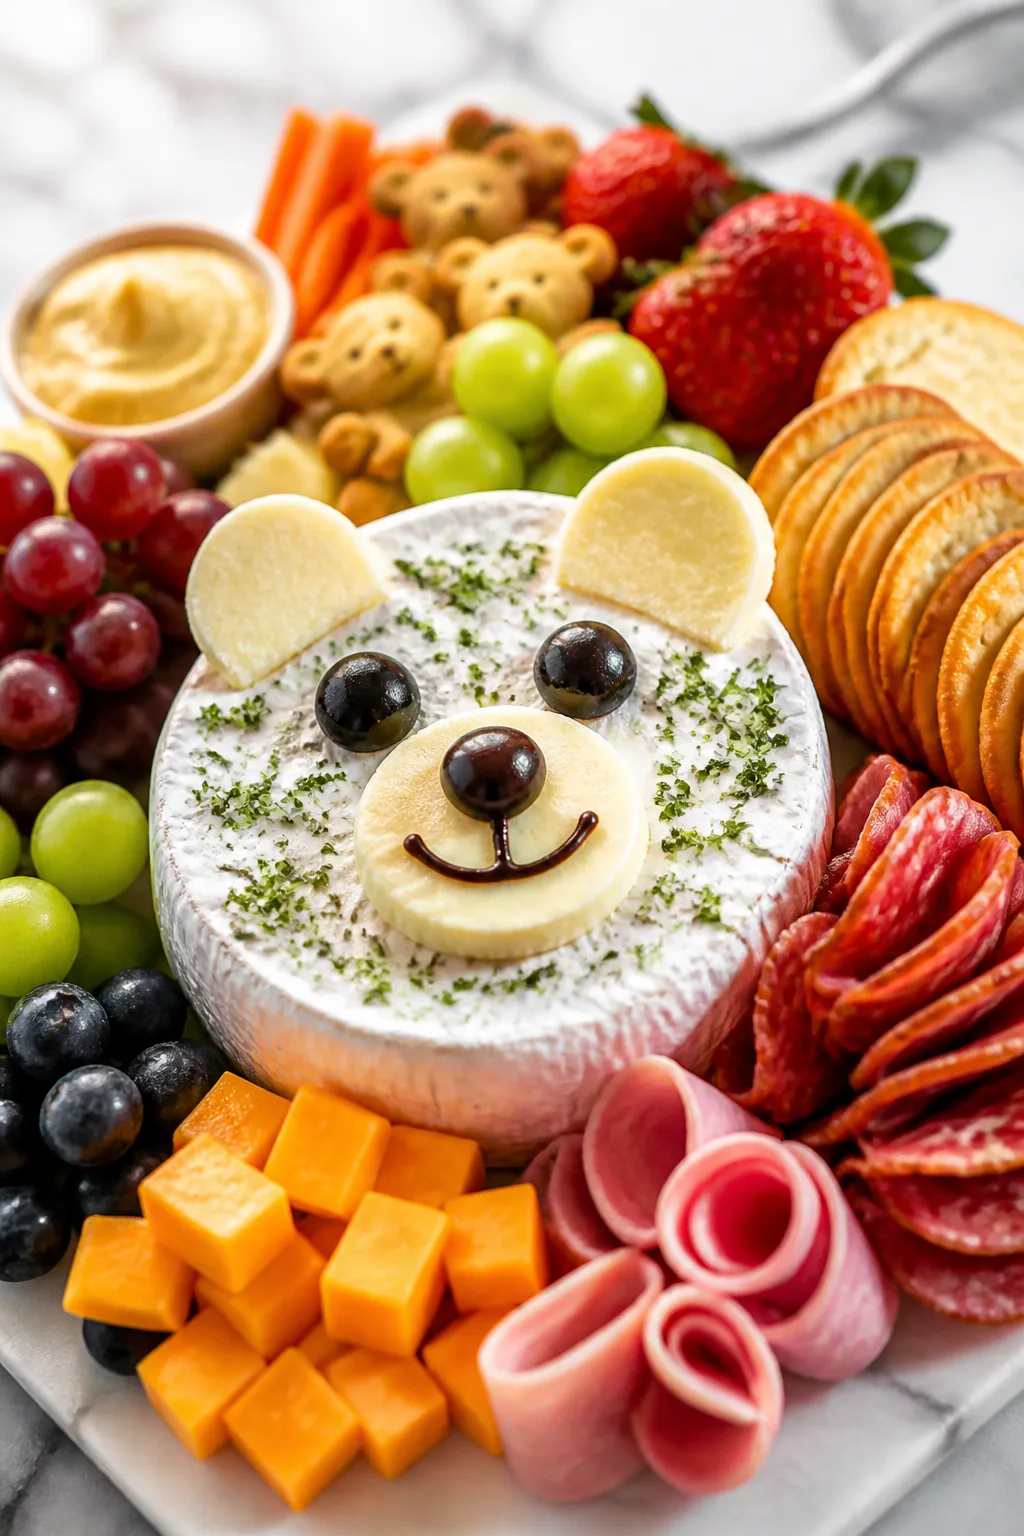
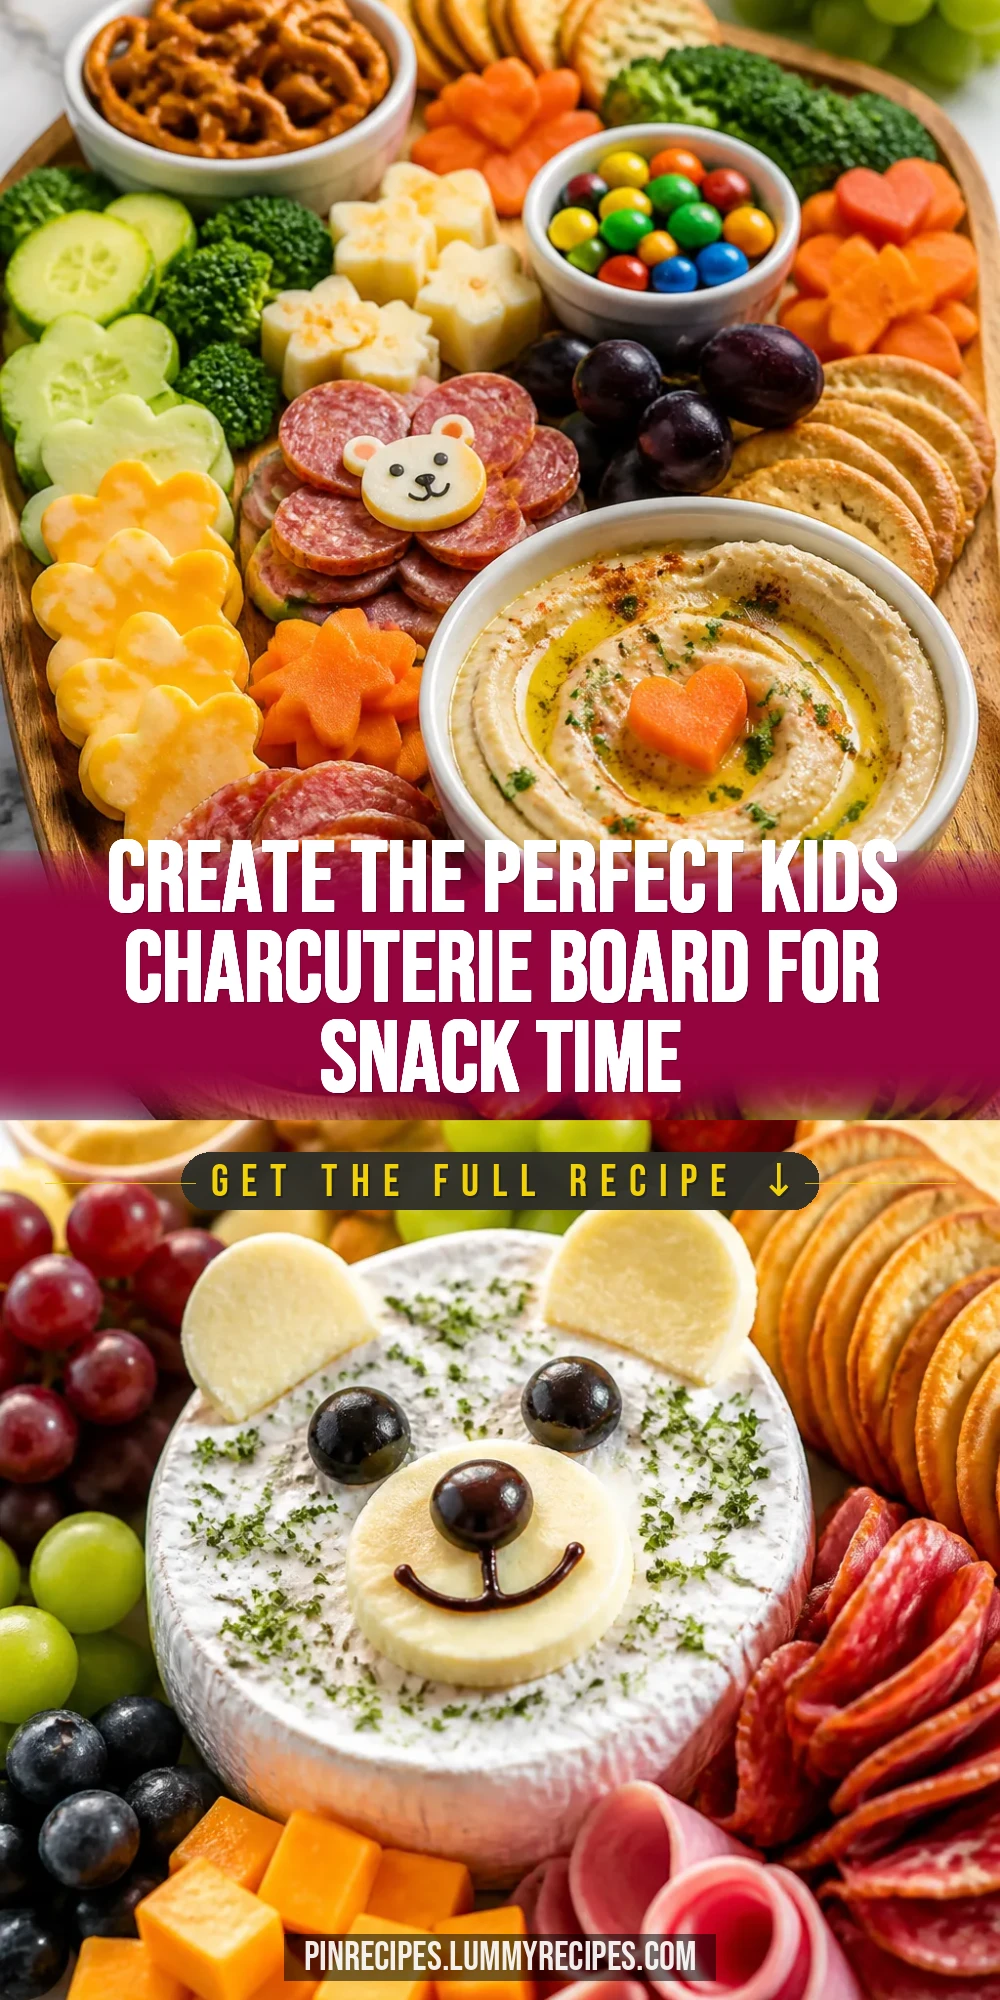
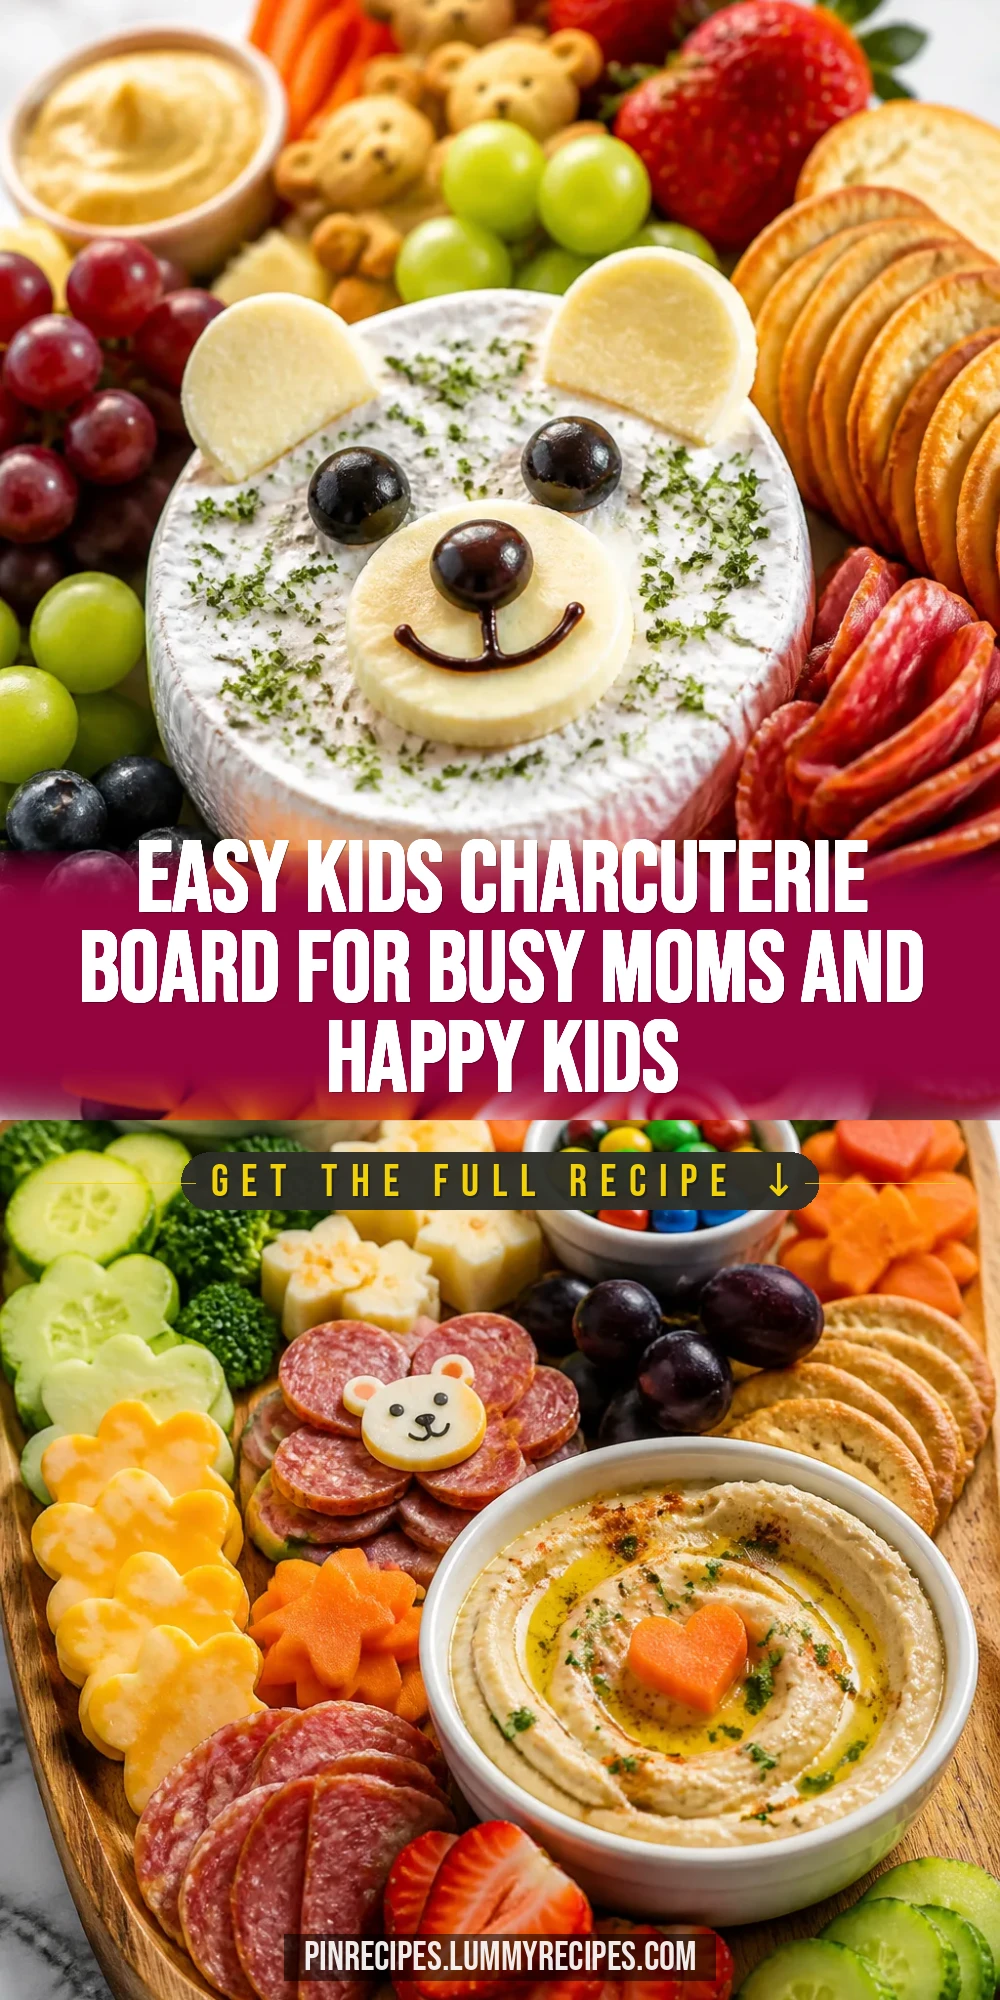
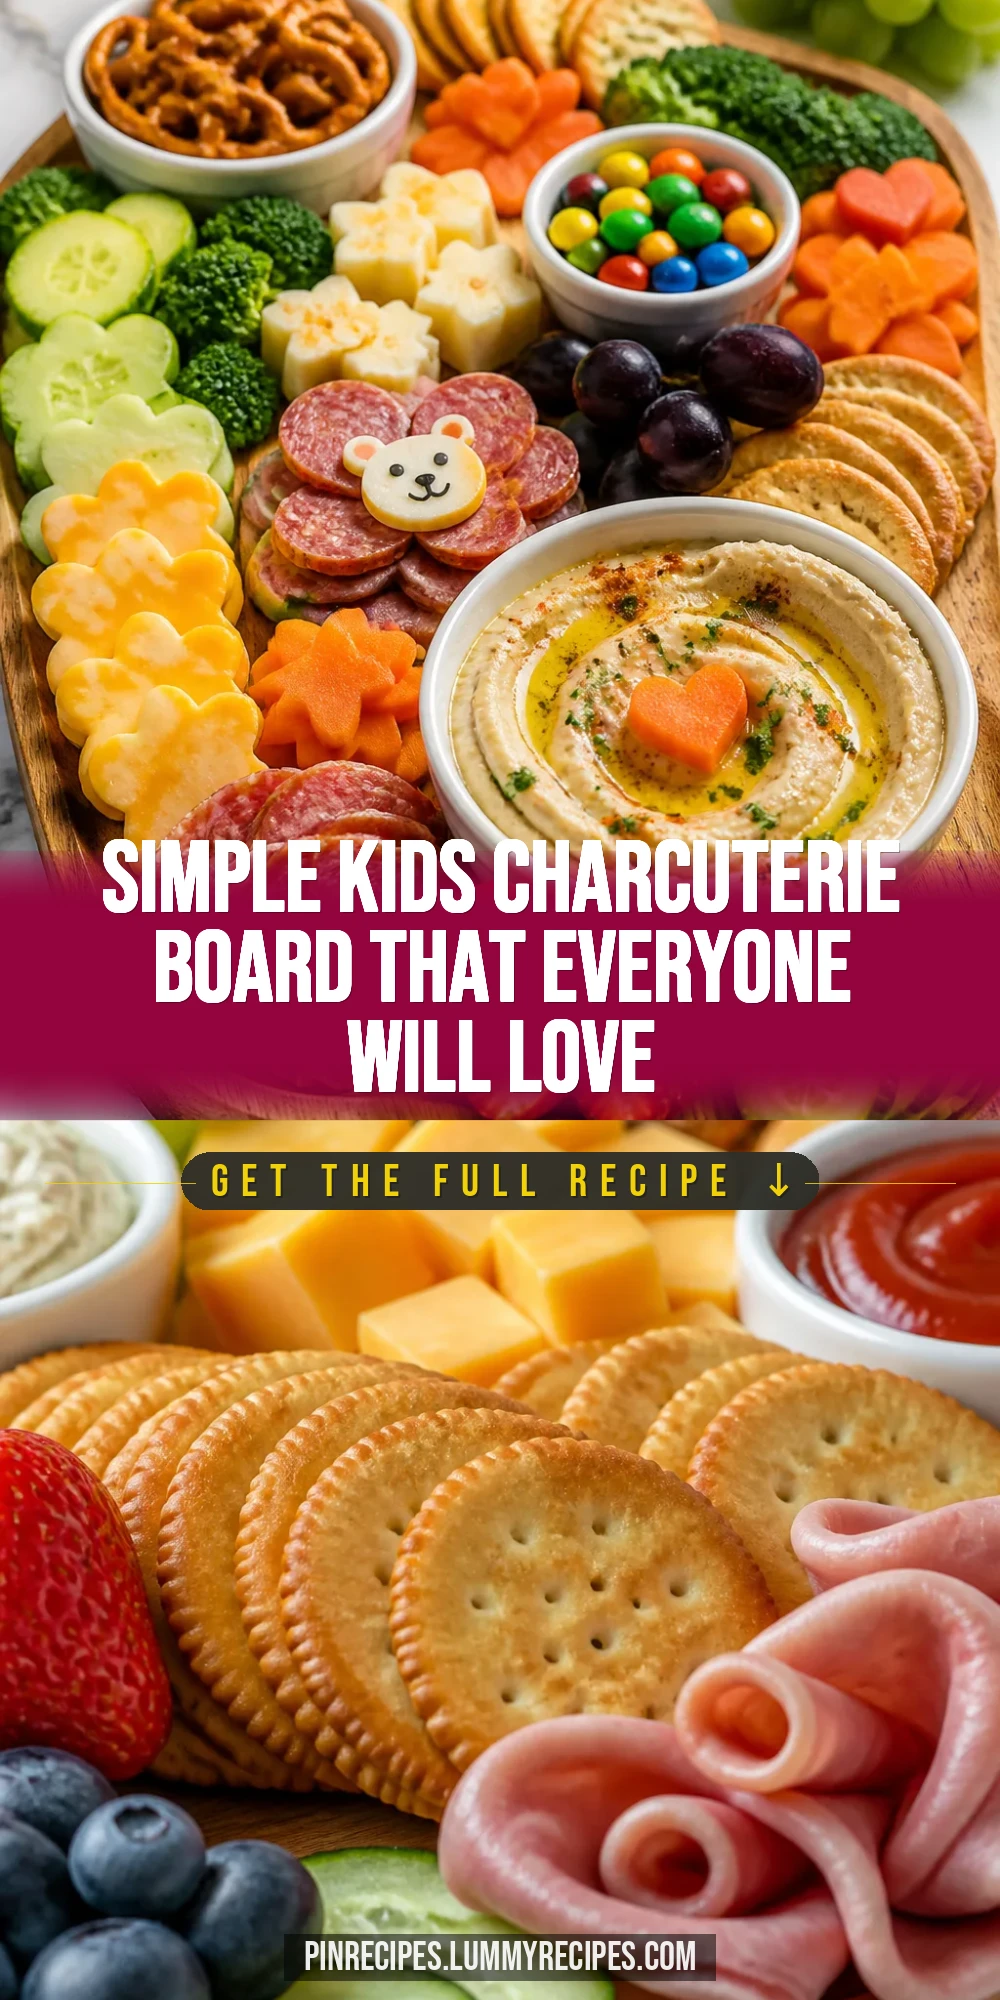
This kids charcuterie board is a colorful, fun way to get little ones excited about snack time. With simple, familiar bites like cheese, crackers, and fruit, it’s perfect for playdates or after school treats.
Introduction
I first put together a kids charcuterie board when my daughter was invited to a birthday party, and I wanted to bring something fun yet simple. It was such a hit that I started making it regularly for after-school snacks. What I love about this version is how easy it is to customize with whatever you have on hand—cheese, crackers, fruit, and a little dip. Plus, it feels special without any fuss. The trick I learned is to include a variety of textures and colors to keep kids interested—soft cheese, crunchy crackers, sweet fruit, and something creamy like hummus. It’s also a great way to sneak in some veggies like baby carrots. The finished board looks inviting and tastes just right—not too many choices but enough to keep little hands busy and happy. It’s perfect for casual snacking or small gatherings, and honestly, it makes mealtime more fun for everyone.
How To Do It
Step 1
Start by gathering all your ingredients and laying them out on a clean board or platter. Choosing a variety of colors and textures is key here. Arrange the cheeses in small clusters rather than one big pile to encourage kids to pick from different spots. This also keeps the board visually interesting. Avoid overcrowding the board because it can be overwhelming for kids and messy to eat from. A neat, inviting layout helps them see all their options clearly.
⏱ Time: 5 minutes
✓ Doneness: Ingredients are neatly arranged with distinct sections for each item
Step 2
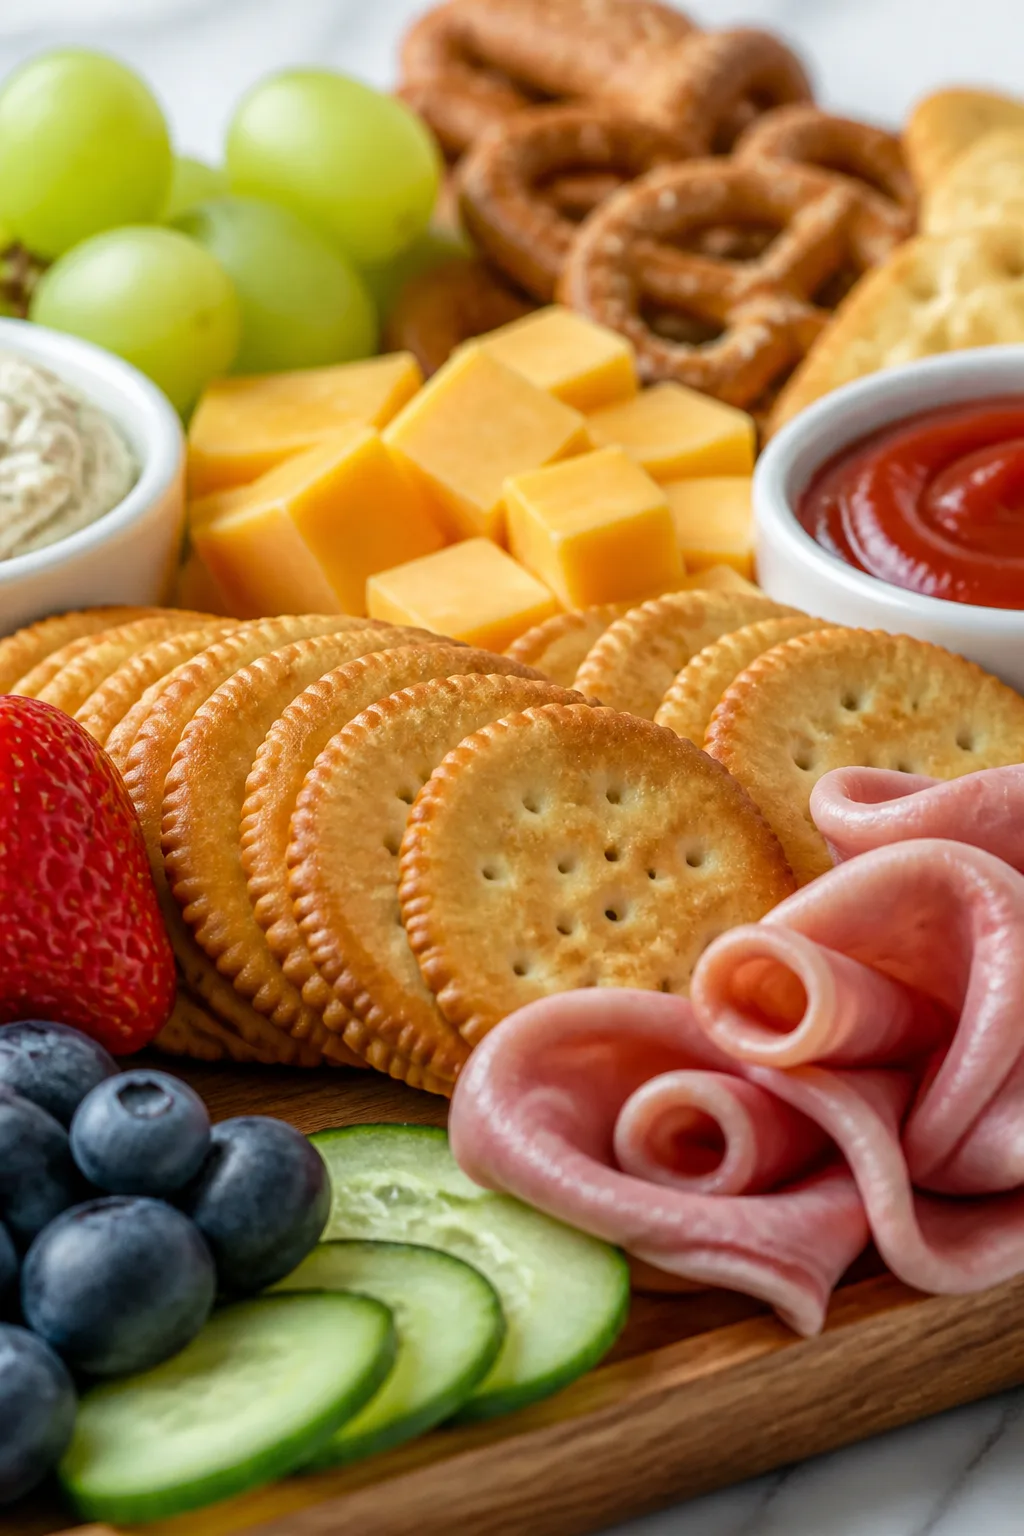
Place crackers around the cheese clusters, leaving space for fruit and veggies. Crackers provide a crunchy contrast, so try to use a mix of shapes or types if possible. Don’t stack them too tightly—kids like to grab individual pieces easily. If using deli meats, fold or roll them into bite-sized portions and place them near the cheese. Add small bowls or dollops of hummus or ranch dip to the board to encourage dipping, which adds fun and flavor variety.
⏱ Time: 5 minutes
✓ Doneness: Crackers and meats are spaced out for easy picking; dips are accessible
Step 3
Add fresh fruit like grapes or apple slices, and scatter baby carrots or other veggies around the board. The fruit adds sweetness and juiciness, balancing the savory flavors. Make sure to slice larger fruit pieces into kid-friendly sizes to avoid choking hazards. If you want, sprinkle a few nuts or seeds in one corner, but only if your kids can safely eat them. Keep an eye on portion sizes to avoid overwhelming the board with too many options.
⏱ Time: 5 minutes
✓ Doneness: Fruit and veggies are evenly distributed, colorful, and easy to pick up
Step 4
Before serving, check that everything is at room temperature—cold cheese or fruit straight from the fridge can be less flavorful. Let the board sit out for about 10 minutes if needed. This also softens the cheese slightly, making it easier for little ones to chew. Present the board with small plates and napkins nearby to keep things tidy. Encourage kids to try different combinations to find their favorites.
⏱ Time: 5-10 minutes
✓ Doneness: Ingredients are slightly softened and ready to enjoy
Step 5
If preparing ahead, cover the board tightly with plastic wrap and refrigerate. Assemble as close to serving time as possible to keep crackers crisp. If the crackers soften, replace them before serving. Fresh fruit can also be prepped earlier but add it last to avoid browning, especially with apples. This approach keeps the board fresh and inviting for kids.
⏱ Time: Preparation varies
✓ Doneness: Board looks fresh and crackers remain crunchy at serving
Step 6
For younger kids, be mindful of choking hazards. Cut fruit and cheese into small, manageable pieces and avoid nuts or hard items. Always supervise snack time. This board is designed to be fun and safe, so adjust ingredients based on your child’s age and chewing ability. Safety first!
⏱ Time: Ongoing
✓ Doneness: Ingredients are appropriately sized and safe for the intended age group
Step 7
Try to balance flavors by mixing sweet, salty, creamy, and crunchy elements. This keeps the board exciting and encourages kids to try new things. For example, pair a slice of cheddar with a grape or a cracker with hummus. This variety also helps develop their palate and makes snack time more enjoyable.
⏱ Time: Ongoing
✓ Doneness: Board offers a pleasing variety of taste and textures
Step 8
Encourage kids to get involved by letting them help assemble their own boards. This makes snack time interactive and can increase their interest in eating a variety of foods. Provide a few simple options and let them choose what goes on their board. It’s a fun way to teach portion control and food choices.
⏱ Time: Optional
✓ Doneness: Kids are engaged and excited about their personalized snack
Step 9
Finally, enjoy the board together! This snack is great for sharing and chatting, making it perfect for family time or playdates. Keep napkins handy and have drinks nearby to wash down all the tasty bites. The relaxed, colorful presentation makes eating feel like a special occasion even on a regular day.
⏱ Time: At serving
✓ Doneness: Everyone is happily snacking and enjoying the variety
Pro Tips
Use small bowls for dips to keep the board tidy and easy to navigate.
Small bowls prevent dips from spreading and mixing with other ingredients, which keeps flavors distinct and the board visually appealing. It also helps kids dip without making a mess, encouraging them to enjoy the snack more.
Cut fruit and cheese into small, bite-sized pieces for safety and ease.
Smaller pieces reduce choking risks and make it easier for little hands to pick up and eat without frustration. This also helps portion control and encourages kids to try a variety of items.
Let cheese and fruit sit at room temperature before serving.
Cold cheese can taste bland and be harder to chew, while room temperature enhances flavor and texture. Similarly, fruit flavors are more pronounced when not ice cold, making the whole board more enjoyable.
Include a mix of textures—soft, crunchy, creamy, and juicy.
A variety of textures keeps kids interested and engaged. It also helps develop their palate and prevents boredom with the snack, encouraging them to eat more balanced bites.
Avoid overcrowding the board to keep it inviting and manageable.
Too many options can overwhelm kids and make it harder for them to choose. A neat, well-spaced board is easier to navigate and looks more appealing, which increases the chances they’ll try everything.
Use colorful fruits and veggies to make the board visually fun.
Bright colors attract children’s attention and make the snack feel like a special treat. This visual appeal can encourage kids to try new foods they might otherwise ignore.
Offer a protein option like deli meats or nuts if age-appropriate.
Adding protein helps keep kids fuller longer and balances the snack nutritionally. Choose mild, easy-to-eat options and monitor for allergies or choking hazards.
Common Mistakes to Avoid
Overloading the board with too many ingredients
Why it happens We often think more options mean more fun, but kids can get overwhelmed by too many choices and textures.
Fix Stick to 4-6 simple ingredients arranged neatly. This makes the board easier to navigate and more inviting, encouraging kids to try everything without feeling confused.
Serving cold cheese and fruit straight from the fridge
Why it happens It’s tempting to serve everything right away, but cold items can taste bland and be harder to chew.
Fix Let cheese and fruit sit out for 10-15 minutes before serving to enhance flavors and textures. This small step makes a big difference in enjoyment.
Using large pieces of fruit or cheese that are hard to eat
Why it happens Sometimes we forget kids need smaller bites for safety and ease.
Fix Cut fruit and cheese into small, manageable pieces appropriate for your child’s age. This reduces choking risks and makes snacking more fun.
Skipping the dip or sauce element
Why it happens We might overlook dips as an extra step, but they add flavor and encourage kids to eat veggies.
Fix Include a small bowl of hummus or ranch dip on the board. This adds creaminess and variety, making the snack more appealing.
Choosing crackers that crumble easily or are too salty
Why it happens Not all crackers hold up well on a board, and strong flavors can be off-putting to kids.
Fix Select sturdy, mild-flavored crackers that won’t break apart or overwhelm young palates. This keeps the snack enjoyable and less messy.
Variations
Vegan Kids Charcuterie Board
Swap out cheese and deli meats for plant-based alternatives like vegan cheese slices, roasted chickpeas, and veggie sticks. Add nut butters or guacamole for creaminess. This version is just as colorful and fun but dairy-free and plant-powered.
Note: Use firm vegan cheeses that hold their shape and avoid watery dips to keep the board neat.
Breakfast Charcuterie Board for Kids
Include mini pancakes or waffles, yogurt cups, fresh berries, and sliced bananas. Add a drizzle of honey or maple syrup on the side. It’s a playful way to serve breakfast that feels like a treat but is still nutritious.
Note: Keep syrup on the side to prevent sogginess and let kids dip as they like.
Allergy-Friendly Kids Charcuterie Board
Use nut-free crackers, seed-based spreads, and safe fruits and veggies to accommodate allergies. Avoid common allergens like nuts and dairy, and label ingredients clearly for safety.
Note: Double-check all packaged items for hidden allergens to keep snack time worry-free.
Holiday-Themed Kids Charcuterie Board
Add festive touches like red and green grapes, star-shaped cheese slices, and holiday crackers. Use seasonal fruits and small treats to make snack time special during celebrations.
Note: Use cookie cutters to shape cheeses or fruits for a fun holiday vibe.
Mini Sandwich Charcuterie Board
Include mini sandwiches made with kid-friendly fillings like turkey and cheese or peanut butter and jelly. Pair with fruit and veggie sticks for a balanced snack that feels like a meal.
Note: Cut sandwiches into small, bite-sized pieces to keep them easy to handle.
Nutrition
Per Serving:
Nutritional values are estimates and may vary based on specific ingredients used.
Storage & Tips
Room Temperature
The assembled kids charcuterie board is best served fresh and can safely sit at room temperature for up to 2 hours. Cover it loosely with a clean kitchen towel to keep dust and insects away if needed.
Refrigerator
Store leftover components separately in airtight containers for up to 3 days. Crackers should be kept in a sealed container to prevent sogginess. When ready to serve again, bring cheeses and fruit to room temperature for best flavor.
Freezer
Most components don’t freeze well assembled. Cheese and crackers can be frozen separately for up to 1 month. Thaw cheese in the refrigerator overnight and replace crackers fresh to maintain crunch.
Reheating
No reheating needed. Serve at room temperature for optimal taste and texture. If including dips like hummus, stir before serving.
Make Ahead
Prep and slice cheeses, fruits, and veggies 1-2 days ahead and store separately in airtight containers. Assemble the board just before serving to keep crackers crisp and fruit fresh.
FAQ
Can I prepare the kids charcuterie board the night before?
It’s best to prep ingredients like cheese and fruit the night before but assemble the board just before serving. This helps keep crackers from getting soggy and fruit fresh. Store components separately in airtight containers in the fridge overnight.
What if my child has a nut allergy?
Simply omit nuts or seeds and choose allergy-friendly crackers and dips. You can use seed butters or extra fruit and veggies as safe alternatives. Always check labels for hidden allergens to keep snack time safe.
How do I keep crackers from getting soggy?
Keep crackers separate until just before serving and avoid placing wet items directly on them. Using small bowls for dips and arranging crackers away from juicy fruits helps maintain their crunch.
What are good dip options for kids?
Mild dips like hummus, ranch dressing, or yogurt-based dips work well. They add creaminess and encourage kids to try veggies. Keep dips in small bowls to minimize mess and make dipping easy.
Can I include sweets on the board?
Yes, a few small treats like mini cookies or dried fruit can be included for a fun surprise. Just keep sweets limited to maintain a balanced snack and avoid too much sugar.
How do I make this board appealing to picky eaters?
Use familiar foods and arrange them neatly with plenty of color. Letting kids help assemble their own board can increase interest. Offering dips and encouraging mixing flavors also helps make new foods more approachable.
Is this board suitable for toddlers?
With supervision and appropriate cutting of foods into small pieces, yes. Avoid nuts and hard items to reduce choking risks. Always watch toddlers while eating and adjust ingredients based on their chewing ability.
Can I make this board vegan?
Absolutely! Swap cheeses for plant-based alternatives, use veggies and fruits, and add dips like guacamole or bean-based spreads. This keeps the board colorful and tasty without dairy or meat.
Final Thoughts
I hope you and your little ones enjoy making and munching on this fun kids charcuterie board. It’s a simple way to bring smiles and variety to snack time—give it a try and share your favorite combos!