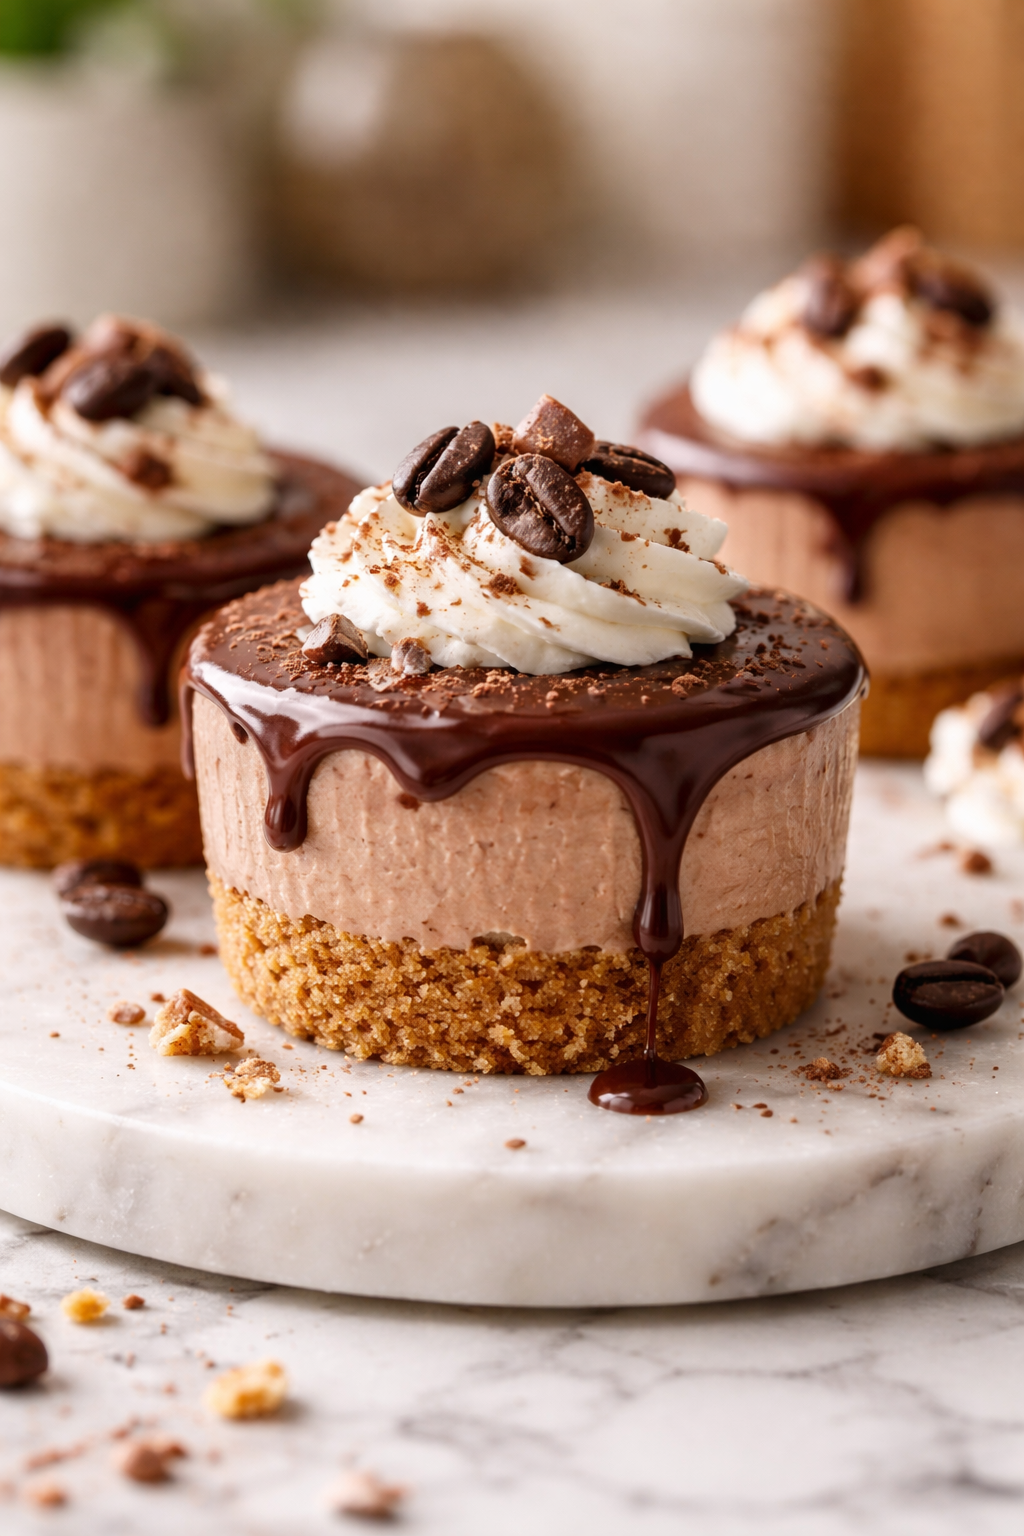
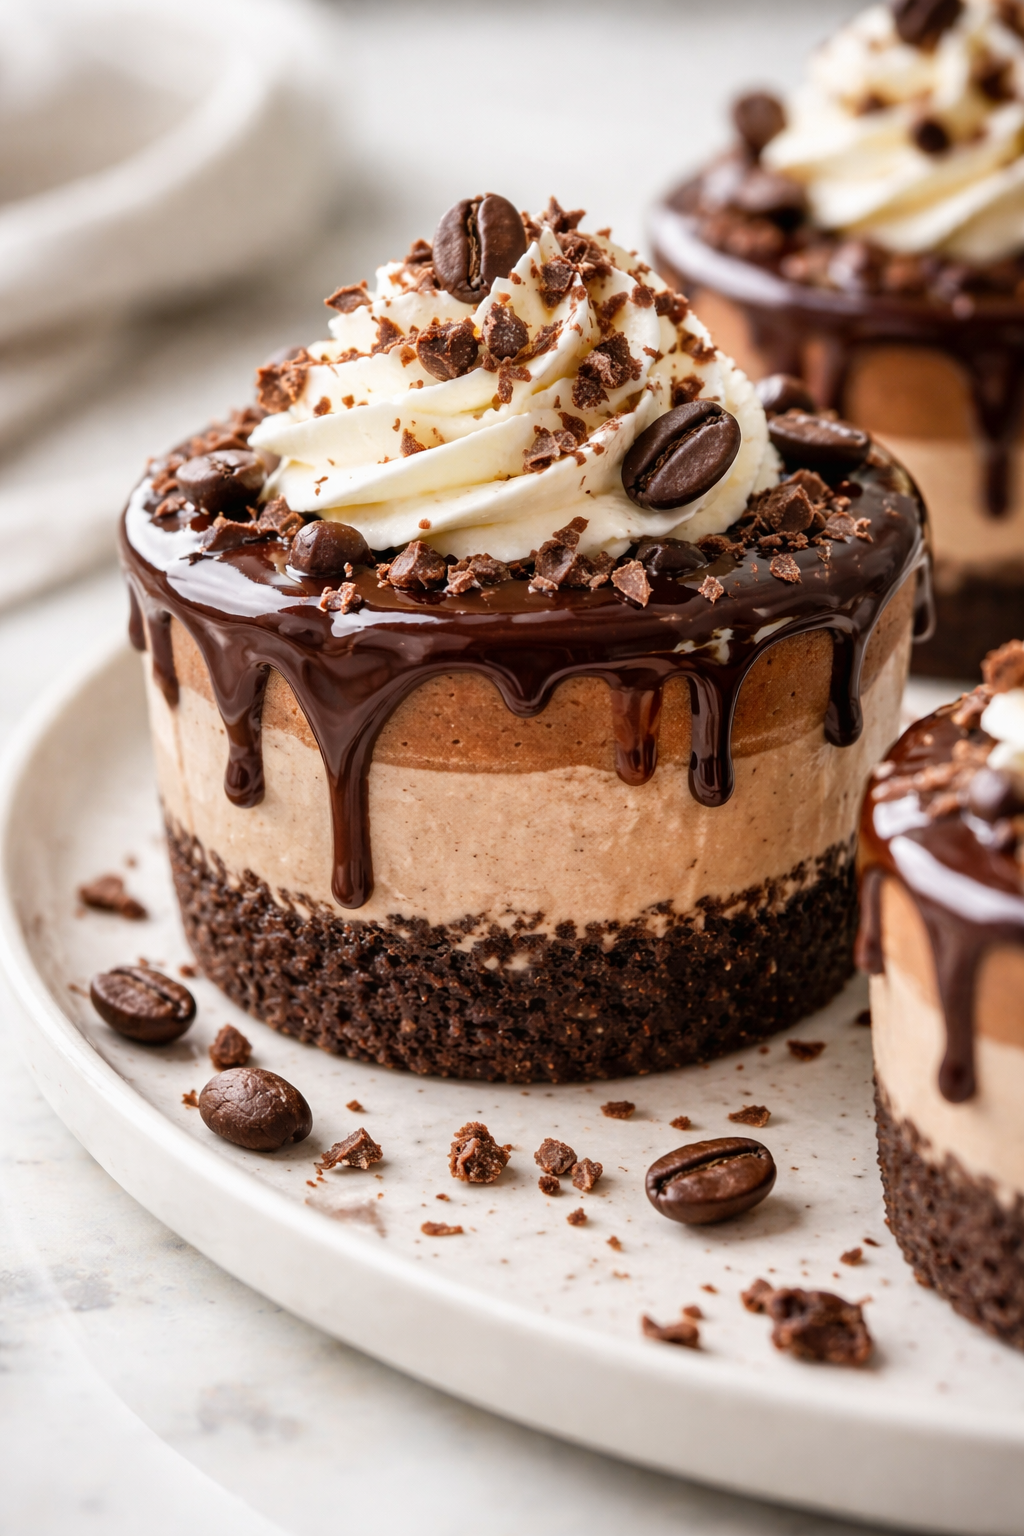
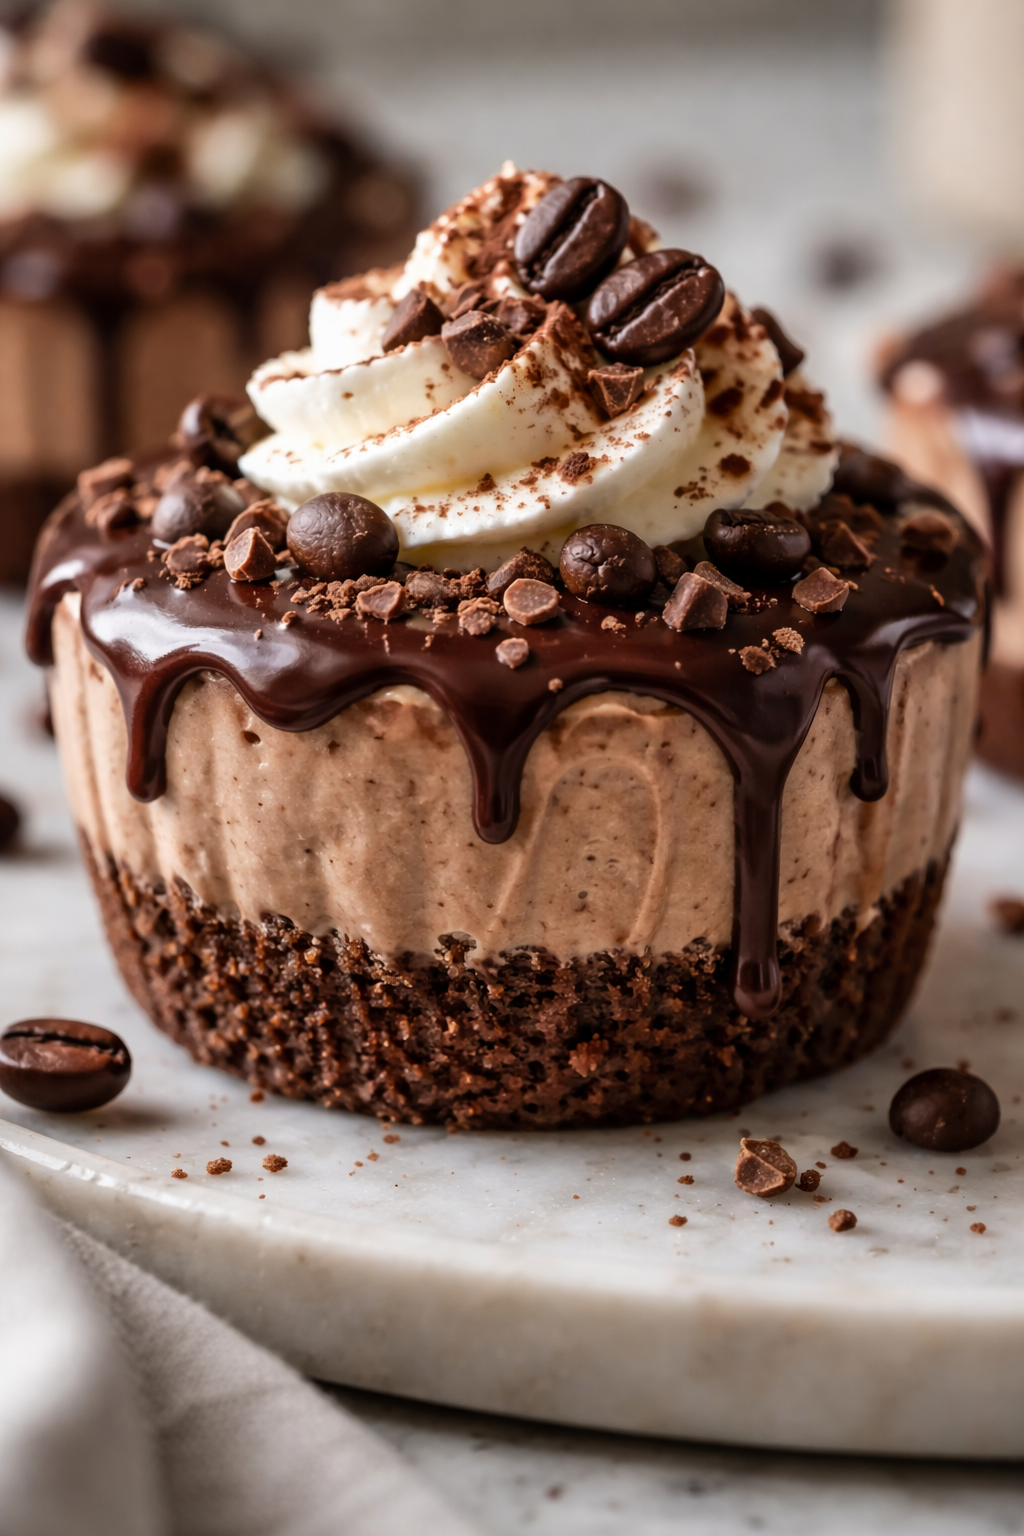
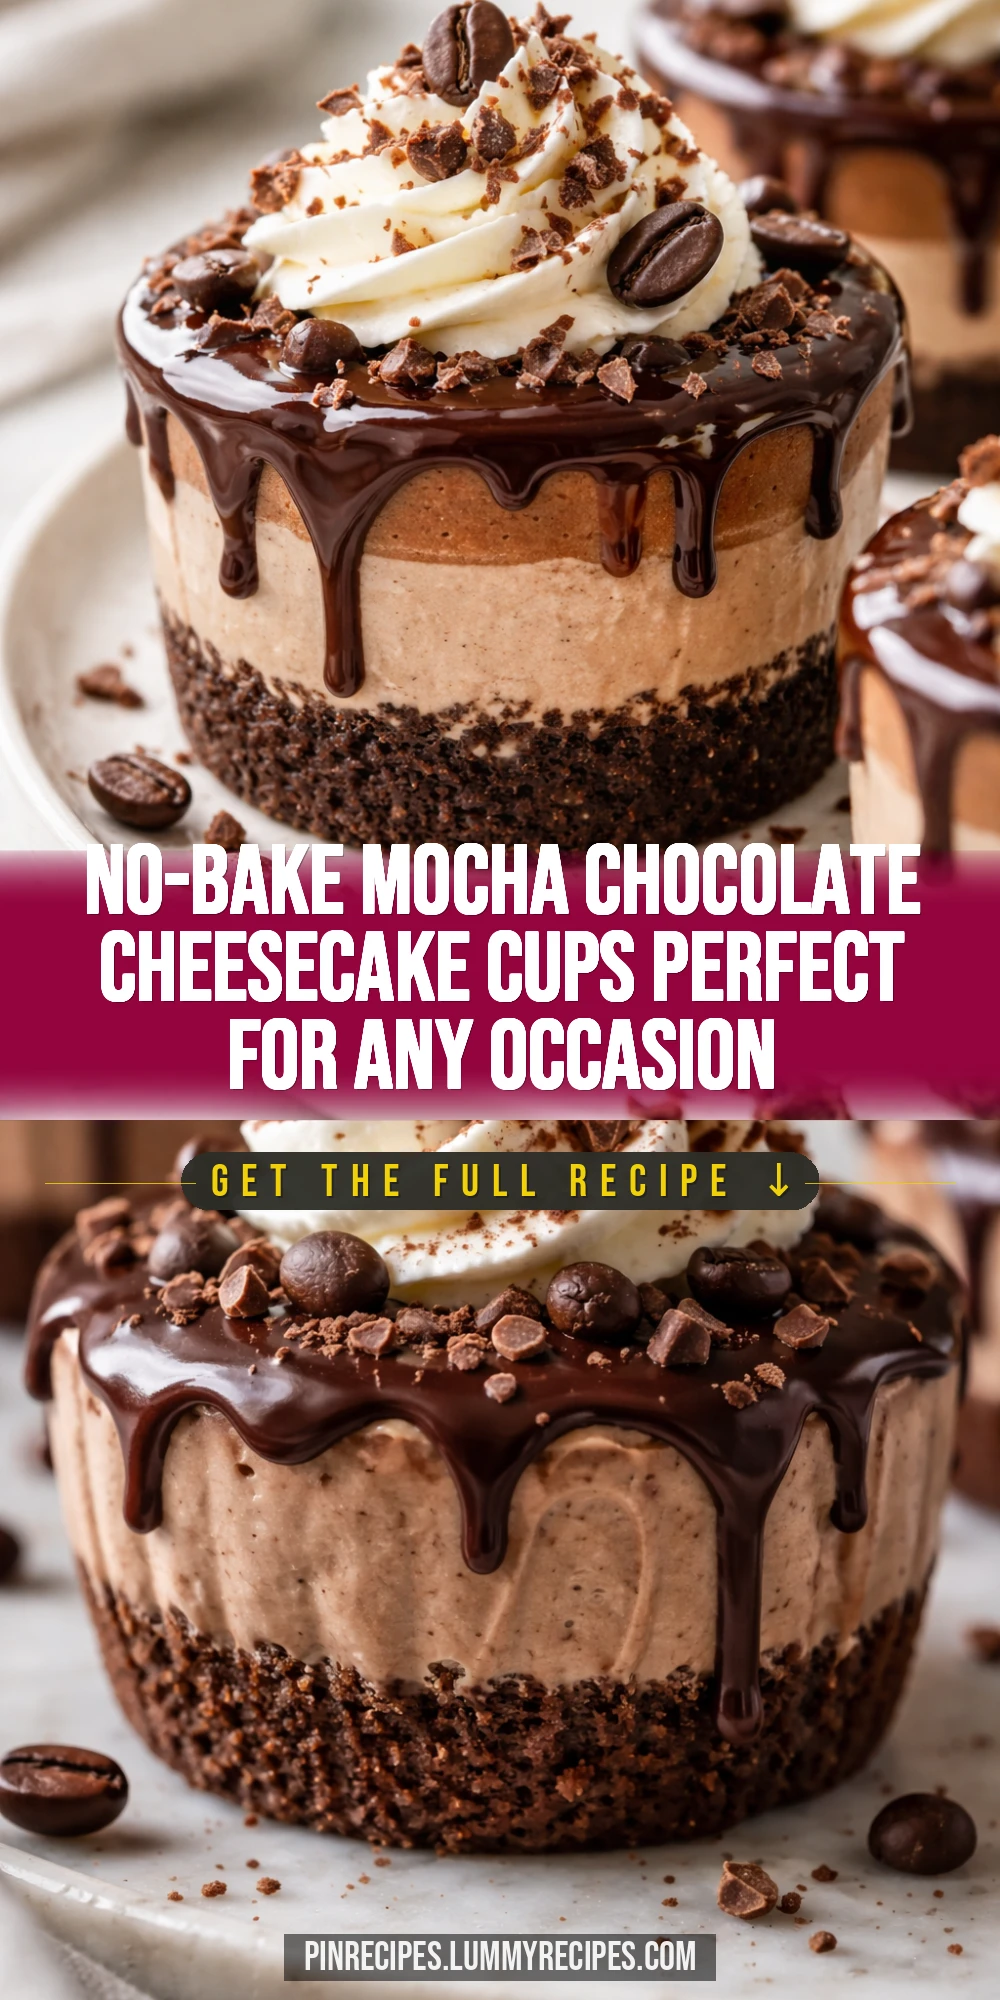
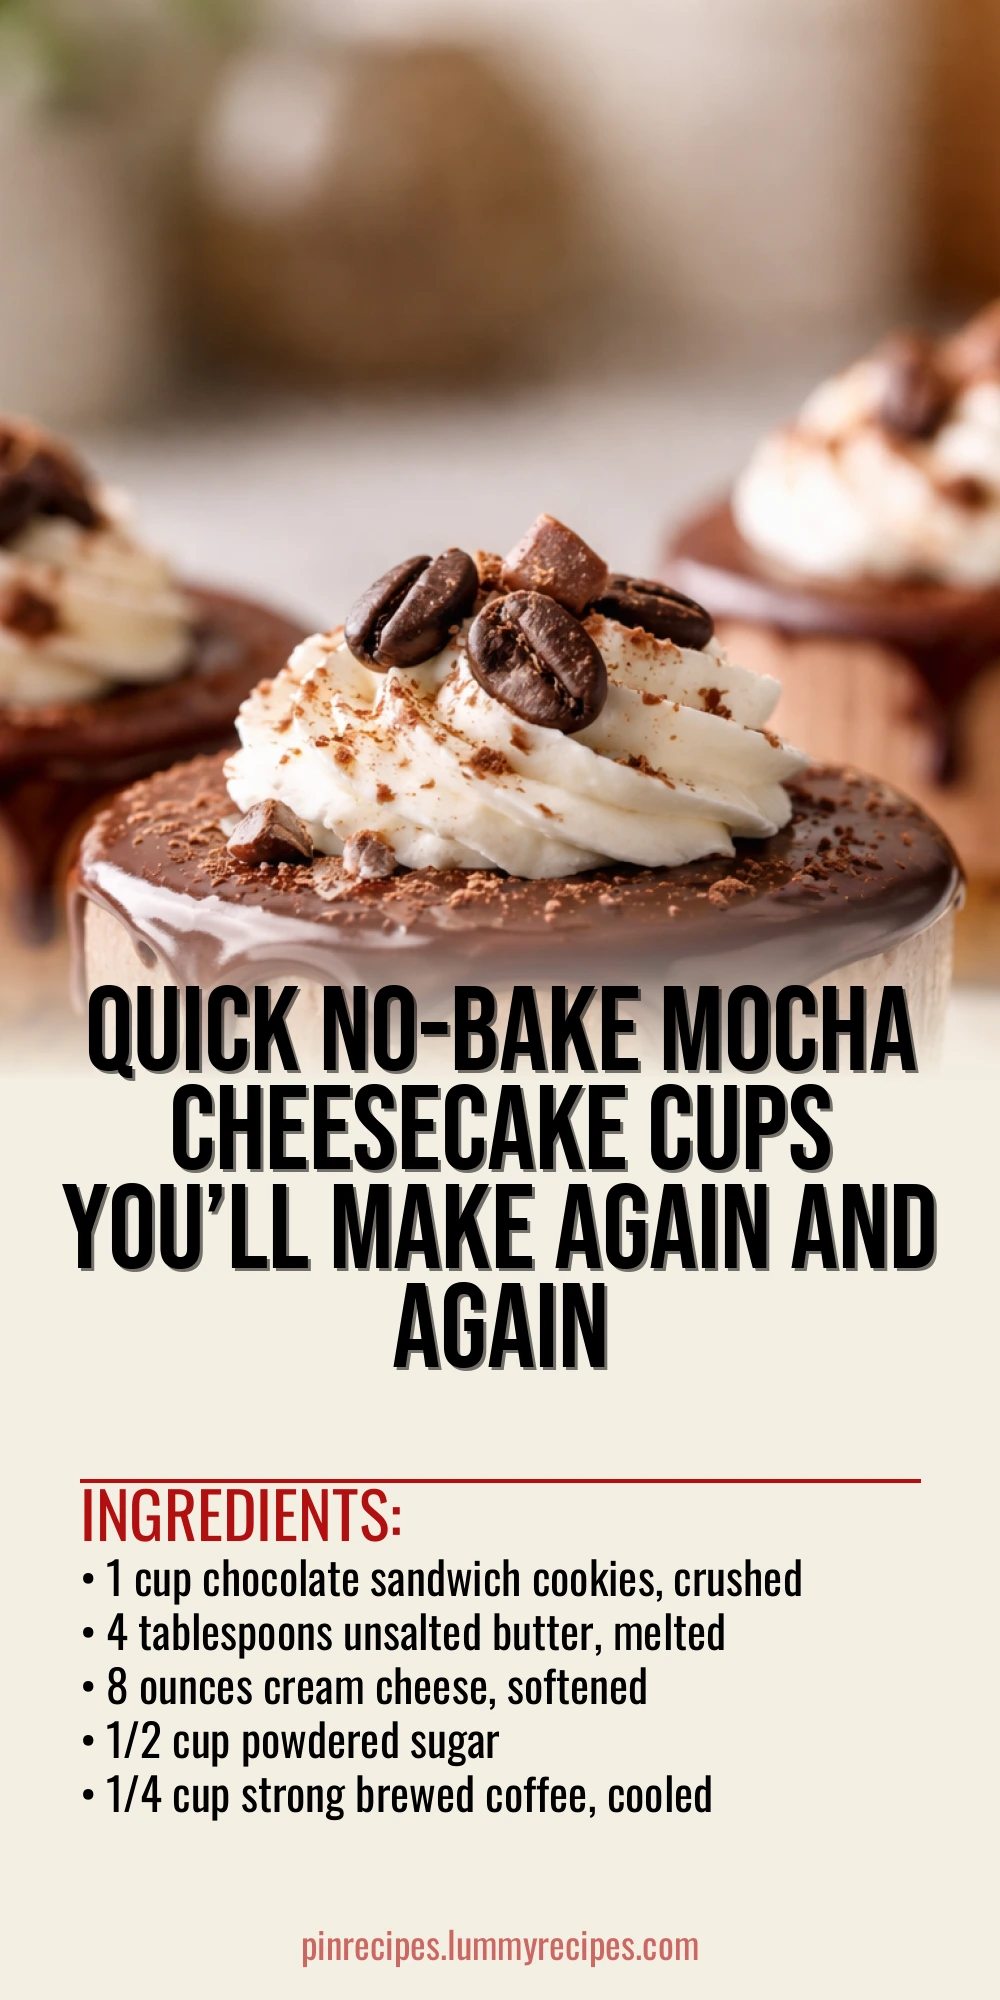
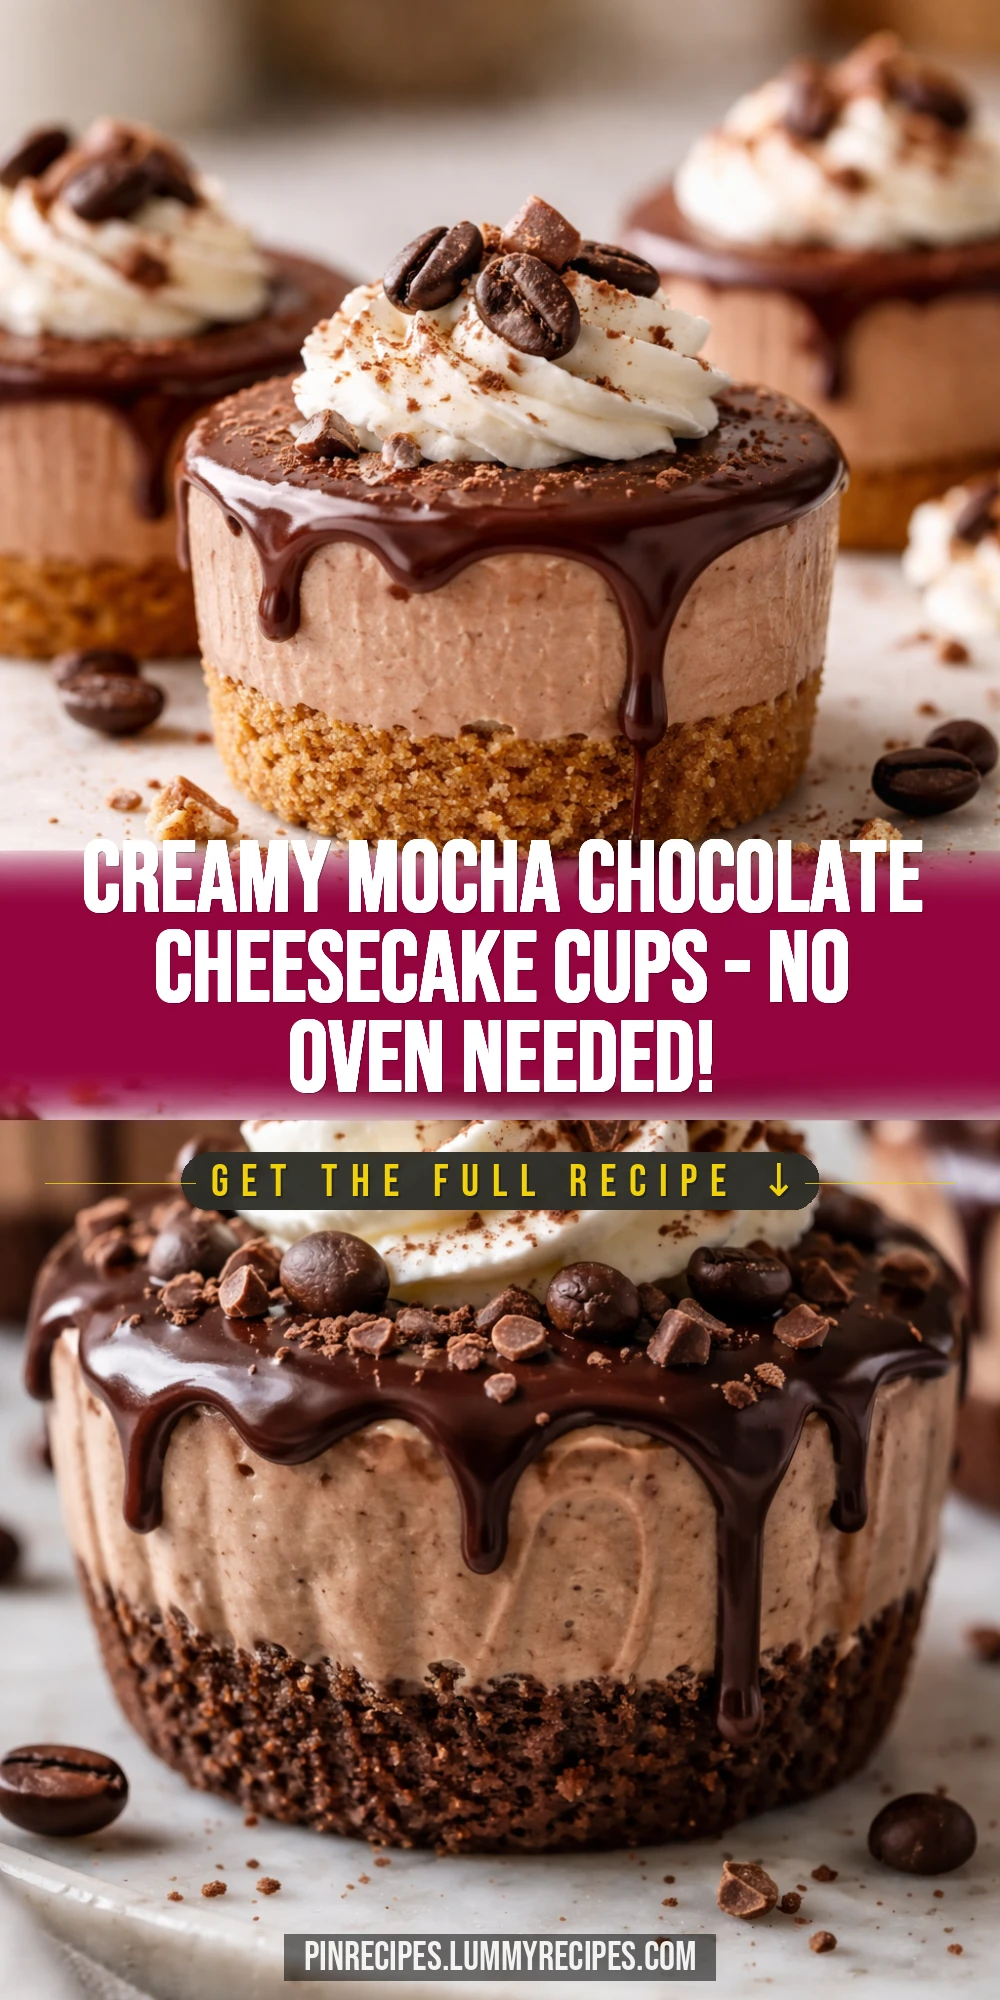
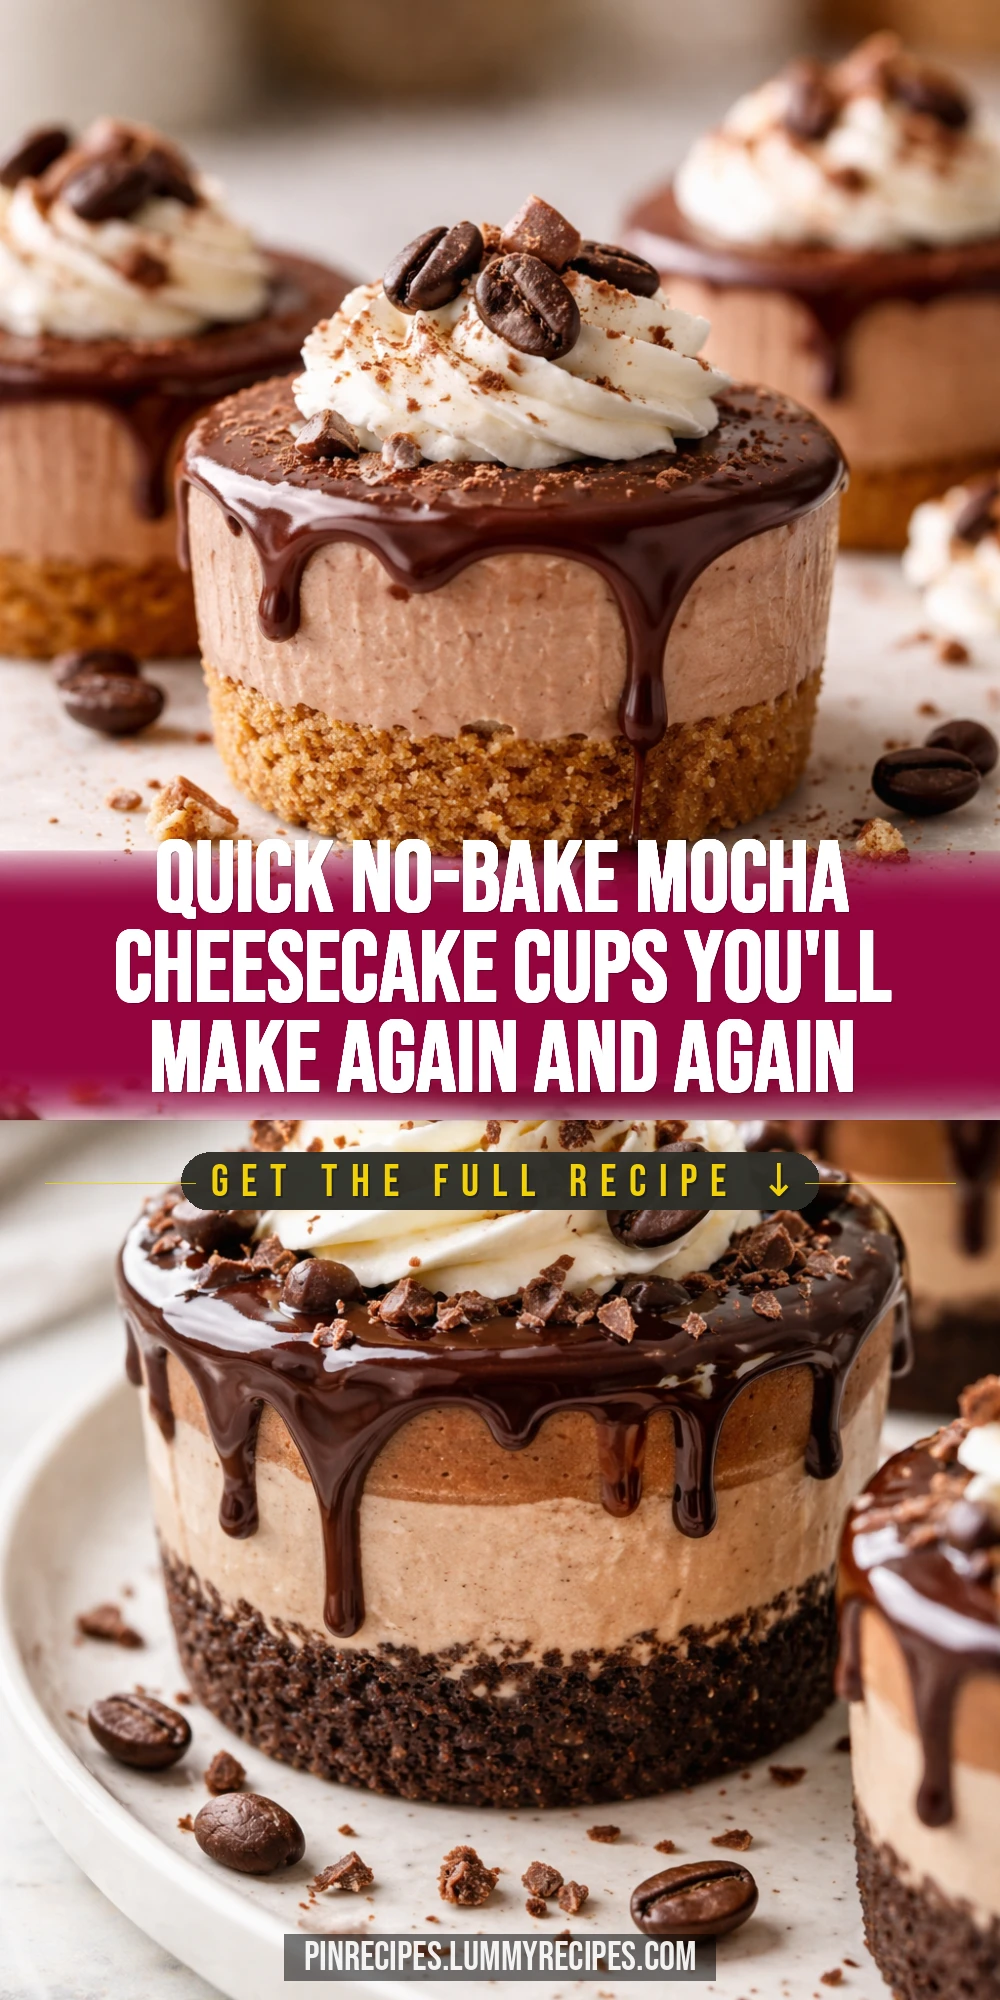
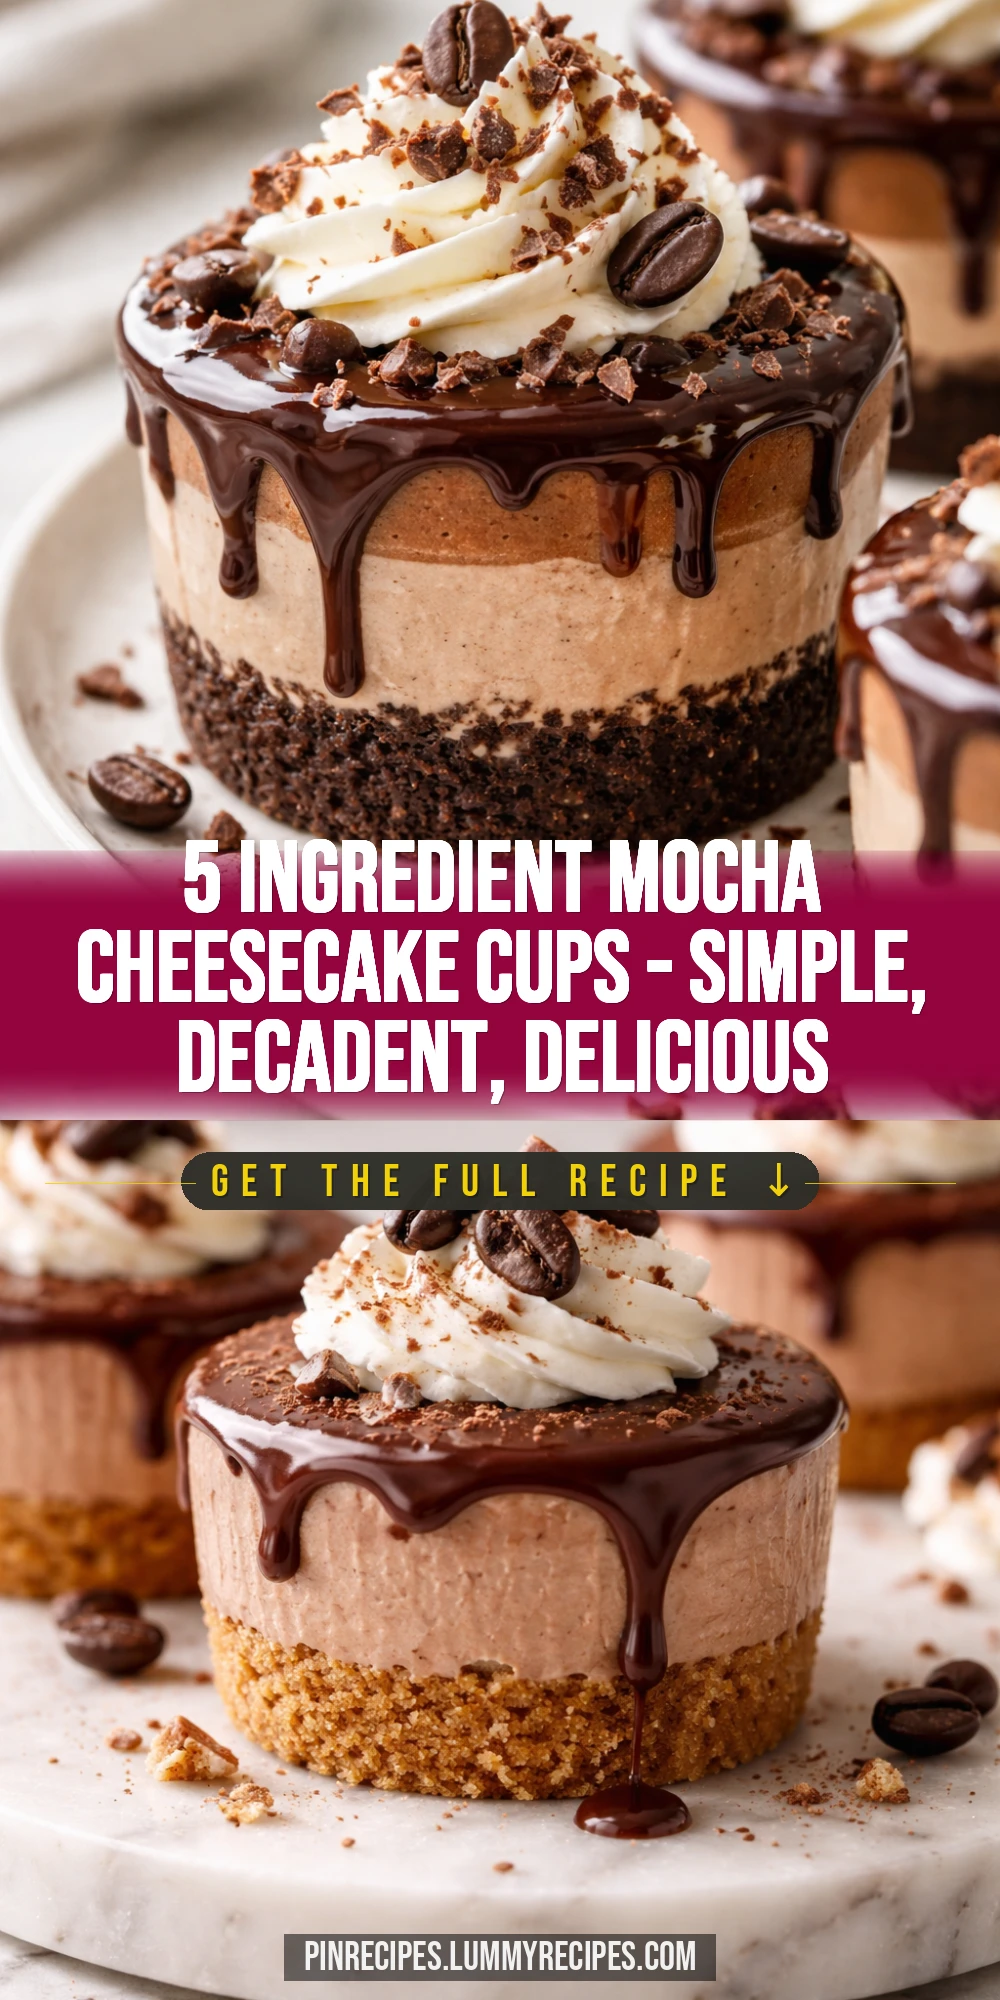
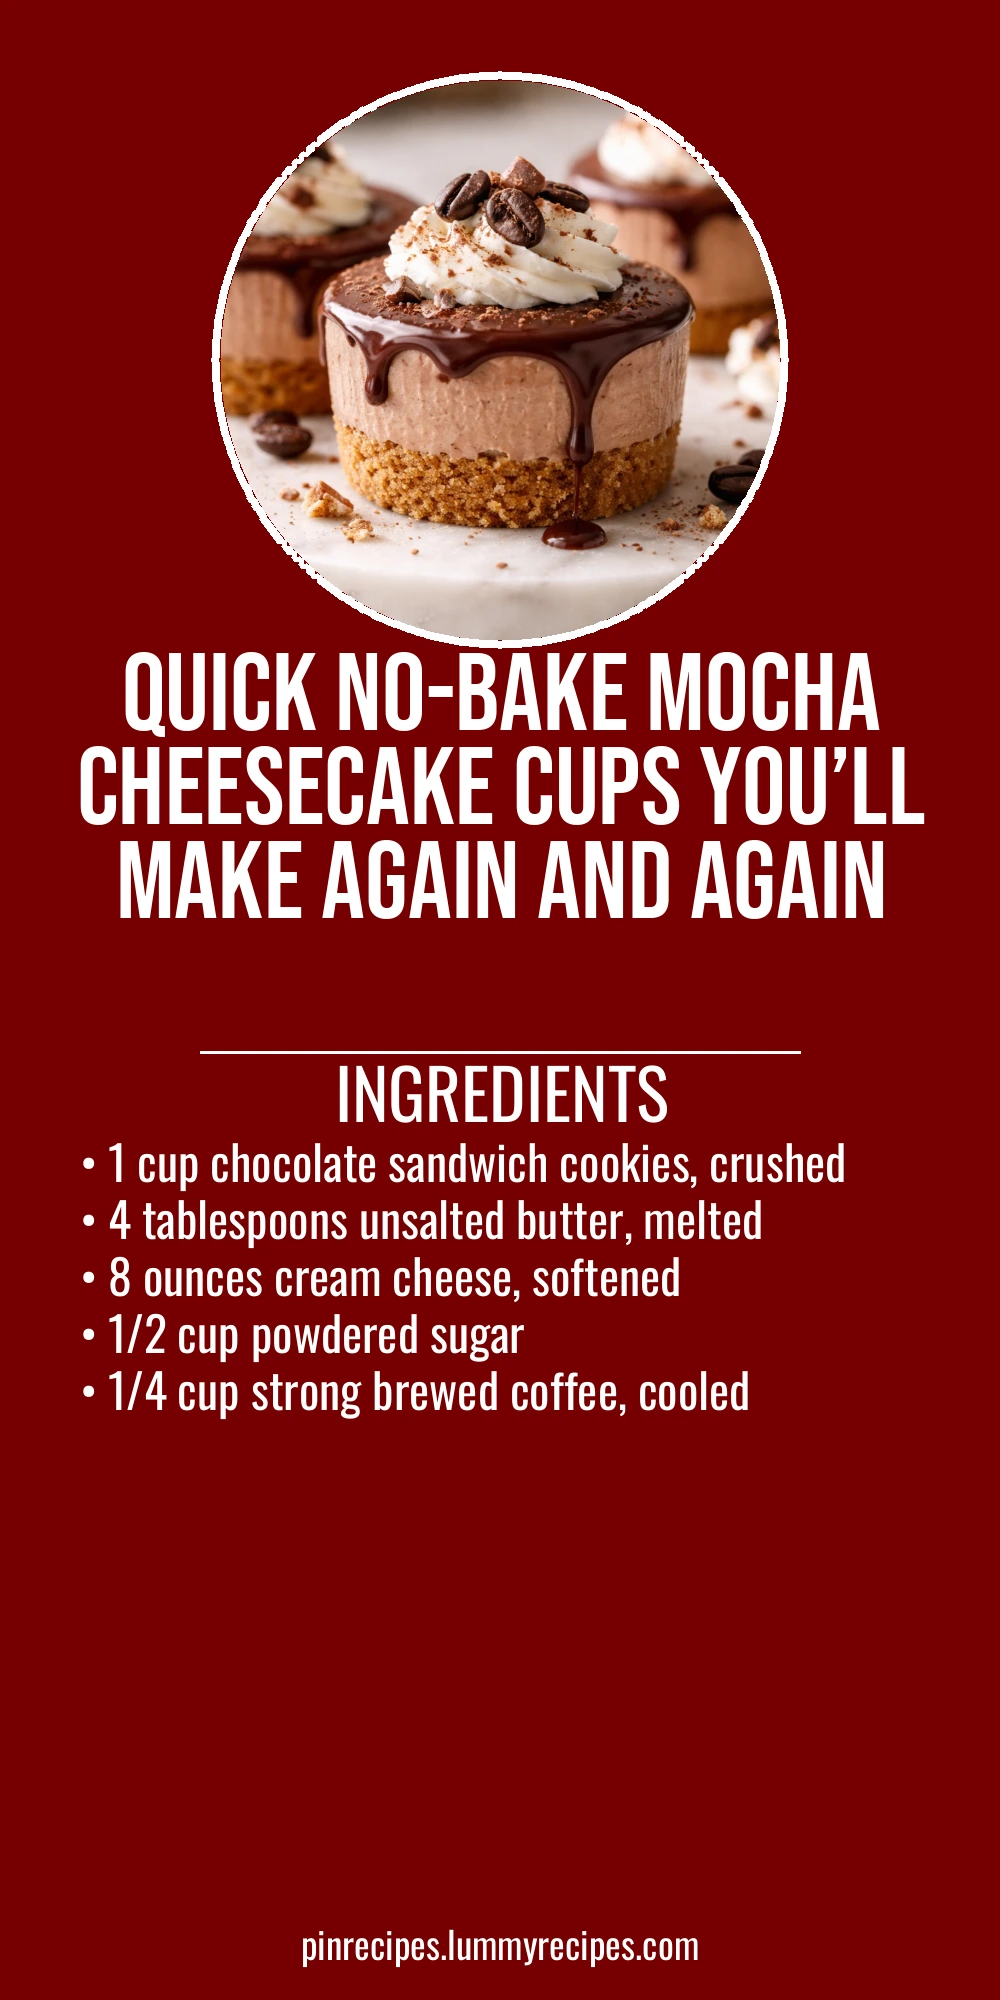
These mocha chocolate cheesecake cups are so easy and rich, with just five ingredients! The coffee adds a lovely depth to the chocolate, and since they’re no-bake, they’re perfect for a quick dessert after dinner or a sweet treat anytime.
Introduction
I stumbled upon this no-bake mocha chocolate cheesecake cups recipe during a busy week when I wanted something sweet but didn’t want to turn on the oven. What I love about this recipe is how simple it is—just five ingredients, yet it tastes like a fancy dessert you'd order at a café. The coffee adds a subtle, rich depth that pairs perfectly with the creamy chocolate and tangy cream cheese. I’ve tried other no-bake cheesecakes before, but this one stands out because the crust is buttery and crunchy, and the filling sets up beautifully without any gelatin or complicated steps. One trick I learned is to make sure the cream cheese is really softened, so it blends smoothly with the coffee and sugar, giving the filling that silky texture. The finished cups look elegant in clear glasses, perfect for serving guests or just treating yourself after dinner. Honestly, it’s become my go-to when I want a fuss-free dessert that feels special. You’ll love how quick and satisfying this is!
How To Do It
Step 1
Start by crushing the chocolate sandwich cookies into fine crumbs. You can do this by placing them in a sealed plastic bag and using a rolling pin or pulsing in a food processor. The crumbs should be uniform but not powdery, which helps the crust hold together nicely. Avoid leaving large chunks because they won’t bind well with the butter. This step matters because a well-textured crust provides the right crunch and structure for the cheesecake cups.
⏱ Time: 5 minutes
✓ Doneness: Crumbs are evenly crushed with no large pieces visible
Step 2
Mix the melted butter into the crushed cookie crumbs until fully combined. The butter acts as a binder, so make sure every crumb is coated. If you skip this, the crust will be crumbly and fall apart. Press this mixture firmly into the bottom of your serving cups or ramekins to form an even base. Use the back of a spoon or your fingers to compact it tightly. This helps the crust hold its shape once chilled.
⏱ Time: 5 minutes
✓ Doneness: Crust is evenly packed and holds together when pressed lightly
Step 3
In a mixing bowl, beat the softened cream cheese until smooth and creamy. Softening is key here—if the cream cheese is cold, the filling will be lumpy and hard to blend. Use a hand mixer or whisk and scrape down the sides often. This ensures the filling is silky and light, which is what makes the cheesecake so luscious.
⏱ Time: 3 minutes
✓ Doneness: Cream cheese is smooth with no lumps
Step 4
Add the powdered sugar to the cream cheese and continue beating until fully incorporated. The sugar sweetens and helps stabilize the filling. Beat thoroughly to avoid any gritty texture from undissolved sugar. This step balances the tartness of the cream cheese and coffee for a perfectly sweet filling.
⏱ Time: 2 minutes
✓ Doneness: Filling is smooth and evenly sweetened
Step 5
Slowly pour the cooled brewed coffee into the cream cheese mixture while mixing on low speed. Adding coffee gradually prevents the filling from becoming too runny. The coffee infuses mocha flavor and adds a slight bitterness that cuts through the sweetness, making the dessert more complex. Mix until just combined to keep the filling light and airy.
⏱ Time: 2 minutes
✓ Doneness: Filling has a uniform mocha color and smooth texture
Step 6
Spoon the mocha cream cheese filling over the prepared cookie crust in each cup. Use a spatula or the back of a spoon to smooth the top evenly. This layering creates a nice contrast between crunchy crust and creamy filling, which is the hallmark of a good cheesecake cup.
⏱ Time: 3 minutes
✓ Doneness: Filling is evenly spread with a smooth surface
Step 7
Cover the cups with plastic wrap and refrigerate for at least 4 hours, or overnight if possible. Chilling allows the filling to firm up and the flavors to meld beautifully. Don’t rush this step; skipping it will result in a loose filling that won’t hold its shape when served.
⏱ Time: 4+ hours
✓ Doneness: Filling is set and holds shape when touched lightly
Step 8
Before serving, feel free to garnish with a dusting of cocoa powder, chocolate shavings, or a few coffee beans for an elegant touch. This adds visual appeal and a hint of extra flavor. Presentation makes a difference when serving guests or celebrating a special occasion.
⏱ Time: 5 minutes
✓ Doneness: Cups look polished and inviting
Step 9
Serve chilled straight from the fridge. These cheesecake cups are best enjoyed cold to keep the creamy texture intact. If left out too long, the filling softens and loses its structure, so keep them refrigerated until just before eating.
⏱ Time: Immediate
✓ Doneness: Filling is firm but creamy when spooned
Pro Tips
Make sure your cream cheese is fully softened before mixing.
Softened cream cheese blends smoothly with the powdered sugar and coffee, resulting in a silky filling. If it’s too cold, lumps form and the texture becomes uneven, which can ruin the cheesecake’s creamy mouthfeel.
Press the cookie crust firmly into the cups.
Compacting the crust tightly ensures it holds together when you spoon the filling on top and when eating. A loose crust will crumble and fall apart, making the dessert messy and less enjoyable.
Chill the cheesecake cups for at least 4 hours before serving.
The chilling time allows the fats in the cream cheese and butter to solidify, setting the filling properly. Rushing this step leads to a runny filling that won’t hold its shape and lacks the characteristic cheesecake texture.
Use strong brewed coffee but let it cool completely before mixing.
Hot coffee can melt the cream cheese, causing the filling to separate or become runny. Cooling preserves the filling’s texture while still delivering that rich mocha flavor.
Use powdered sugar instead of granulated sugar.
Powdered sugar dissolves quickly and evenly, ensuring a smooth filling without graininess. Granulated sugar doesn’t dissolve well in cold mixtures and can leave a gritty texture.
Serve the cheesecake cups chilled, not at room temperature.
Serving cold keeps the filling firm and creamy. If left out too long, the filling softens and loses its structure, making it harder to enjoy the texture contrast between crust and filling.
Garnish with chocolate shavings or cocoa powder before serving.
Adds a visual appeal and enhances the chocolate flavor, making the dessert look more polished and inviting without extra effort.
Common Mistakes to Avoid
Using cold cream cheese straight from the fridge.
Why it happens Many assume cream cheese can be mixed immediately, not realizing it needs to soften for smooth blending.
Fix Let cream cheese sit at room temperature for at least 30 minutes before mixing. This prevents lumps and ensures a creamy, smooth filling.
Skipping the chilling time.
Why it happens Impatience or thinking the dessert is ready once assembled.
Fix Refrigerate the cups for a minimum of 4 hours to allow the filling to set properly. Overnight chilling is even better for best texture.
Adding hot coffee directly to the filling.
Why it happens Not waiting for coffee to cool, thinking it won’t affect the mixture.
Fix Always cool brewed coffee completely before mixing to avoid melting the cream cheese and thinning the filling.
Not pressing the crust firmly enough.
Why it happens Rushing or underestimating the importance of compacting the base.
Fix Use the back of a spoon or your fingers to firmly press the crust mixture into the cups, ensuring it holds together when eaten.
Using granulated sugar instead of powdered sugar.
Why it happens Substituting without considering texture differences.
Fix Stick to powdered sugar for smooth, lump-free filling; granulated sugar won’t dissolve properly and leaves a gritty texture.
Variations
Vanilla Mocha Cheesecake Cups
Swap half the powdered sugar for vanilla sugar or add a teaspoon of vanilla extract to the filling for a subtle vanilla twist that complements the mocha flavor. This variation adds a warm aroma and softens the coffee’s bite, making it even more comforting.
Note: Add vanilla extract with the coffee in step 5; no change in chilling time needed.
Peanut Butter Mocha Cheesecake Cups
Mix 2 tablespoons of creamy peanut butter into the cream cheese filling before adding coffee. The nutty richness pairs beautifully with chocolate and coffee, giving a decadent, layered flavor. Great for peanut butter lovers!
Note: Ensure peanut butter is smooth and fully blended to keep the filling creamy.
Mint Mocha Cheesecake Cups
Add a few drops of peppermint extract to the filling for a refreshing minty mocha flavor. Garnish with crushed peppermint candies or fresh mint leaves for a festive touch. Perfect for holiday gatherings or when you want a fresh twist.
Note: Use peppermint extract sparingly to avoid overpowering the mocha taste.
Almond Mocha Cheesecake Cups
Stir in 1/4 cup finely chopped toasted almonds into the crust mixture for added crunch and nutty flavor. You can also sprinkle almonds on top before serving. This adds texture and a subtle almond aroma that enhances the chocolate and coffee notes.
Note: Toasting almonds intensifies flavor; cool before mixing into crust.
Dairy-Free Mocha Cheesecake Cups
Use dairy-free cream cheese and vegan butter substitutes to make this recipe suitable for dairy-free diets. Coconut-based cream cheese works well and adds a slight tropical note that pairs nicely with mocha flavors.
Note: Chilling time may vary slightly; ensure dairy-free ingredients are softened for smooth mixing.
Nutrition
Per Serving:
Nutritional values are estimates and may vary based on specific ingredients used.
Storage & Tips
Room Temperature
These cheesecake cups can be safely kept at room temperature for up to 2 hours if covered. Beyond that, the filling may soften too much and risk food safety issues due to the cream cheese.
Refrigerator
Store in an airtight container or cover tightly with plastic wrap and refrigerate for up to 3 days. The texture remains creamy but firm. Best served chilled; if too firm, let sit for 10 minutes before serving.
Freezer
Freeze cheesecake cups for up to 1 month. Wrap cups individually with plastic wrap and place in a freezer-safe container to prevent freezer burn. Thaw overnight in the refrigerator before serving to maintain texture.
Reheating
No reheating needed. Serve chilled or bring to room temperature for a few minutes to soften slightly. Avoid microwaving as it can cause the filling to separate or become runny.
Make Ahead
Prepare the crust and filling up to 2 days ahead. Assemble cups and refrigerate covered until ready to serve. This makes it a stress-free dessert for busy days or entertaining.
FAQ
Can I use regular cookies instead of chocolate sandwich cookies for the crust?
Yes, you can substitute with any crunchy cookie like graham crackers or digestive biscuits. Keep in mind the flavor and color will change, and you may want to adjust the sugar level if the cookies are less sweet.
What if I don’t have brewed coffee? Can I use instant coffee?
Instant espresso powder works well and can provide a stronger coffee flavor. Dissolve it in a small amount of hot water, then cool before adding to the filling. Avoid adding hot liquid directly to the cream cheese.
How long do these cheesecake cups keep in the fridge?
They stay fresh for up to 3 days refrigerated. After that, the crust may soften and the filling texture can degrade. For best taste and texture, enjoy within the first 2 days.
Can I make this recipe vegan?
Yes, by using dairy-free cream cheese and vegan butter substitutes, you can make a vegan version. Coconut-based cream cheese works best for a creamy texture. The chilling time might be slightly longer.
Why did my filling turn out runny?
Runny filling usually means the cream cheese wasn’t softened properly or the coffee was added while still warm. Always use room temperature cream cheese and cooled coffee to keep the filling stable and creamy.
Can I double the recipe for a larger batch?
Absolutely! Just double all ingredients and use larger serving dishes or more cups. Chilling time may be slightly longer depending on container size, so plan accordingly.
What’s the best way to crush the cookies quickly?
Using a food processor is fastest and gives uniform crumbs. If you don’t have one, place cookies in a sealed bag and crush with a rolling pin or heavy pan until fine but not powdery.
Can I add whipped cream to the filling?
You can fold in whipped cream to lighten the filling and add airiness. Do this gently after mixing the coffee and sugar with cream cheese. It will make the cups fluffier but may require a longer chilling time.
Final Thoughts
I hope you enjoy making and sharing these mocha chocolate cheesecake cups as much as my family and I do. Give them a try and let me know how they turn out!