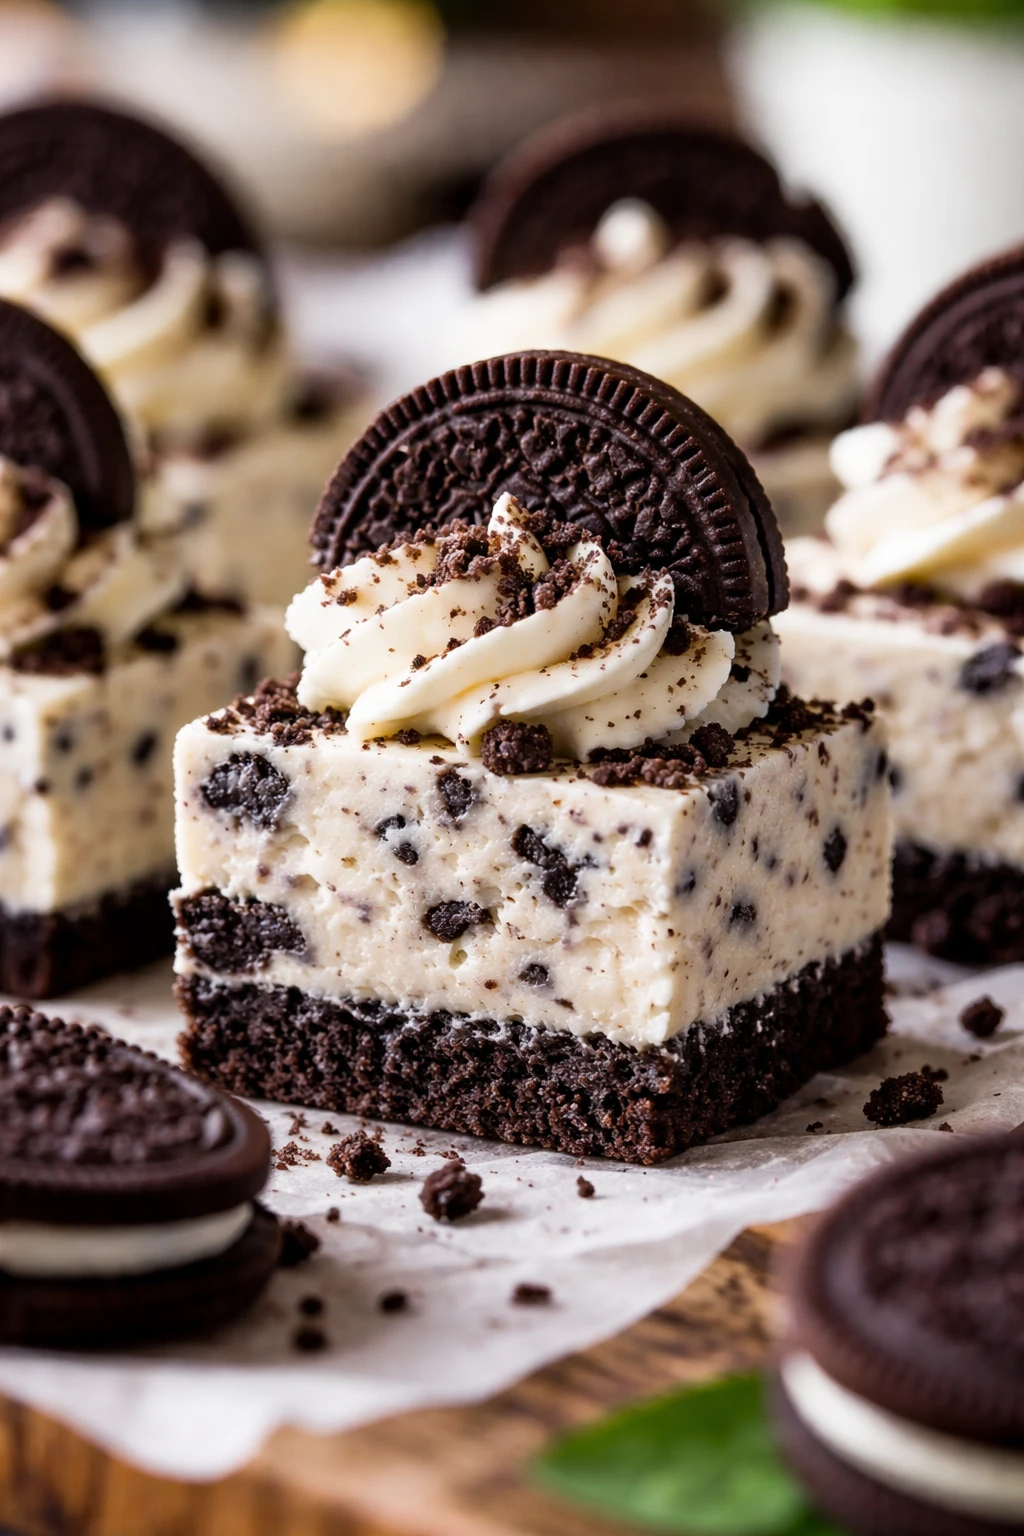
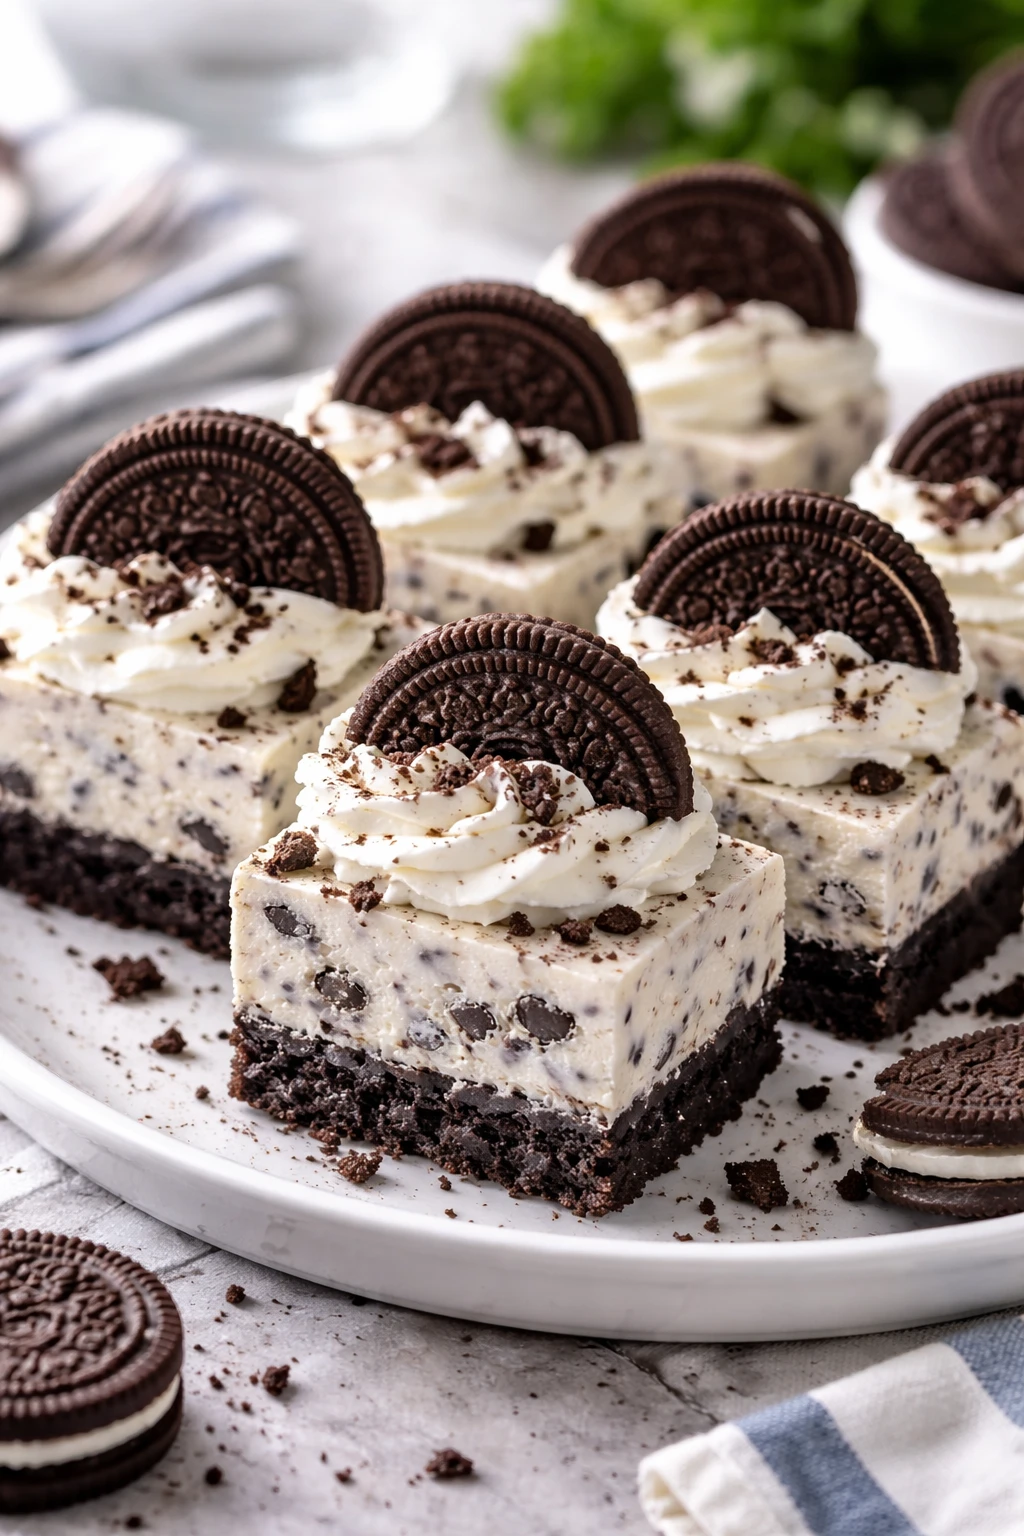
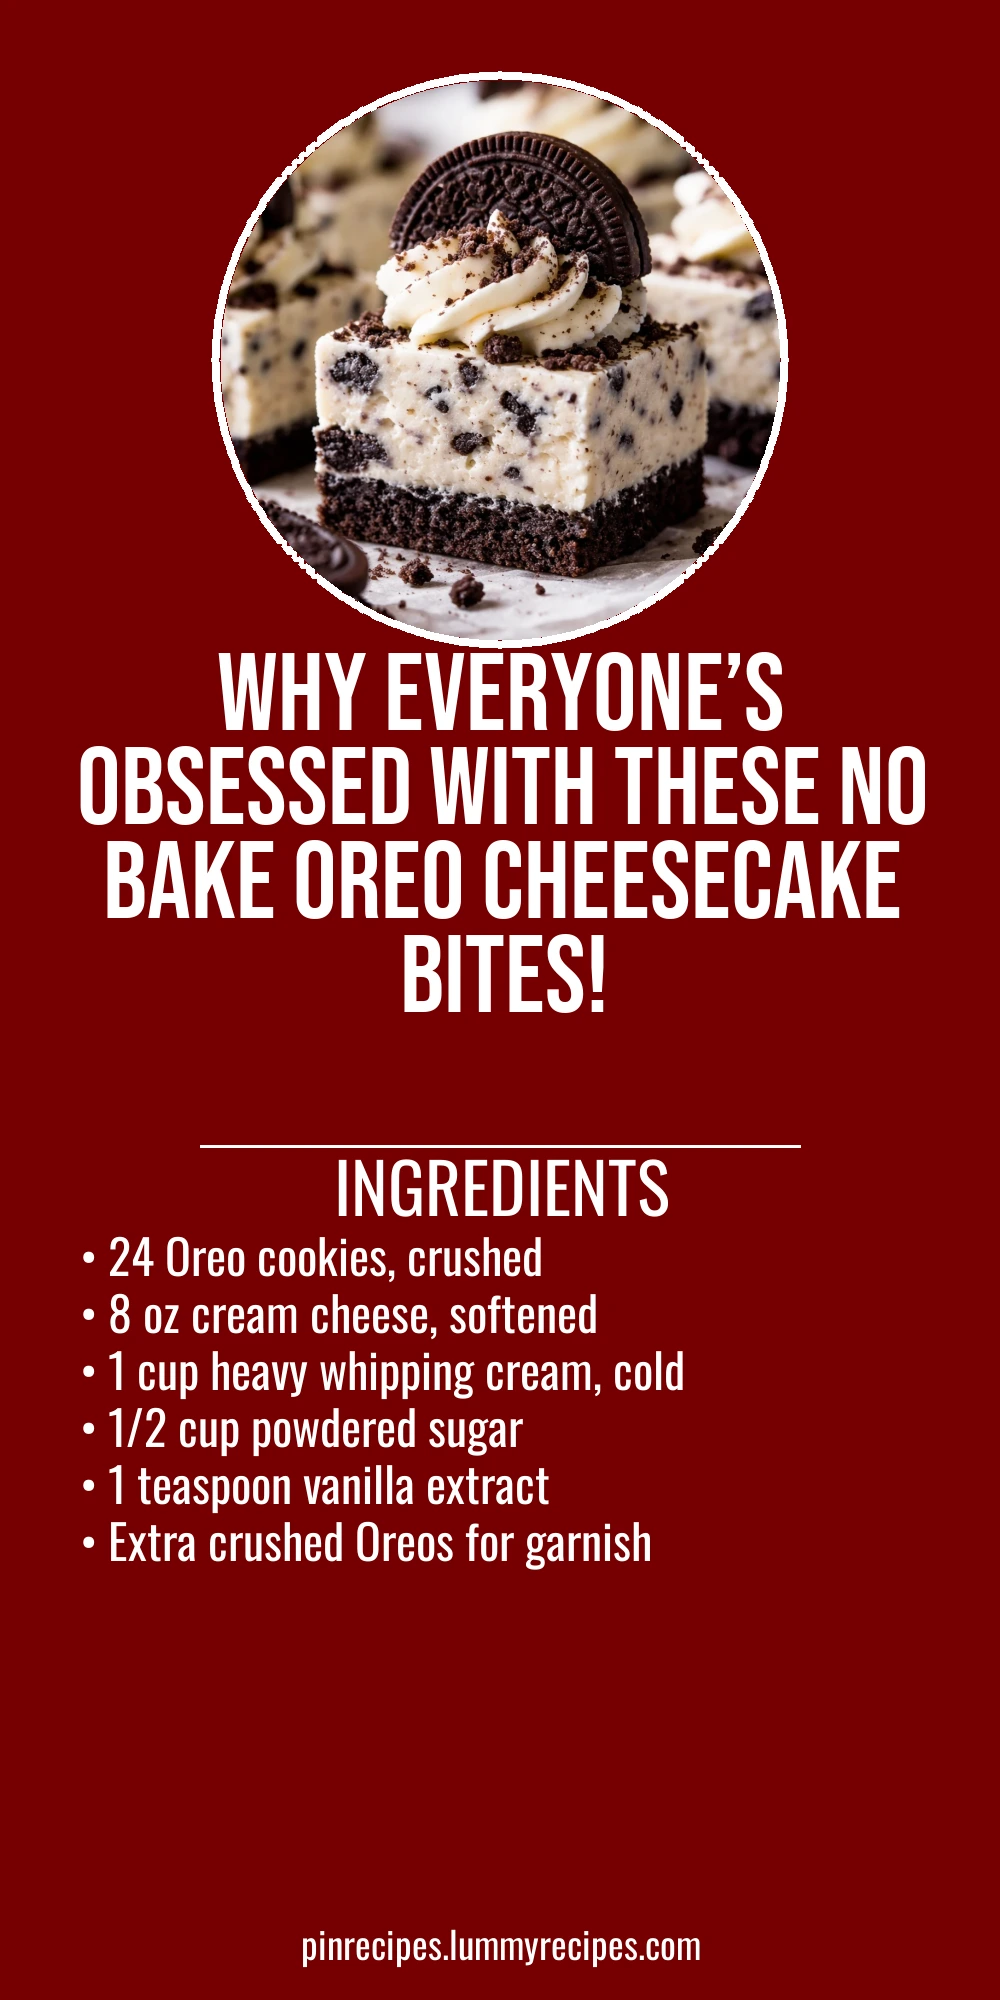
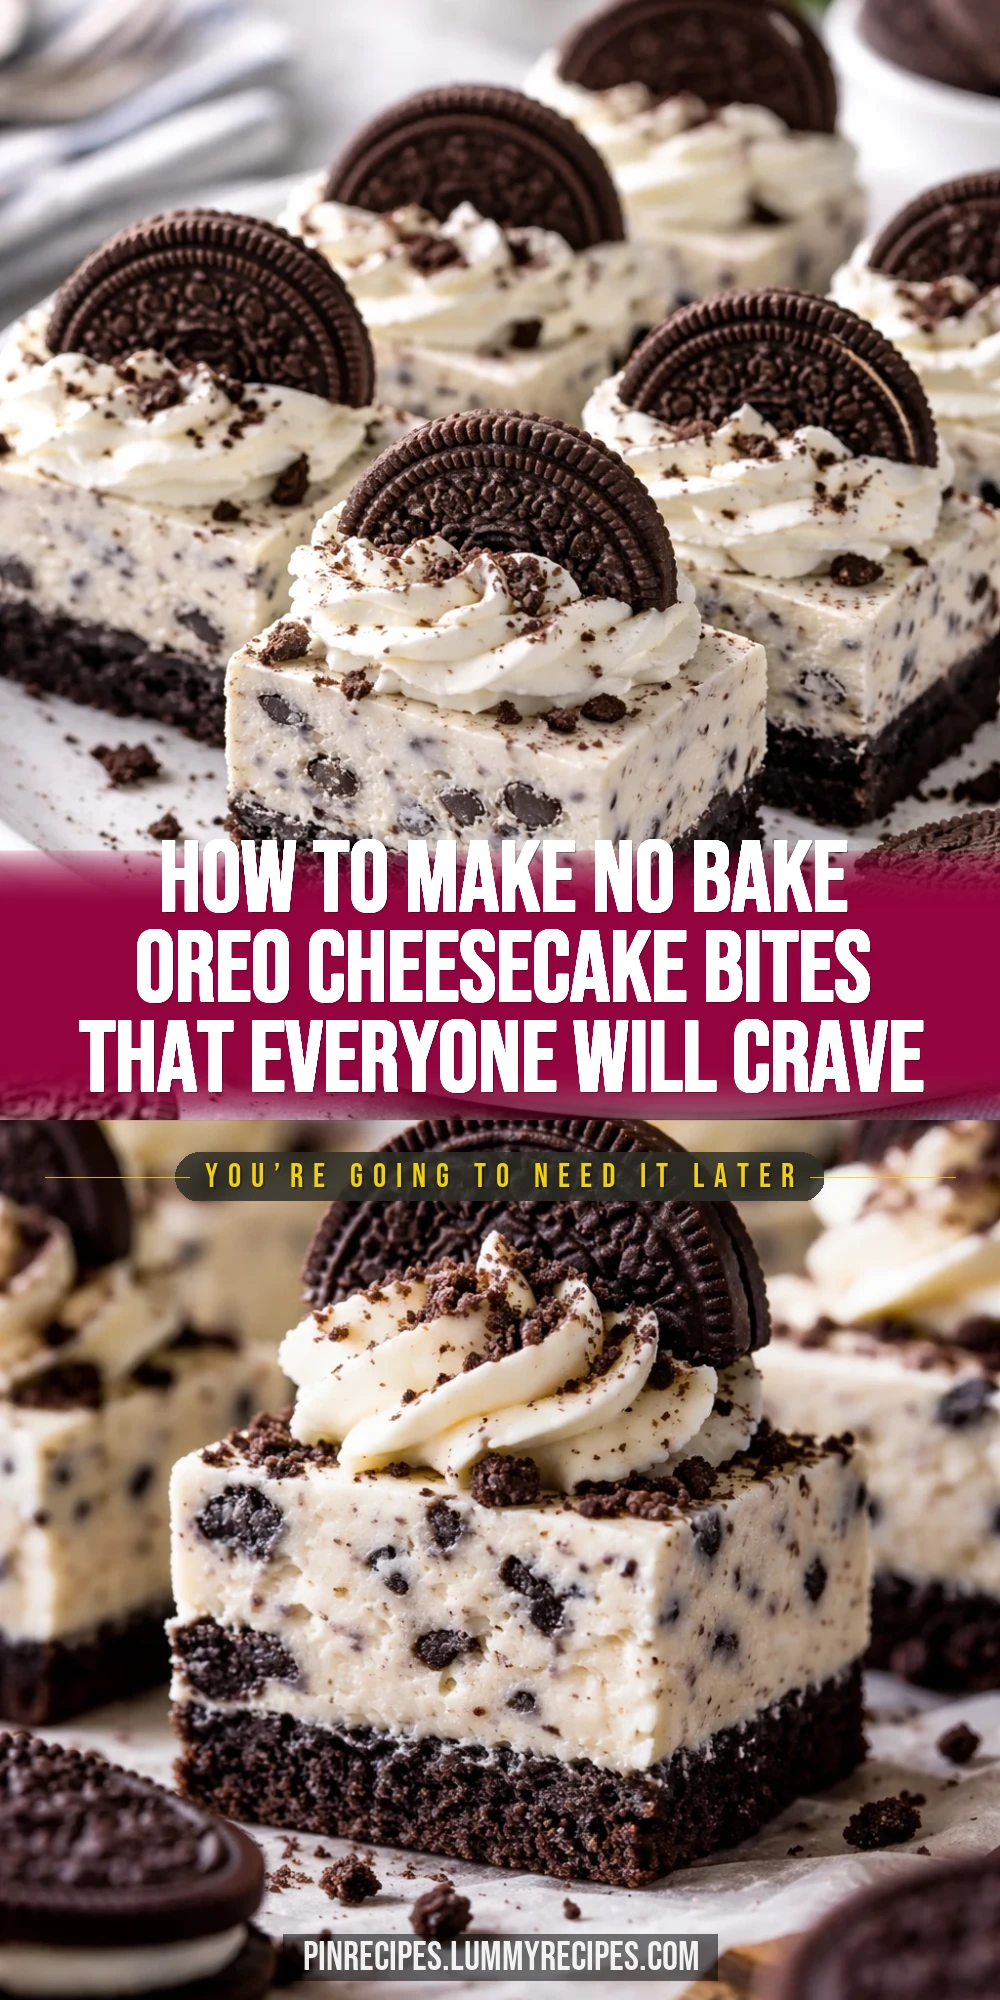
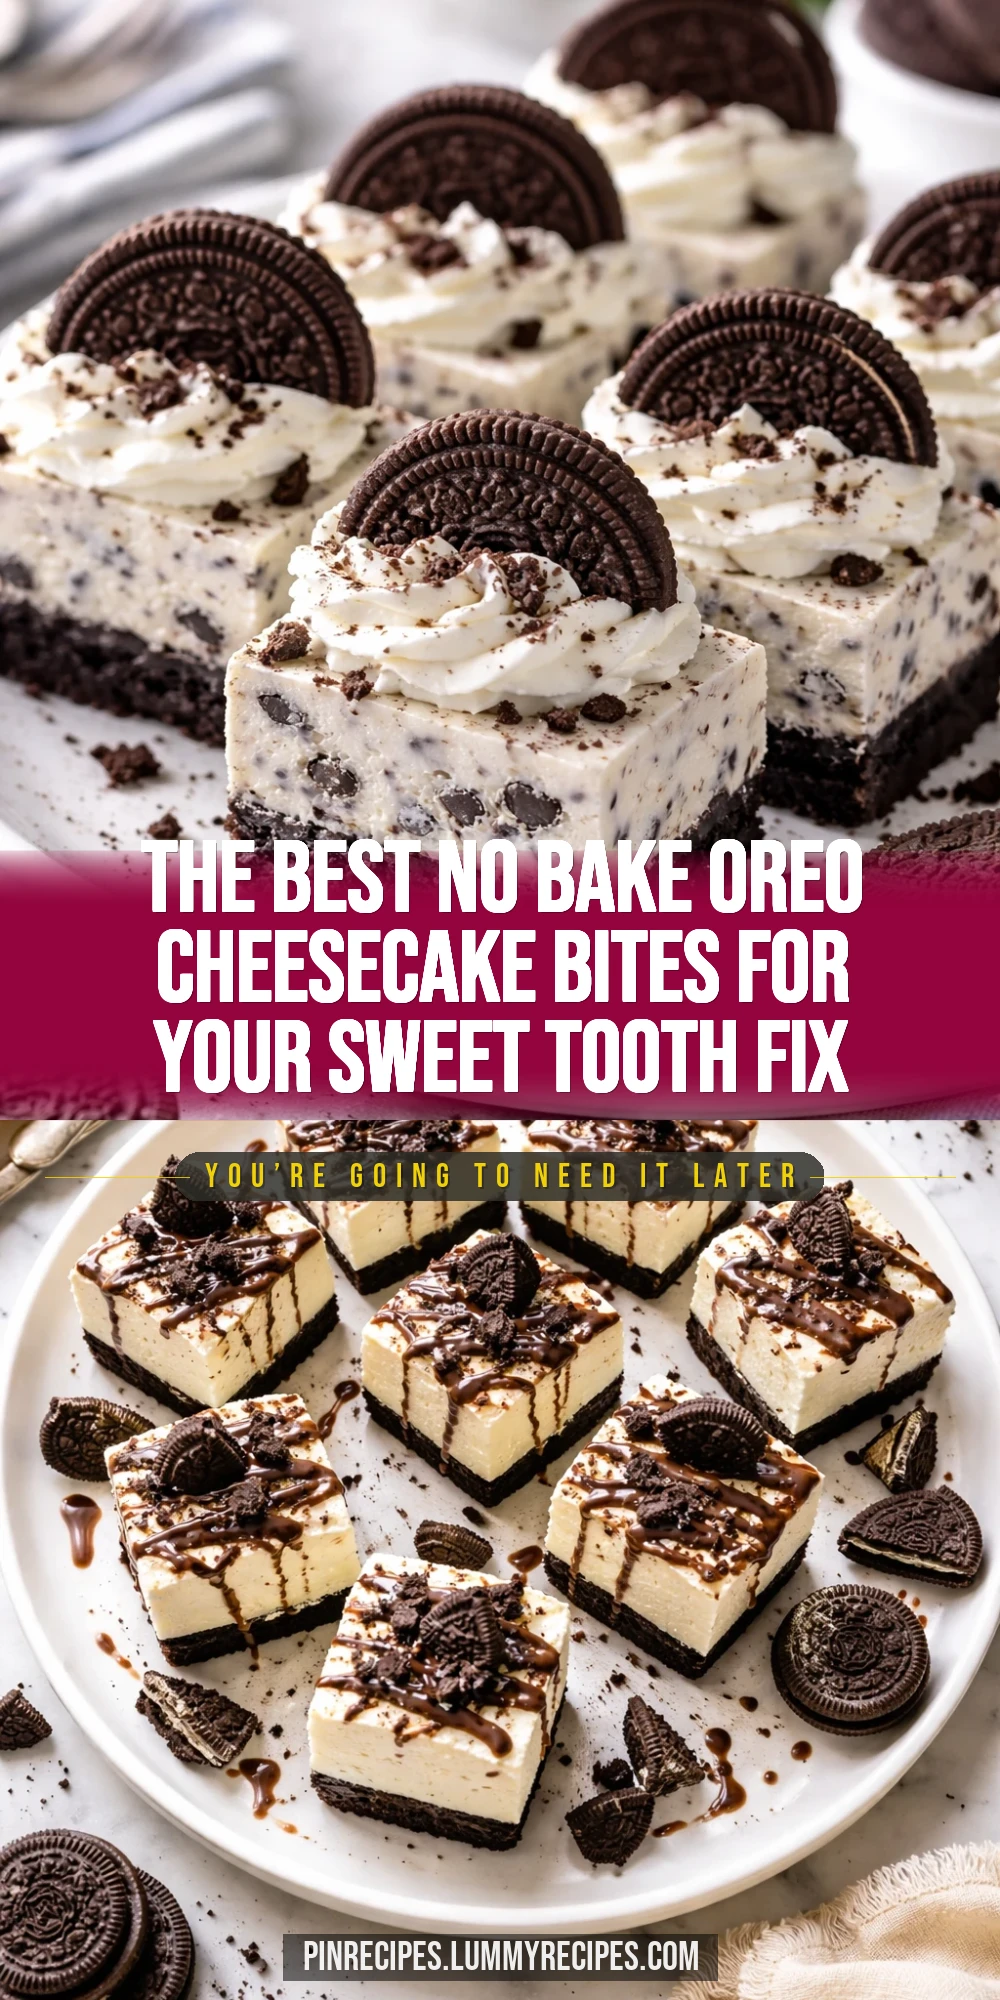
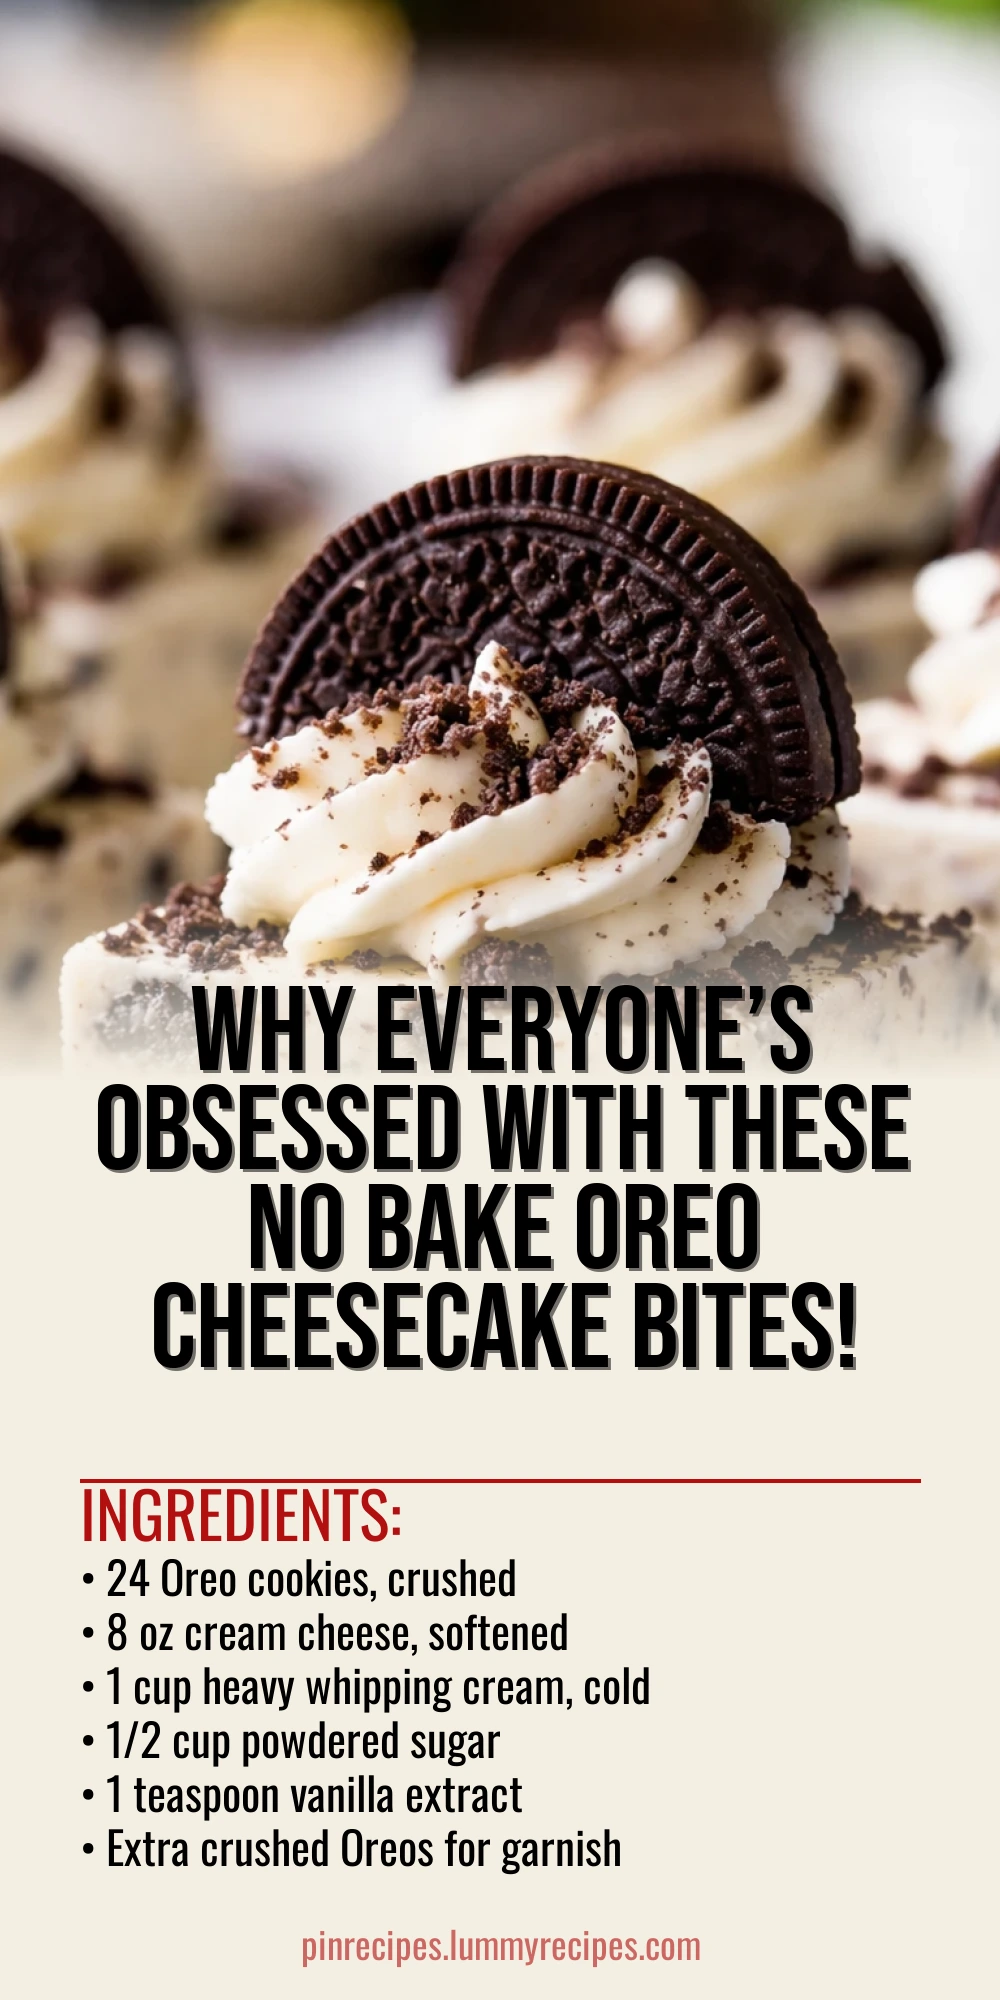
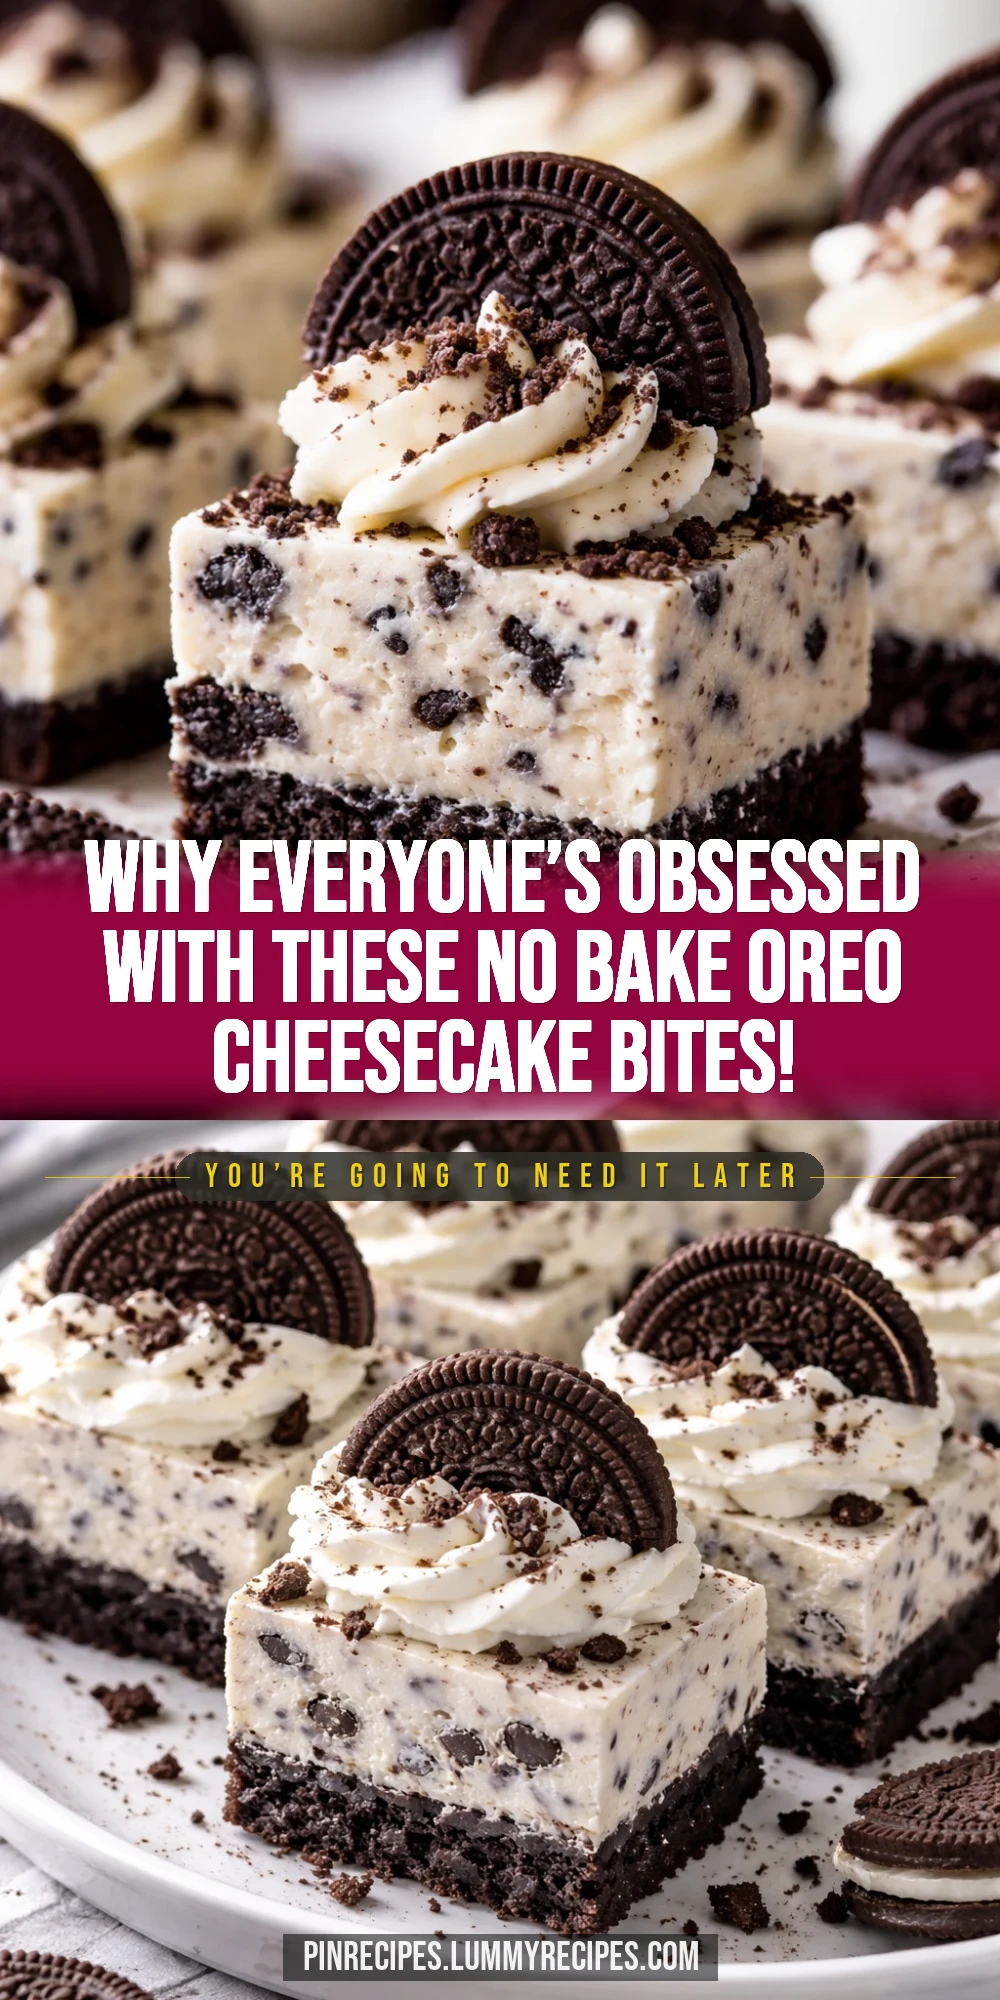
These no bake Oreo cheesecake bites are the ultimate quick treat. Creamy, rich, with crushed Oreos folded in for that perfect crunch. Great for parties or a sweet afternoon pick-me-up!
Introduction
I first stumbled upon this no bake Oreo cheesecake bites recipe when I was craving something sweet but didn’t want to heat up the kitchen or wait hours for a cheesecake to chill. Honestly, I was skeptical at first—how good could a no bake version be? But after trying it, I was hooked. The best part is how simple it is: no oven, no complicated steps, just a few ingredients and some mixing. What sets this apart from other no bake cheesecakes is the perfect balance of creamy filling and crunchy Oreo bits folded throughout. I like to whip the cream just right so it’s fluffy but still holds its shape, which gives the bites that melt-in-your-mouth texture. Plus, chilling them until firm makes them taste like little clouds of Oreo heaven. These bites are perfect for when you want a quick dessert for guests or just a sweet snack to enjoy with your afternoon coffee. I’ve made these a bunch of times now, and every time they disappear fast!
What You'll Need
Approximately 12 cheesecake bites
- 24 Oreo cookies, crushed
- 8 oz cream cheese, softened
- 1 cup heavy whipping cream, cold
- 1/2 cup powdered sugar
- 1 teaspoon vanilla extract
- Extra crushed Oreos for garnish
How To Do It
Step 1
Start by crushing the Oreo cookies into fine crumbs but leave some small chunks for texture. You can do this by placing them in a ziplock bag and gently pounding with a rolling pin. This step is important because the crumbs form the base texture of the bites, and the chunks add a nice crunch contrast. Avoid pulverizing the Oreos too much or you’ll lose that satisfying bite.
⏱ Time: 5 minutes
✓ Doneness: You should have mostly fine crumbs with some small chunks visible
Step 2
In a large mixing bowl, beat the softened cream cheese until smooth and creamy. This ensures no lumps in your cheesecake filling. Then add the powdered sugar and vanilla extract, mixing until well combined. The smoothness here is key to a velvety bite, so don’t rush this step. If you mix too fast or not enough, you’ll get uneven texture.
⏱ Time: 3 minutes
✓ Doneness: Mixture should be smooth, glossy, and free of lumps
Step 3
In a separate chilled bowl, whip the cold heavy cream using an electric mixer until stiff peaks form. This means when you lift the beaters, the cream holds sharp peaks without collapsing. Whipping the cream properly is crucial because it lightens the texture and helps the bites set firmly without baking.
⏱ Time: 5-7 minutes
✓ Doneness: Cream holds stiff peaks and looks fluffy but stable
Step 4
Gently fold the whipped cream into the cream cheese mixture in two additions. Use a spatula to fold carefully so you don’t deflate the whipped cream. This folding technique keeps the mixture airy and light, which makes the final bites creamy but not dense.
⏱ Time: 3 minutes
✓ Doneness: Mixture is smooth and light with no streaks of cream or cheese
Step 5
Fold in the crushed Oreos, stirring just enough to distribute evenly but not overmix. This step adds texture and that signature Oreo flavor throughout. Overmixing can break down the chunks and make the bites less interesting.
⏱ Time: 2 minutes
✓ Doneness: Oreos are evenly scattered throughout the filling
Step 6
Spoon the mixture into silicone mini muffin molds or a lined mini muffin tin. Press lightly to shape and smooth the tops. Using silicone molds makes it easier to pop out the bites once chilled. Avoid overfilling to keep the bites uniform.
⏱ Time: 5 minutes
✓ Doneness: Each mold is filled evenly and surface is smooth
Step 7
Sprinkle extra crushed Oreos on top of each bite for garnish. This adds a pretty finishing touch and a little extra crunch on top. Don’t skip this step—it makes them look irresistible!
⏱ Time: 2 minutes
✓ Doneness: Each bite has a light, even sprinkle of Oreo crumbs on top
Step 8
Place the molds in the refrigerator and chill for at least 2 hours, or until firm. Chilling is essential for these bites to set properly since they don’t bake. If you’re short on time, freezing for 1 hour works too but texture is best chilled slowly.
⏱ Time: 2 hours
✓ Doneness: Bites are firm to the touch and hold shape when removed
Step 9
Carefully pop the cheesecake bites out of the molds and serve chilled. These are best eaten cold to enjoy the creamy texture and crisp Oreo bits. If left out too long, they soften and lose their shape.
⏱ Time: Immediate
✓ Doneness: Bites keep their shape and look creamy with Oreo pieces visible
Pro Tips
Make sure your cream cheese is fully softened before mixing.
Softened cream cheese blends smoothly with sugar and vanilla, preventing lumps in your filling. Cold or partially softened cream cheese can cause uneven texture and lumps that affect the smoothness of your cheesecake bites.
Whip the heavy cream to stiff peaks but don’t overbeat.
Stiff peaks give the filling structure and lightness. Overbeating can turn cream into butter, ruining the texture. Underbeating results in a runny filling that won’t set properly.
Fold the whipped cream gently into the cream cheese mixture.
Folding preserves air bubbles that keep the bites light and fluffy. Stirring aggressively deflates the cream, leading to dense, heavy bites.
Use silicone molds or mini muffin liners for easy removal.
Silicone molds allow you to pop out the bites without damage. Metal tins require lining and can make removal tricky, risking breaking the delicate cheesecake bites.
Chill the bites for at least 2 hours before serving.
Chilling allows the fats to solidify and the bites to firm up. Serving too soon results in soft, messy bites that don’t hold their shape.
Reserve some crushed Oreos to sprinkle on top before chilling.
Adding a garnish of Oreo crumbs on top not only looks appealing but adds a fresh crunch and enhances the Oreo flavor with every bite.
Store leftovers covered tightly in the fridge.
Proper storage keeps the cheesecake bites fresh and prevents them from absorbing fridge odors or drying out, maintaining their creamy texture.
Common Mistakes to Avoid
Using cold cream cheese without softening it first.
Why it happens Many assume cream cheese can be mixed straight from the fridge, but this leads to lumps and uneven texture.
Fix Let cream cheese sit at room temperature for 30 minutes or microwave in short bursts until soft but not melted. This ensures smooth blending with sugar and vanilla.
Overwhipping the cream until it turns grainy.
Why it happens It’s easy to get carried away with the mixer, especially if you’re in a hurry.
Fix Stop whipping as soon as stiff peaks form. If you go too far, the cream will separate and ruin the texture. Start slow near the end and watch carefully.
Mixing whipped cream too vigorously into the cream cheese.
Why it happens Some people stir quickly to combine, not realizing it deflates the air bubbles.
Fix Use a spatula and fold gently in two additions. This keeps the filling light and airy.
Skipping the chilling time or rushing it in the freezer.
Why it happens Impatience or lack of planning often leads to serving before the bites set.
Fix Plan ahead and chill for at least 2 hours in the fridge. If freezing, limit to 1 hour to avoid ice crystals and texture changes.
Using the wrong type of Oreo cookies.
Why it happens Some use Oreo Thins or flavored Oreos without considering texture and flavor balance.
Fix Stick to classic Oreos for best texture and flavor contrast. Other varieties can make the bites too sweet or soft.
Variations
Mint Oreo Cheesecake Bites
Swap classic Oreos for mint-flavored Oreos and add a few drops of peppermint extract to the cream cheese mixture. This gives a refreshing twist with a cool, minty flavor perfect for holidays or summer treats.
Note: Peppermint extract is strong, so start with a small amount and adjust to taste to avoid overpowering the cheesecake.
Peanut Butter Oreo Cheesecake Bites
Add 1/4 cup creamy peanut butter to the cream cheese mixture before folding in whipped cream. Use peanut butter Oreos if available for a double peanut butter punch. These bites are richer and have a nutty depth.
Note: Mix peanut butter thoroughly with cream cheese to avoid lumps, and reduce powdered sugar slightly to balance sweetness.
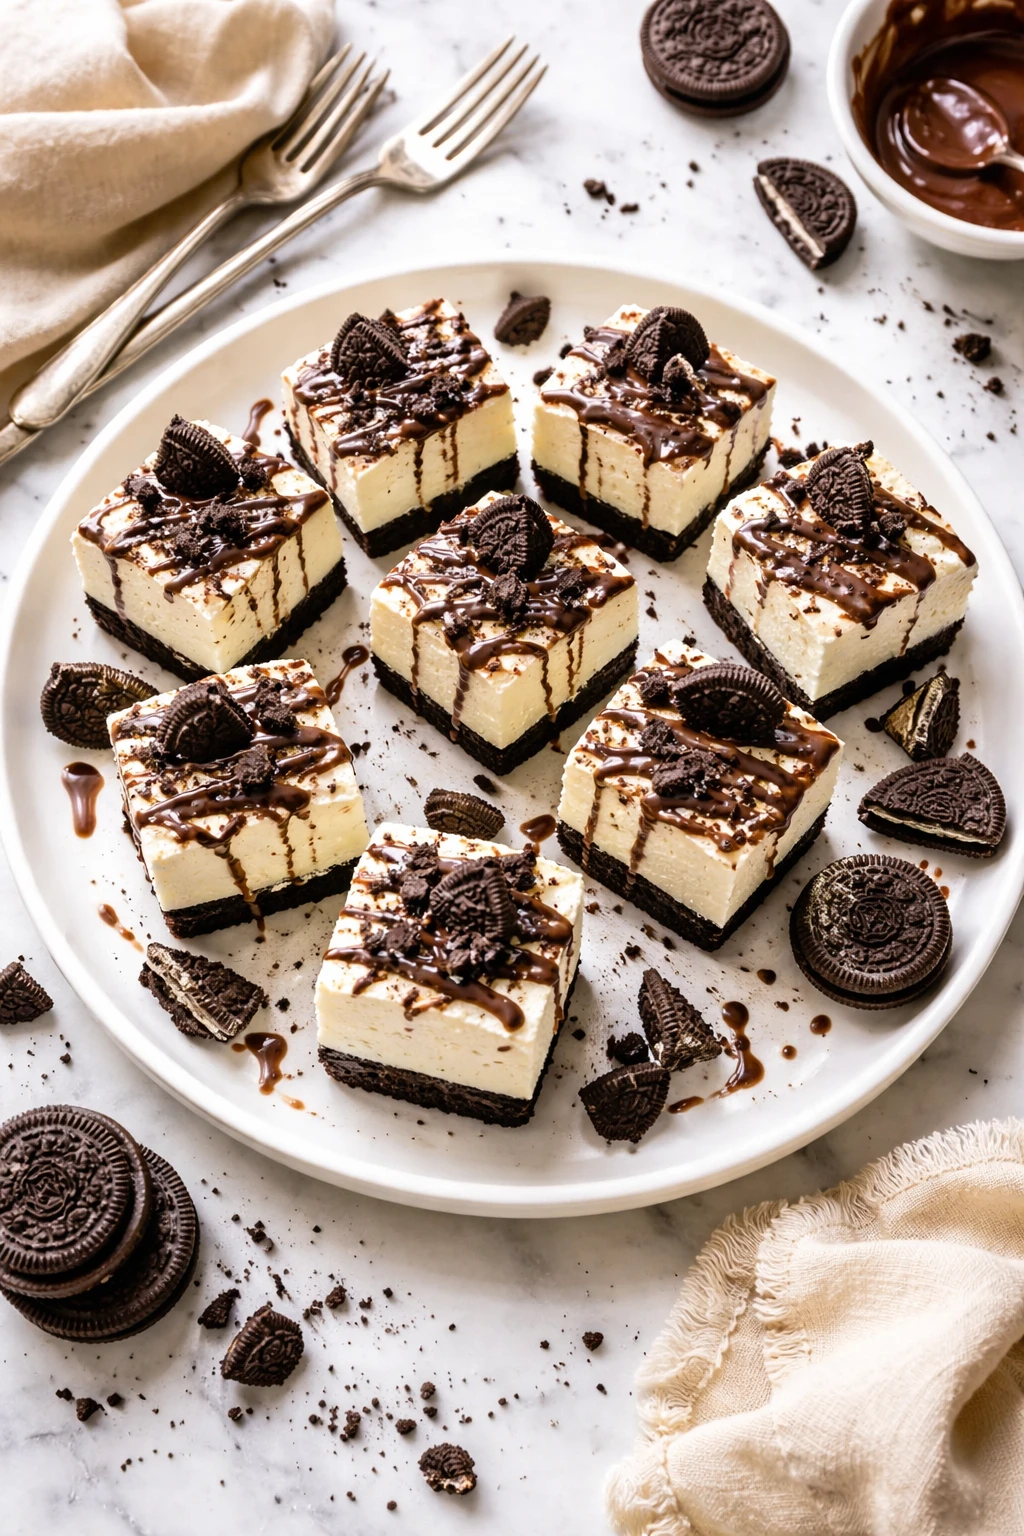
Chocolate Ganache Topped Oreo Cheesecake Bites
After chilling, drizzle a simple chocolate ganache over each bite for an extra decadent finish. This adds a shiny, rich chocolate layer that pairs beautifully with the creamy filling.
Note: Allow ganache to cool slightly before drizzling to avoid melting the cheesecake surface.
Vegan No Bake Oreo Cheesecake Bites
Use vegan cream cheese and coconut cream whipped to stiff peaks. Substitute Oreos with vegan-certified cookies. This version is dairy-free and still creamy and delicious.
Note: Chill coconut cream overnight to separate and whip properly; texture may vary slightly from dairy version.
Berry Swirl Oreo Cheesecake Bites
Fold in a few tablespoons of pureed fresh strawberries or raspberries swirled gently into the cream cheese mixture before adding Oreos. This adds a fruity brightness and pretty marbled look.
Note: Use thick berry puree to avoid thinning the filling; swirl gently to keep distinct patterns.
Nutrition
Per Serving:
Nutritional values are estimates and may vary based on specific ingredients used.
Storage & Tips
Room Temperature
These cheesecake bites should not be left at room temperature for more than 2 hours as the cream cheese and whipped cream can spoil. Keep them covered with plastic wrap or in a sealed container if out briefly.
Refrigerator
Store in an airtight container in the fridge for up to 4 days. They maintain their creamy texture best chilled and can be eaten cold. Avoid leaving them uncovered to prevent drying out or absorbing odors.
Freezer
Freeze the bites in a single layer on a baking sheet first, then transfer to a freezer-safe container or bag for up to 1 month. Wrap tightly to prevent freezer burn. Thaw overnight in the fridge before serving to restore texture.
Reheating
These bites are best served cold and should not be reheated. If you prefer a softer texture, let them sit at room temperature for 10-15 minutes before eating.
Make Ahead
Prepare the cheesecake filling and crush the Oreos 1-2 days ahead. Assemble the bites and chill until firm on the day you plan to serve. This keeps them fresh and saves time on party day.
FAQ
Can I use low-fat cream cheese for this recipe?
While you can use low-fat cream cheese, it tends to be softer and less rich, which can affect the texture and flavor of the cheesecake bites. Full-fat cream cheese provides the best creamy texture and taste, so I recommend sticking with that for optimal results.
How long do these cheesecake bites last in the fridge?
Stored in an airtight container, these bites will stay fresh for up to 4 days in the refrigerator. Beyond that, the texture may start to degrade and they might absorb other fridge odors, so it’s best to enjoy them within this timeframe.
Can I make these bites gluten-free?
Yes! Substitute the Oreos for a gluten-free chocolate sandwich cookie. Just make sure the cookies are finely crushed with some chunks left for texture. The rest of the recipe stays the same and you’ll still get that creamy, crunchy bite.
What’s the best way to crush the Oreos?
Place the Oreos in a ziplock bag and gently crush with a rolling pin or heavy pan. Aim for mostly fine crumbs with some small chunks for crunch. Avoid using a food processor as it can pulverize the cookies too finely and lose texture contrast.
Can I freeze the cheesecake bites?
Absolutely! Freeze them for up to 1 month. Freeze in a single layer first, then transfer to a sealed container or bag. Thaw in the fridge overnight before serving to keep the creamy texture intact.
What if I don’t have silicone molds?
You can use a mini muffin tin lined with paper liners instead. Just be gentle when removing the bites after chilling to avoid breaking them. Silicone molds are just easier for popping out the bites cleanly.
Can I add other mix-ins besides Oreos?
Definitely! Chopped nuts, chocolate chips, or even small candy pieces can be folded in. Just keep the total mix-ins moderate so the bites hold together well and the texture stays balanced.
How do I know when the whipped cream is ready?
Whip the cream until stiff peaks form, meaning when you lift the beaters, the cream holds a sharp peak that doesn’t flop over. This gives enough structure to support the cheesecake filling without being too stiff or grainy.
Final Thoughts
I hope you give these no bake Oreo cheesecake bites a try—they’re a total crowd-pleaser! Let me know how they turn out and if you add your own twist.