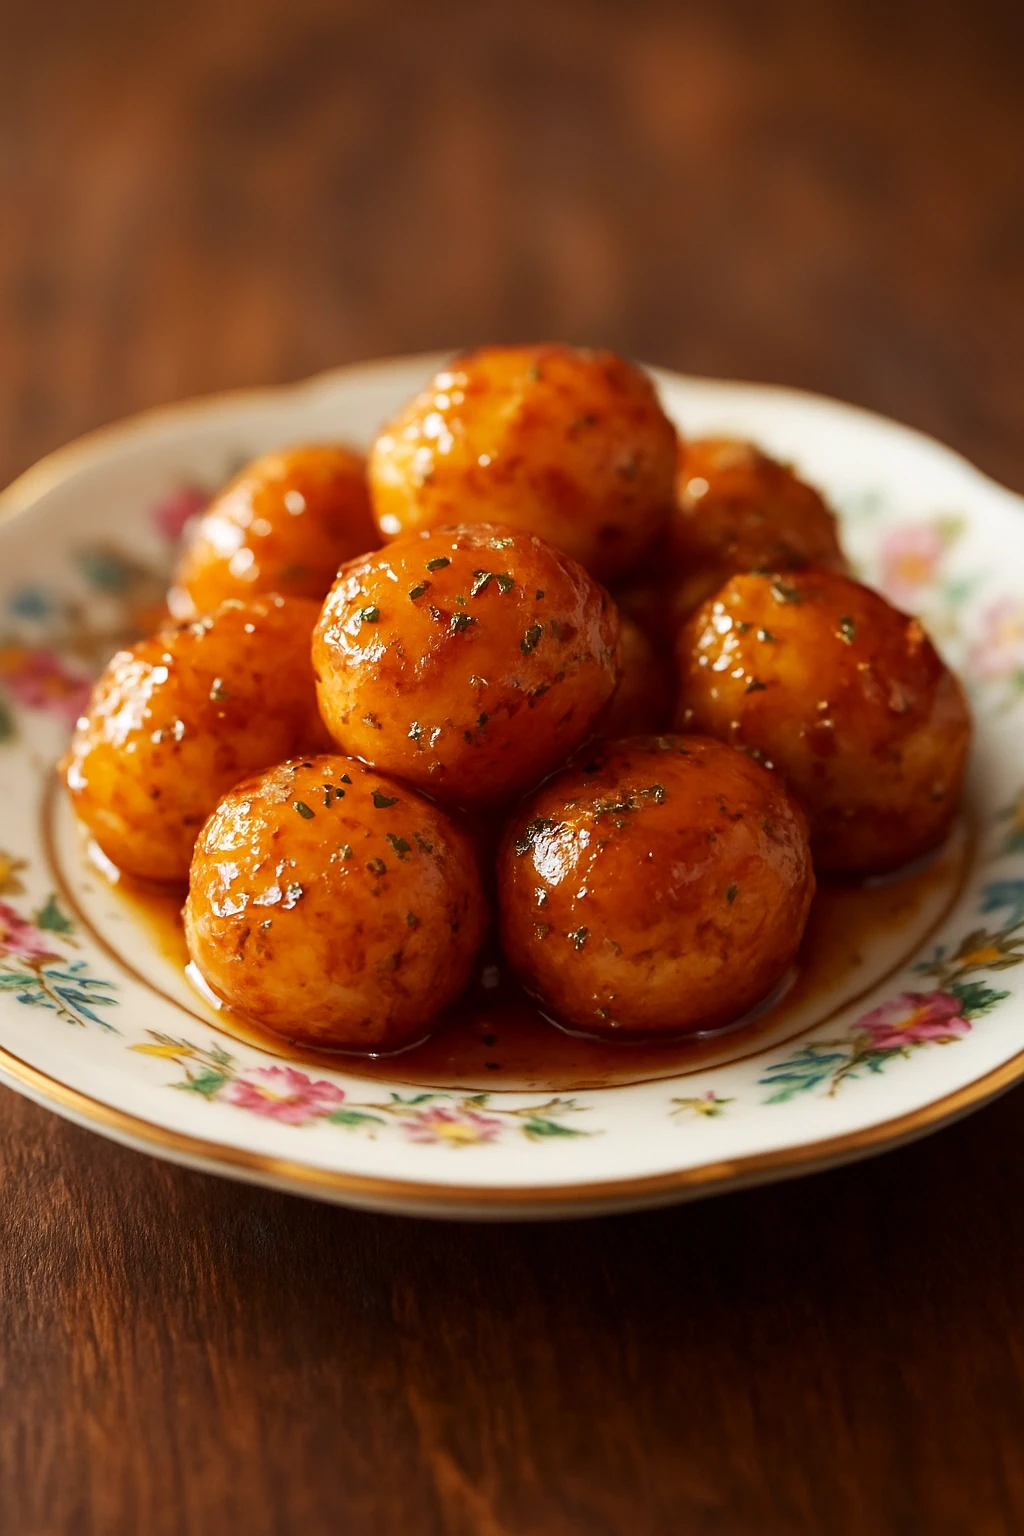
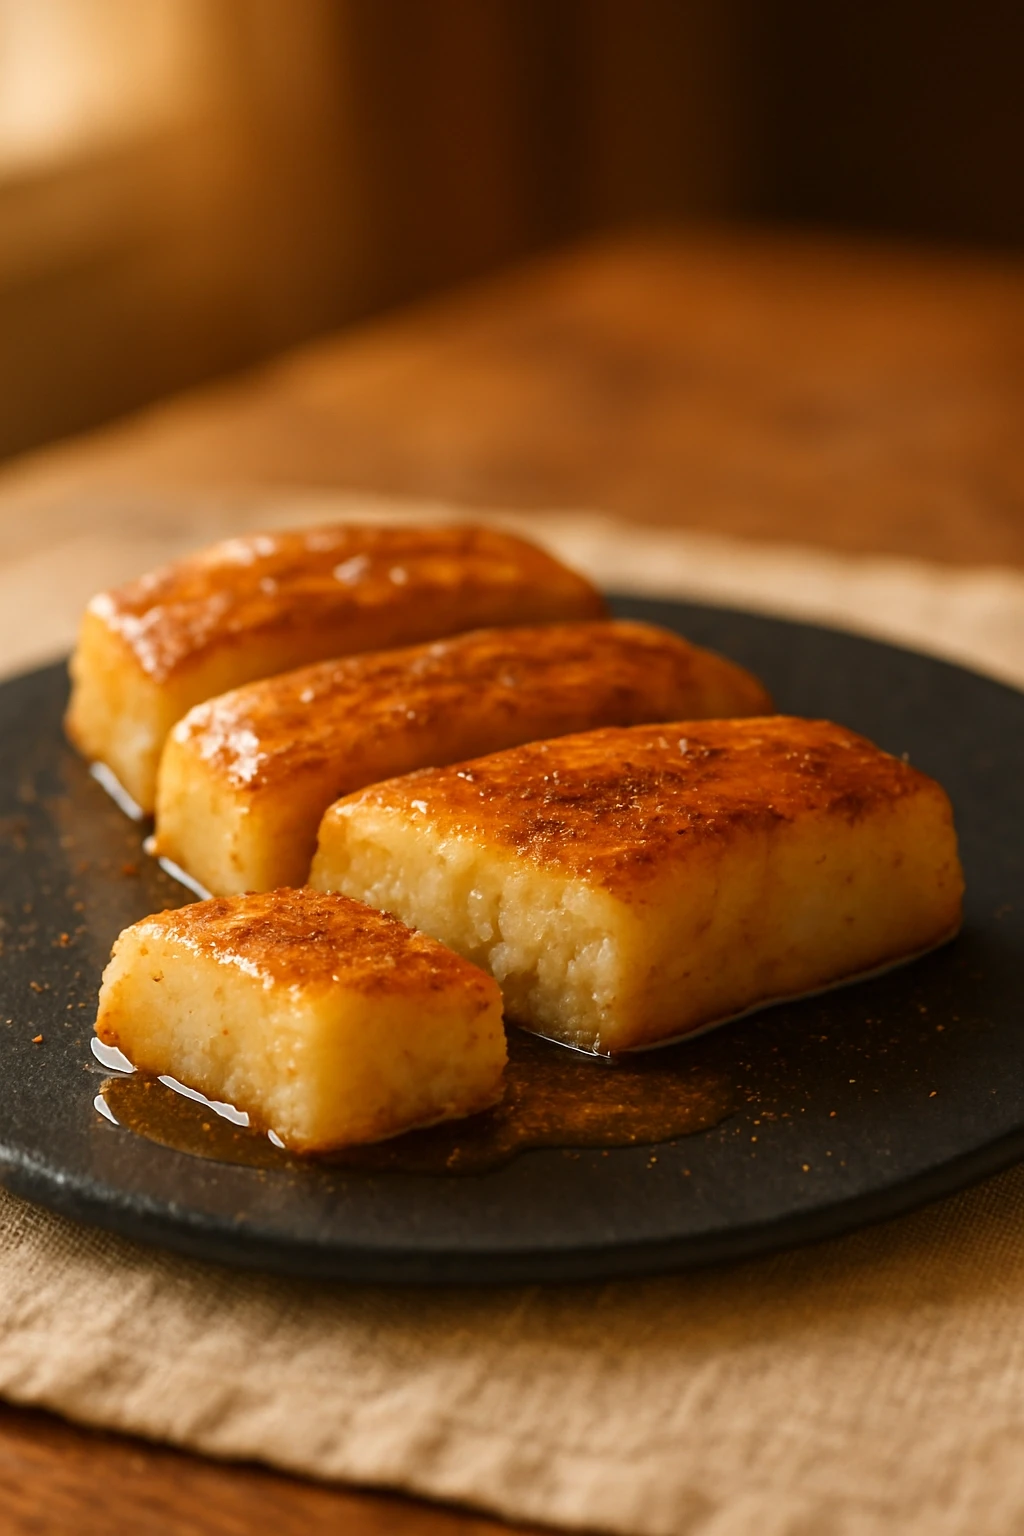
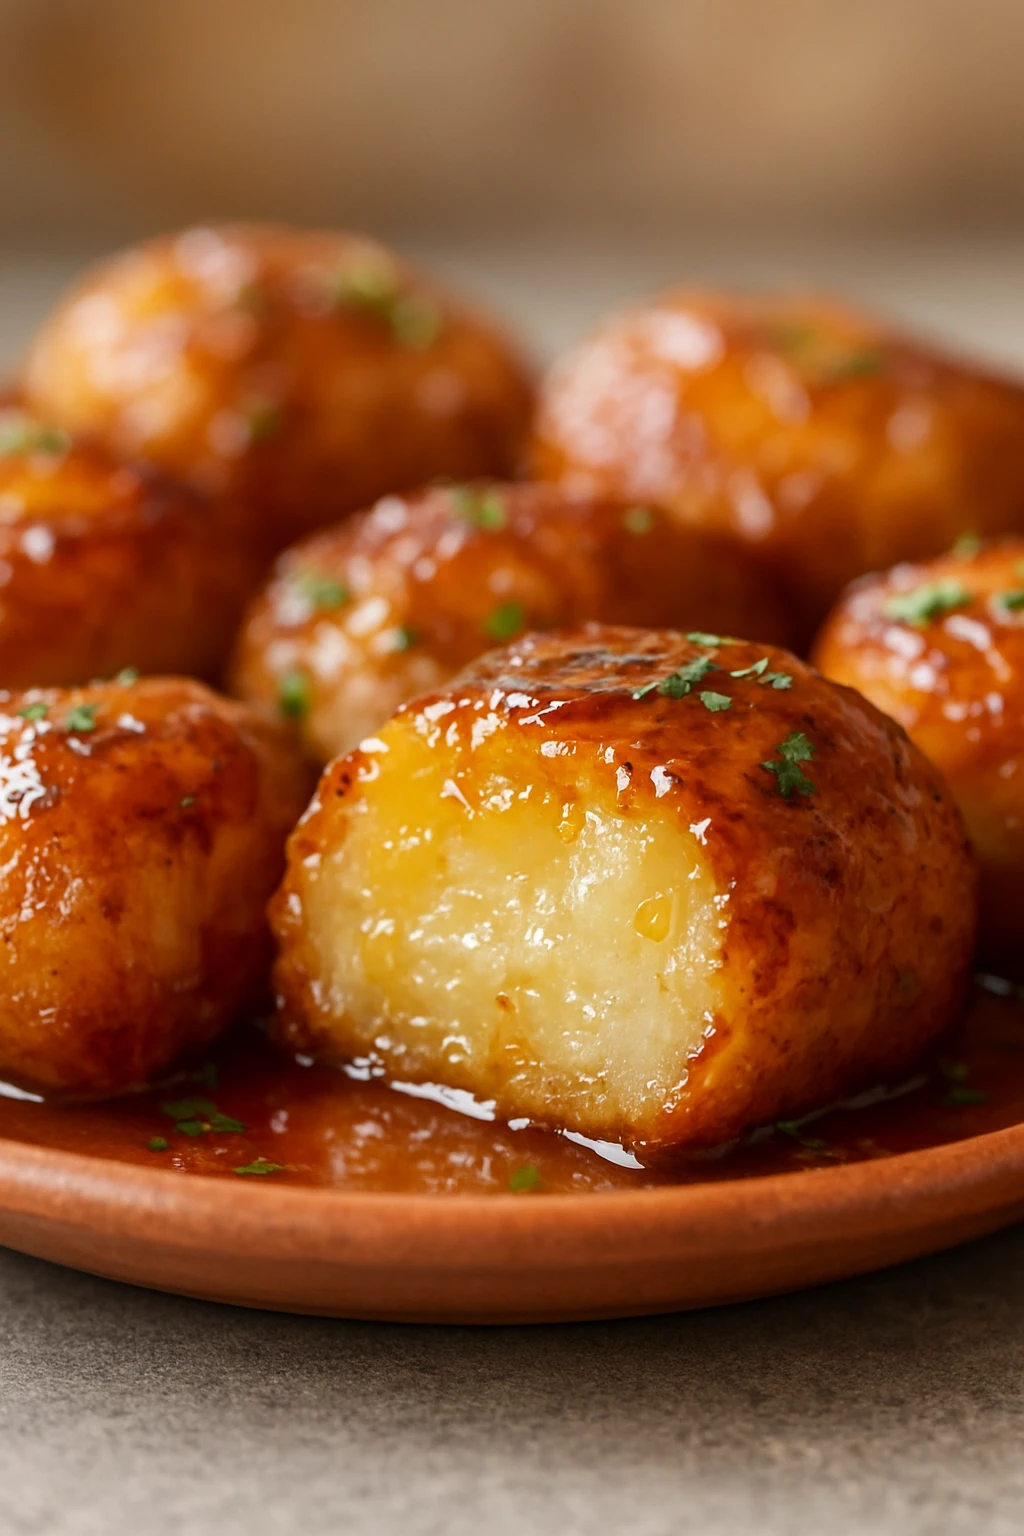
These delightful Irish Potato Candies are a fun, sweet treat that you can whip up in just 15 minutes. With creamy peanut butter and a hint of coconut, they’re perfect for parties or a cozy night in!
Introduction
I first discovered Irish Potato Candy during a St. Patrick's Day celebration at a friend's house. The moment I took a bite, I was hooked! These little bites of joy are not actually made from potatoes but are crafted from peanut butter and coconut, giving them a unique, sweet flavor that feels like a hug in candy form. My version is super simple and comes together in just 15 minutes, making it perfect for last-minute gatherings or a sweet treat after dinner. The trick is to use creamy peanut butter for that smooth texture and to chill them slightly before serving, which helps them hold their shape and enhances the flavor. Trust me, once you make these, they'll become a staple in your dessert repertoire!
How To Do It
Step 1
In a large mixing bowl, combine the creamy peanut butter and vanilla extract. Use a spatula to mix them together until they’re smooth and well combined. This step is crucial because it ensures that the flavors meld beautifully, making each bite rich and satisfying. If you skip this, you might end up with clumps of peanut butter in your candies, which isn't what you want!
⏱ Time: 2 minutes
✓ Doneness: The mixture should be smooth and fully combined without any lumps.
Step 2
Gradually add in the powdered sugar and salt, mixing well until fully incorporated. This process may take a bit of elbow grease, but it's essential for achieving that sweet, candy-like texture. If you rush it and don’t mix thoroughly, you might end up with a grainy texture instead of the smooth, melt-in-your-mouth candy we’re going for.
⏱ Time: 3 minutes
✓ Doneness: The mixture should form a dough-like consistency that holds together well.
Step 3
Next, fold in the shredded coconut and cocoa powder. This adds a wonderful texture and flavor contrast to the creamy peanut butter. Make sure to mix gently so that the coconut is evenly distributed throughout the mixture. If you overmix, you may break down the coconut too much, losing that delightful chewiness.
⏱ Time: 2 minutes
✓ Doneness: The coconut should be evenly mixed in, with visible flecks throughout the dough.
Step 4
Using your hands, scoop out small portions of the mixture and roll them into balls, about the size of a golf ball. This is where you can get creative! If you prefer, you can shape them into small potato-like ovals to give them that traditional look. Be careful not to make them too big; otherwise, they might not set properly.
⏱ Time: 5 minutes
✓ Doneness: Each candy should be uniform in size and shape, making them easy to eat in a single bite.
Step 5
Place the rolled candies on a parchment-lined baking sheet. This prevents them from sticking and makes cleanup a breeze. If you want an extra layer of flavor, you can roll them in some additional shredded coconut or cocoa powder at this stage. Just remember, if you skip this, they might not have that appealing finish!
⏱ Time: 2 minutes
✓ Doneness: All candies should be neatly arranged on the baking sheet without touching each other.
Step 6
Refrigerate the candies for at least 10 minutes to help them firm up. This step is key because it allows the flavors to meld and the candies to hold their shape. If you don’t chill them, they’ll be too soft and may fall apart when you try to serve them.
⏱ Time: 10 minutes
✓ Doneness: The candies should feel firm to the touch and hold their shape well.
Step 7
Once chilled, serve your Irish Potato Candies on a platter. They can be enjoyed right away or stored in an airtight container in the fridge. They’ll keep well for a week, but I doubt they’ll last that long once you share them with friends and family! If you skip this step and serve them warm, they might lose their shape and become a gooey mess.
⏱ Time: 1 minute
✓ Doneness: The candies should be firm and ready to be enjoyed, looking appetizing on the platter.
Pro Tips
Use room temperature peanut butter for easier mixing.
Room temperature peanut butter blends more easily with powdered sugar, creating a smoother mixture. Cold peanut butter can be difficult to work with and might result in lumps.
Chill the mixture before shaping.
Chilling the mixture for about 10 minutes makes it easier to handle. If you skip this step, you may find it too sticky to shape into neat candies.
Roll in cocoa or coconut for a finishing touch.
Rolling the candies in cocoa powder or shredded coconut not only adds flavor but also gives them a beautiful finish. It enhances the visual appeal and makes them more inviting.
Taste the mixture before rolling.
Always taste the mixture to adjust the sweetness or flavors to your liking. You can add more sugar or cocoa based on your personal preference.
Store in an airtight container.
Proper storage helps maintain the texture and flavor of the candies. If left uncovered, they can dry out or absorb odors from the fridge.
Common Mistakes to Avoid
Not mixing thoroughly enough.
Why it happens Cooks often rush this step, thinking it’s just a quick mix. However, under-mixing can lead to uneven flavors and textures.
Fix Take your time to mix until the dough is uniform and smooth. Use a spatula or your hands to ensure all ingredients are well blended.
Skipping the chilling step.
Why it happens Many people want to enjoy their treats immediately and skip chilling, but this can lead to messy candies.
Fix Make it a point to chill the candies for at least 10 minutes before serving. This helps them firm up and keeps their shape.
Using sweetened coconut when not desired.
Why it happens Some assume all coconut is sweetened, leading to overly sweet candies.
Fix Always check the label and opt for unsweetened shredded coconut to control the sweetness level of your candies.
Not rolling the candies properly.
Why it happens Cooks may rush this step, leading to uneven sizes and shapes.
Fix Take your time to roll each candy into a uniform size for even presentation and cooking.
Variations
Chocolate Dipped Version
For a decadent twist, dip the chilled candies in melted dark or milk chocolate. This adds an extra layer of richness and makes them even more indulgent.
Note: Be sure to let the chocolate set completely before serving to avoid any mess.
Nutty Addition
Add chopped nuts like walnuts or pecans to the mixture for a crunchy texture. This variation gives a delightful contrast to the creamy base.
Note: Chop the nuts finely so they mix well into the candy without overpowering the other flavors.
Coconut-Free Option
If you're not a fan of coconut, you can skip it altogether and add more cocoa powder for a richer chocolate flavor. This keeps the recipe simple while still being delicious.
Note: Adjust the cocoa powder to taste, but be cautious not to make the mixture too dry.
Peanut Butter Swirl
For a fun visual and taste, swirl in some additional peanut butter on top of the rolled candies before chilling. This adds a nice touch and enhances the peanut butter flavor.
Note: Just a light swirl is enough; too much can make the candies too sticky.
Nutrition
Per Serving:
Nutritional values are estimates and may vary based on specific ingredients used.
Storage & Tips
Room Temperature
These candies can be safely kept at room temperature for up to 2 hours. Just make sure to keep them covered to prevent them from drying out.
Refrigerator
Store in an airtight container in the fridge for up to 1 week. The flavors will actually deepen as they sit, but they will be firmer when served cold.
Freezer
You can freeze these candies for up to 3 months. Wrap each candy individually in plastic wrap to prevent freezer burn, and place them in a freezer bag.
Reheating
There’s no need to reheat these candies; they’re best enjoyed cold or at room temperature. If they’ve been frozen, let them thaw in the fridge overnight before enjoying.
Make Ahead
You can prepare the mixture and roll the candies up to 2 days in advance. Store them in the fridge until you’re ready to serve.
FAQ
Can I use crunchy peanut butter instead?
Absolutely! Crunchy peanut butter will give your candies a delightful texture. Just keep in mind that it will change the overall consistency slightly, making them a bit less smooth.
How can I make these vegan?
To make these candies vegan, simply use a plant-based peanut butter and ensure your powdered sugar is vegan-friendly. This sweet treat can easily fit into a vegan diet!
What if I don’t have cocoa powder?
If cocoa powder is unavailable, you can skip it altogether or substitute it with carob powder for a different flavor. Just remember, the candies will be less chocolatey without it.
How do I store leftovers?
Store any leftover candies in an airtight container in the fridge. They’ll keep well for about a week, and the flavors will actually improve as they sit!
Can I add more coconut?
Definitely! If you love coconut, feel free to increase the amount in the recipe. Just be cautious not to add too much, as it can make the mixture too dry.
Final Thoughts
I hope you give these Irish Potato Candies a try! They’re a delightful treat that’s sure to impress friends and family. Don’t forget to share your results!