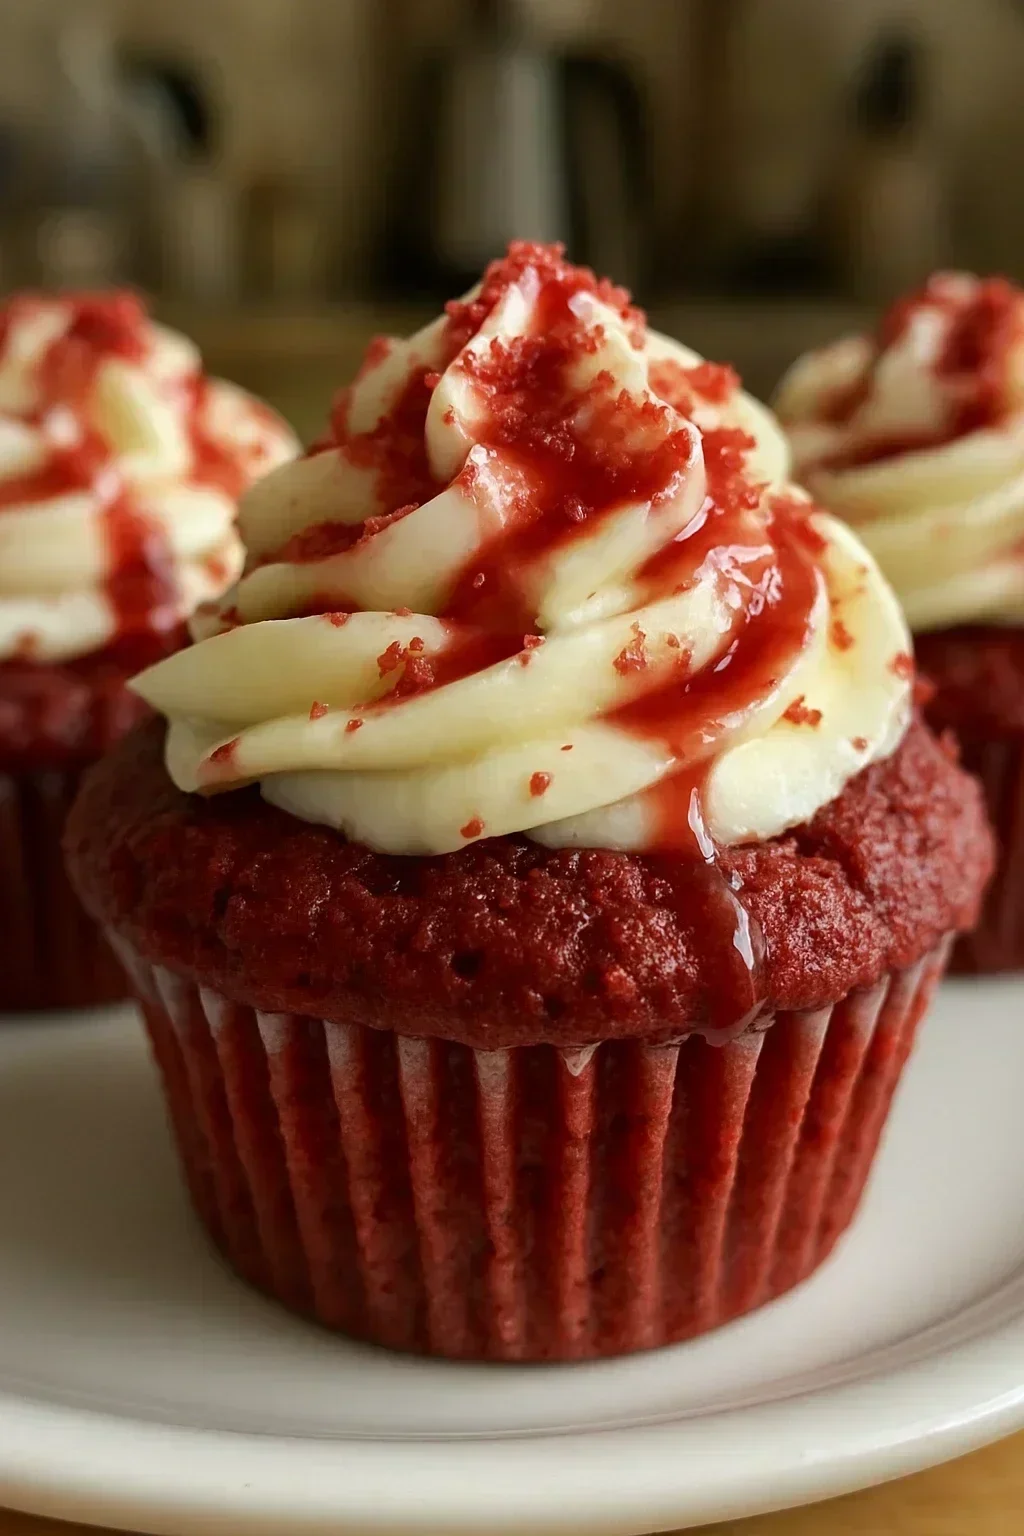
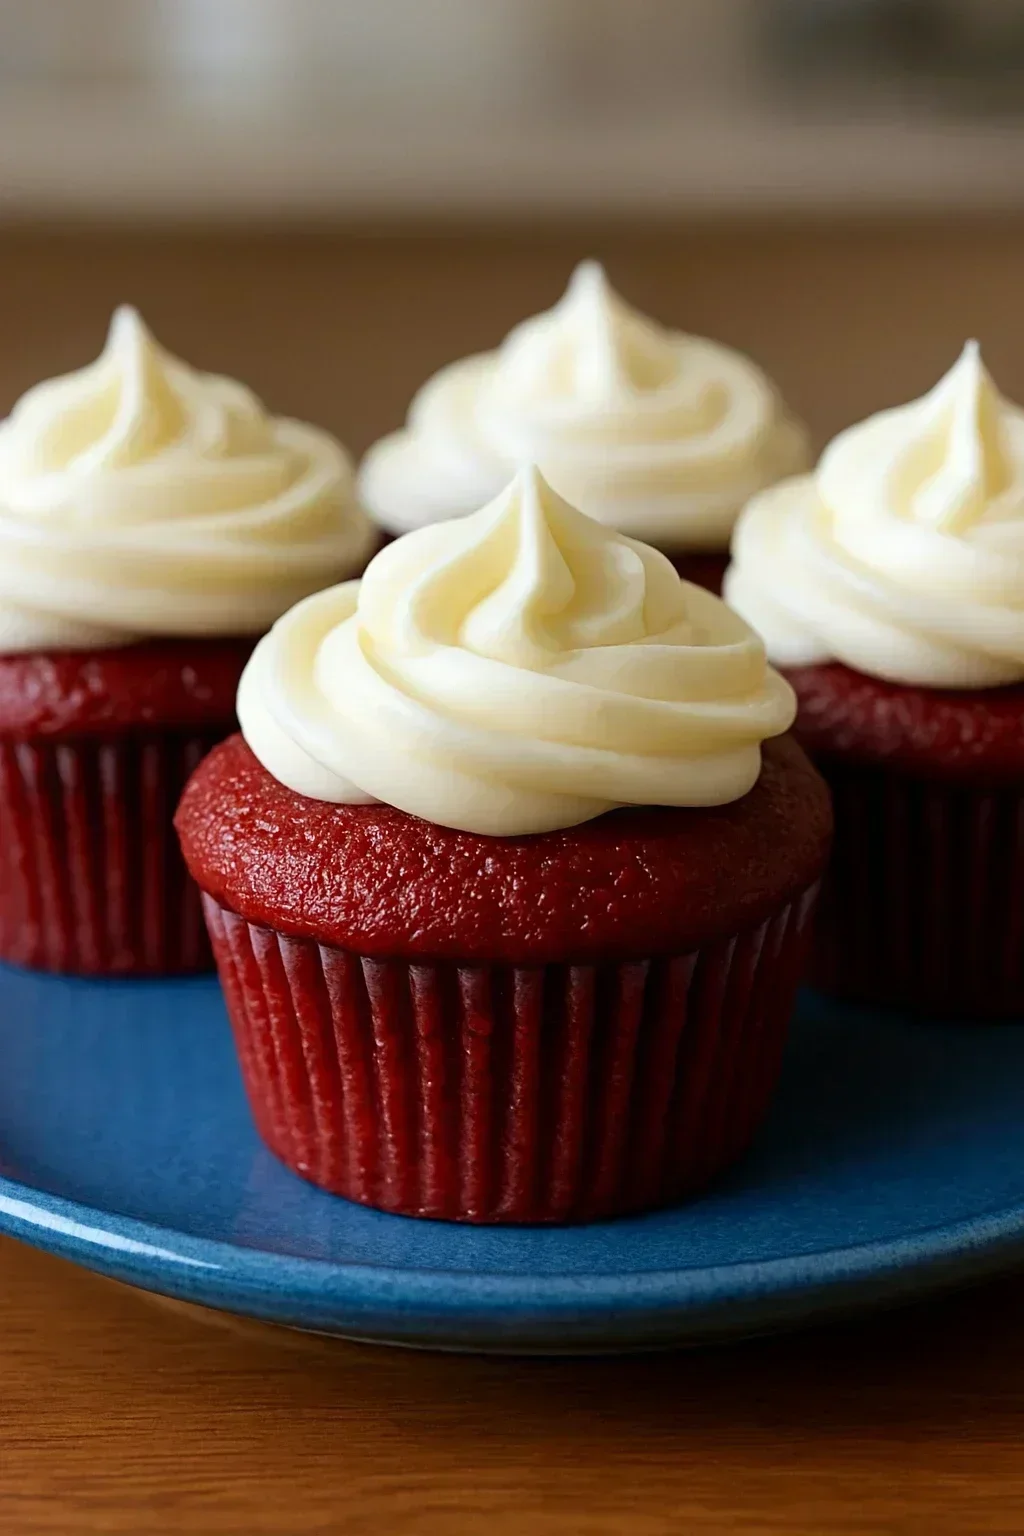
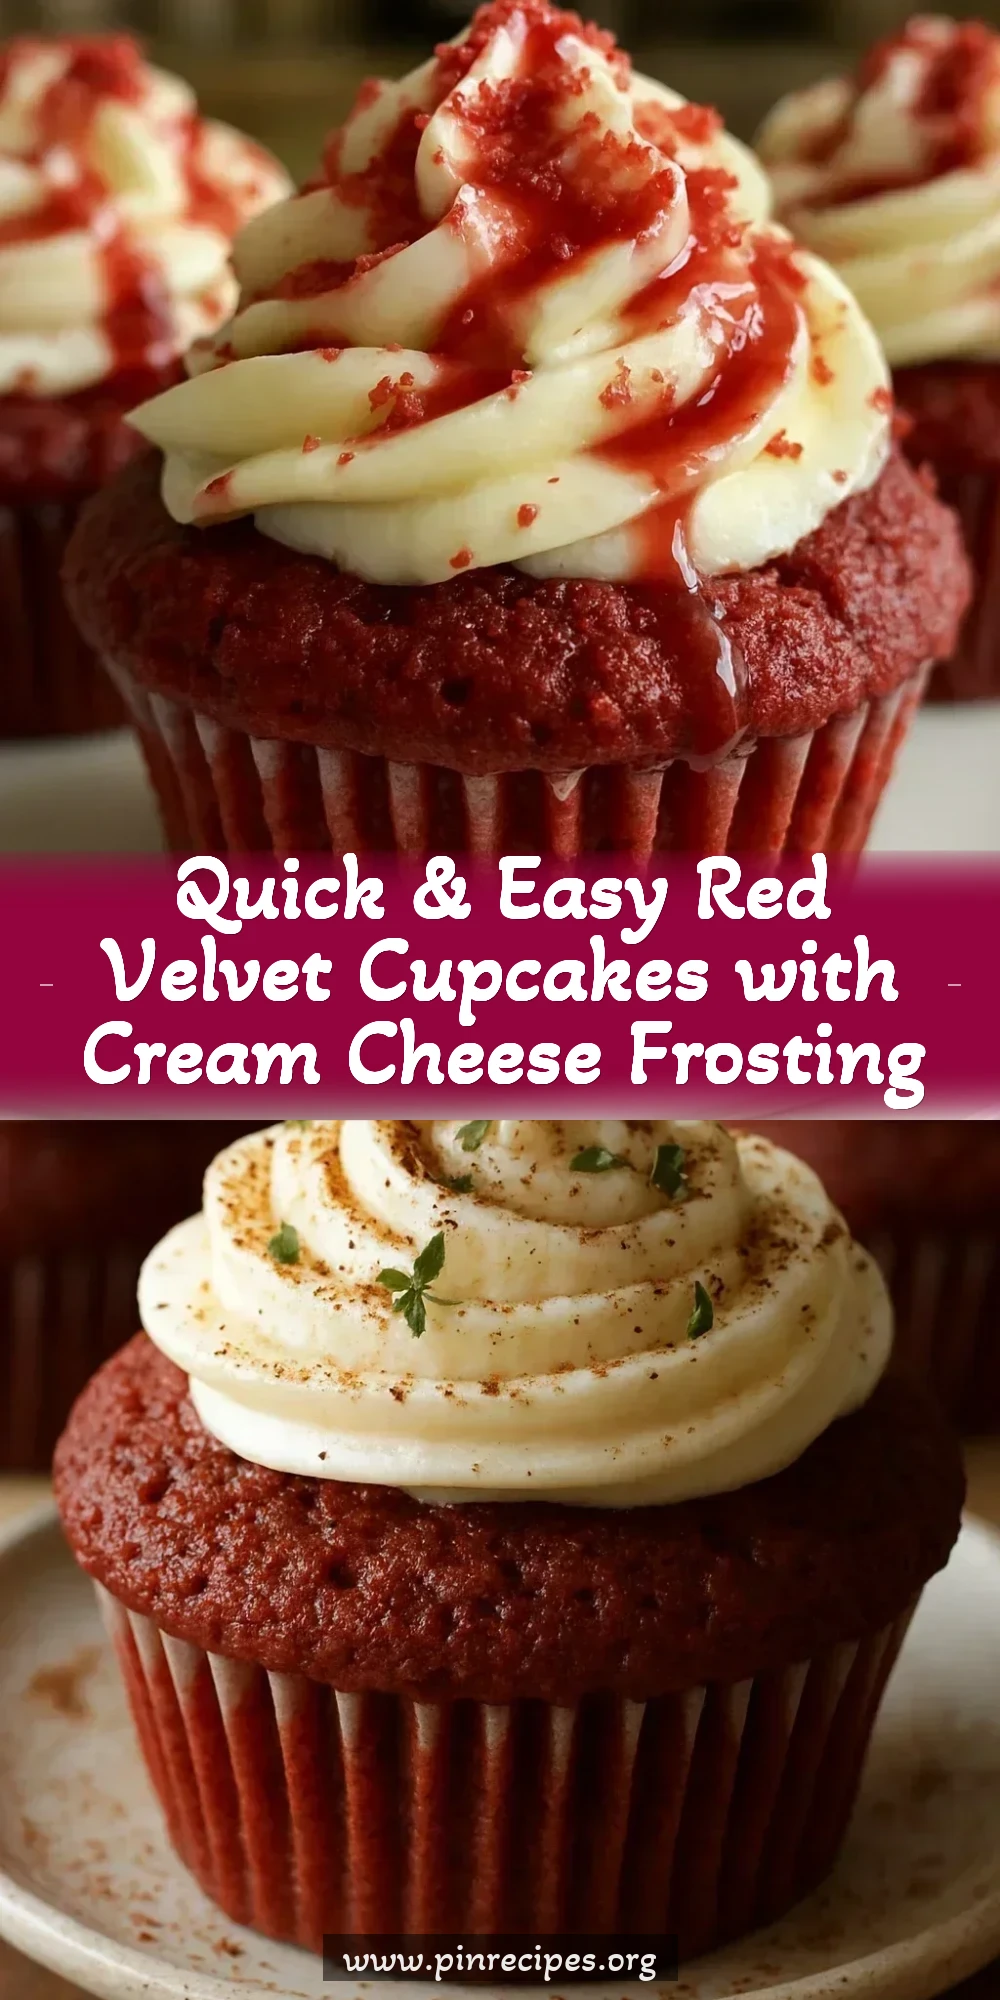
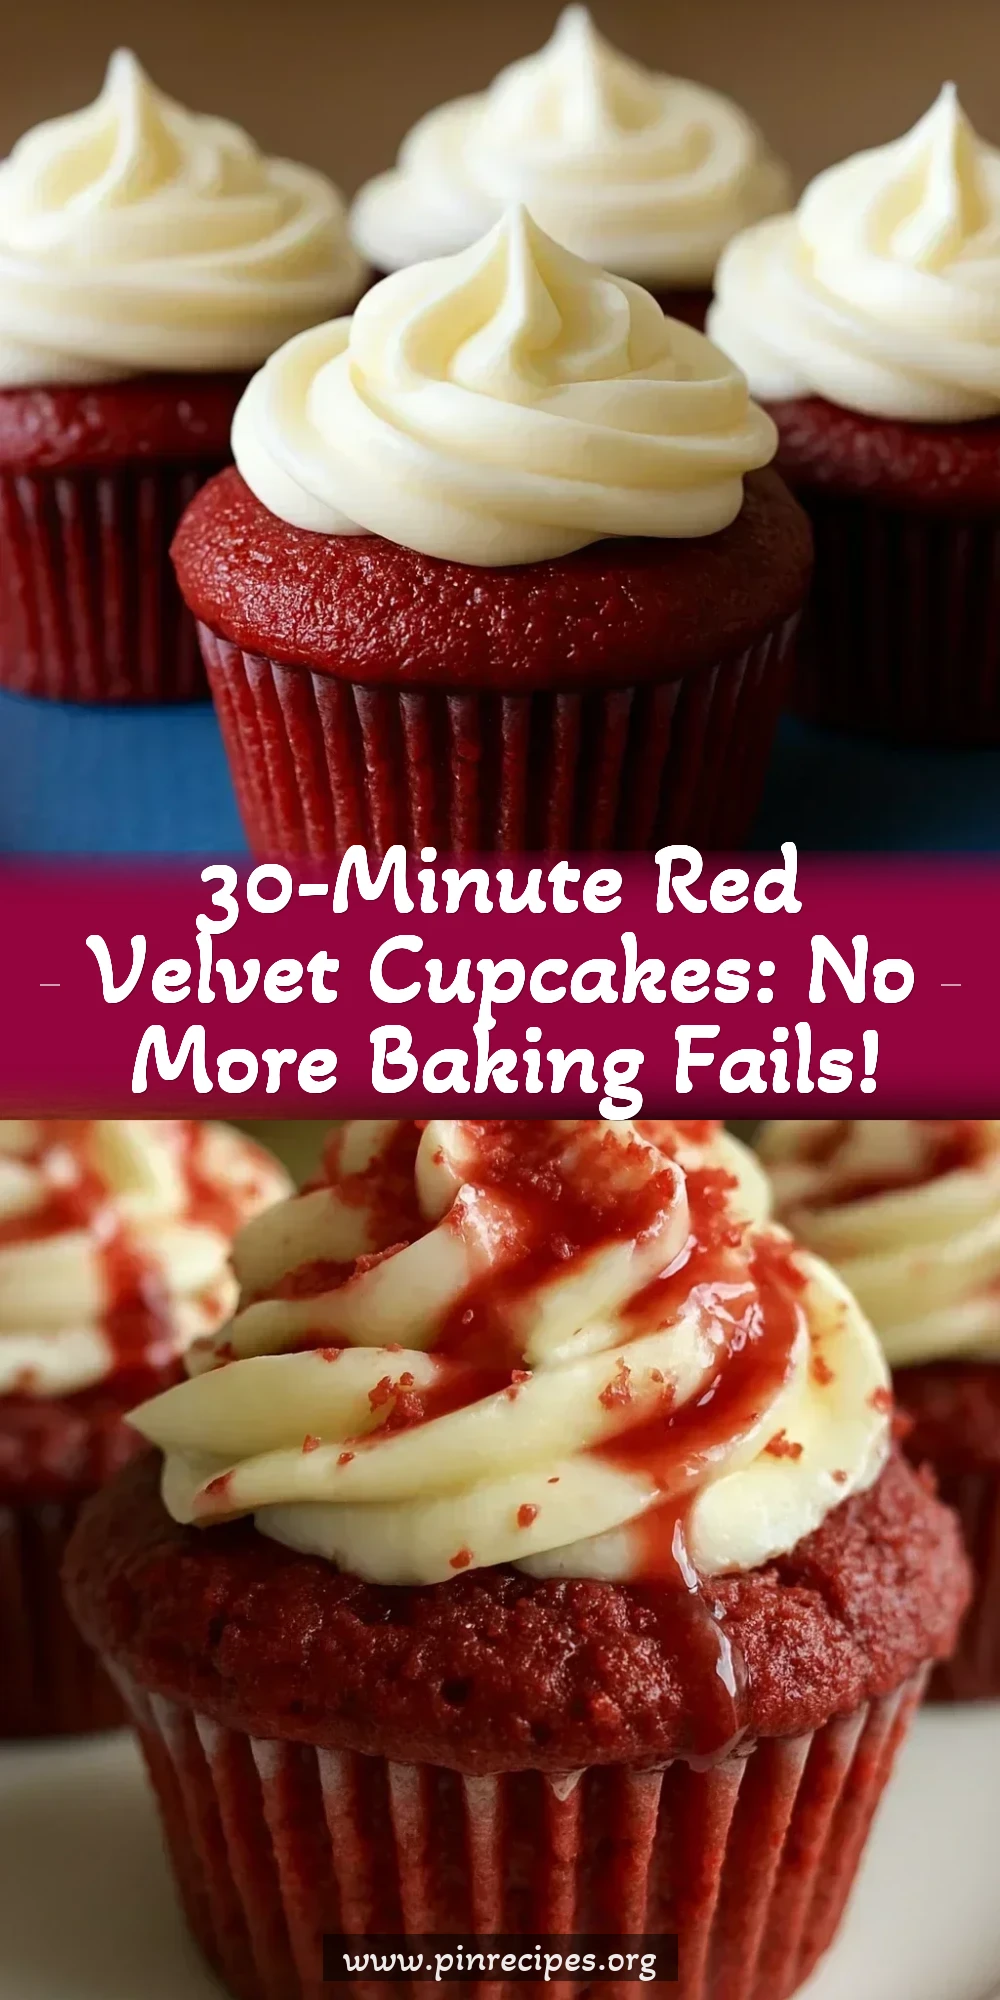
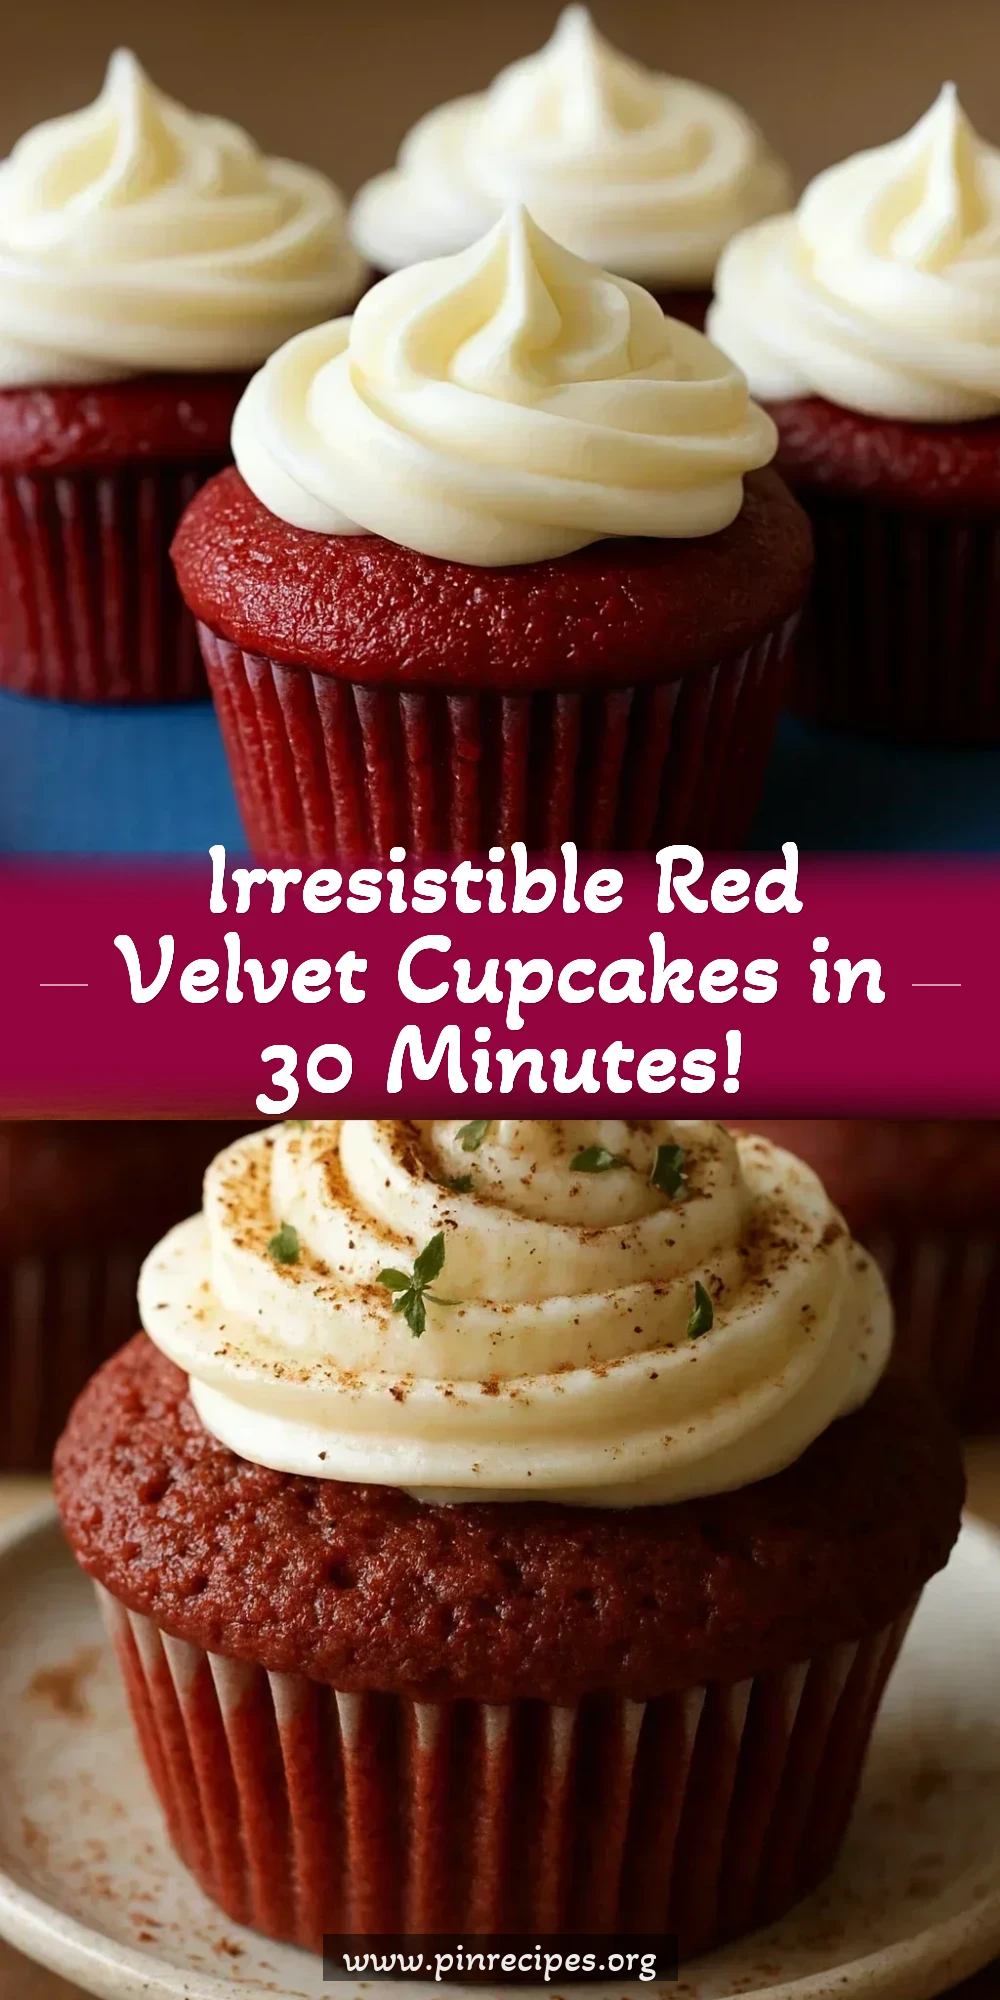
A straightforward red velvet cupcake recipe that consistently produces a soft, tender crumb and stable cream cheese frosting. Covers the baking chemistry behind the signature color, the role of buttermilk in texture, and how to avoid the most common mistakes home bakers encounter with this recipe.
How To Do It
Step 1
Preheat your oven to 350°F (175°C) and line a standard 12-cup muffin tin with paper liners. Pull your egg, buttermilk, cream cheese, and butter out of the refrigerator now — they all need to be at room temperature before use. Cold dairy ingredients don't emulsify properly with the other batter components, which affects both rise and texture. If you forgot to set them out earlier, place the egg in a bowl of warm water for 10 minutes and microwave the buttermilk in 10-second bursts until just barely warm.
⏱ Time: 5 minutes
✓ Doneness: Oven is fully preheated, liners are seated flat in the tin with no folded edges
Step 2
In a medium mixing bowl, whisk together the flour, cocoa powder, baking powder, and salt until evenly combined. Whisking the dry ingredients together distributes the leavening and cocoa evenly, which prevents pockets of bitterness or uneven rise in the finished cupcakes. Set this bowl aside.
⏱ Time: 2 minutes
✓ Doneness: Mixture is uniform in color with no visible streaks of cocoa or white patches of flour
Step 3
In a large mixing bowl, whisk together the sugar and oil until the mixture looks slightly pale and the sugar appears partially dissolved, about 1 minute. Add the egg and whisk vigorously for another 30 seconds — the mixture should thicken slightly and look cohesive. Add the vanilla extract and red food coloring, then whisk to combine. Gel food coloring gives more vivid color per drop than liquid, so start with one tablespoon and assess before adding more.
⏱ Time: 3 minutes
✓ Doneness: Mixture is deep red, smooth, and slightly glossy with no visible oil separation
Step 4
Add the buttermilk to the wet mixture and whisk until fully incorporated. The batter will loosen noticeably. Now add the dry ingredients in two additions, folding gently with a spatula after each. Mix only until the flour disappears — overmixing at this stage develops gluten and produces a tough, dense cupcake. A few small lumps in the batter are fine and will bake out.
⏱ Time: 2 minutes
✓ Doneness: Batter is smooth and pourable with no visible dry flour streaks, slight thickness from the flour
Step 5
In a small bowl or cup, combine the baking soda and white vinegar. It will fizz immediately — that's the reaction you want. Pour this mixture into the batter right away and fold gently but thoroughly with a spatula, about 8–10 strokes. This step is timed intentionally: adding the baking soda and vinegar together at the end preserves as much of that leavening reaction as possible for the oven, rather than letting it dissipate while the batter sits.
⏱ Time: 1 minute
✓ Doneness: Batter is evenly mixed with a light, slightly airy texture from the incorporated bubbles
Step 6
Divide the batter evenly among the 12 lined cups using a medium cookie scoop or two spoons. Fill each cup about two-thirds full — this is roughly 3 tablespoons of batter per cup. Overfilling causes cupcakes to overflow and bake unevenly; underfilling produces flat, dense tops. Place the tin in the center rack of the preheated oven.
⏱ Time: 3 minutes
✓ Doneness: Each liner is filled to the same level, batter surface is smooth
Step 7
Bake at 350°F (175°C) for 18–20 minutes. Start checking at 18 minutes by inserting a toothpick into the center of the largest-looking cupcake. It should come out with just a crumb or two attached — no wet batter. The tops should spring back when lightly pressed with a fingertip. Avoid opening the oven door before the 18-minute mark; temperature drops can cause the centers to sink.
⏱ Time: 18–20 minutes
✓ Doneness: Tops are set and spring back when pressed, toothpick comes out clean or with a dry crumb, edges have pulled very slightly away from the liner
Step 8
Remove the tin from the oven and let the cupcakes rest in the pan for 5 minutes. Then transfer them to a wire rack to cool completely — at least 45 minutes to 1 hour. Frosting warm cupcakes causes the cream cheese frosting to melt and slide off. The internal temperature needs to drop below 75°F (24°C) before frosting.
⏱ Time: 50–60 minutes cooling
✓ Doneness: Cupcakes feel cool to the touch on the bottom and sides, no warmth radiates from the top
Step 9
While cupcakes cool, make the frosting. In a large bowl using a hand mixer (or a stand mixer with the paddle attachment), beat the softened cream cheese and butter together on medium speed for 2 minutes until completely smooth and fluffy. Scrape the sides of the bowl. Add the sifted powdered sugar in two additions, mixing on low speed after each to prevent a sugar cloud, then increase to medium and beat for 1 minute. Add vanilla and a pinch of salt. Beat for one final minute until the frosting is smooth, thick, and holds its shape.
⏱ Time: 5–6 minutes
✓ Doneness: Frosting is bright white, thick enough to hold a peak when you lift the beaters, no lumps or grainy texture
Step 10
Frost the fully cooled cupcakes using an offset spatula for a rustic swirl, or transfer the frosting to a piping bag fitted with a large star tip for a cleaner finish. If the frosting feels too soft to pipe, refrigerate it for 15 minutes before using. Serve at room temperature — cold cupcakes have a denser, slightly gummy texture because the oil in the crumb firms up when chilled.
⏱ Time: 5 minutes
✓ Doneness: Frosting is evenly distributed, holds its shape without slumping, cupcakes look uniform in height
Pro Tips
Measure flour by weight (160g) rather than volume whenever possible. Spooning flour into a cup and compacting it accidentally can add 20–30% more flour than the recipe intends.
Excess flour absorbs more moisture and creates a dry, crumbly crumb. A kitchen scale takes the guesswork out entirely and produces consistent results every time.
Use gel food coloring instead of liquid. One tablespoon of gel produces a deep, vivid red. Liquid coloring requires significantly more volume to achieve the same color intensity, which adds extra liquid and can throw off the batter's moisture balance.
Gel colorings are highly concentrated. Adding large amounts of liquid food coloring to hit the same color depth effectively thins the batter, which can cause sunken centers or a wet crumb.
Don't skip the final vinegar-and-baking-soda step, and don't mix it ahead of time. The fizzing reaction is leavening in action — fold it into the batter immediately and get the cupcakes in the oven within a few minutes.
Once the acid and base react, the gas begins escaping. If you let the batter sit for 10 minutes before baking, you've lost much of the lift that step was meant to provide.
Let your cream cheese sit out for at least 45 minutes before making the frosting. If it's even slightly cold in the center, no amount of beating will produce a smooth, lump-free result.
Cold cream cheese doesn't integrate with butter — it breaks into small firm chunks that stay suspended in the frosting no matter how long you mix. Room temperature allows both fats to combine seamlessly.
Rotate the cupcake tin 180 degrees at the 15-minute mark if your oven runs hot on one side. Most home ovens have hot spots, and rotating ensures all 12 cupcakes bake evenly without some over-browning while others stay underdone.
Uneven browning is almost always an oven hot spot issue, not a recipe issue. A quick rotation midway through is a simple fix that costs nothing.
Common Mistakes to Avoid
Frosting cupcakes before they've fully cooled
Why it happens Impatience is understandable, especially when the cupcakes look and smell ready. But the internal temperature stays elevated for 20–30 minutes after they come out of the oven.
Fix Wait a full 45–60 minutes after removing from the oven. If you need to speed things up, place the cupcakes (still on the wire rack) in the refrigerator for 20 minutes. Cold cream cheese frosting on a warm cupcake will still melt — you need the cupcake cold, not just room temperature.
Overmixing the batter after adding the flour
Why it happens Stirring until the batter looks completely smooth seems like the right instinct, but extended mixing activates gluten development in the flour.
Fix Fold the dry ingredients in with a spatula and stop as soon as no dry flour is visible. The batter should look slightly rough, not silky-smooth. Overmixed batter bakes into cupcakes with a tight, rubbery crumb and peaked or cracked tops.
Using low-fat or whipped cream cheese for the frosting
Why it happens These products look and behave similarly in the package, but they contain more water and stabilizers than block-style full-fat cream cheese.
Fix Always use full-fat block cream cheese, not the spreadable tub variety. Low-fat and whipped versions produce a runny frosting that won't hold its shape, even after chilling, because the extra water content prevents the frosting from setting properly.
Opening the oven door too early during baking
Why it happens Curiosity, or wanting to test doneness before the timer goes off. A drop of even 25°F can cause half-set centers to collapse inward.
Fix Set a timer and leave the oven closed until at least the 18-minute mark. Use the oven light to check the visual progress without opening the door. Once the tops look set and no longer shiny in the center, it's safe to do the toothpick test.
Variations
Gluten-Free Red Velvet Cupcakes
Substitute the all-purpose flour with a 1:1 gluten-free baking flour blend (such as those containing xanthan gum). The rest of the recipe stays the same. The crumb will be slightly denser than the original but still tender. King Arthur Measure for Measure or Bob's Red Mill 1-to-1 both perform well here.
Note: Gluten-free flour blends absorb liquid differently than all-purpose flour. If your batter looks unusually thick, add an extra tablespoon of buttermilk. If it looks too thin, let it rest for 3 minutes before baking — many GF blends hydrate slowly.
Dairy-Free Red Velvet Cupcakes
Replace the buttermilk with full-fat oat milk or soy milk acidified with 1½ teaspoons of white vinegar (let it sit for 5 minutes before using). Swap the butter in the frosting with solid coconut oil or vegan butter. Use dairy-free cream cheese (Violife or Kite Hill work well). The crumb texture is nearly identical to the original.
Note: Coconut oil-based frosting softens quickly at room temperature. If you're in a warm kitchen, keep frosted cupcakes refrigerated until 15 minutes before serving.
Brown Butter Cream Cheese Frosting
Brown the butter before using it in the frosting: melt it in a small saucepan over medium heat until golden and nutty-smelling, about 4 minutes, then cool completely until solid again before whipping. This adds a toasty, slightly caramelized note to the frosting that pairs well with the subtle cocoa in the cupcake.
Note: Browning removes some of the water from the butter, which actually makes the frosting slightly stiffer and more pipeable than frosting made with regular butter. Cool the browned butter fully before using — warm fat will melt the cream cheese.
Mini Red Velvet Cupcakes
Use a 24-cup mini muffin tin with mini liners and fill each cup halfway. Bake at the same temperature (350°F / 175°C) for 10–12 minutes. All other steps remain identical. Mini cupcakes work well for parties and bake sales since they're easier to handle and portion.
Note: Because mini cupcakes have a much higher surface-area-to-volume ratio, they dry out faster than standard cupcakes. If making these ahead, store them unfrosted and frost within a few hours of serving.
Spiced Red Velvet Cupcakes
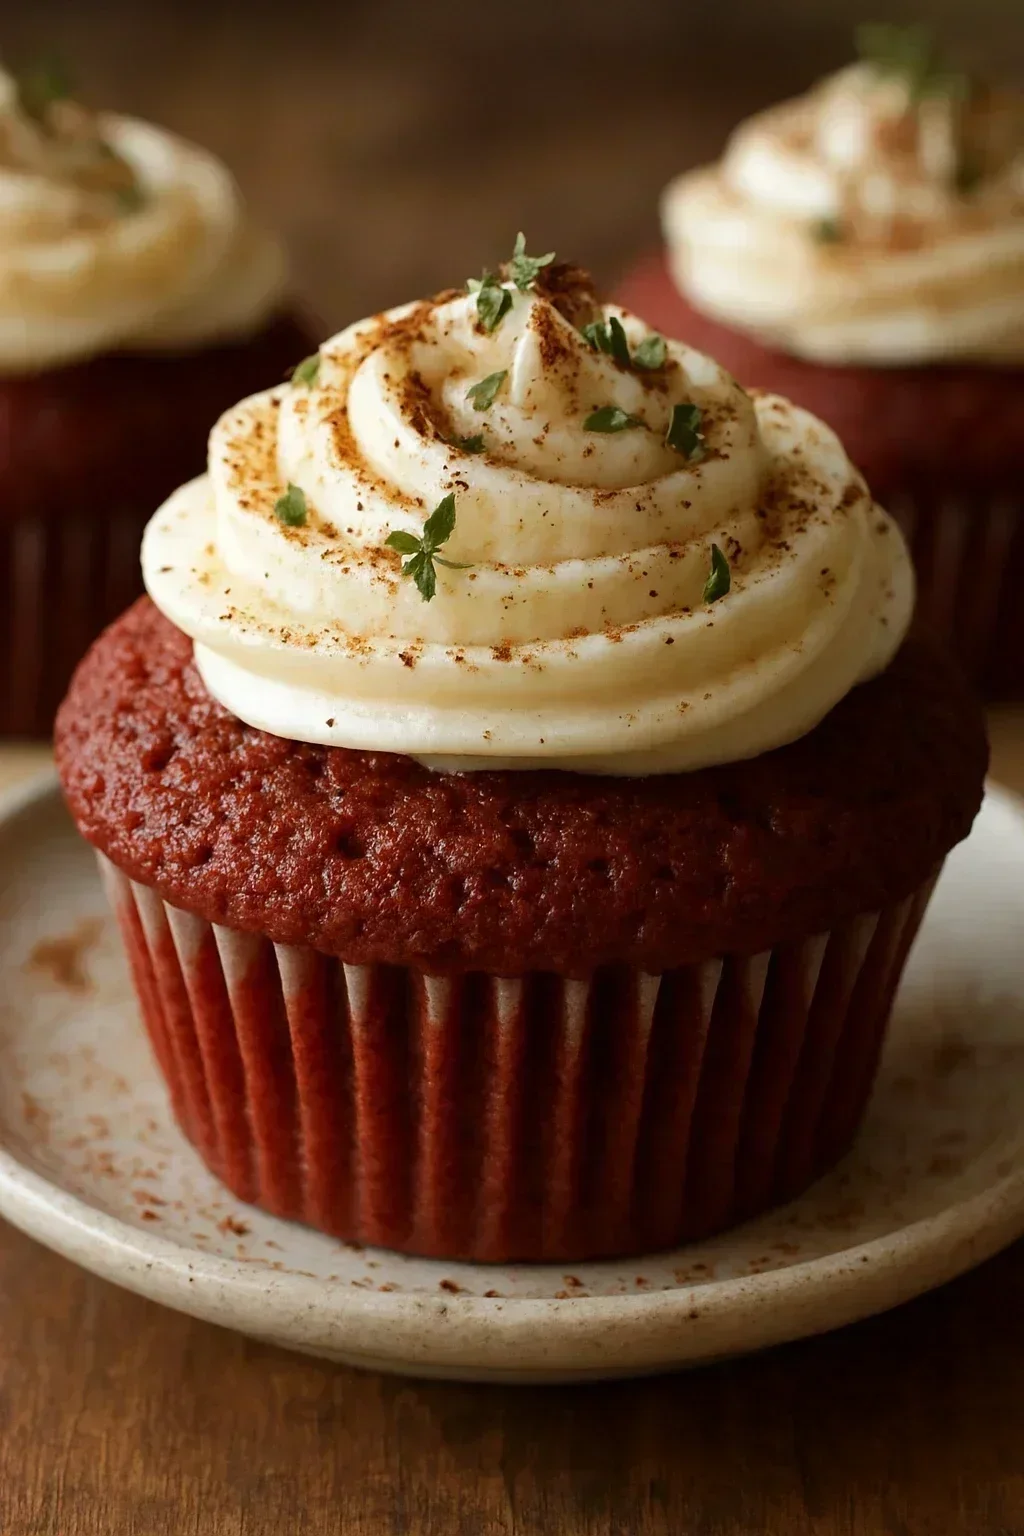
Add ½ teaspoon of ground cinnamon and ¼ teaspoon of ground nutmeg to the dry ingredients. These warm spices complement the cocoa without overwhelming it and add seasonal depth. Works particularly well in fall and winter.
Note: Cinnamon and nutmeg don't affect the batter's structure or the leavening chemistry, so no other adjustments are needed. Keep the amounts modest — more than ½ teaspoon of cinnamon can compete with and flatten the other flavors.
Nutrition
Per Serving:
approximately 320
Calories
Values are estimates and may vary based on the brand of cream cheese used, exact oil quantity, and how much frosting is applied per cupcake. Calculated with one generous swirl of frosting per cupcake.
Storage & Tips
Refrigerator
Store frosted cupcakes in an airtight container in the refrigerator for up to 4 days. Because the frosting contains cream cheese, they should not sit at room temperature for more than 2 hours. The cupcake crumb will firm up slightly when cold — this is the oil solidifying — so let refrigerated cupcakes sit at room temperature for 15–20 minutes before eating for the best texture.
Freezer
Freeze unfrosted cupcakes for up to 2 months. Wrap each one individually in plastic wrap, then place in a freezer-safe bag or container. Thaw overnight in the refrigerator or at room temperature for 1–2 hours. Make the frosting fresh when ready to serve. Frosted cupcakes can technically be frozen, but the cream cheese frosting may weep slightly upon thawing, which affects appearance.
Reheating
These cupcakes don't require reheating — they're served at room temperature. If you've stored them in the refrigerator and want to serve them warm, microwave an unfrosted cupcake for 10–12 seconds. Do not microwave frosted cupcakes, as the cream cheese frosting will melt.
Make Ahead
The cupcake batter should be baked immediately after mixing (the leavening reaction is time-sensitive), but the frosting can be made up to 3 days ahead and stored in an airtight container in the refrigerator. Re-whip the frosting for 1–2 minutes with a hand mixer before using to restore its smooth, fluffy consistency.
FAQ
Can I make red velvet cupcakes ahead of time?
Yes — bake the cupcakes up to two days ahead and store them unfrosted at room temperature in an airtight container. Make the frosting separately and refrigerate it. Frost the cupcakes the day you plan to serve them for the best appearance and texture.
Why did my red velvet cupcakes sink in the middle?
Sunken centers are almost always caused by underbaking or opening the oven door too early. The batter sets from the outside in, and if the center hasn't fully set when the temperature drops, it collapses. Make sure your oven is fully preheated and avoid opening the door before 18 minutes.
Can I use liquid food coloring instead of gel?
Yes, but you'll need significantly more of it — typically 2–3 tablespoons — to achieve the same deep red color. Adding that much liquid can slightly thin the batter. If using liquid coloring, reduce the buttermilk by one tablespoon to compensate.
Why is my cream cheese frosting runny?
Runny frosting is almost always caused by using cold cream cheese, spreadable tub cream cheese, or low-fat cream cheese. Use full-fat block cream cheese at room temperature. If the frosting is already made and too soft, refrigerate it for 20–30 minutes and then re-whip briefly.
Can I use butter instead of oil in the cupcake batter?
You can substitute melted butter in equal measure, but the cupcakes will stale faster and have a slightly firmer texture by day two. Oil keeps baked goods moist longer because it doesn't evaporate the way butter's water content does. If you prefer butter flavor, use half oil and half melted butter.
How long do red velvet cupcakes last at room temperature?
Unfrosted cupcakes keep well at room temperature for up to 2 days in an airtight container. Once frosted with cream cheese frosting, they should be refrigerated and consumed within 4 days. Don't leave frosted cupcakes out for more than 2 hours due to the dairy content in the frosting.
Final Thoughts
Red velvet cupcakes have been a regular in my kitchen for years — birthdays, potlucks, and plenty of ordinary Tuesdays when the craving hits. Once you understand how the acid, leavening, and oil work together, the recipe stops feeling fussy and starts feeling straightforward. I'd love to hear how yours turn out — drop a comment below with any questions or tweaks you tried.