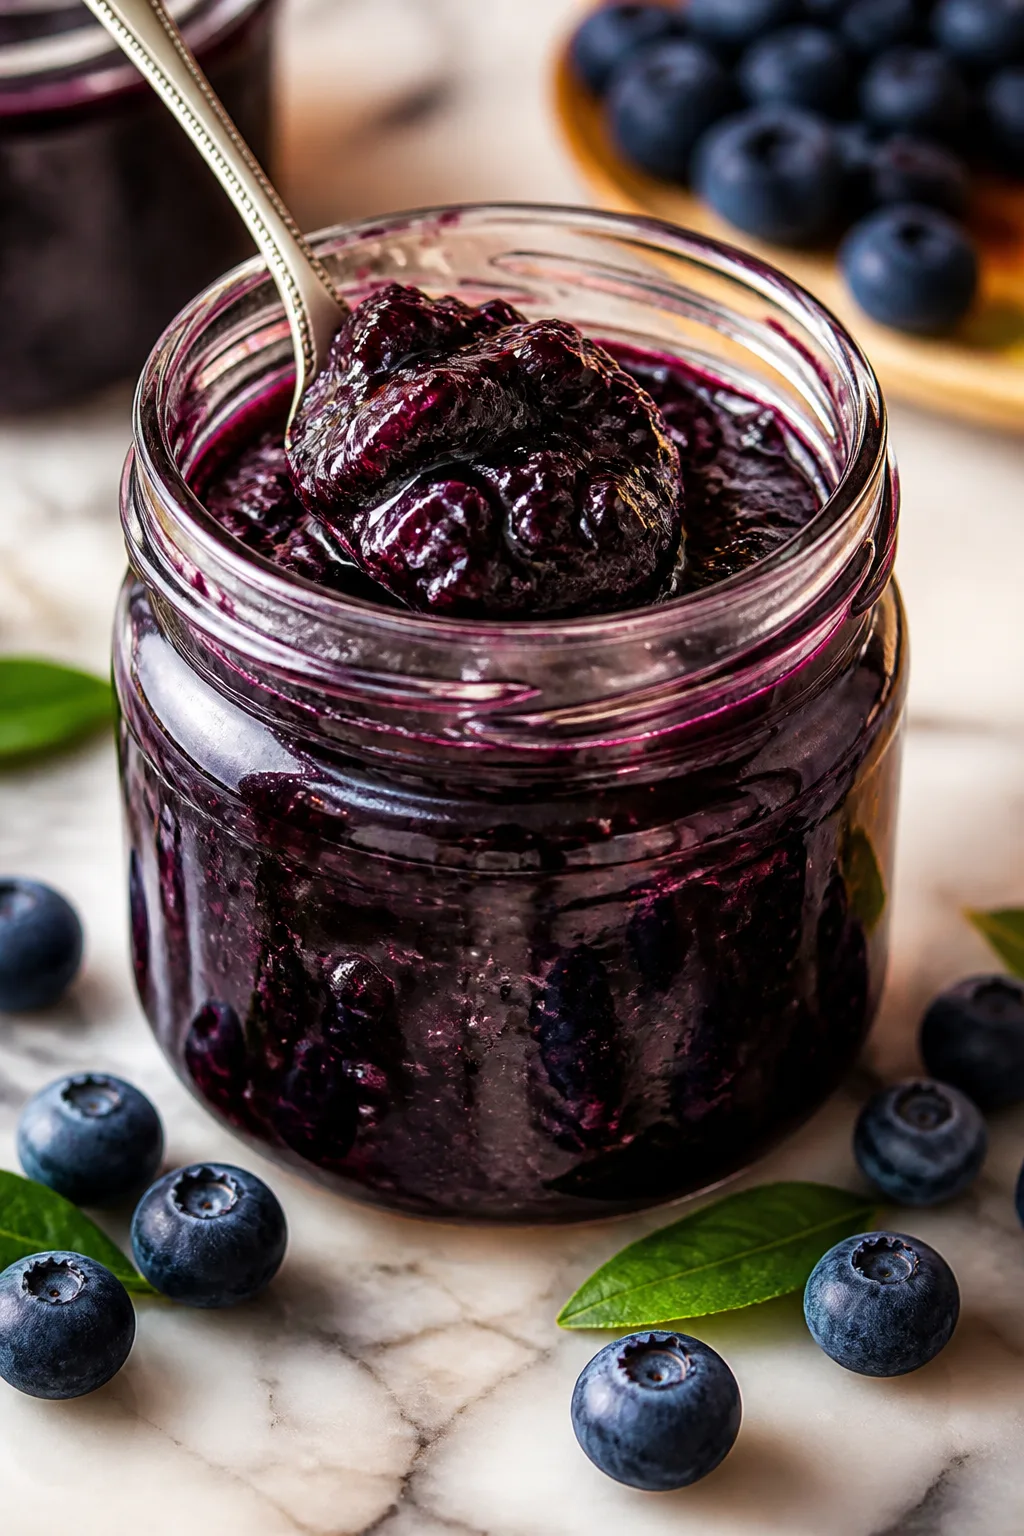
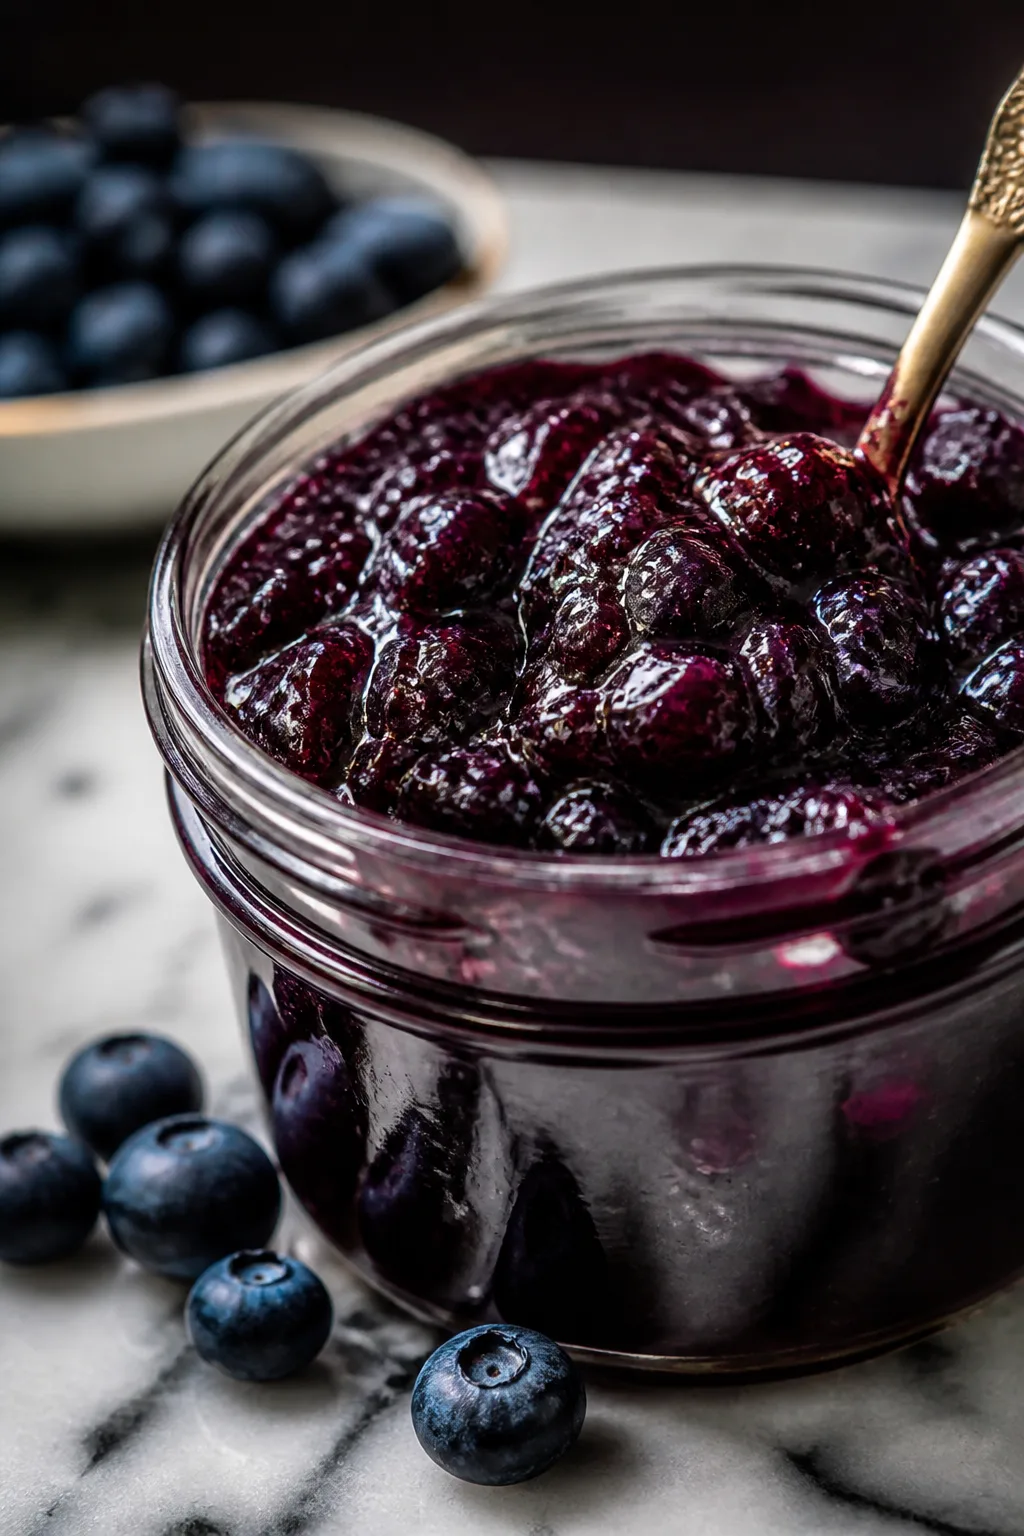
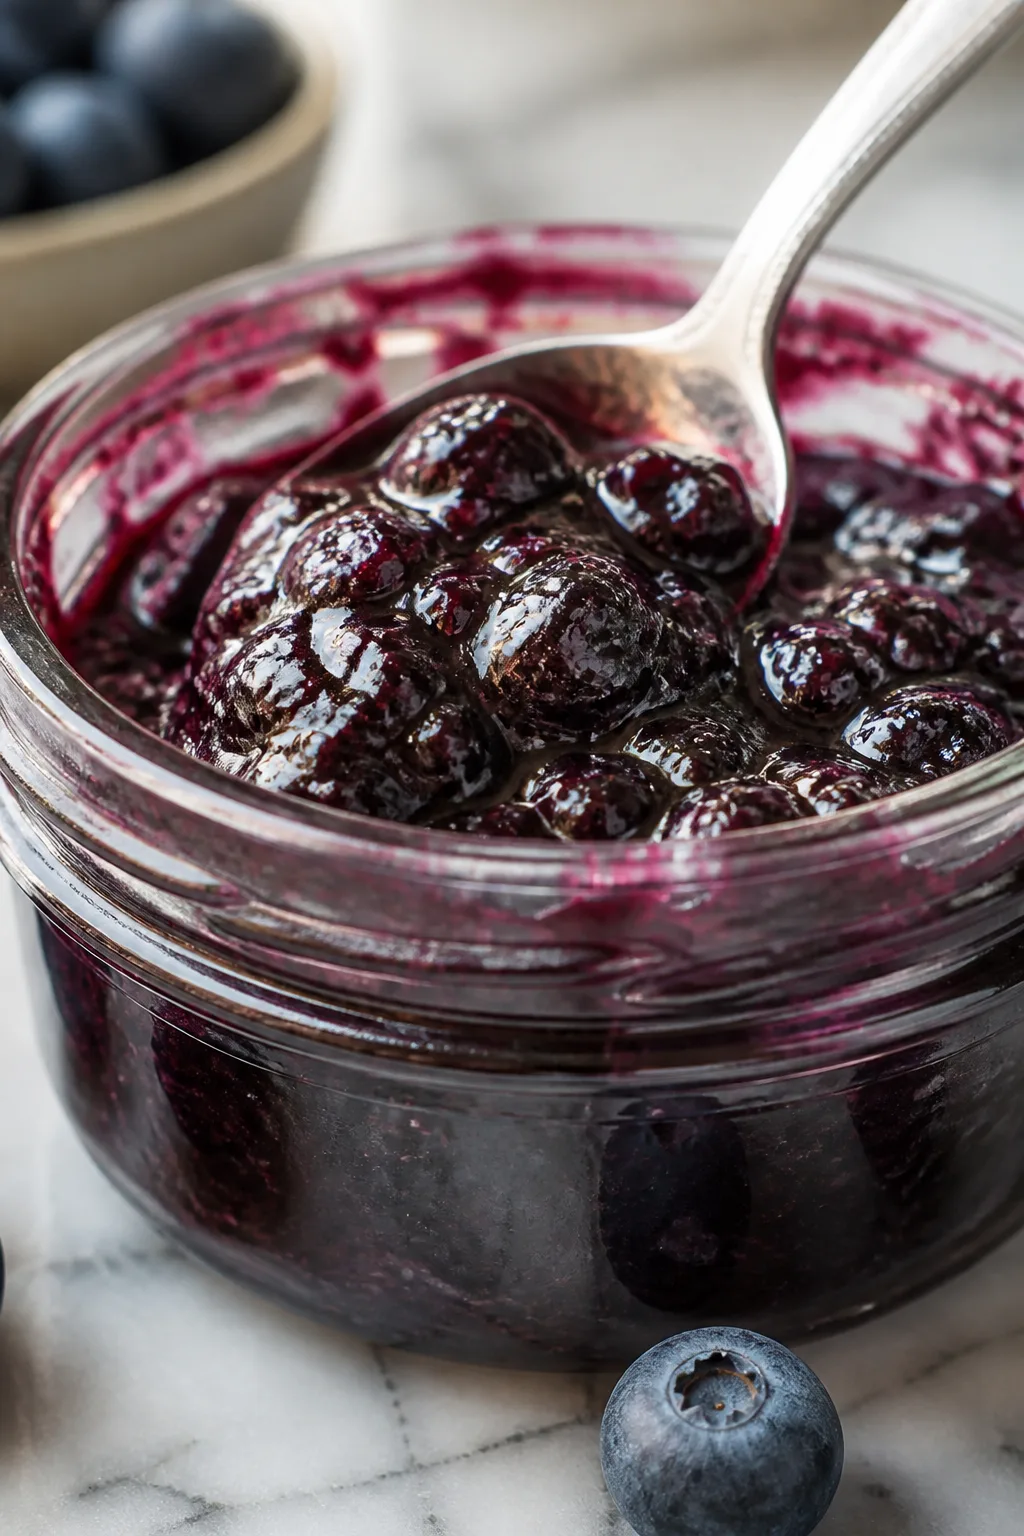
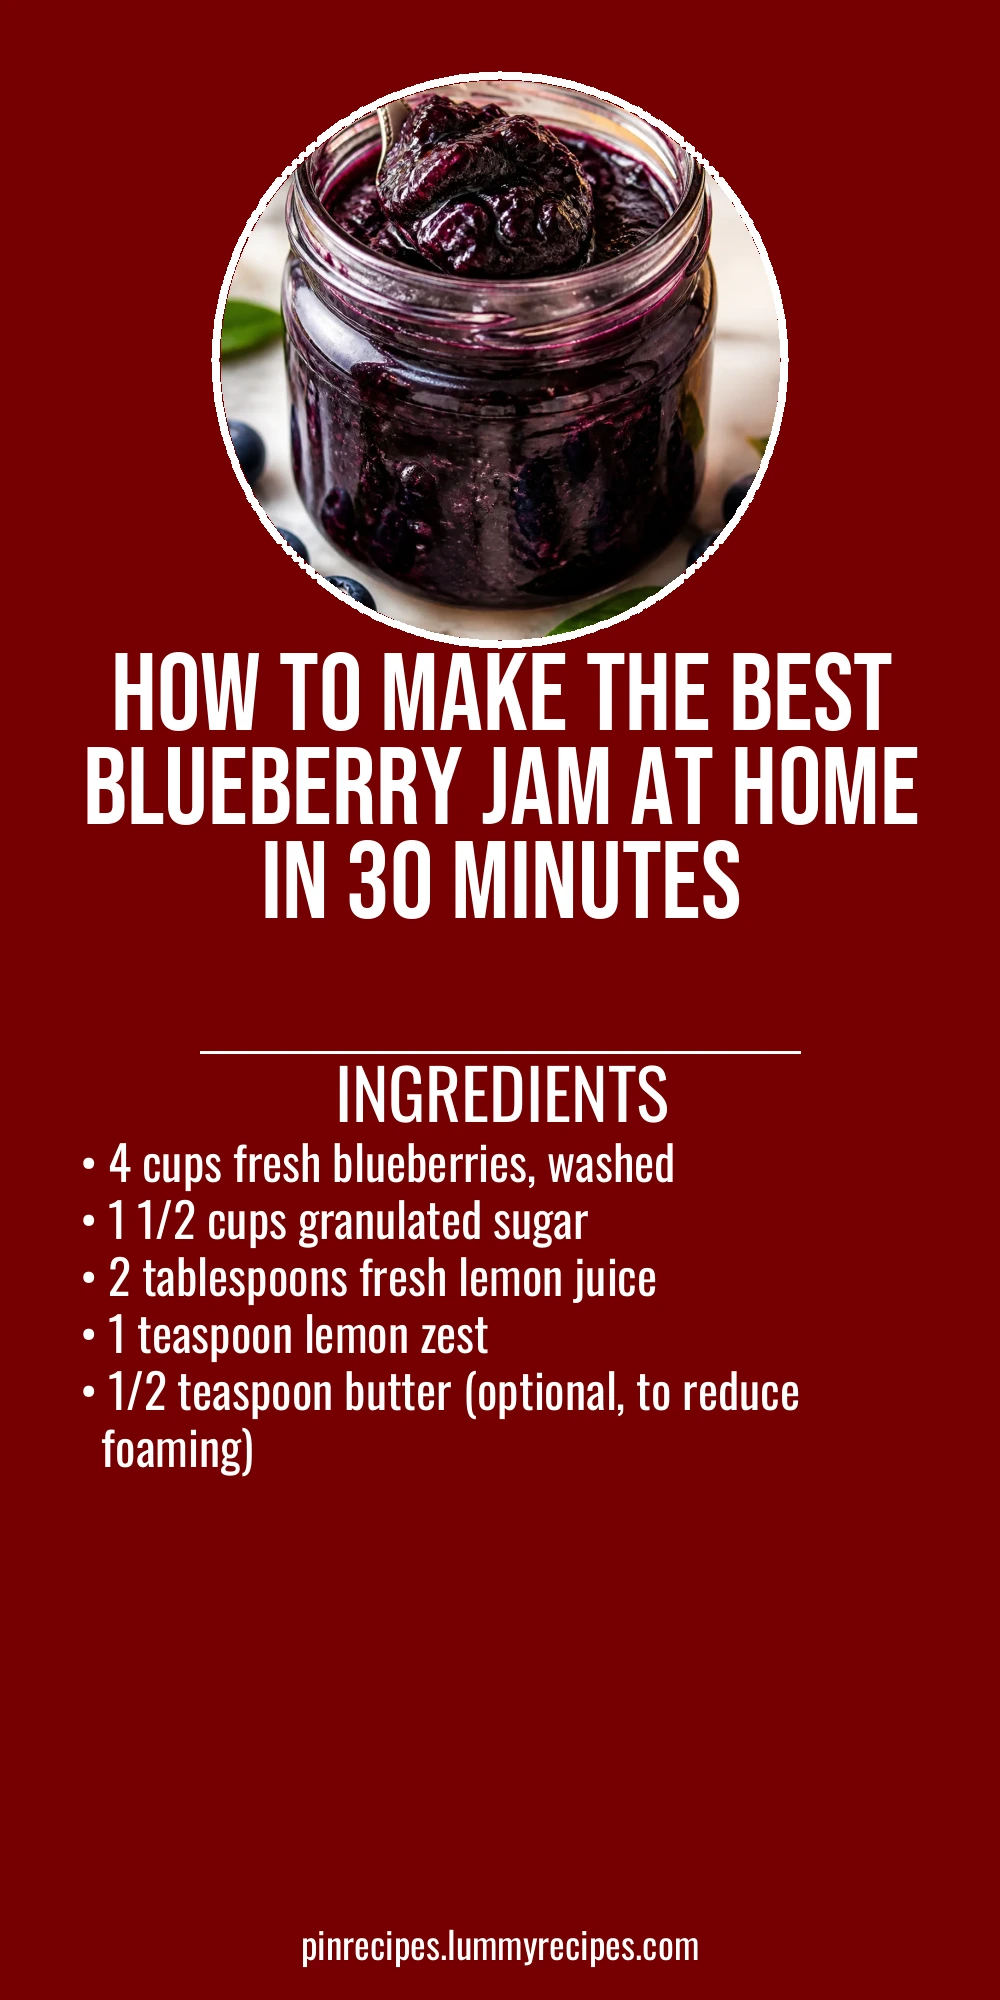
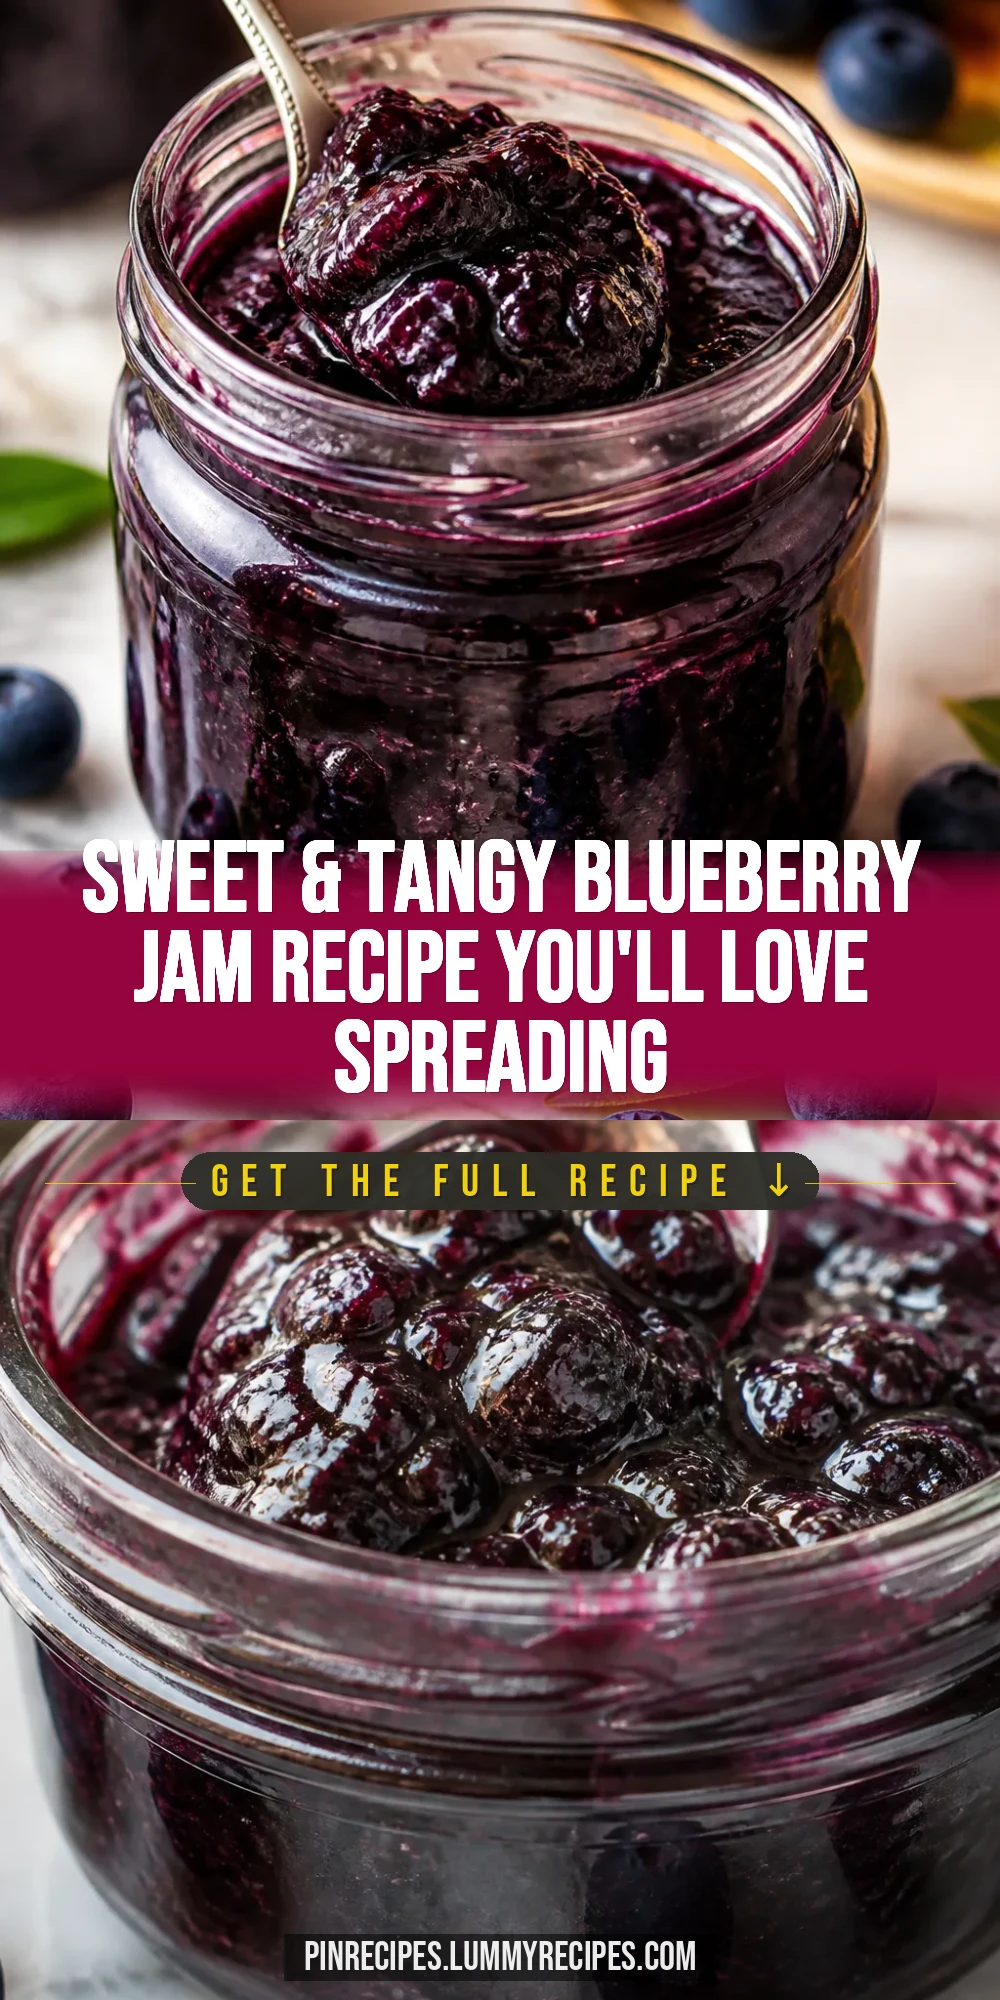
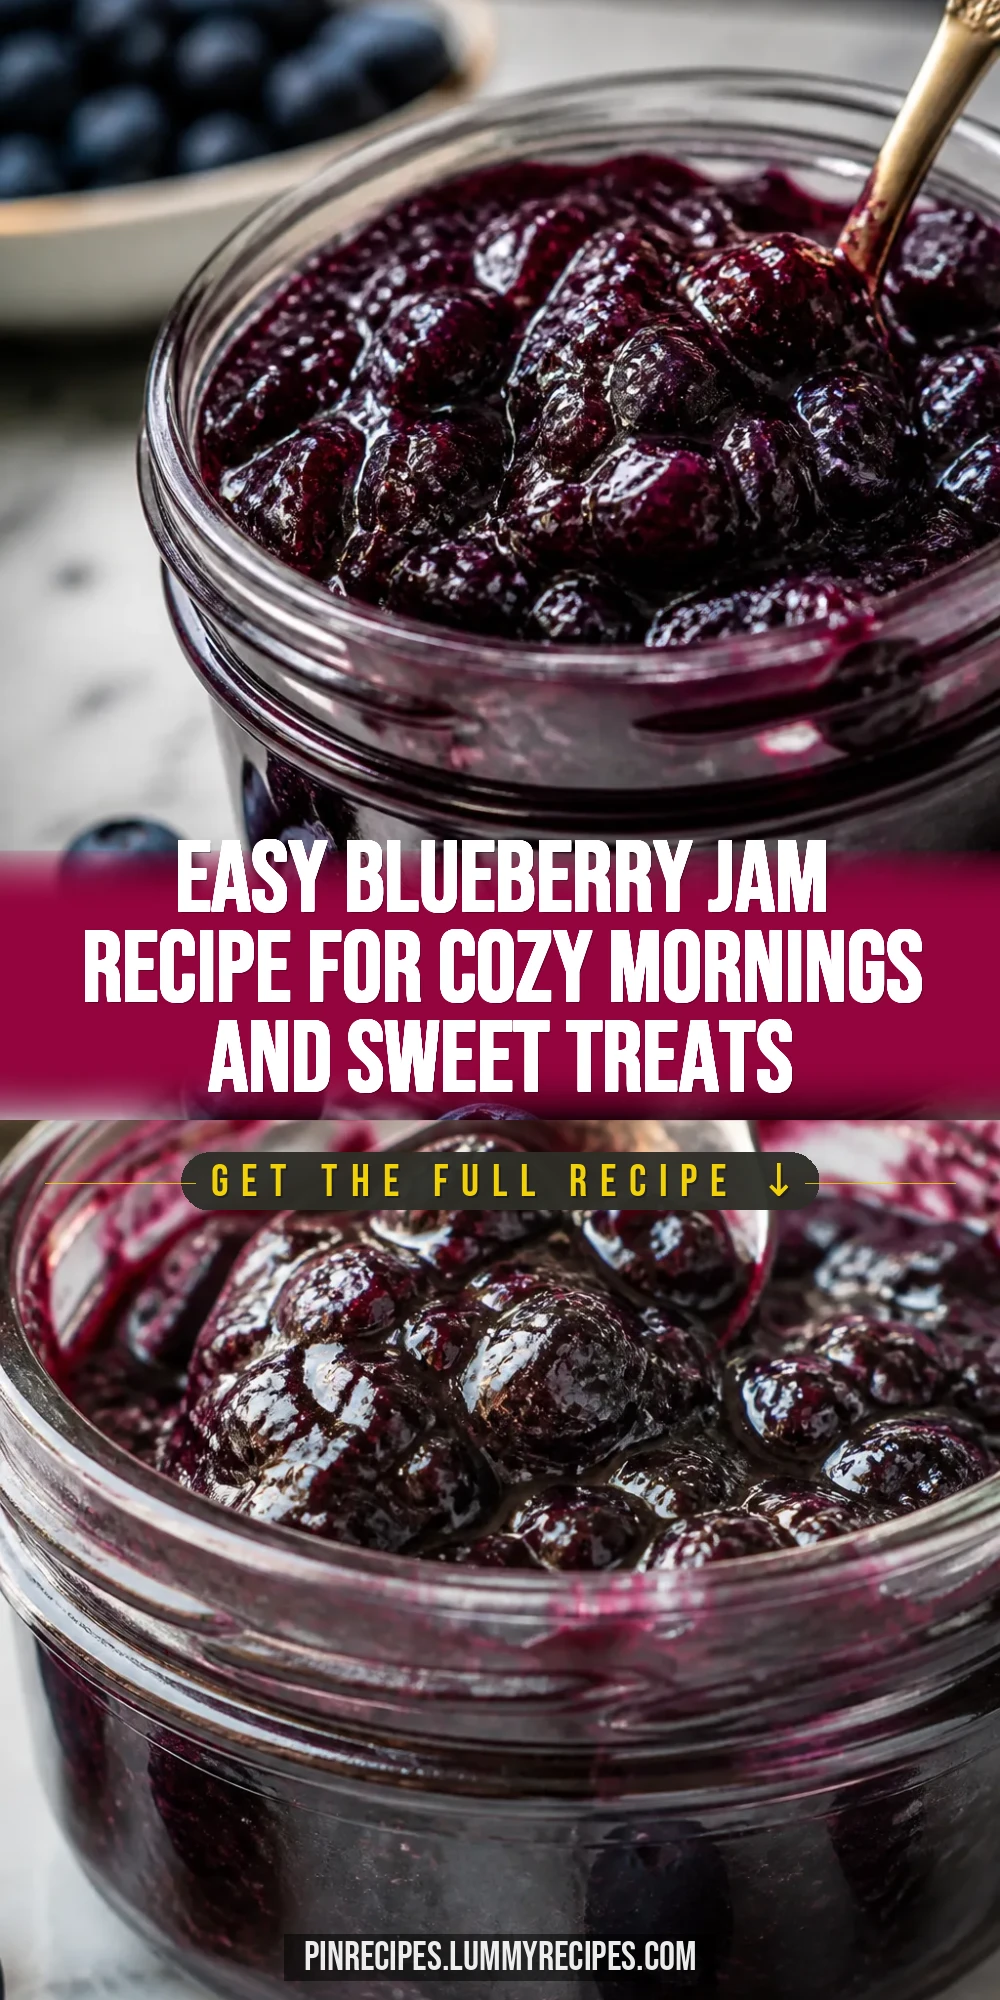
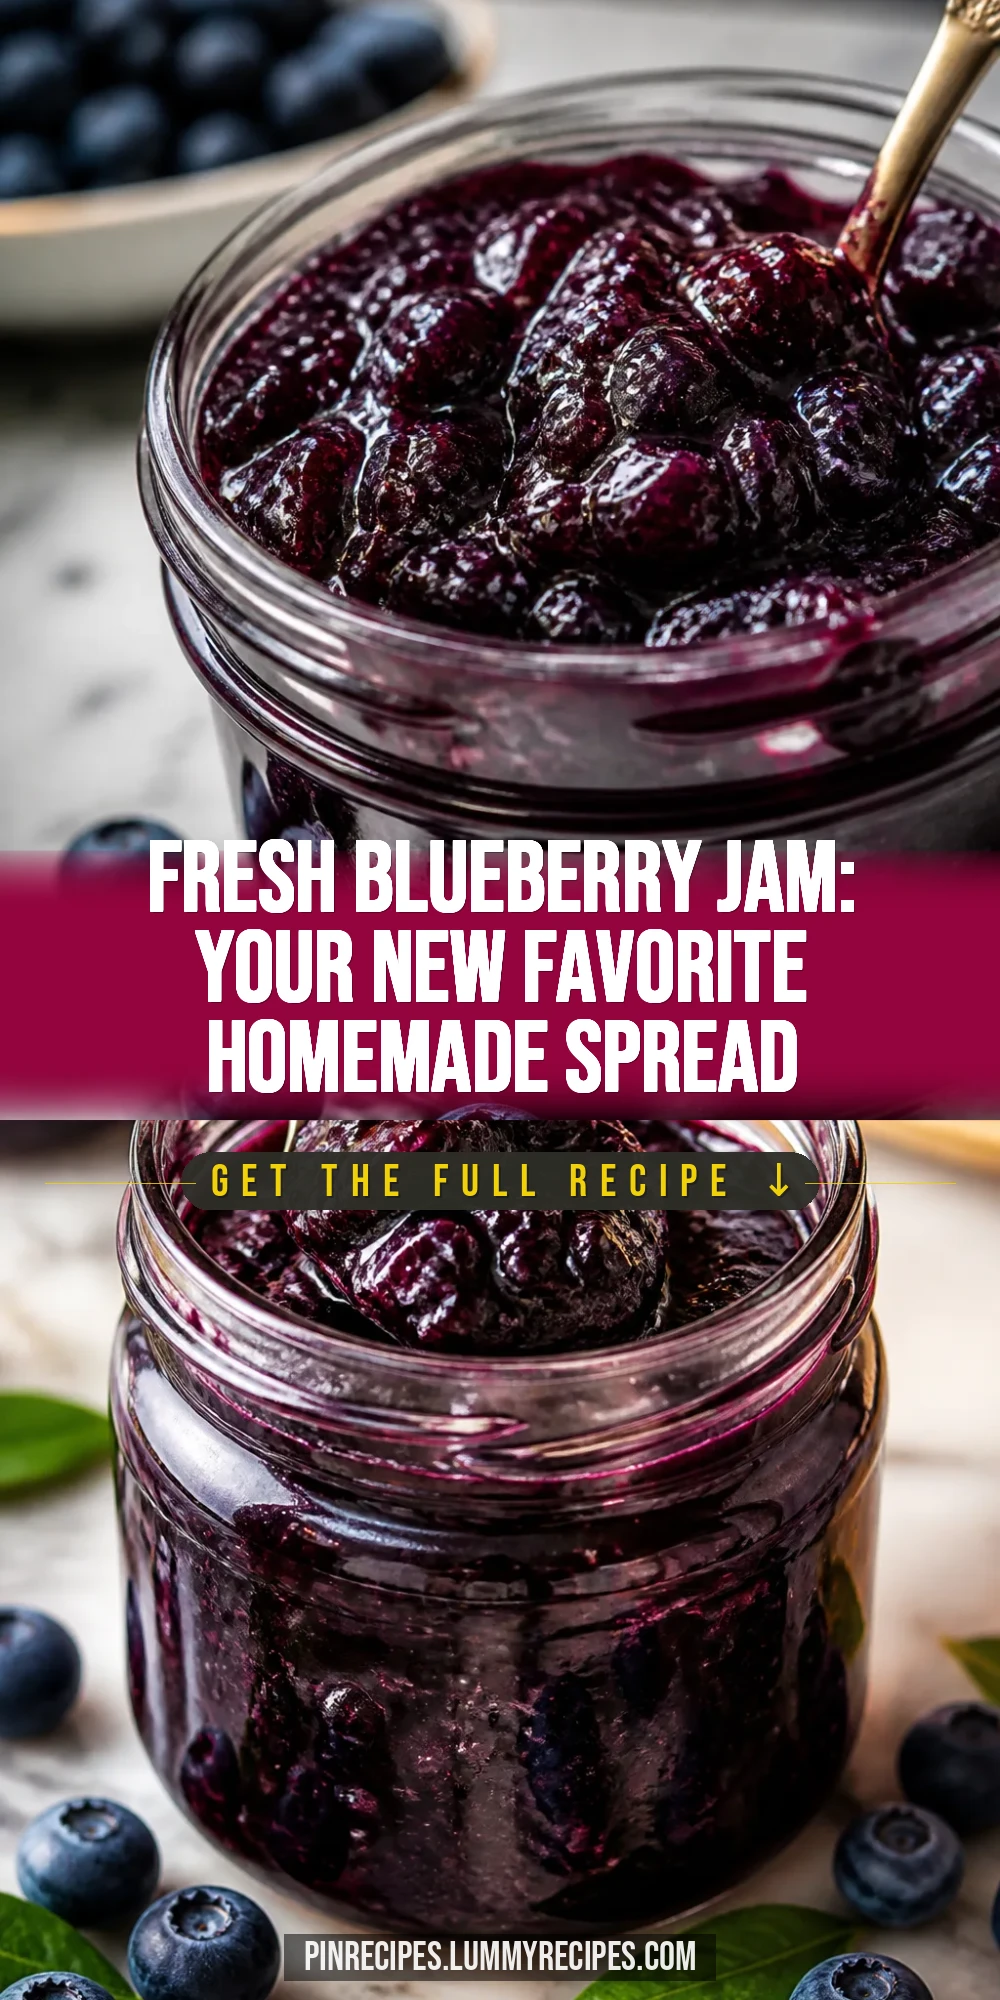
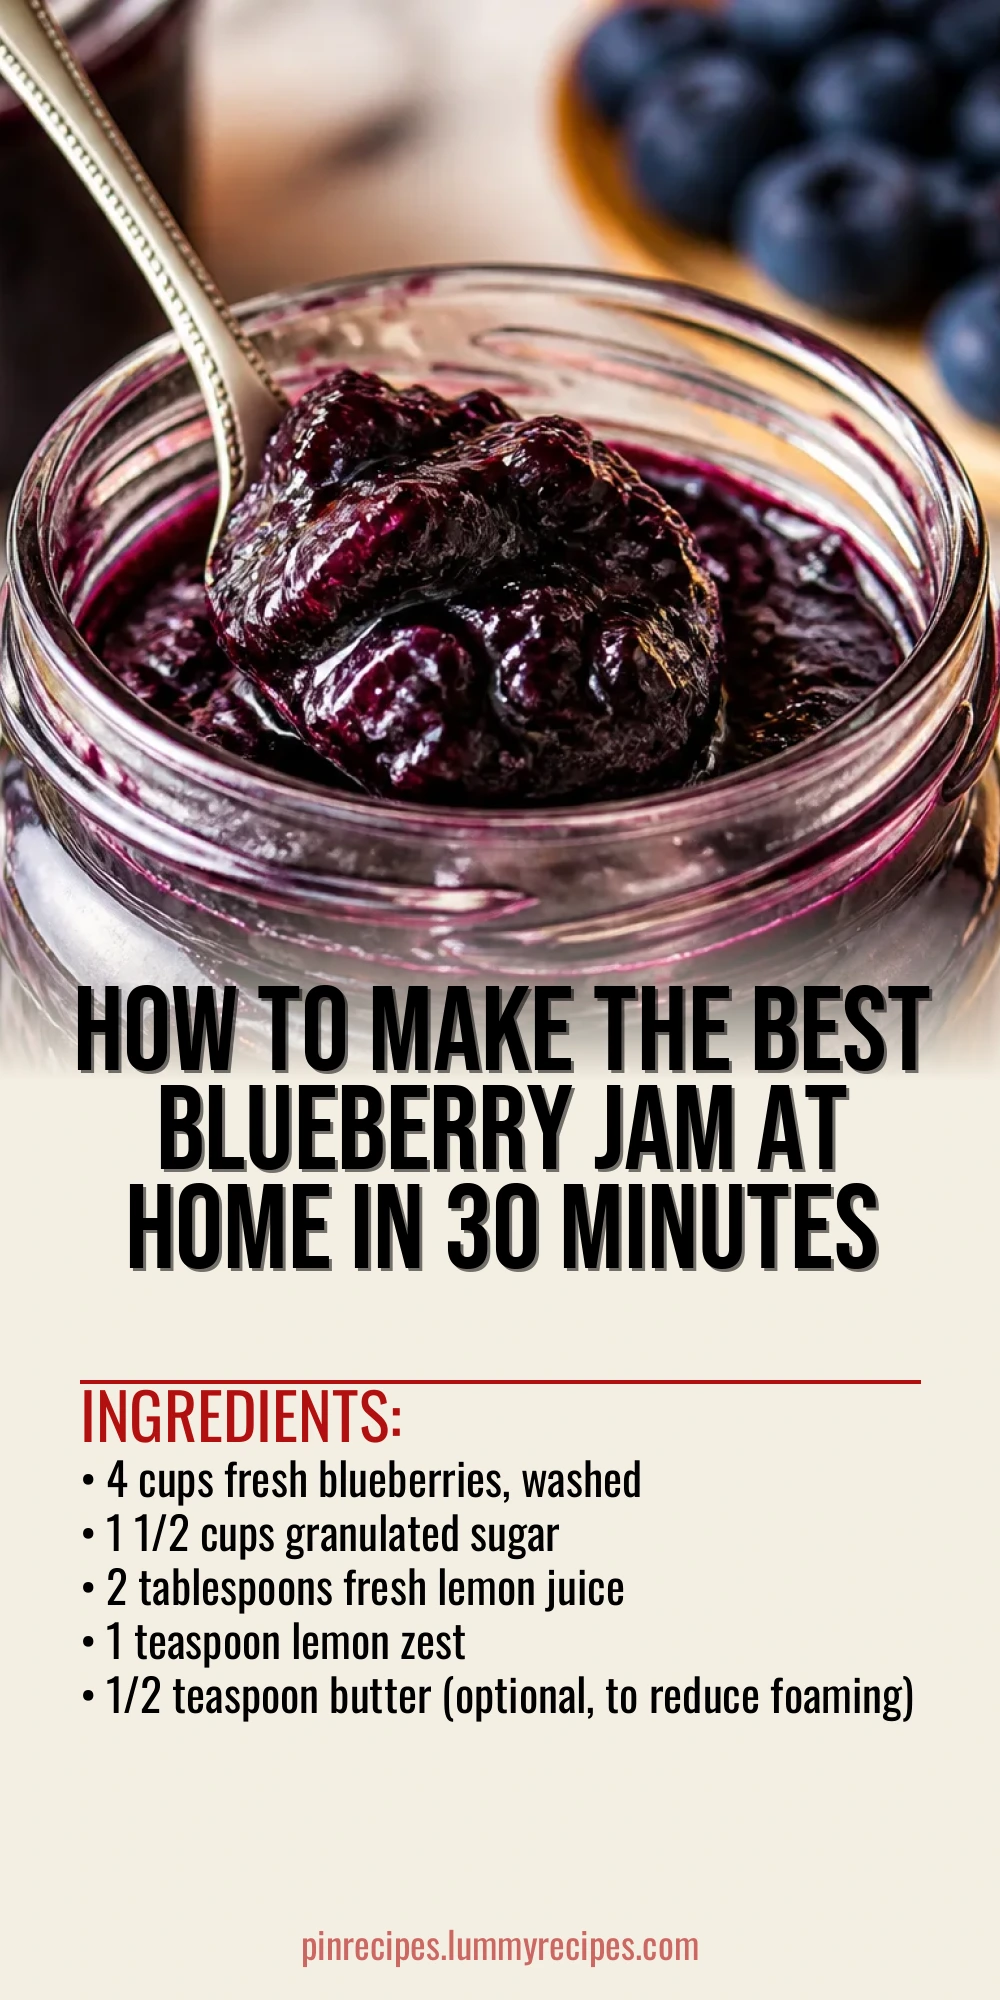
This blueberry jam is pure sunshine in a jar—sweet, tangy, and just right. I use fresh berries and a little lemon zest to brighten it up. Perfect for breakfast toast or spooning over yogurt!
Introduction
I first made this blueberry jam on a lazy summer afternoon when my family had an abundance of fresh berries from the farmer's market. I wanted a jam that was simple, fresh, and not overly sweet. This recipe quickly became a favorite because it captures the true flavor of blueberries with just a touch of lemon for brightness. What makes this version stand out is the gentle cooking method—I simmer the berries slowly to keep their natural flavor intact and add a little butter to reduce the foam that usually forms. It’s a small trick that really helps with a smooth texture. The finished jam is thick, glossy, and bursting with fresh berry goodness. It’s perfect spread on warm toast, dolloped on yogurt, or even spooned over vanilla ice cream. Plus, it’s easy enough to make on a weekend afternoon and share with friends or family. I love how this jam brings a bit of summer into the kitchen all year round.
What You'll Need
Approximately 3 cups of jam, 4 servings
- 4 cups fresh blueberries, washed
- 1 1/2 cups granulated sugar
- 2 tablespoons fresh lemon juice
- 1 teaspoon lemon zest
- 1/2 teaspoon butter (optional, to reduce foaming)
How To Do It
Step 1
Start by washing your blueberries gently under cool water, then drain well. Place them in a large, heavy-bottomed saucepan. Using a heavy pan helps distribute heat evenly, preventing scorching as the berries cook down. Gently crush the berries with a potato masher or fork to release their juices, but don’t overdo it—you want some texture in the jam. This initial step is crucial because it sets the stage for the jam’s consistency and flavor development.
⏱ Time: 10 minutes
✓ Doneness: Berries are partially broken down and juices start bubbling gently.
Step 2
Add the sugar, lemon juice, and lemon zest to the saucepan. Stir well to combine. The sugar draws out more juice from the berries and helps the jam thicken, while the lemon juice adds a bright note and helps with setting by working with the natural pectin in the fruit. Let the mixture sit for about 10 minutes to macerate—this helps dissolve the sugar and intensifies the flavor. Skipping this rest can result in uneven sweetness and texture.
⏱ Time: 10 minutes
✓ Doneness: Sugar is mostly dissolved and mixture looks syrupy.
Step 3
Place the saucepan over medium heat and bring the mixture to a gentle boil, stirring frequently. Add the butter now if using—it helps reduce foam that forms as the jam cooks. Foam can trap steam and cause uneven cooking, so this small addition keeps your jam clearer and smoother. Stir constantly to prevent the jam from sticking to the bottom and burning. Maintaining a gentle boil rather than a rolling boil helps preserve the fresh berry flavor.
⏱ Time: 15 minutes
✓ Doneness: Mixture thickens and bubbles slow down; foam reduces.
Step 4
After about 15 minutes of boiling, test the jam’s thickness by placing a small spoonful on a chilled plate. Let it cool for a minute, then run your finger through it. If it wrinkles and doesn’t flood back together, the jam is ready. This test is more reliable than timing alone because jam thickness can vary depending on berry ripeness and sugar content. If the jam is too runny, continue cooking and test every few minutes.
⏱ Time: 5 minutes
✓ Doneness: Jam wrinkles on plate and holds shape when pushed.
Step 5
Once the jam reaches the desired thickness, remove the pan from heat immediately to prevent overcooking, which can cause a jammy, overly thick texture or burnt flavor. Skim off any remaining foam with a spoon for a clearer finish. Let the jam cool slightly before transferring to sterilized jars. Proper cooling and handling at this stage ensure your jam keeps well and has a nice texture.
⏱ Time: 5 minutes
✓ Doneness: Foam skimmed and jam slightly cooled but still pourable.
Step 6
Prepare your jars by sterilizing them in boiling water or running them through a hot dishwasher cycle. This step is important to prevent spoilage and extend shelf life. Carefully ladle the warm jam into the jars, leaving about 1/4 inch of headspace. Wipe rims clean to ensure a good seal. Seal jars with lids immediately to trap the fresh flavor and prevent contamination.
⏱ Time: 10 minutes
✓ Doneness: Jars filled with jam, sealed tightly, and clean rims.
Step 7
Allow the jars to cool at room temperature. As they cool, you might hear the satisfying 'pop' of the lids sealing. This vacuum seal helps preserve the jam for months. If a lid doesn’t seal properly, store that jar in the fridge and use it first. Don’t rush this cooling process, as it affects the jam’s safety and shelf life.
⏱ Time: 1-2 hours
✓ Doneness: Lids sealed with a slight concave shape and no movement.
Step 8
Once cooled, label your jars with the date and store them in a cool, dark place. Homemade blueberry jam is best enjoyed within a year, but you’ll likely finish it much sooner! Proper storage keeps the flavor bright and the texture just right.
⏱ Time: N/A
✓ Doneness: Jars stored away with clear labeling.
Step 9
When ready to enjoy, open your jar and give the jam a gentle stir if needed. It’s perfect on toast, biscuits, or stirred into yogurt. If you like a smoother jam, you can blend it before cooking or after cooling, but I prefer the rustic texture of whole berries. Enjoy the taste of summer anytime!
⏱ Time: N/A
✓ Doneness: Jam spreadable and flavorful with fresh berry aroma.
Pro Tips
Use a heavy-bottomed pan for cooking the jam.
A heavy-bottomed pan distributes heat evenly and prevents hot spots that can scorch the fruit and sugar mixture. Scorching leads to bitter flavors and uneven cooking, which ruins the jam’s texture and taste.
Don’t rush the simmering process; cook the jam slowly.
Slow cooking allows the natural pectin to activate and the flavors to meld. Rushing with high heat can cause the jam to burn or become too thick and jelly-like rather than spreadable.
Test jam thickness on a chilled plate to know when it’s done.
Visual and tactile testing is more reliable than timing alone because berry ripeness and sugar levels vary. This simple test ensures your jam sets perfectly every time without overcooking.
Add a small amount of butter to reduce foam during cooking.
Foam traps steam and can cause the jam to cook unevenly or boil over. Butter breaks down foam-forming proteins, resulting in a clearer, smoother jam and less mess on your stovetop.
Sterilize jars properly before filling with hot jam.
Sterilized jars prevent contamination and extend shelf life. Using unsterilized jars increases the risk of spoilage and off-flavors, so take the time to prepare your containers carefully.
Use fresh lemon juice and zest for best flavor and pectin activation.
Fresh lemon juice provides the right acidity and natural pectin needed for jam setting and flavor balance. Bottled juice lacks these qualities and can negatively affect the final product.
Label your jars with the date after sealing.
Keeping track of when you made your jam helps you use it within its best quality period and ensures you don’t keep it past safe storage times.
Common Mistakes to Avoid
Skipping the maceration step before cooking.
Why it happens Some cooks want to speed up the process and skip letting the berries and sugar sit together. This can lead to uneven sugar dissolution and less flavorful jam.
Fix Allow the berries and sugar to macerate for 10 minutes before cooking. This helps dissolve the sugar fully and draws out berry juices, resulting in a better texture and flavor.
Boiling the jam at too high heat.
Why it happens Impatience or distraction can cause cooks to crank the heat up too high, thinking it will speed up thickening.
Fix Maintain a gentle boil and stir frequently. High heat can burn the jam, cause bitterness, and result in a thick, rubbery texture instead of a smooth spread.
Not sterilizing jars properly.
Why it happens Some assume hot jam alone sterilizes jars, or they forget this step entirely.
Fix Always sterilize jars in boiling water or a hot dishwasher cycle before filling. This prevents spoilage and extends shelf life.
Ignoring foam during cooking.
Why it happens Foam can seem harmless and cooks might skip skimming it off.
Fix Add butter to reduce foam and skim any remaining foam off the surface. This ensures even cooking and a clearer jam.
Overcooking the jam past the setting point.
Why it happens Waiting too long to test or removing the jam from heat too late can cause this.
Fix Use the chilled plate test frequently once boiling to catch the perfect set point. Remove from heat as soon as the jam wrinkles on the plate.
Variations
Blueberry Lavender Jam
Add 1 teaspoon of dried culinary lavender buds during the simmering stage for a floral twist. The lavender complements the blueberries beautifully and adds a unique aroma. Strain out the buds before jarring for a smooth jam.
Note: Simmer lavender with the berries and sugar, then strain to avoid gritty texture.
Spiced Blueberry Jam
Include a cinnamon stick and a few whole cloves while cooking to infuse warm spice notes. Remove the spices before bottling. This variation works great for fall breakfasts and pairs well with cream cheese.
Note: Add spices early in cooking and remove before jar filling.
Blueberry and Vanilla Bean Jam
Split a vanilla bean and scrape the seeds into the jam as it cooks. The vanilla adds a rich sweetness and depth that enhances the blueberry flavor without overpowering it.
Note: Simmer with vanilla seeds and pod, remove pod before jarring.
Low Sugar Blueberry Jam
Reduce sugar to 1 cup and add 1 tablespoon of powdered pectin to help set the jam. This version is less sweet but still thick and flavorful, ideal for those watching sugar intake.
Note: Follow powdered pectin package instructions for timing and stirring.
Chunky Blueberry Jam
Skip crushing the berries at the start and gently stir only during cooking to keep larger berry pieces intact. This results in a chunkier texture that’s delightful on toast or biscuits.
Note: Avoid over-mashing berries to maintain chunks.
Nutrition
Per Serving:
Nutritional values are estimates and may vary based on specific ingredients used.
Storage & Tips
Room Temperature
Once sealed and cooled, blueberry jam can safely keep at room temperature for up to 1 year if stored in a cool, dark place away from direct sunlight. Always check the seal before use and discard if any signs of spoilage appear. Keep jars tightly closed to maintain freshness.
Refrigerator
After opening, store blueberry jam in an airtight container in the refrigerator for up to 3 weeks. The flavor may mellow slightly, and the texture can thicken. Serve cold or bring to room temperature before spreading for best taste.
Freezer
You can freeze blueberry jam for up to 6 months. Use freezer-safe containers or bags, leaving headspace for expansion. Thaw in the refrigerator overnight and stir gently before using. Freezing may slightly change texture but flavor remains good.
Reheating
Blueberry jam is typically served cold or at room temperature, so reheating isn’t necessary. If you want a warm topping, gently heat a small amount in a saucepan over low heat with a splash of water to loosen it. Avoid boiling to preserve fresh flavor.
Make Ahead
You can prepare the jam fully and store sealed jars ahead of time. For quick serving, make the jam a day or two before and let flavors meld. If pressed for time, macerate berries the night before to save prep time on cooking day.
FAQ
Can I use frozen blueberries instead of fresh?
Yes, frozen blueberries work well too. Just thaw and drain excess liquid before cooking to avoid watery jam. Frozen berries may require slightly longer cooking to reach the right thickness because they release more juice.
How do I know when the jam is set?
The best way is the chilled plate test: place a spoonful of jam on a cold plate, let it cool for a minute, then push it with your finger. If it wrinkles and holds shape, it’s set. If it runs back together, cook a bit longer and test again.
Can I reduce the sugar in this recipe?
You can reduce sugar, but it affects both sweetness and preservation. If lowering sugar, consider adding commercial pectin designed for low-sugar jams to help it set properly. Also, the jam won’t keep as long without enough sugar.
Why do I need to add lemon juice?
Lemon juice adds acidity which balances the sweetness and helps activate natural pectin in the fruit, essential for the jam to gel. It also lowers pH, which helps preserve the jam and prevents spoilage.
What if my jam is too runny?
If the jam doesn’t set after cooking, try simmering it longer to evaporate more liquid. Alternatively, add a bit of powdered pectin according to package instructions. Avoid rushing the cooking process to allow natural thickening.
How do I prevent foam when cooking jam?
Foam forms from fruit proteins during boiling. Adding a small amount of butter helps reduce foam, and skimming any that forms off the surface results in clearer jam. Stir gently to minimize foam as well.
Can I use this jam for canning and long-term storage?
Yes, if you follow proper sterilization and sealing methods, this jam can be canned safely and stored unopened for up to a year. Once opened, refrigerate and use within a few weeks for best quality.
What jars should I use for storing jam?
Use clean, sterilized glass jars with tight-fitting lids. Mason jars are ideal. Avoid jars with chips or cracks as they may not seal properly and increase spoilage risk.
Final Thoughts
I hope you enjoy making this blueberry jam as much as my family does! It’s a simple, rewarding way to bring fresh summer flavor into your kitchen. Let me know how it turns out!