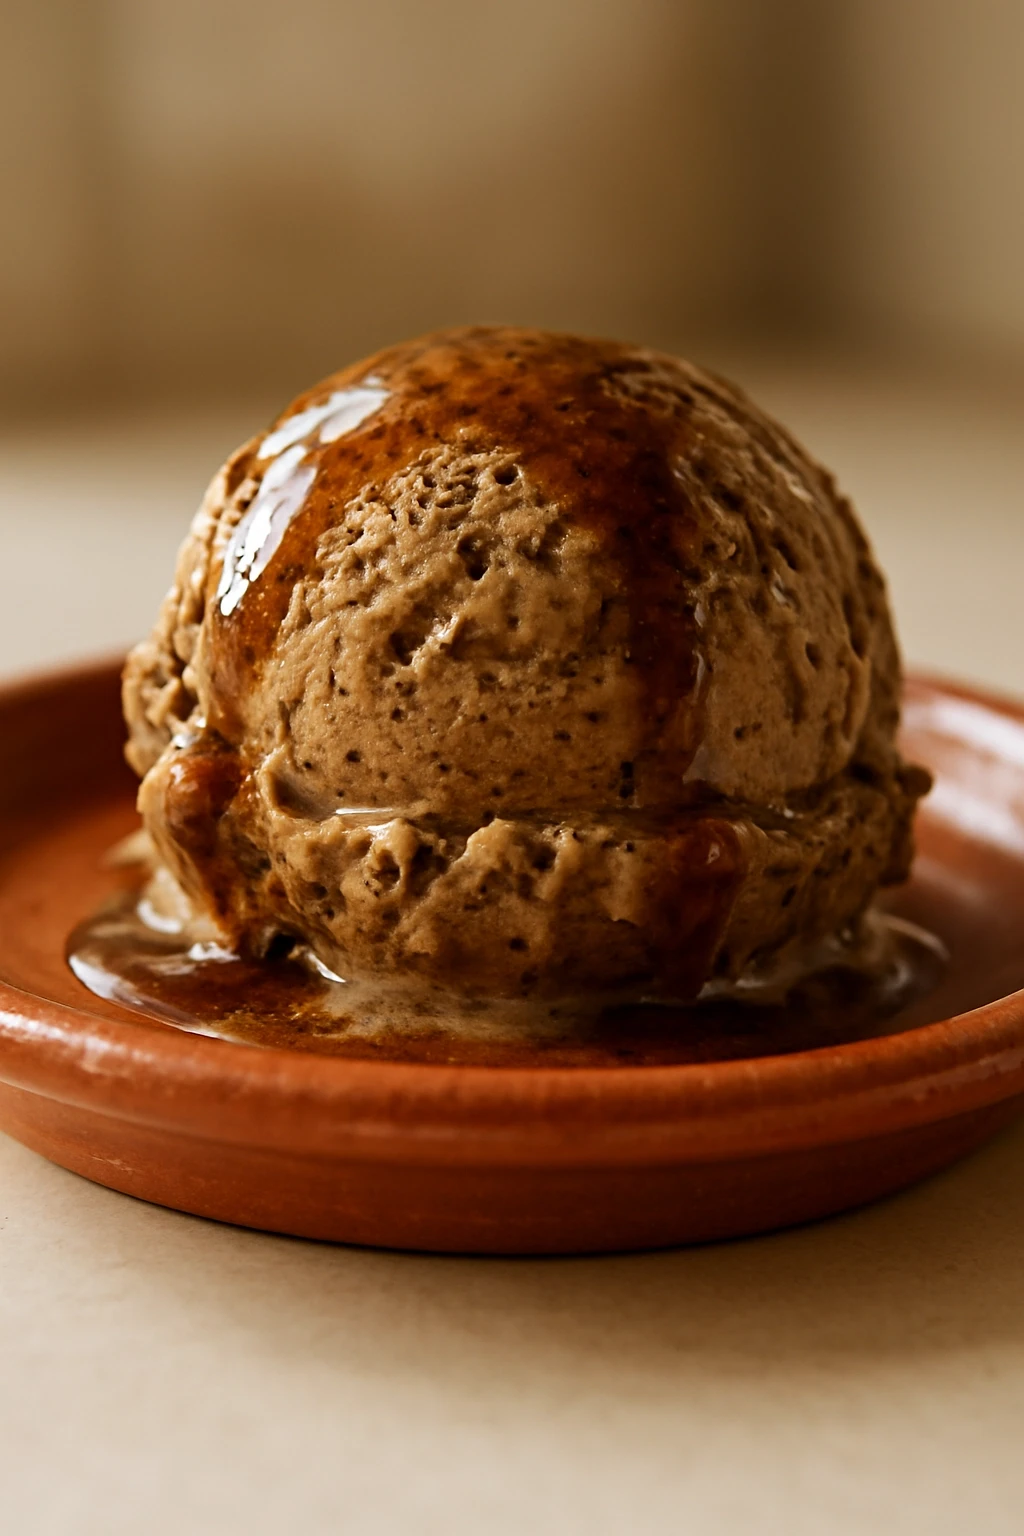
This coffee ice cream is a creamy, indulgent treat that's super easy to make at home without any fancy machines. Just a few simple ingredients and you'll have a delightful dessert ready for warm evenings!
How To Do It
Step 1
In a large mixing bowl, combine the heavy cream and sweetened condensed milk. Using a hand mixer or a whisk, whip the cream until soft peaks form. This step is crucial because it incorporates air into the mixture, giving your ice cream that light, airy texture. Be careful not to over-whip; you want it fluffy, not stiff. If you start to see grainy bits, you've gone too far!
⏱ Time: 5 minutes
✓ Doneness: The mixture should be light and fluffy, holding soft peaks.
Step 2
Next, gently fold in the cooled brewed coffee, vanilla extract, and salt. Use a spatula to carefully combine these ingredients without deflating the whipped cream. The salt enhances the flavors, while the coffee gives it that rich, bold taste. Make sure everything is well incorporated, but still light and airy. If you see streaks of coffee, that’s okay; it adds to the visual appeal!
⏱ Time: 3 minutes
✓ Doneness: The mixture should be uniform in color with small flecks of coffee.
Step 3
Pour the mixture into a freezer-safe container. I like to use a loaf pan because it’s easy to scoop from later. Smooth the top with a spatula, and cover it tightly with plastic wrap or a lid. This helps prevent ice crystals from forming, which can ruin that creamy texture. If you want, you can sprinkle some chocolate chips or crushed coffee beans on top for added texture and flavor!
⏱ Time: 2 minutes
✓ Doneness: The mixture should be evenly spread in the container.
Step 4
Place the container in the freezer and let it chill for at least 6 hours, or overnight if you can wait! This waiting time is essential for the flavors to meld and for the ice cream to set properly. If you try to scoop it too early, it might be too soft and hard to serve. Patience is key here, my friend!
⏱ Time: 6 hours
✓ Doneness: The ice cream should be firm but scoopable.
Step 5
When you’re ready to serve, take the ice cream out of the freezer and let it sit for about 5-10 minutes to soften slightly. This makes scooping much easier and helps it reach that perfect creamy consistency. Use an ice cream scoop or a spoon to serve it into bowls or cones. If you want to get fancy, drizzle some chocolate sauce or top with whipped cream!
⏱ Time: 10 minutes
✓ Doneness: The ice cream should be slightly softened but still hold its shape.
Step 6
Enjoy your homemade coffee ice cream! The combination of the rich coffee flavor and the creamy texture is simply divine. This is the kind of dessert that brings smiles and warm memories. You can also store any leftovers in the freezer, but I doubt there will be much left after you serve it to friends and family!
⏱ Time: 0 minutes
✓ Doneness: Everyone should be enjoying their bowls of ice cream!
One of the best tips I can share is to make sure your cream is very cold before you start whipping it. This helps it whip up faster and hold its shape better. Also, if you want to get creative, try adding a splash of coffee liqueur for an adult twist! Just remember to adjust the sugar accordingly since liqueurs can be sweet.